Category Archives: Displays

Monitors for computers

The BenQ PD3200Q 32 inch monitor

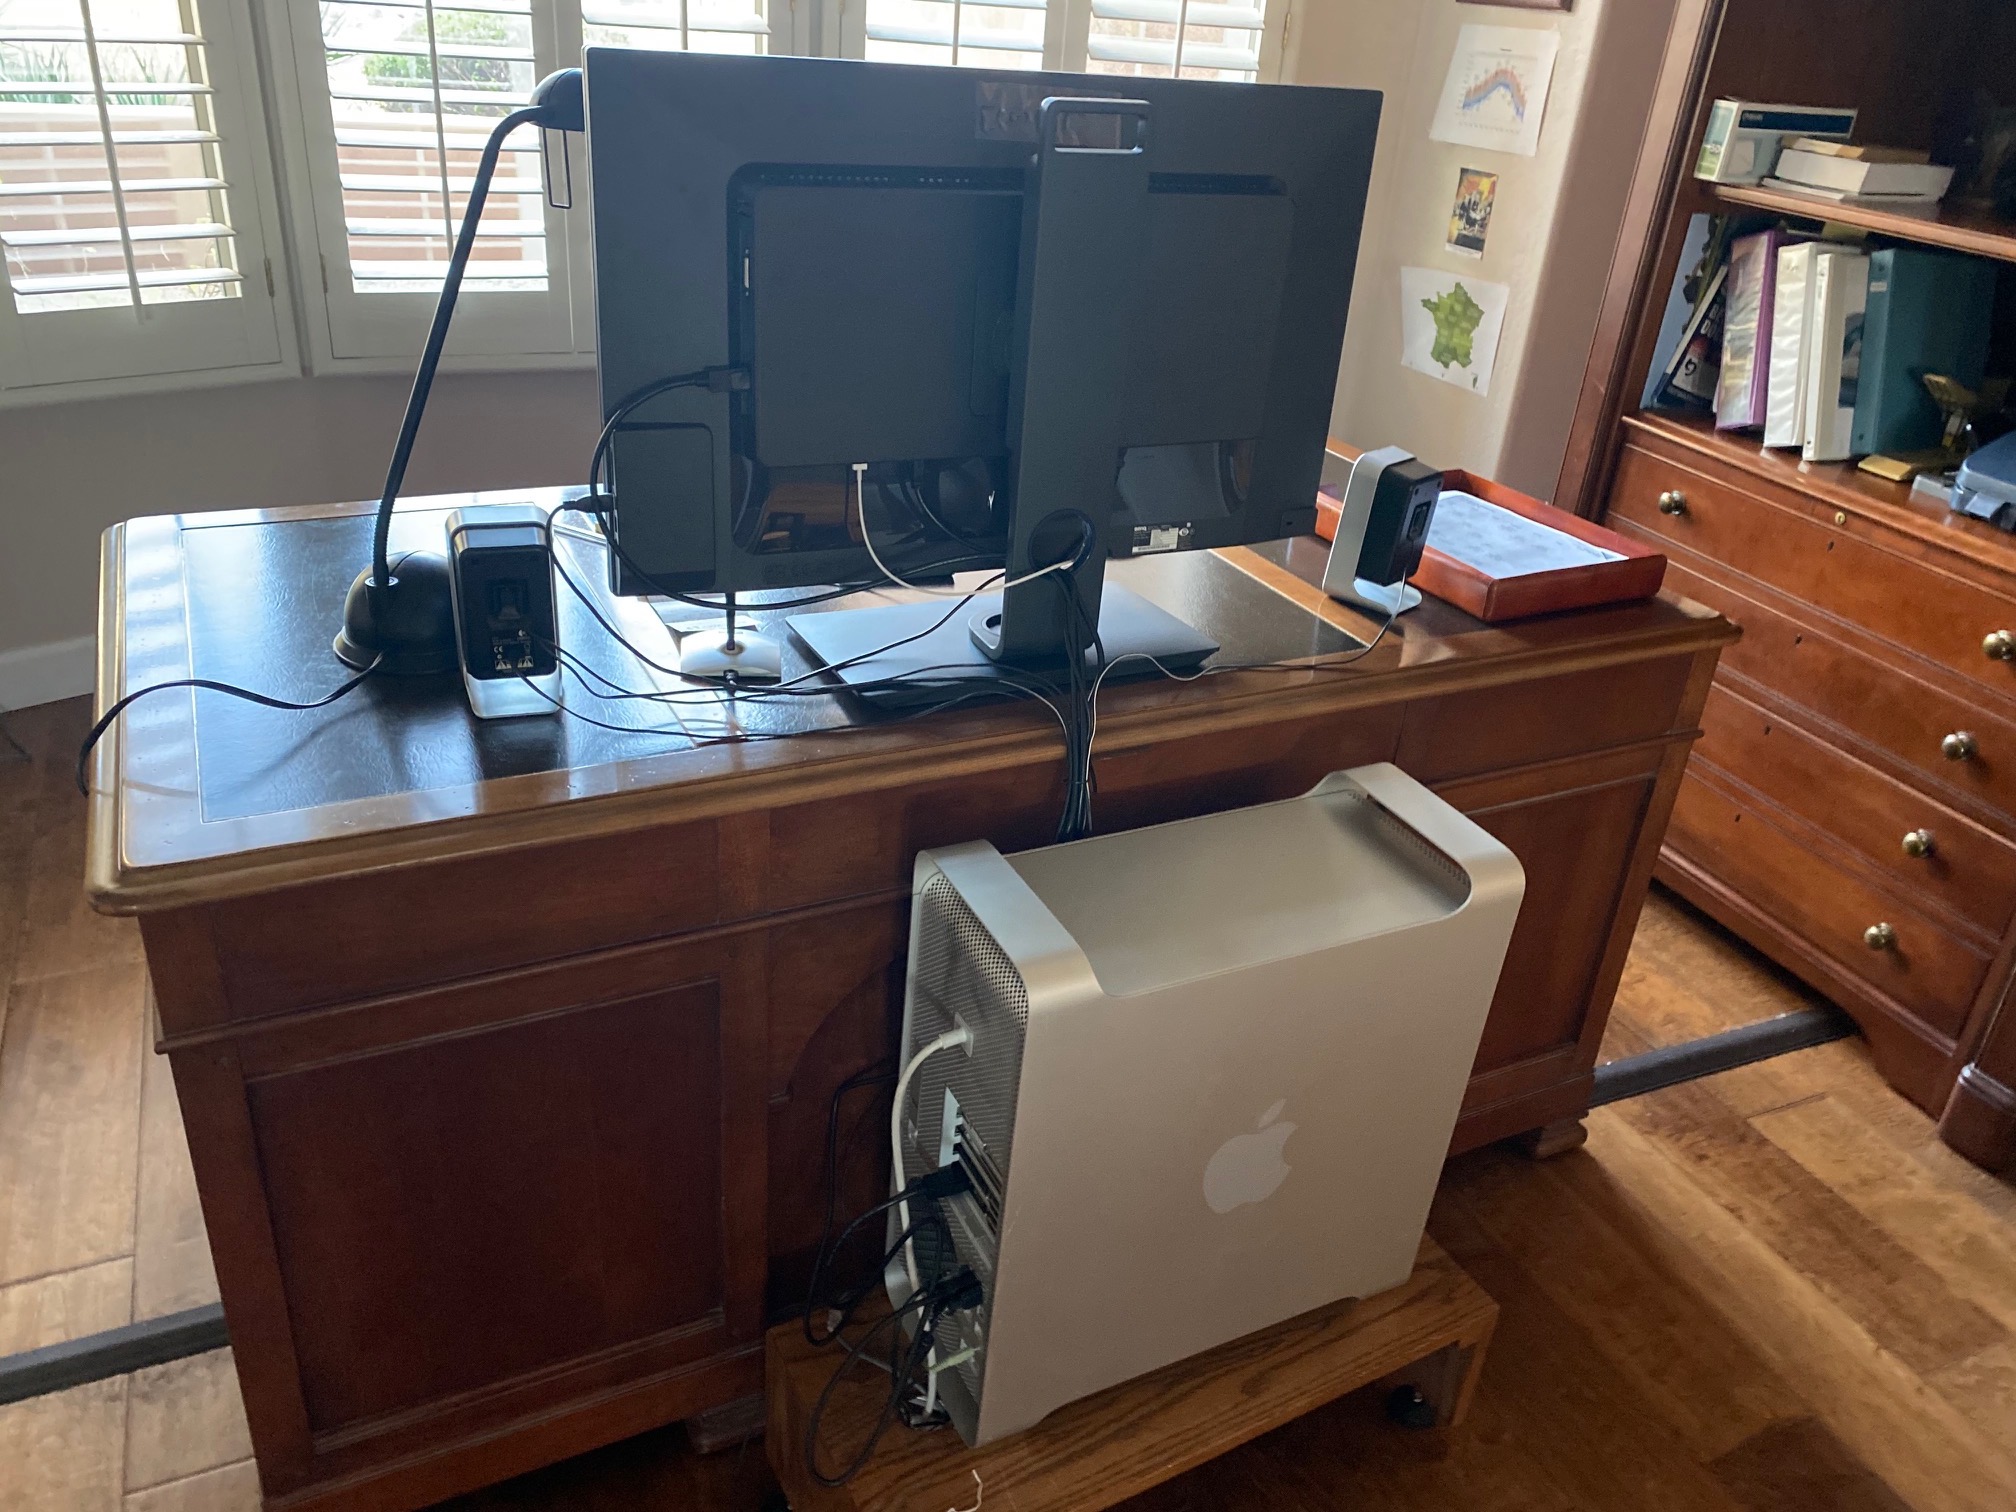
Bringing in the New Year.


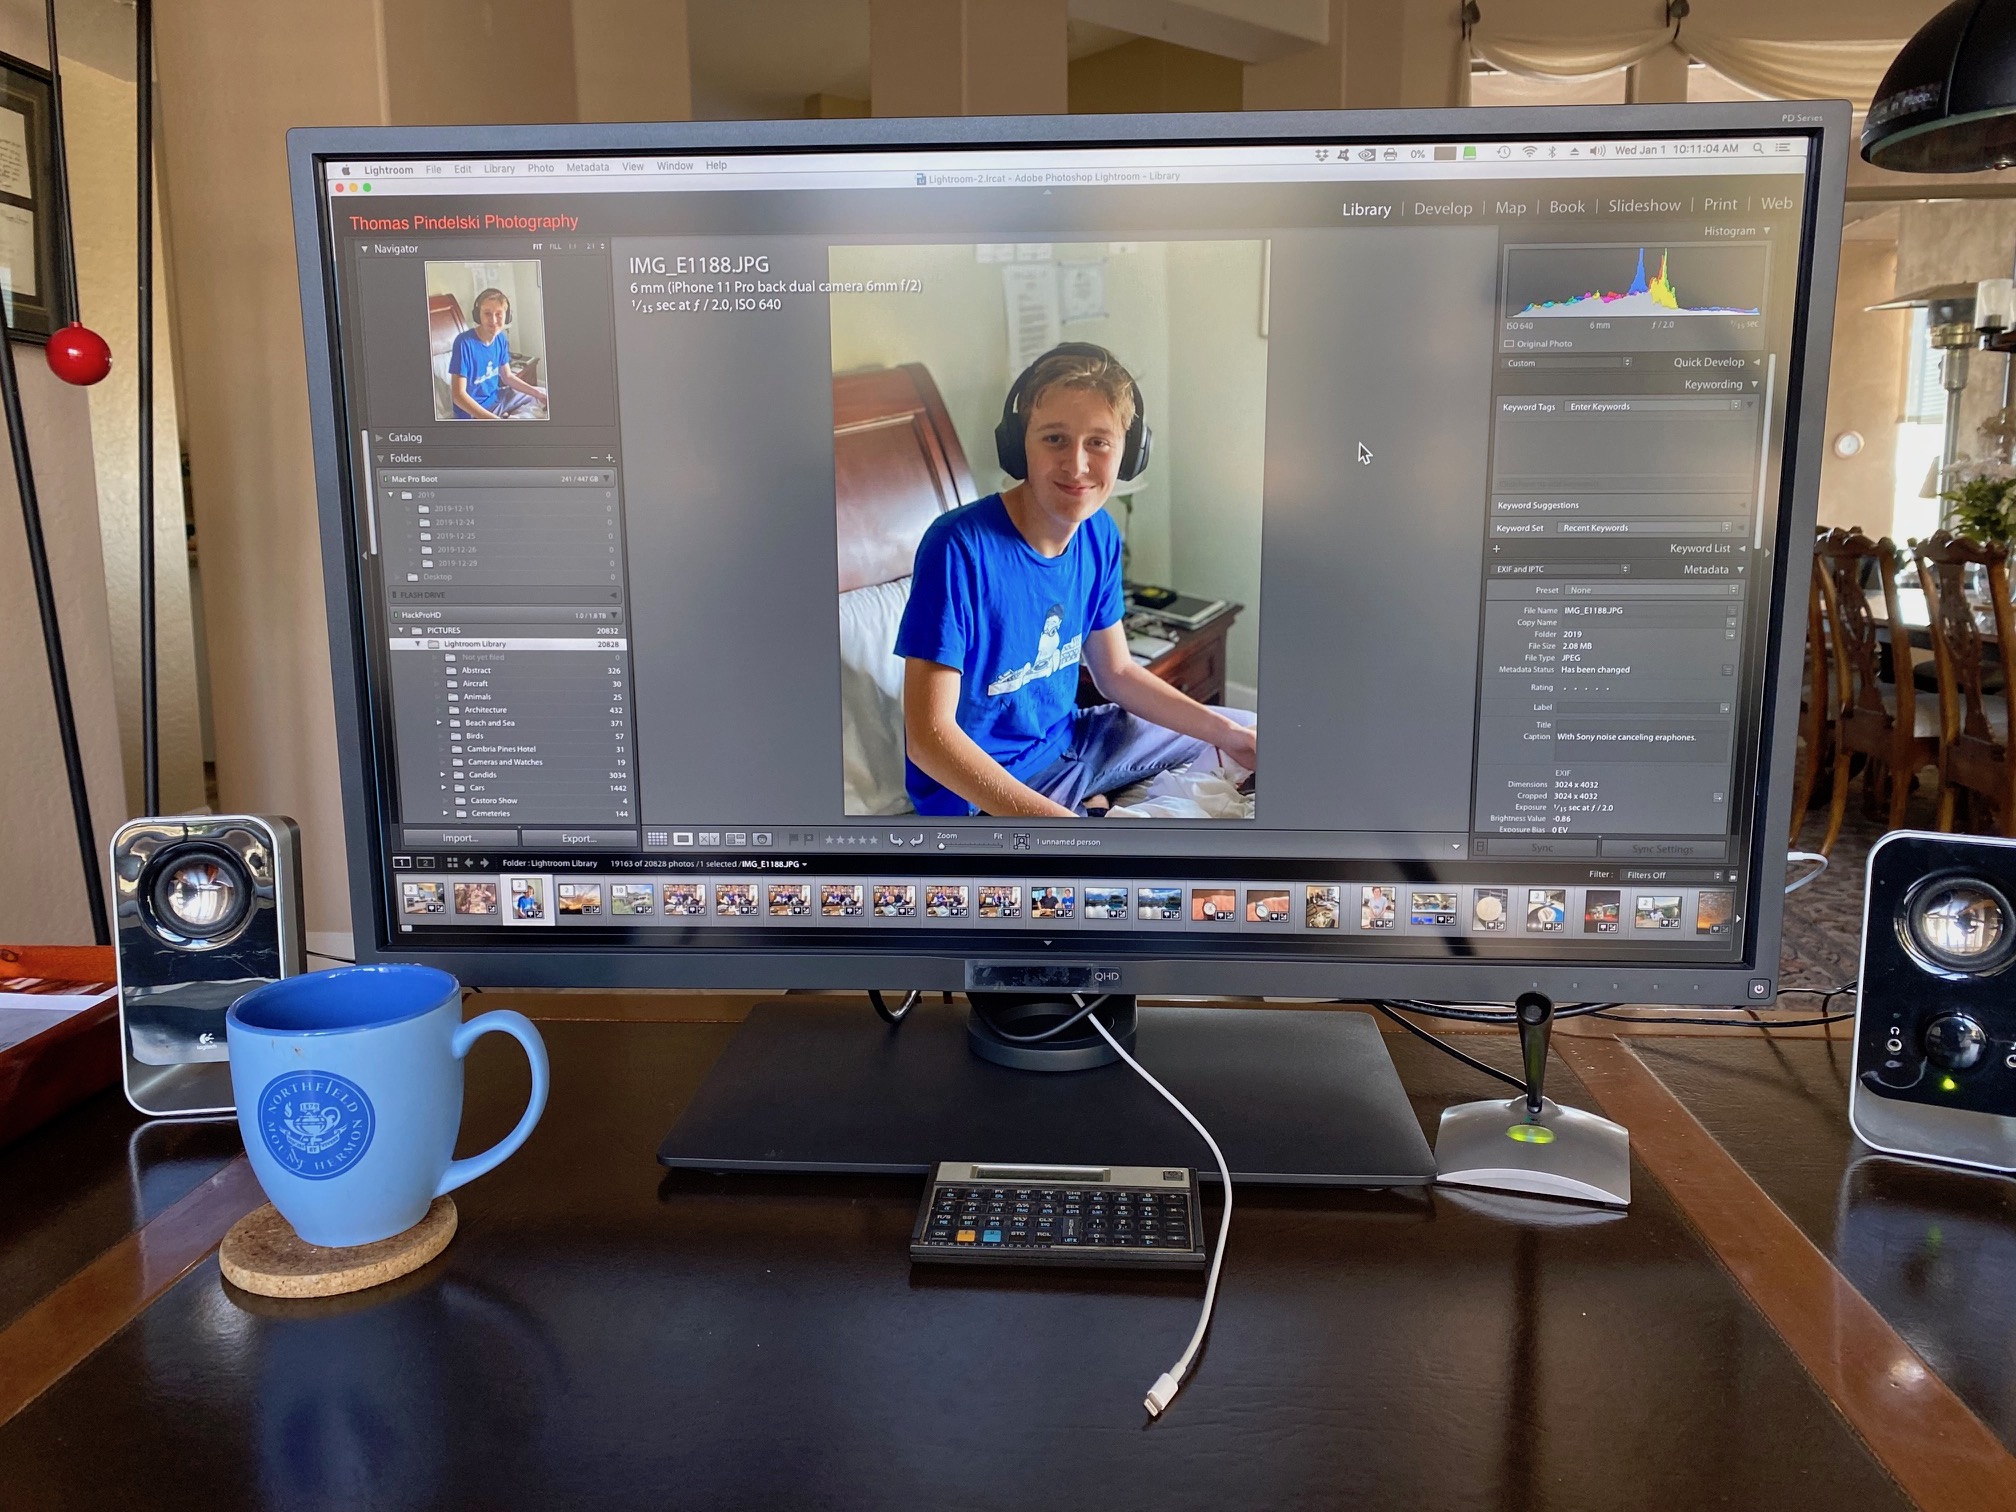
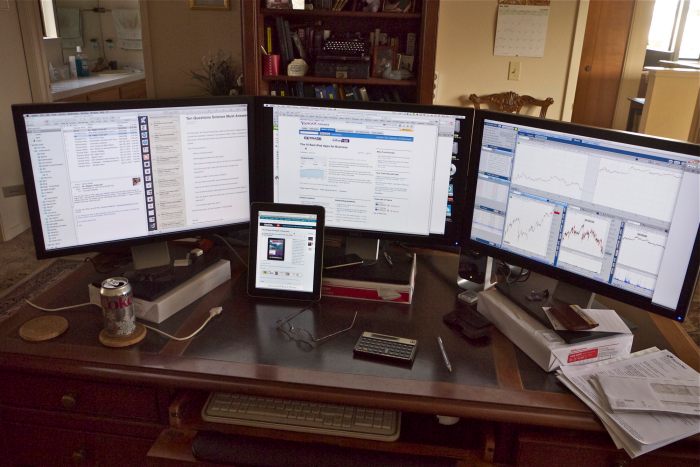
The 32″ BenQ monitor running Lightroom. Strong daylight over my shoulder does not distract.

My Apple 30″ Cinema Display was bought ‘pre-owned’ 5 years ago and saw daily use.

Elegantly housed and with a minimum of controls, it was easily calibrated, did not drift over time and was a joy to use. The 16:10 aspect ratio was squarer than the more common 16:9 and worked well with my applications and needs.

It failed at Christmas and was over a decade old. Originally selling for $3,300 I had paid just $400 for mine and that’s what its replacement, the BenQ PD3200Q cost new from Amazon. It went into service yesterday and comes with a 3 year parts, backlight and labor warranty. There are cheaper displays in the 32″ size range but BenQ has a tradition of catering to photographers and the display comes pre-calibrated, with the calibration chart included, no less:


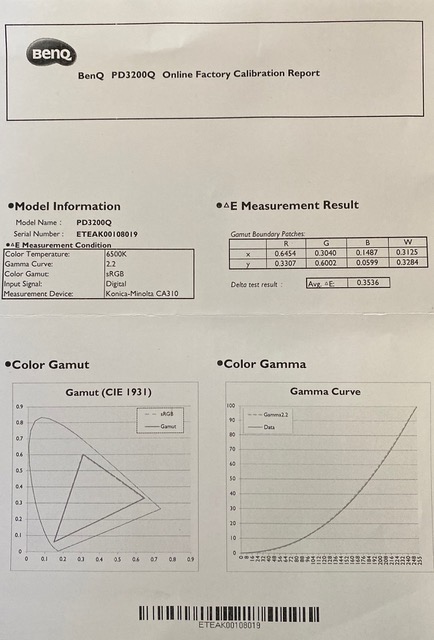
Included calibration chart for my 32″ BenQ monitor.

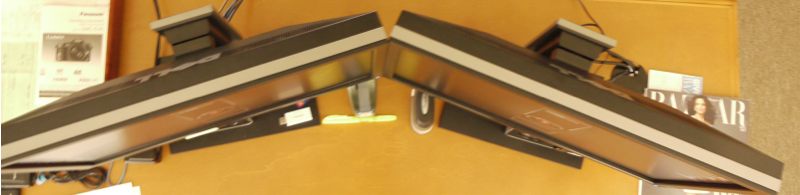
Sadly, the aspect ratio is 16:9, and 16:10 no longer seems to exist. The stand adds a counterbalanced height adjuster to the tilt function, the latter shared with the old Apple Cinema Display.

Out of the box I found the Brightness setting of 72 too bright and turned it down using the easy to use touch buttons to 56. These buttons are located on the bottom right of the bezel and are only lit when being adjusted. To their right is an illuminated off-white on-off indicator which turns orange when the display is in sleep mode. The display’s power supply is integrated; there is no separate power supply transformer.

I measured illumination uniformity across the screen – extreme edge, center edge, center. There was no noticeable difference.

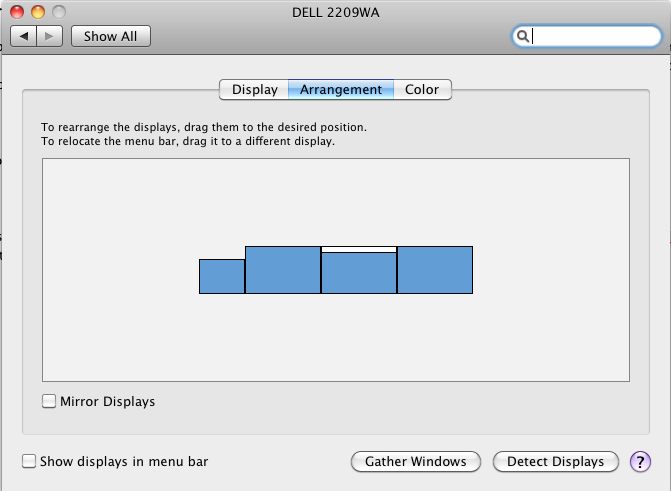
While this is a 2560 x 1440 display, I much prefer the larger font setting, thus:


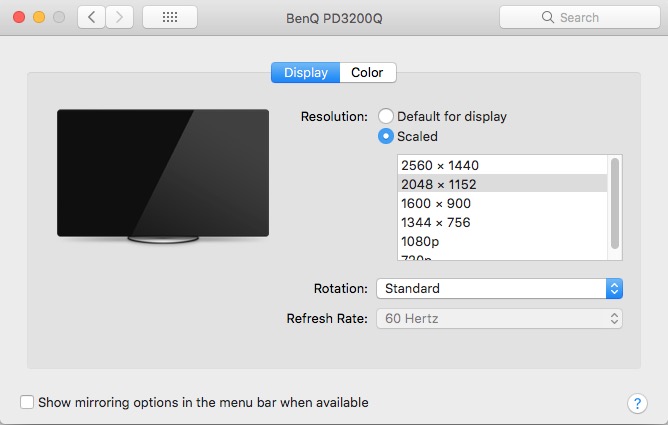
Scale setting for the monitor.

This is yet another reason not to spend money on a 4K primary display, where the font size is ridiculously small.

There is a plethora of outlets and pass-throughs sprinkled along the side, rear and underside of the panel. The near useless ‘instruction sheet’ – one of those ‘no words’ things beloved of the Germans and now the Japanese – shows 2 USB3 power-in sockets, 4 USB3 power-outs, line-in and line-out (for external speakers), a Hockey Puck connector and four video outputs – DP, HDMI, DVI and mini DP. The DP cord provided is terminated with a mini DP connector, but I prefer the more robust DP to DP locking connectors and spent an additional $7 at Amazon for one. HDMI and DVI cables are also provided, so there is no lack of video connectivity. There’s an instruction manual on a provided CD (CD? Really?) but I did not bother looking at it.

The Hockey Puck is an exercise in redundancy:
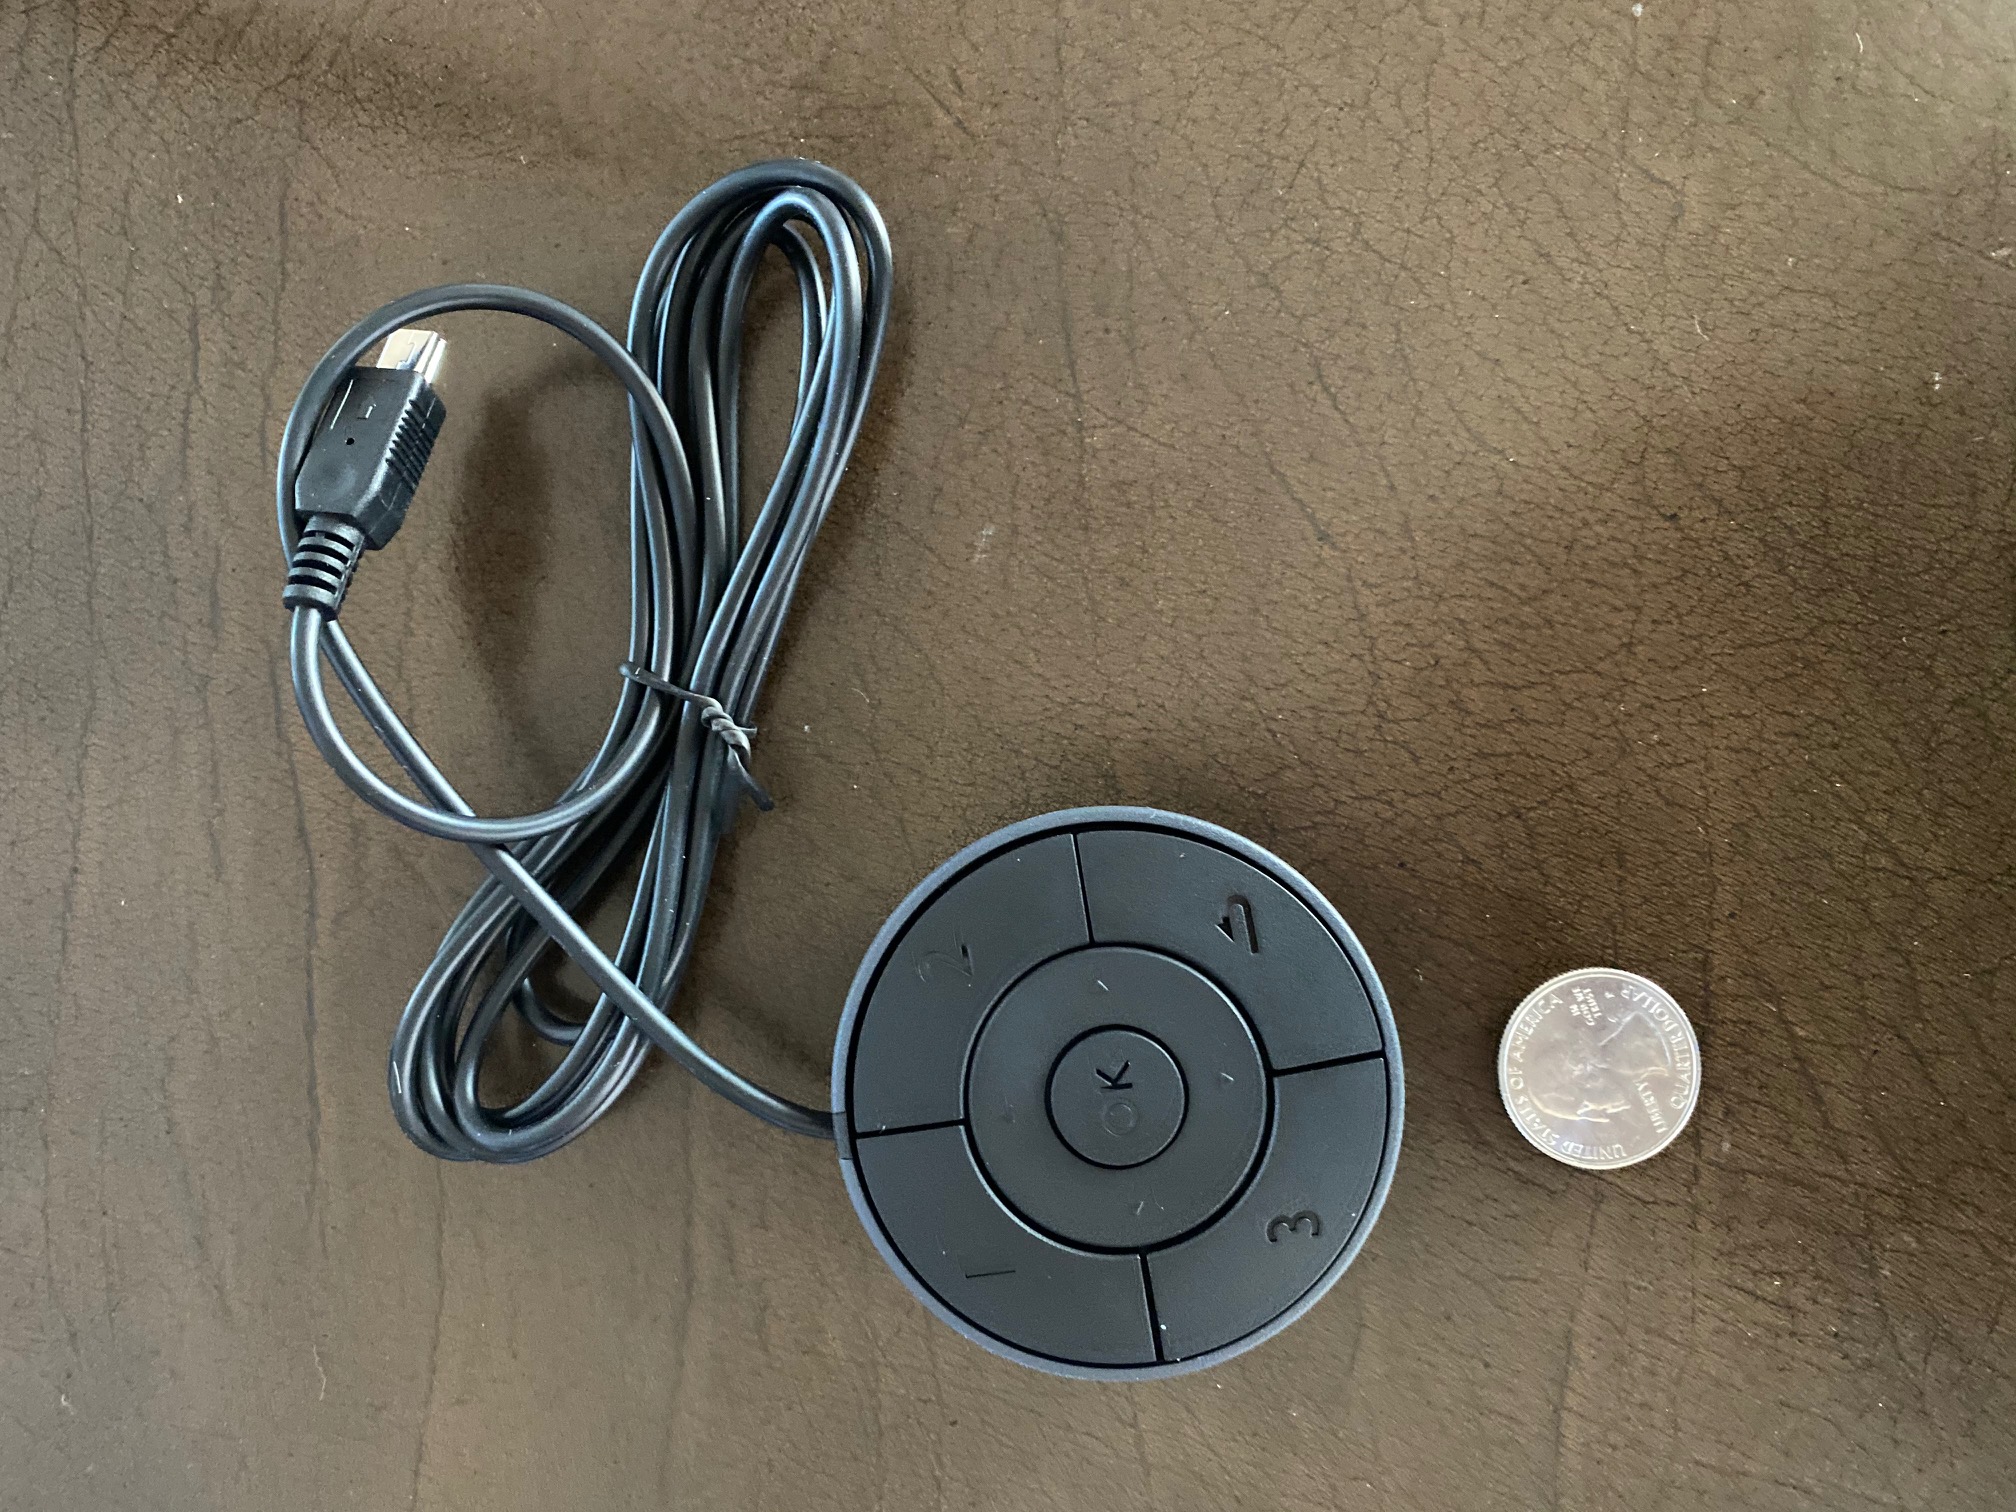


The Hockey Puck.

The purpose is to activate and use the on screen display menus to adjust the monitor. As this is done once in a blue moon, and is easily accomplished using the touch panel referenced earlier, this is just so much useless clutter on your desktop, serving no useful purpose.

How is the color balance and fidelity? Perfect out of the box. This excellent performance out of the box is reason alone to pay a little more for this display. There is no light leakage and the construction quality, fit and finish are excellent. The display surface is semi-matte and does not suffer from specular reflections.

Interestingly, the side panel also has an SDHC socket for your camera’s storage card. As my only camera is now the iPhone 11 Pro, which I connect to the Mac Pro using a Lightning cable, this adds no useful function for me but will be appreciated by many still using old technology.

So what’s not to like? Like every pitch black device in the home – hi-fi gear, TVs, toasters and so on – it’s butt ugly. The stand is an exercise in industrial competence and has all the charm and warmth of one of Brunel’s inventions from the Industrial Age. The screen will rotate through 90 degrees and as it’s already huge at 32″ diagonally, that’s just plain dumb, and will place lots of strain on your connecting cables. There are built in speakers but even modest external ones (I use old Logitechs) will be better.

I drive the display using an Nvidia GTX980 video card in my 2010 Mac Pro. I checked it with the ancient Nvidia GT120 using a mini DP connector and it works fine, though the video rendering can be slow with this prehistoric piece of hardware.

Gaming use? Search me and look elsewhere. This site is for grown-ups, not children.

For photographers needing a traditional display which comes properly calibrated, and who do not want the small fonts that 4K delivers, the 32″ BenQ PD3200Q is recommended.


Did I mention it’s ugly? The QR attachment for the stand conceals standard VESA wall mounting threads.

EyeOne revisited with Mountain Lion

A great tool.

When FU Steve installed the latest nVidia GTX 660 graphics card in my HP100+ Hackintosh, he also did a fresh install of OS X Mountain Lion 10.8.2. When it came to printing from Lightroom yesterday, I found the driver for my HP DesignJet 90 was AWOL, so I quickly reinstalled it. At the same time, I re-profiled all three Dell displays using the EyeOne colorimeter and the (not so) current EyeOne DisplayOne Lion software, the makers at Xrite as usual taking their time with the upgrade to Mountain Lion. While the software reminds you to make monthly profile updates, I find that three or four times a year is fine as my three year old Dell 2209WA monitors are now very stable and exhibit minimal drift. The application logs and charts drift which is handy.

My Dells are set to a brightness of 120cd/m2, gamma=2.2 and color temperature of 6500K. That brightness setting is very low – something like a setting of 14 out of 100 on the Dell’s on-screen controls. If your prints are always coming out darker than you like, chances are you have the display set too bright, which is how Apple and just about every other display maker wants it, to show off their products. And Apple’s displays – built-in or separate – are some of the worst a photographer can use. In addition to having a far smaller color gamut (range) than your photographs and your (good) printer they are glossy, to add insult to injury. But boy, do they look ‘insanely great’ in the Apple Store or what?

While the EyeOne DisplayOne I use appears to have been discontinued – I would encourage any photographer to pick up a used one ($75-100) as there are no moving parts to go wrong in the device – the current model is the EyeOne DisplayPro, retailing for the same price I paid a few years ago for my model:

Click the picture to go to B&H USA. I get no click-through payment.

I have no idea what software is included, but you can download the Lion version of the app from Xrite and it works fine with Mountain Lion. Profile creation takes 8 minutes per display and the profile is automatically saved in the right place. I generally know when I am due for re-profiling as with three adjacent displays any changes from one to another are immediately obvious. If you use one display, a monthly profile run might make sense in the first year of a new display’s life, with quarterly ones thereafter. I always make sure my displays have been on for at least 30 minutes before making a new profile, to make sure they have settled.

When I took our son to lunch in San Francisco the other day – he was off school for Veterans’ Day – I made sure to bring the Nikon D2X with the 50mm f/1.4 Nikkor-S MF lens along, and encouraged him to play with the camera on the trip. It’s too heavy for him to use, as he is only 10 years old, but it was a joy watching him experiment with the various buttons and levers which exist in abundance on this complex camera’s body. I chose the MF lens for two reasons. One to teach him manual focusing, a rarity in the world he inhabits, and the second to take a snap of him over lunch. On the APS-C sensor in the D2X the 50mm lens takes on an effective 75mm focal length which is ideal for head and shoulders portraits, and nicely isolates the subject from the background.

Winston at Sinbad’s, at the ferry landing, San Francisco.
Click the picture for the map. Nikon D2X, 50mm f/1.4 at f/5.6. ISO 400.

The GPS data comes courtesy of the Aoka receiver illustrated here. The same one which fits on the D700 works every bit as well on the D2X. Actually, the receiver works better on the D2X which is quicker to pick up the GPS signal from sleep than the D700. I use the i-Blue MobileMate GPS sender illustrated in that linked piece but any of a number of alternative senders works. Check Aoka’s instructions.

The old 50mm lens, made some 40 years ago, is as good as it gets. No, it’s better, as I have added a CPU for proper loading of a lens correction profile in Lightroom as well as proper recording of EXIF data. The CPU also allows matrix metering to work with old MF Nikkors. In fact, in the case of the above portrait, the old Nikkor lens is too good. Despite the gentle window natural lighting, every last blemish in Winston’s face, despite his tender age, is laid bare in the original print. So when processing the image in Lightroom, I moved the Clarity slider to minus 20, which nicely softens things up without losing too much detail. The sensor in the D2X may be dated by modern standards and may start creaking at anything over 400 ISO, but the rendering of color in the large wall print I just made, with color fidelity made perfect by the calibrated monitor, is stunning.

A good colorimeter is a must have for any photographer, but especially for one who regularly makes prints. I think there may be five of us left in that category in the United States.

Perfectly balanced. The Nikon D2X with the 50mm f/1.4 Nikkor-S manual focus lens.
A dental floss (!) tether protects the GPS receiver against loss.

For more from the stellar 50mm f/1.4 Nikkor, click here.

Four displays

When you are desperate for screen space.

A while back I wrote about using the Air Display Mac application which permits use of the iPad as an external display. After adding my third Dell 2209WA monitor to my desktop rig, I revisited Air Display to see if it still functions, this time as a fourth monitor.

It does!

The iPad is being used as a fourth monitor.

Sure, cursor response on the iPad is a tad jerky as the cursor’s data stream is being sent over the air, but it’s more than acceptable as a peripheral for displaying a screen which rarely needs mouse action, like a live stock price chart, for example.

Here’s how I have System Preferences->Displays->Arrangement set up:

The rarely accessed screen is pushed out to the left.

Note that the blue screen area with the white menu bar is aligned at the base, not at the top – this makes sure straight lines remain straight, rather than stepped, as you mouse across. Also, by relegating the iPad display to the left or right you avoid having to access the jerky iPad screen’s base if that’s where you keep your application icons. I have mine set to hide except in the case of a mouseover, which is why they are not visible in the photograph above.

Eye-One Display 2 colorimeter update

A fresh calibration.

It’s been a month since I first calibrated my two Dell 2209WA displays using the X-Rite Eye-One Display Two colorimeter and the Eye One software just reminded me to redo the calibration. I had set it to remind me in one month.

As usual I do this by near-noon daylight in my brightly lit office with no incandescent or fluorescent light sources. Time taken was 15 minutes per monitor.

Interestingly, both monitors were new when first profiled and have shown considerable drift. As before I am profiling for a screen brightness of 140 cd/m2 , a bit brighter than the recommended 120 cd/m2. That works for me in a bright ambient light setting.

Here are the original and revised settings – brightness had shifted little:

Monitor settings a month earlier and now.

The Blue drift in the right hand monitor is especially noticeable.

I’ll check back in a month to see if things have settled down. The only change from the initial calibration is that I have migrated to version 10.6.2 of Snow Leopard from 10.6.1.

Working with two displays

Some thought required.

As I am new to the world of working with two displays, having used but one at a time for the past thirty years, I thought it might be helpful to share some thoughts on how things stand now that I use two Dell 2209WA displays with my MacPro.

Here are some useful metrics regarding the area of various displays in square inches of usable screen:

iMac 24″: 239 sq. in.
Dell 2209WA: 219 sq. in, or 438 sq. in. for two
Apple 30″ Cinema Display: 394 sq. in.

So using two 2209WA 22″ diagonal Dell displays, I have 83% more display area than in the 24″ iMac I used earlier and 11% more than the user of one 30″ Apple Cinema Display.

However you look at it, that’s a lot of surface area and while the first reaction is Wow!, in use there are some issues which need addressing.

First, given the 16:10 near-widescreen format of the Dells it makes sense to locate the Dock at the left rather than below the screen. Unless you are watching movies, most 3:2 ratio photographs use less than the full width of the screen so placing the Dock on the left makes sense, and that’s the first problem. If you frequently place files temporarily on your Desktop, as I do, then it’s a long drag-and-drop from the file’s location on the right of the right hand display to the trash can at the lower left of the left hand display. So I’m getting used to right-clicking the file and clicking on Move to Trash instead. If several files are to be trashed, I simply highlight them by dragging a clicked mouse over them and then right click and Move to Trash in one click.

Often, when working on the right display, I need to access an application. Once again, it’s a long way to the Dock on the left display as the following picture indicates (Yes, that’s the HAL 9000 on the Desktop(s) and yes, I am a huge Stanley Kubrick fan!):

Two display desktops side by side.

So rather than move the mouse pointer all the way to the left display to click on the desired application, I use HimmelBar which resides in the menu bar. I place the Menu Bar on the right display as that works well with this approach (System Preferences->Displays->Arrangement):

HimmelBar in use

HimmelBar has been around for ages and is a free download. In its current version (I’m using 3.0 (64) ) it allows the user to edit the drop down lists of Applications and Utilities, so as to avoid a core dump. I simply choose those I use often (much the same ones as in the Dock) and try to limit the list to no more than the height of the screen to avoid having to scroll. If you create an Applications folder in your user home folder (normally the Applications folder resides in the home folder of the hard drive you boot from) then you can have a further selection of personal applications to choose from. However, I avoid this approach as I simply like to have all my applications in one place for ease of maintenance and update.

While HimmelBar always resides in the MenuBar, there’s an alternative approach using a product named Xmenu which will pop up at your mouse pointer’s location when a Cmnd-key combination is struck (you can choose the second key, the first has to be Command). I find I am more comfortable with HimmelBar but others may prefer Xmenu.

So between the Dock and HimmelBar, the Application menu is never far away.

How about the physical arrangement of the displays? Here’s how mine looks:

Elevation view.

Plan view.

As you can see, the monitors are abutted along the vertical axis and sloped slightly inward to present a perpendicular view with a small turn of the head. My eyes are approximately 30″ away from the center point and level with the top of the display(s).

That leaves the issue of what to display on which screen. For work (my job is data intensive) I keep detailed lists on the left screen and items clicked in these for extensive reading on the right. That allows me to quickly scan news story headlines in a feed reader (I use the excellent NetNewsWire) and then read a clicked story of interest on the right screen.

For Lightroom I find I am most comfortable with the detailed LR screen on the right – the one with all the processing controls – with the full sized, uncluttered loupe view on the left.

Is this better than simply using a giant 30″ diagonal screen? I don’t know. I do know that when using the 24″ iMac I rarely broke disparate application displays into adjacent windows as the single 24″ screen was never large enough, whereas with two displays I find I’m getting used to the idea of using one as an index and the other for detail.

Based on my short period of use, is the second monitor a necessity? Far from it. More of a luxury. Maybe it will grow on me, but as of now I’m rather lukewarm on the concept.