Fixing what ails fine optics.
Adobe has long provided a free utility named Adobe Lens Profile Creator which permits any user to generate lens profiles which will correct the three most common causes of image degradation – vignetting, chromatic aberration and distortion. These profiles work with Lightroom 3 or later and with Photoshop CS4 or later.
The instructions are generally good, and the learning curve is steep, whereafter the process is easy and fast. A provided checkered target is snapped nine times – four at each corner of the frame, four at the center of each side and one in the center. The nine files are then input to the application and a profile is created. Multiple profiles for a lens, created at different focal lengths (for zooms) and apertures can be consolidated in one profile file, with PS or LR automatically choosing the profile nearest to the lens settings used. To create a file for RAW originals you need to use DNG files for the application – good luck finding that clear statement in the instructions. The key to all this is that the illumination on the target must be perfectly even. Any shadows will be interpreted by the application as vignetting and erroneous correction will result in the profile thus created.
Once you get the hang of it you can produce an accurate tailored profile, from taking the snaps to dropping the profile file in the right directory, in 10-15 minutes. The first one takes ages, of course.
Many profiles for modern lenses, created by Adobe, are included with Lightroom and Photoshop, mostly for the G and a few late D lenses, but aficionados of the older manual focus Nikkors and many AF D lenses are out of luck. Users of PS CS5 can access user created profiles, but I suggest you read the caution at the end of this piece before jumping in.
I set to making profiles for the two lenses in my collection most in need of them – the 20mm f/3.5 Ai-S (same optics as the Ai version) and the 35-70mm AF D f/2.8 zoom (same optics as the earlier ‘non-D’ variant). Longer lenses seldom need much in the way of correction. Profiles seem to benefit wide angles and wide zooms most. No surprise there as that’s where it’s hardest to fight the laws of physics – distortion and vignetting being much in the picture, if you get my drift.
The profiles below only work with RAW and DNG files. If you use TIFF or JPG they will not appear in LR or PS. They work equally well with full frame and APS-C sensors, as both LR and PS compensate appropriately. They are most effective in full frame Nikons, where the peripheries of the lens’s image circle are most used.
20mm f/3.5 profile:
For the 20mm I created profiles at f/3.5 and f/8. f/8 is very much the sweet spot for this fine optic and use with a tailored profile really makes the results sing.
Click to download the profiles for the 20mm f/3.5.
Even though the 20mm f/3.5 Ai-S lens has no CPU, as long as you remember to dial in the 20mm ‘non-CPU’ lens setting on the camera, the profile will be automatically recognized from the related EXIF data. This should apply to any lens which does not post EXIF focal length data to the file. LR and PS depend on this information to look up the right lens automatically, though you can always override the applications’ choice.
35-70mm f/2.8 profile:
For the 35-70mm zoom I made profiles at f/2.8 and f/5.6 at each of 35mm, 52mm and 70mm. This lens trends, like many zooms, from barrel distortion at the wide end to pincushion distortion at the long end. Vignetting at f/2.8 is largely gone by f/5.6.
Click to download the profiles for the 35-70mm AFD zoom.
Once downloaded, place these files in this directory:
Replace ‘ThomasMBA’ with your user name. In Lion, hold the Alt key in Finder->Go to see your user Library.
When you restart Lightroom 4 (or 3) you will see this in the Develop module once you check the ‘Enable Profile Corrections’ box for a RAW snap taken on the 35-70mm AF D zoom, as an example:

The profiles for the 35-70mm in Lightroom.
Even though I have created six profiles for the 35-70mm AF D zoom, at 35, 52 and 70mm and at f/2.8 and f/5.6, you only see a choice of one file. Lightroom will automatically choose the profile closest to the focal length and aperture you used – no need to select from multiple profiles.
Here’s the 35-70mm profile at work at 70mm and f/2.8.
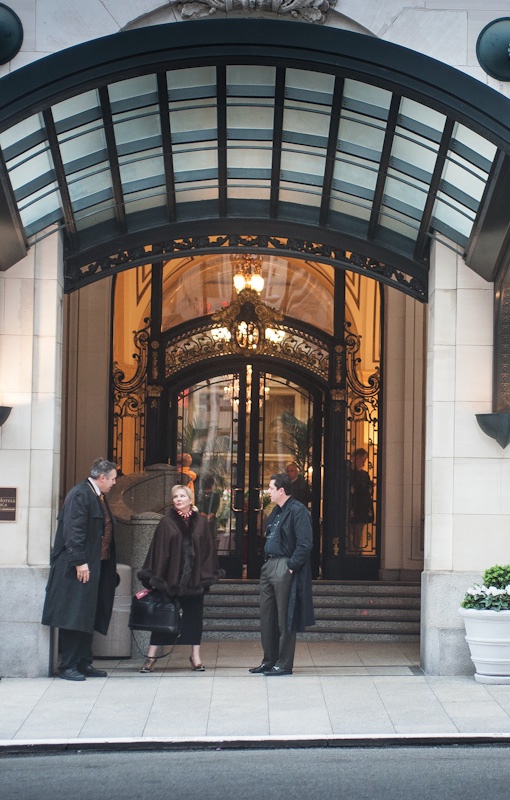
Before:

No profile applied.
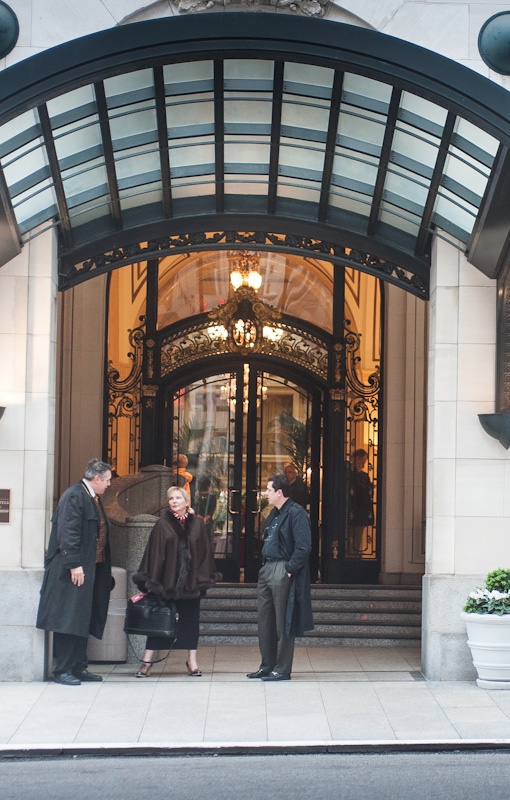
After:

With profile applied. Vignetting is gone as is the slight pincushion distortion.
In this image, the centers of the long and short sides have been bowed out
and the corner vignetting has been removed by the lens profile.
The changes with the 20mm f/3.5 Ai/Ai-S lens are much more noticeable, with fairly strong vignetting at f/3.5 removed and the ‘Cupid’s Bow’ wave like distortion of straight lines parallel to the edges of the image corrected. The latter cannot be properly corrected by normal manual distortion correction controls in LR or PS – only a tailored lens profile like the one above can do that. An already good wide angle lens is made great with this technique. The reason I have included two profiles in the file is that at f/3.5 vignetting is more severe than at f/8, whereas distortion remains unchanged. Lightroom will automatically choose the profile closest to the focal length and aperture you used – no need to select from multiple profiles, though the profile file actually contains two profiles.
Both profiles included in the downloadable file fail to correct very minor chromatic aberration (color fringing) but a click on the ‘Remove Chromatic Aberration’ box in LR4 corrects that perfectly, looking at 30x screen enlargements of ultra high contrast subjects. The one click approach compared to the sliders in LR3 sounds simplistic but in practice works superbly.
Before:

20mm f/3.5 Nikkor at f/3.5. No profile applied.
After:

20mm f/3.5 Nikkor at f/3.5. With profile. Note the dramatic reduction in vignetting.
Well done, Adobe. And thank you Nikon for a real corker of a lens, fully usable at f/3.5 and outstanding at f/8. I look forward to publishing some snaps from this lens soon.
Enjoy!
A caution about Adobe’s lens profile database:
Go to PS CS5, load a RAW file and invoke Filters->Lens Correction. You will see a host of lens profiles, none authored by Adobe – they do not come with LR4 which contains all Adobe’s profiles as well as those submitted by lens makers like Sigma. (For reasons known only to the people at ADBE, you cannot download other lens’ profiles using LR4). Nikon and Canon do not submit profiles as that would cannibalize their RAW processing apps for the three people on earth who actually use them.
The problem is that these profiles, which appear to have been submitted by photographers, seem totally uncurated. As an example there are no fewer than 6 profiles for the Nikon 35-70 f/2.8 lens and each yields markedly different results. The descriptions all say “Nikon 35-70mm f/2.8 (raw)”. There is no indication of which aperture or focal length they apply to, making them completely useless. One Nikon profile is even listed as 0.0mm f/0.0, indicating the author failed to read the instructions. Why this is even in the database mystifies me.
My profiles are carefully made and accurate. It’s your choice.
Another Adobe cock-up:
LR4 comes with Adobe Camera Raw 7.0. On the PS side you can only get that with CS6 Beta. The latest version for CS5 is ACR 6.7 but the download will not install, has no instructions on installation, and the current 6.6.x will not convert LR4’s Process 2012 RAW files. I have read that 6.7 does not either, but obviously I cannot test that as the installer is faulty.
The workaround is to use LR4 as your first point of entry and RAW converter even if you propose sticking with CS5 for processing.This works for all but devotees of CS5’s ACR.
Simply round trip the file from LR4 to CS5/ACR whatever version (you will not be using CS’s ACR), using a lossless TIFF or PSD file format. This way, when Adobe tries to extort money from you when CS6 comes out at $600 or more, you can tell them where to stick it. You can bet they will be forced to keep the RAW converter database in LR4 current, or risk the wrath of a huge installed user base which does not want to spend $600+ on CS6 for occasional use. Hoist by their own petard.
I see no difference in the rendering of Process 2012 RAW files comparing a RAW in LR4 with a TIFF in CS5. The only difference is that the latter is four to five times the size, but $600 buys you a lot of storage ….
More profiles:
To see all the profiles I have created, click here.
Hi Thomas.
Thank you for taking the time to provide this excellent information.
In LR4 is there any way to get “Enable Profile Corrections” under “Lens Corrections” to be enabled by default? I’m sure it’s obvious but unfortunately not obvious enough for me.
Thanks in advance,
Bob Tobias
Author’s reply: Yes, there is. Check this link where I am placing all profiles I create.