An upgrade in need of work.
Lightoom 6 became available yesterday and you can either be suckered into Adobe’s Creative Cloud rental offering or you can buy the stand alone upgrade for $79 if you use LR 4 or 5. Given that Adobe cannot keep even its crown jewel – the code to Photoshop – secure (a recent hack saw much of that code stolen, not to mention 38 million users’ details, by Ivan and his mates) I bought the stand alone upgrade and you should know Adobe does not make it easy.
The default upgrade path from within LR5 takes you to their Creative Cloud page and there is no link to the stand alone version. How thoroughly disingenuous is that? To get there:
- Go to this link
- Go to ‘Photoshop Lightroom 6 – $149’ and click ‘Buy’
- Change your purchase from ‘Full’ to ‘Upgrade’ – Adobe misses no opportunity to try and cheat you
- Select the version of LR you own – LR5 in my case
- Check-out. It’s $79 for the upgrade in the US, doubtless much more abroad as you can bet they will not miss any opportunity to rip off their users
By contrast the CC rental version has Adobe dialing into your computer every so often to check you are legit. You really want to give access to your machine to these clowns to whom business integrity and honorable treatment of its customers are anathema? Further, over the usual 2 year upgrade cycle, you will pay $240 in rent compared with $79 for purchase. Sure, the $240 gets you Photoshop but that leaves your computer vulnerable to attack, so I recommend buying a used copy of CS5 or CS6 as the CC ‘enhancements’ are all noise. Alternatively, download the free Gimp which has most of PS’s functionality at an attractive price – as in ‘free’.
The download is 762MB and took some 15 minutes. The upgrade will ask for the serial number of your previous version so you had better have it handy or you will spend the next year of your life begging the customer-hostile people at Adobe for it. That’s if you can even get through to Mumbai. Good luck with that.
That’s the nasty stuff out of the way for a business which treats its customers like dirt, and always has. But then whatcha gonna do? Use discontinued Apple Aperture or, worse, the execrable Photos which just replaced iPhoto – great if selfies are your thing, I suppose? Nope, if you want timely RAW upgrades and an excellent processing, cataloging and printing app, hold your nose and buy LR. And as your latest digital camera will be replaced two years hence and you can bet the RAW format in its replacement will be incompatible with anything you have, LR (or PS) are the only game in town, with PS being a CC only product now. (I still happily use CS5 in the desktop version).
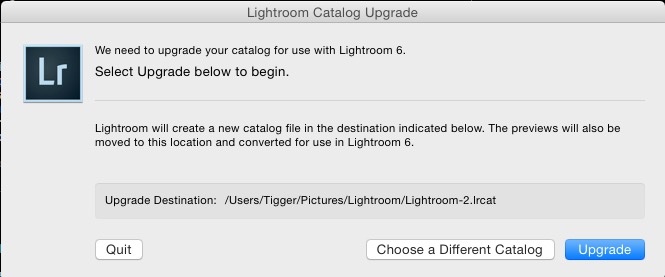
After download and input of the new and old serial numbers (LR6 resolutely failed to find LR5 on either my Mac Pro or my MacBook Air, which is about par for the course with Adobe software upgrades), installation takes another 3 minutes or so. The catalog format has changed so before you upgrade it make sure you have a good backup of the old one, just in case:
If you really like to waste time and clog up your processing resources, be sure to enable Apple Cloud sharing; I turned mine off faster than you could say Adolf Schickelgruber:

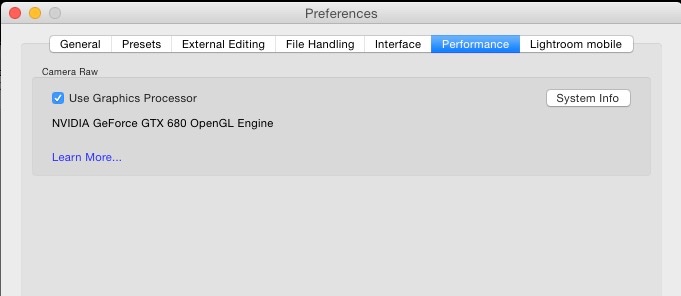
One of the most exciting aspects of LR6 is that someone placed a whoppee cushion under the slothful programming staff and finally got them to use your graphics card to help in sharing the load with the CPU in processing tasks. Or so they say – see Panoramas, below. CPU use was awful in the first place – just run Activity Monitor in LR5 or earlier and you will see very few of your CPUs cores being used. By sharing the task with the GPU (much as Apple’s FCPX 10.1 and later does) Adobe is promising to up the processing power. Go to Preferences->Performance and make sure this box is checked – mine was by default:
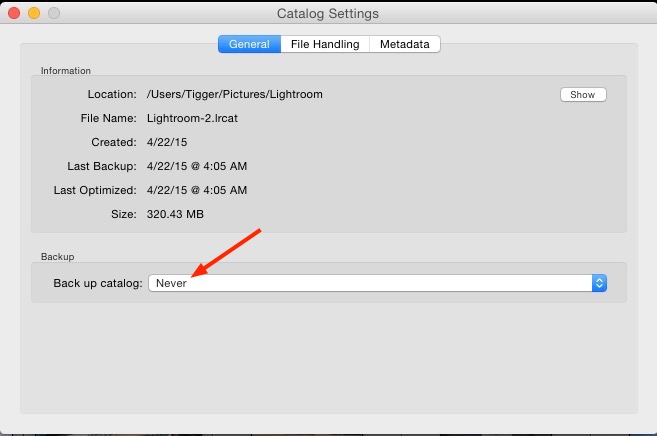
Under Catalog Settings I turn off automated back-up as I use Carbon Copy Cloner to do that – no need to trust Adobe with anything here:
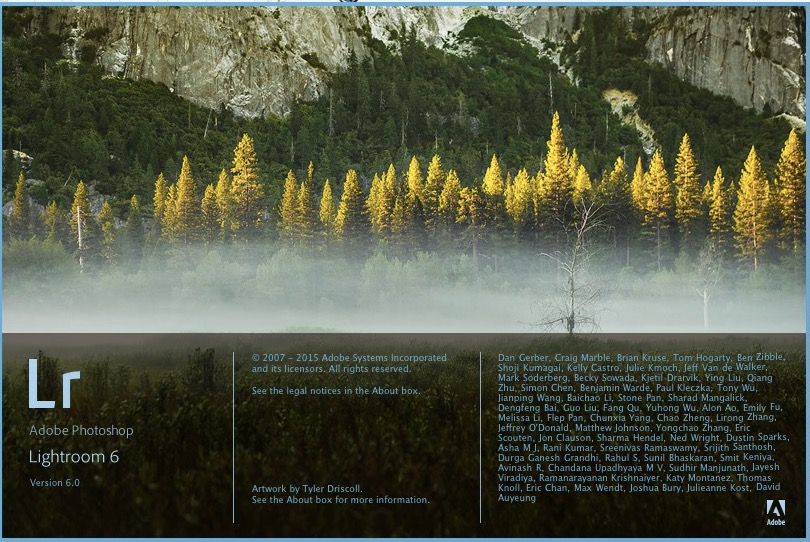
LR6 trashed my Identity Plate (the logo displayed at top left in the app) and, wouldn’t you know it, refuses to allow me to edit it:
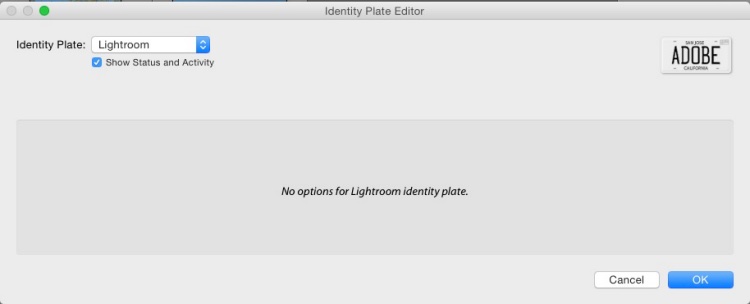
Oh, well. So this is what I now see:
Performance? The first switch from the Library to the Develop module takes a few seconds, like it always did; thereafter flips between the two are instantaneous, like they always were in LR5.
New features:
HDR processing has now migrated from PS to LR. You select the images to merge, go to Photo->PhotoMerge->HDR (or hit Control-H) and after about 20 seconds your HDR image is ready (timed with two Panny GX7 RAW files). Nice:
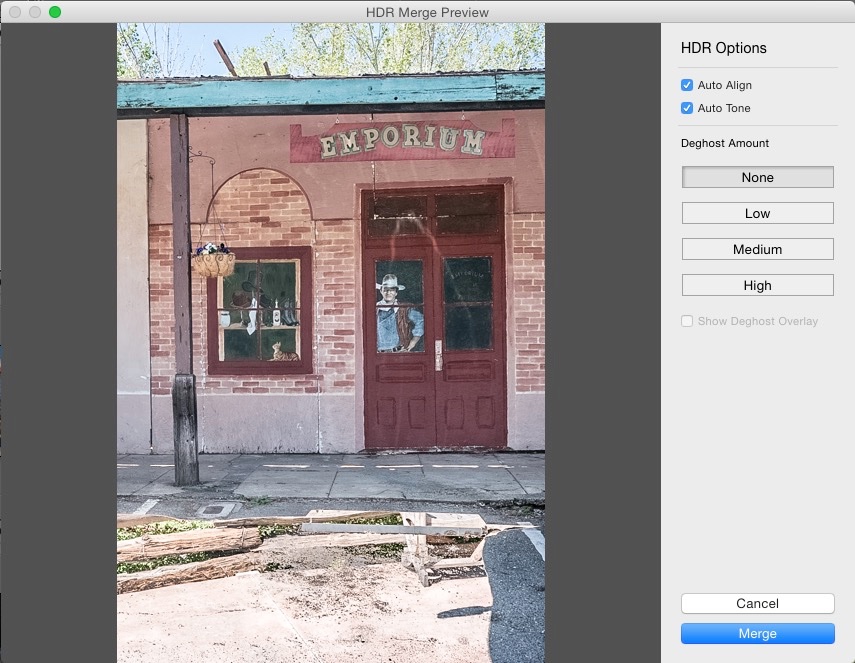
Note the processing options, above.
Photos->PhotoMerge->Panoramas (control-P) is another feature which has migrated from PS – can you spell ‘Cannibalization’? I merged 8 RAW Panny GX7 image into one (assembly took LR a scant 15 seconds) but the actual Merge process was bog slow at 10 minutes – much longer than it takes in PS CS5. Further, checking Activity Monitor I saw CPU use maxed out at 15% which is execrable, and given that I have an excellent GPU (the Nvidia GTX680) in my dual CPU 12-core Mac Pro it’s hard to see what, if anything, is doing the work here. While this was going on my Mac Pro pretty much locked up and I could do nothing else. Plus I had to help the process along by clicking the ‘x’ by the processing bar a couple of times, thinking the app had locked up. Bad job Adobe.
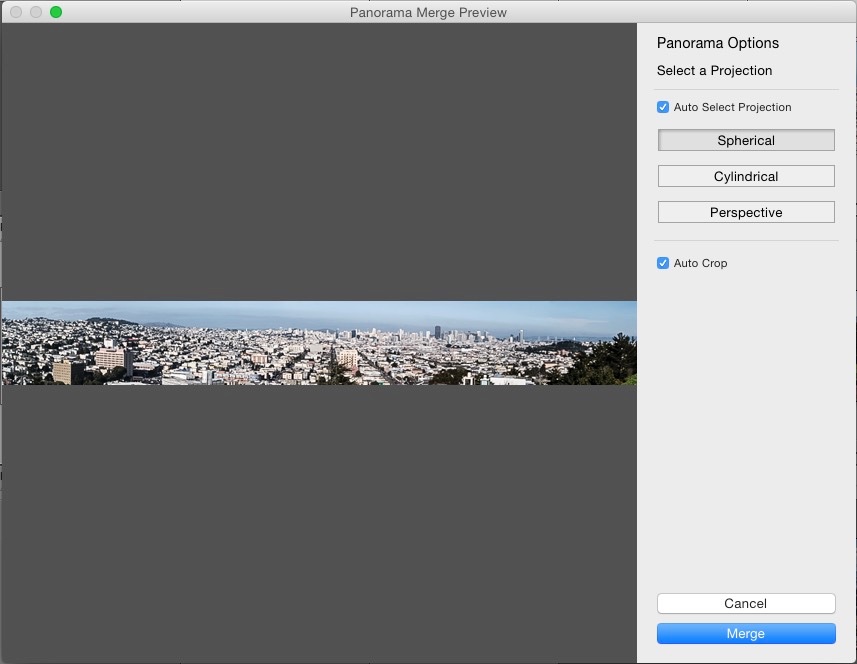
It takes 15 seconds to get here. Then 10 minutes to do the Merge.
It gets worse. While both the PS and LR merged files show identical resolution and export of either to a full size JPG took just 17 seconds, the LR6 version is all of 52.5MB in size, compared with just 28.6MB for the PS CS5 version. Clearly the Merge function in LR6 is not ready for prime time.
The best that can be said about the core functions in LR6 is that Adobe has managed not to screw them up. Of the new ones HDR is OK, Panoramas is a disaster. The Books module continues to only offer Blurb as the publisher and it’s far easier to use the separate Blurb app than the mess in Lightroom. So why upgrade? For the same reason you need to junk Apple’s Aperture – because new RAW formats will not be made available in either Apple’s failed product or in LR5 or earlier.
Speed in general: It’s pretty mind boggling to see how many writers are simply repeating Adobe’s claim that LR6 is faster. Mouthing a press release or lying because you derive revenue from touting Adobe products is not the same as testing and there is no discernible speed increase in LR6 compared to LR5. Indeed, cold starts are a few seconds slower and the first flips to the Develop or Print modules behave likewise. This on a dual CPU 12-core Mac Pro with lots of RAM and an excellent GTX680 GPU. If you are buying LR6 because you think it’s faster than LR5 you are a sucker who needs to learn that the vast majority of photo gear writers are conflicted putzes who share Adobe’s standards of integrity.
A cynical non-upgrade:
The overall impression I came away with regarding LR6 is: “What have they been doing these past two years? An HDR module (code lifted from PS), a Panorama module (code messed up and lifted from PS) and claims for non-existent speed incresases? That’s it?”
As for getting help (F1) within LR6, Adobe again illustrates it’s attention to detail and this is what I get:

Help(less) Lightroom 6.
Update May 9, 2015:
Adobe’s mendacity regarding GPU processing and purported speed gains is shown well in the chart below, based on a recent survey where two thirds of users saw no speed increase or a drop in performance:
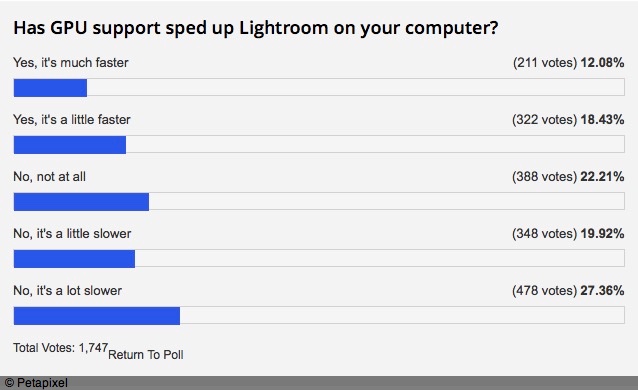
Click the chart for the story.