Leica M2 – Asahi Camera review

From my archives.

For an index of all Leica-related articles click here.

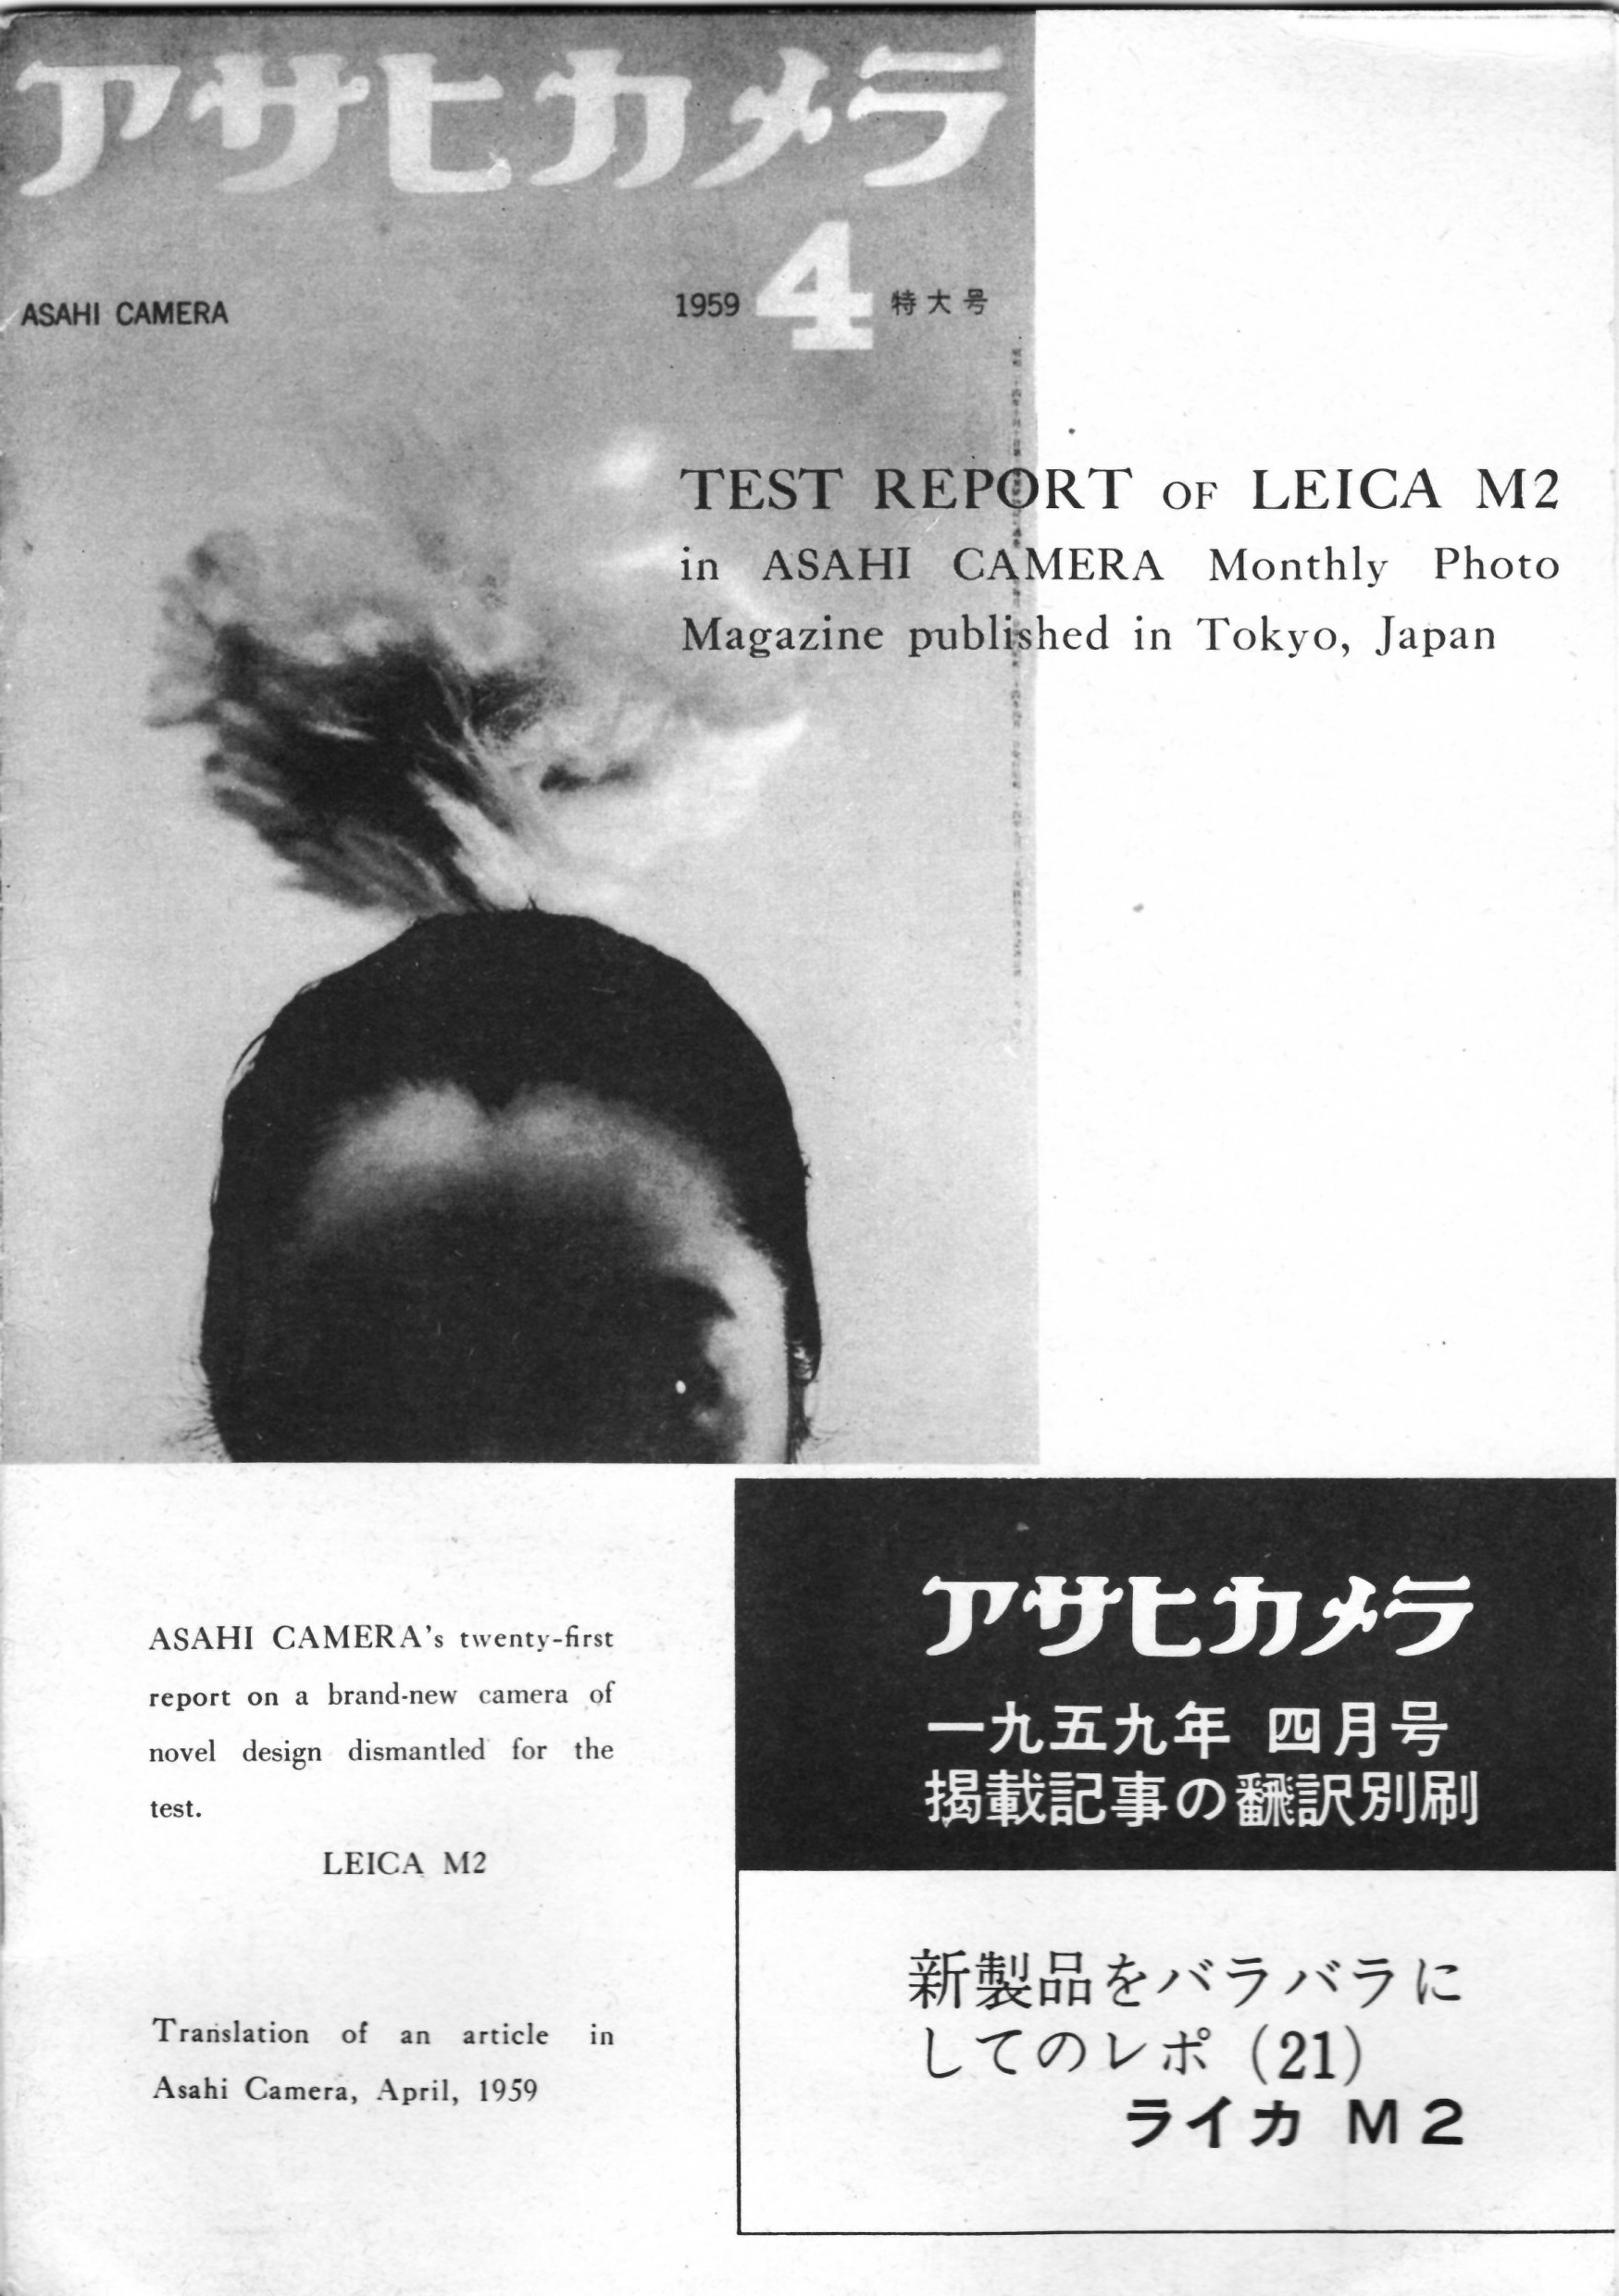
In April, 1959 the well regarded Asahi Camera magazine (it ran from 4/1926 through 7/2020) published an extraordinarily detailed review of the recently introduced Leica M2.


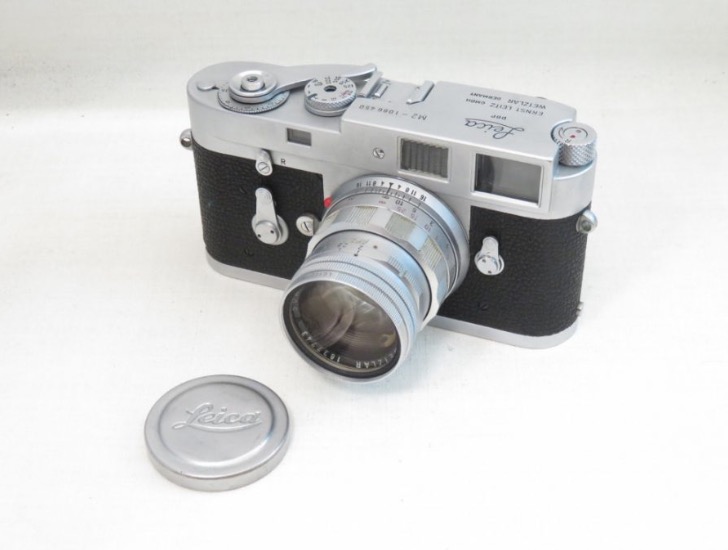
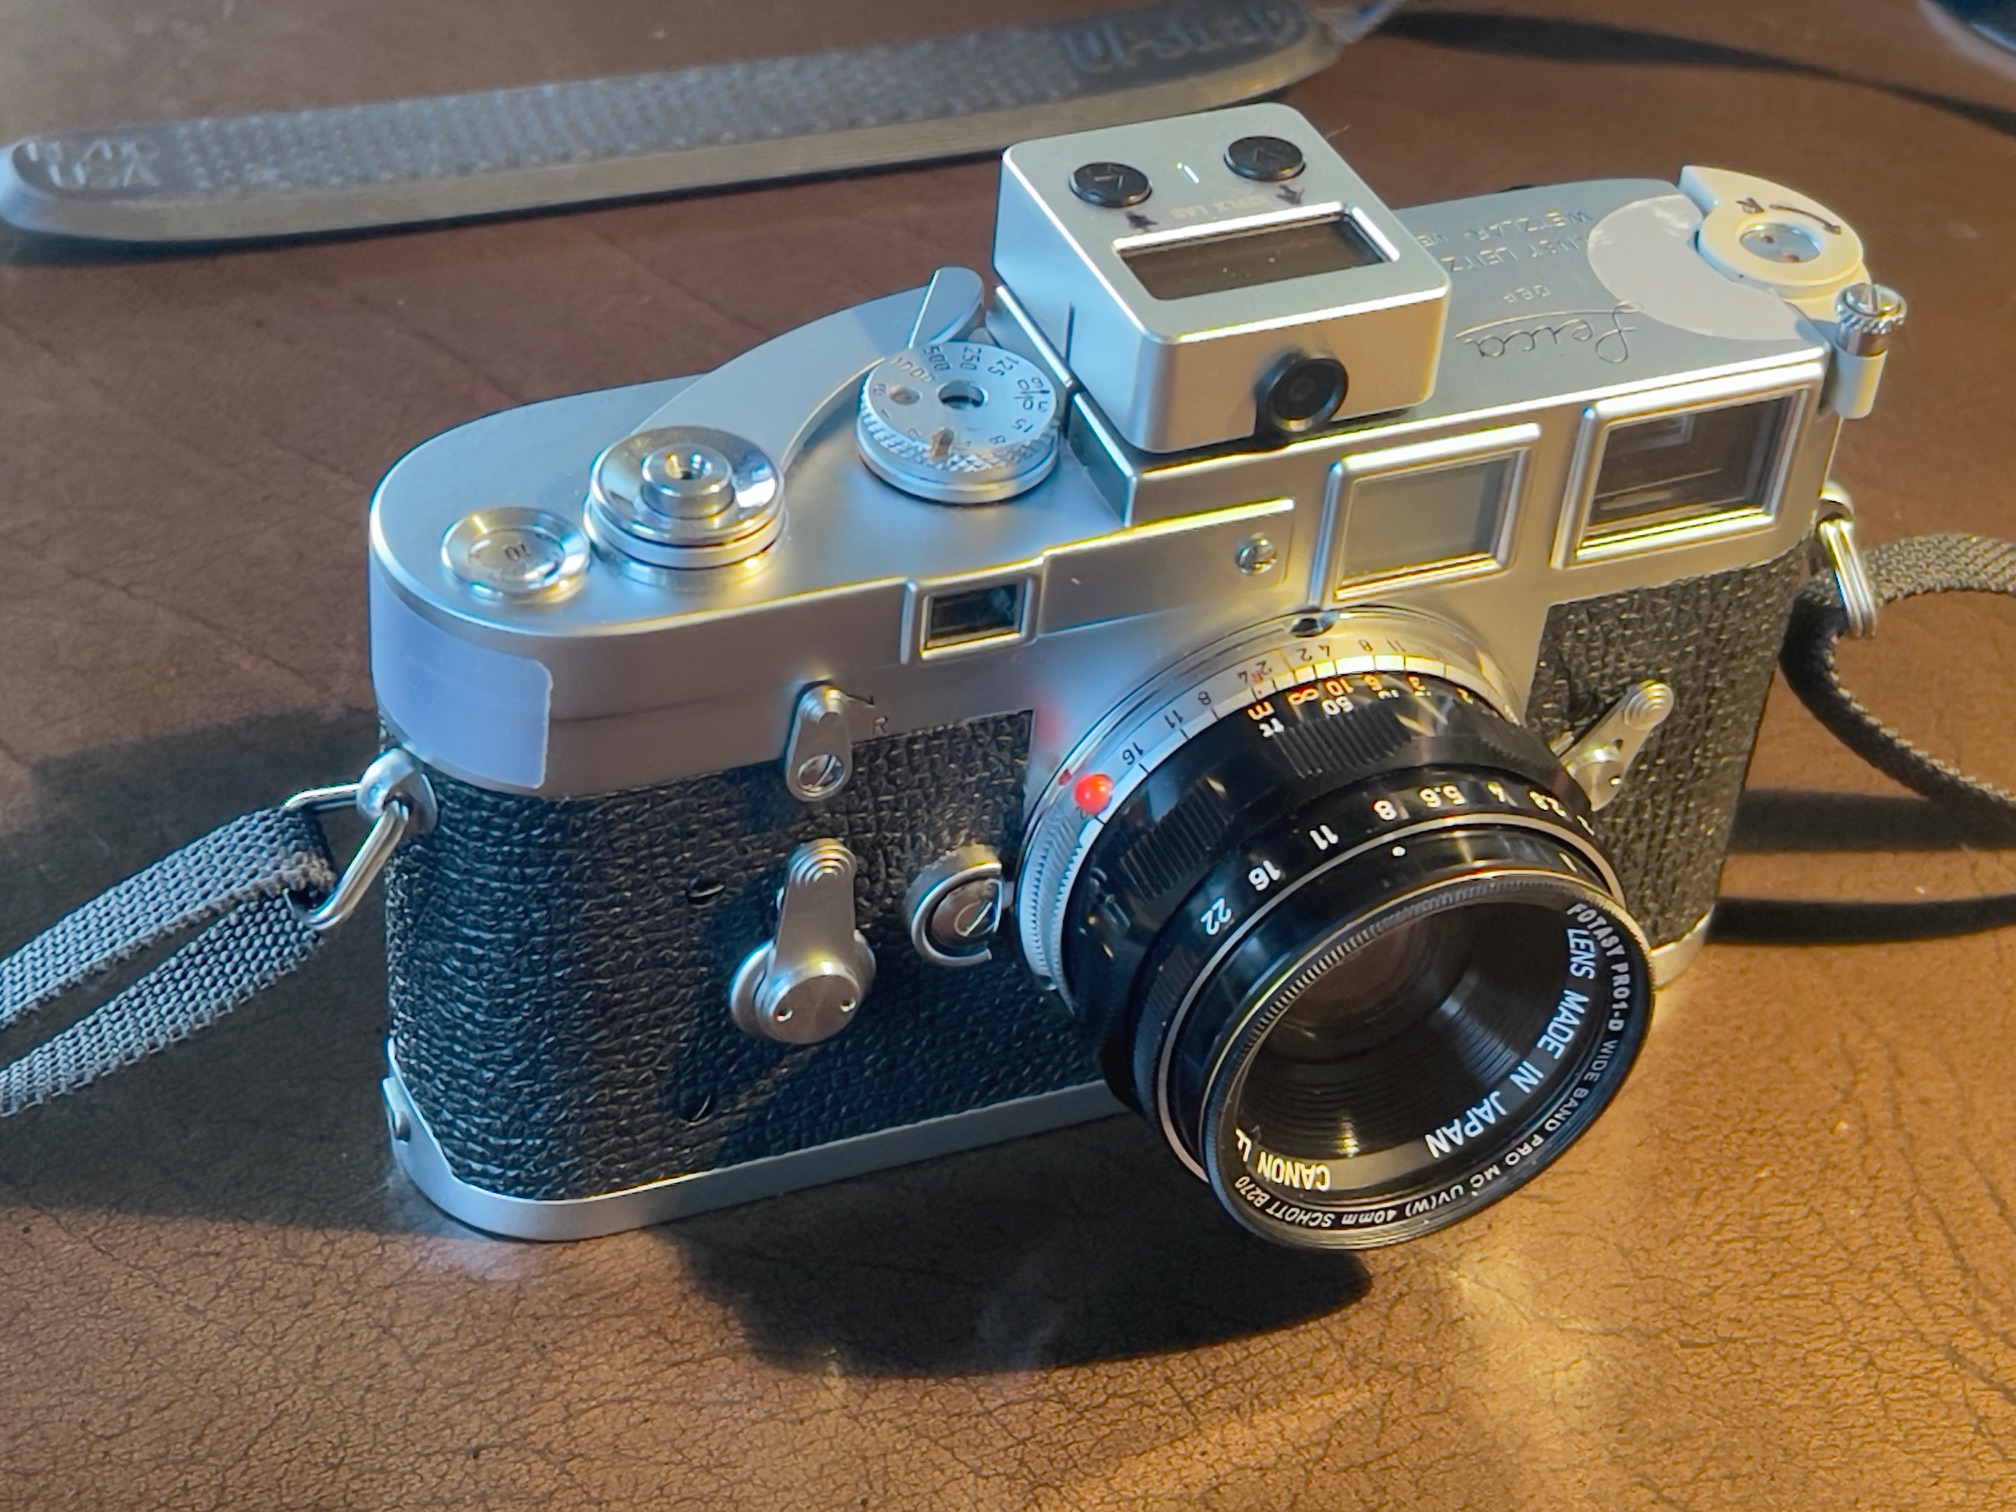
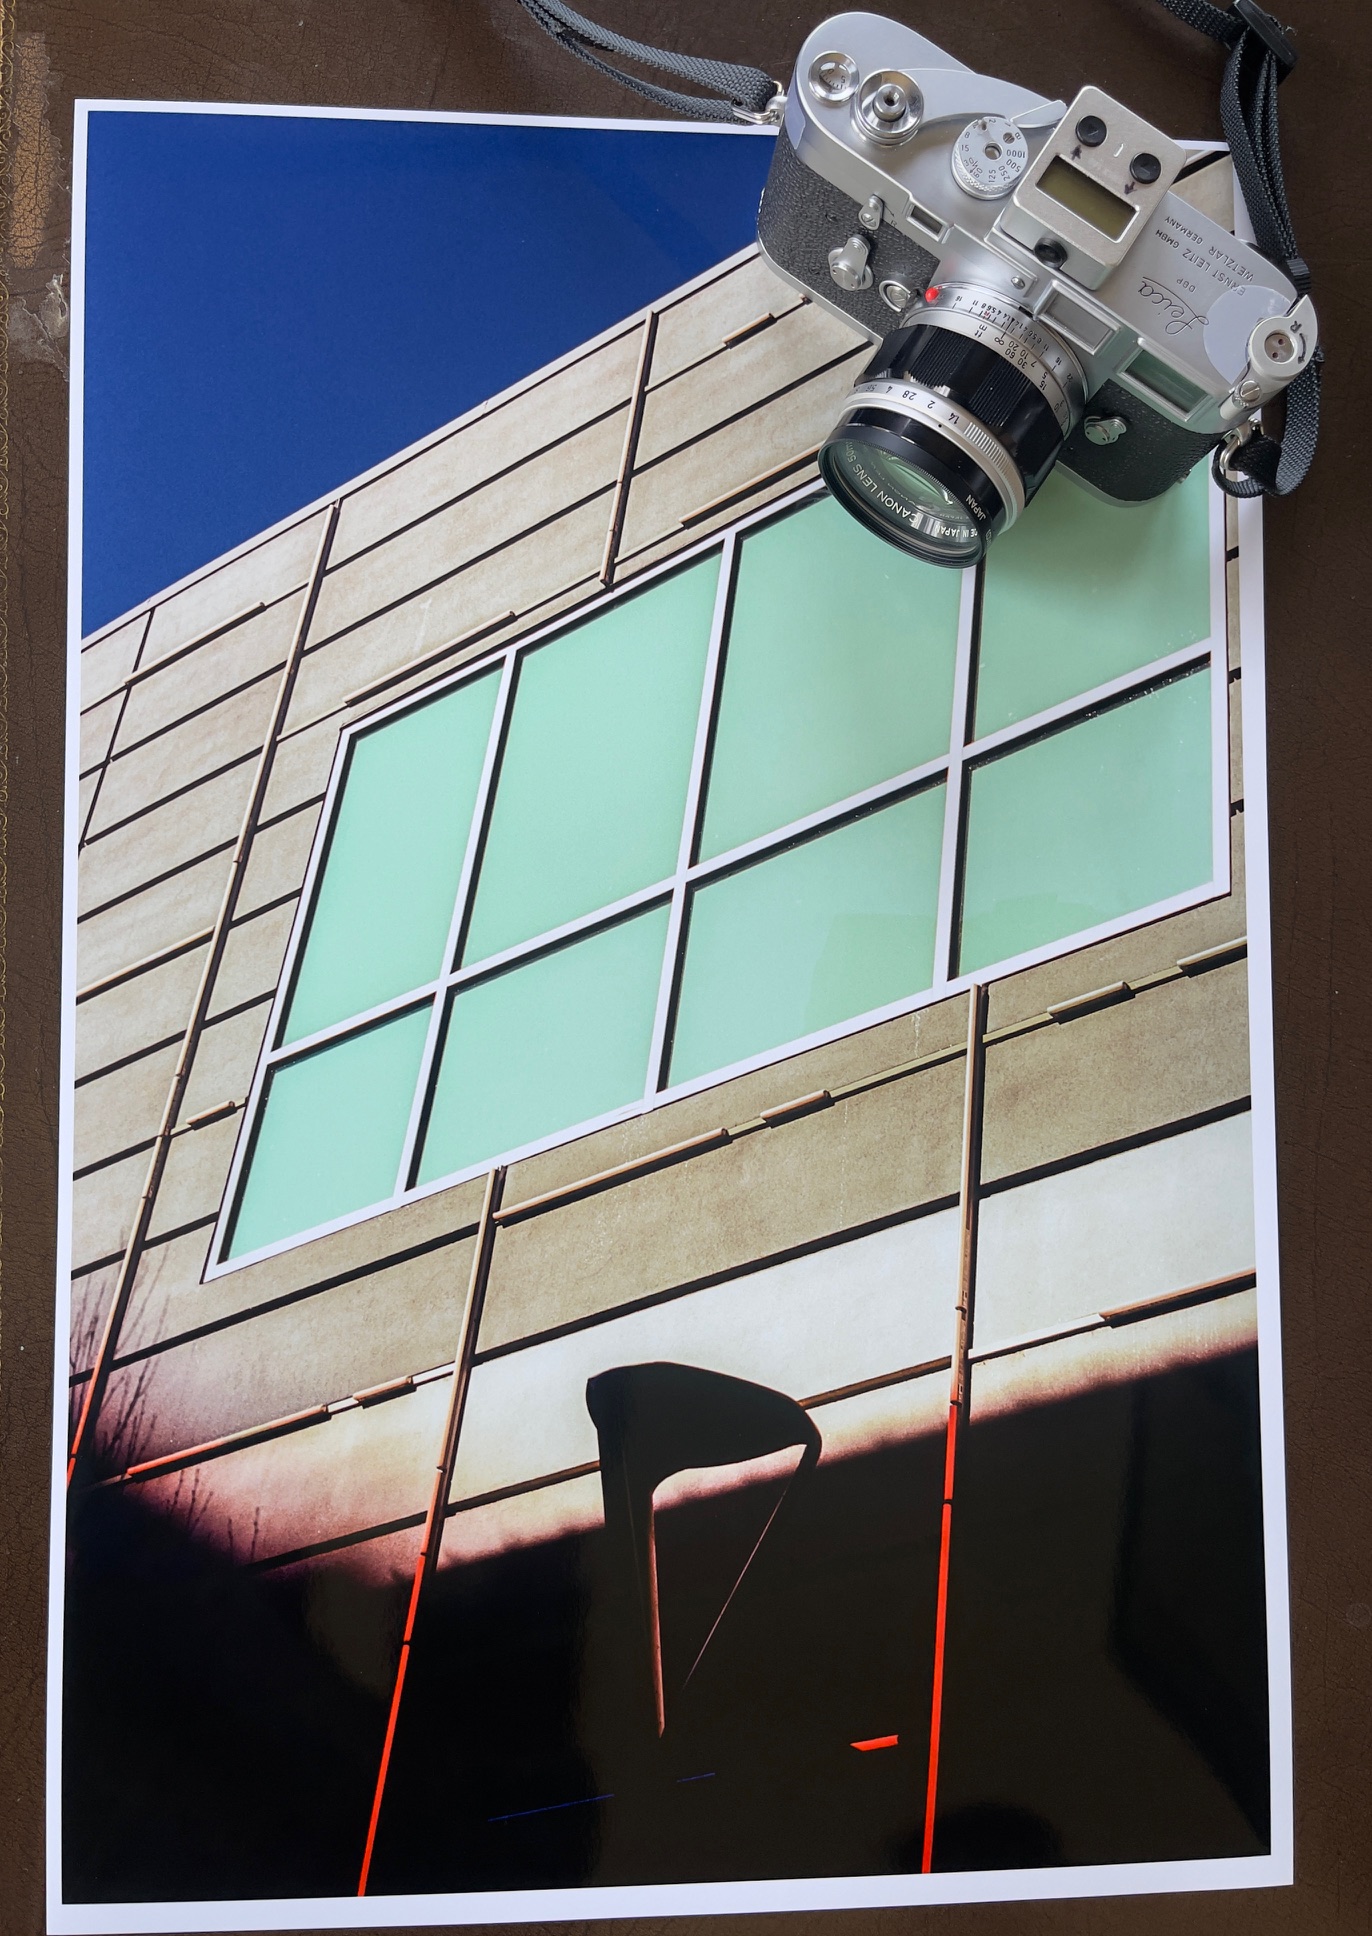
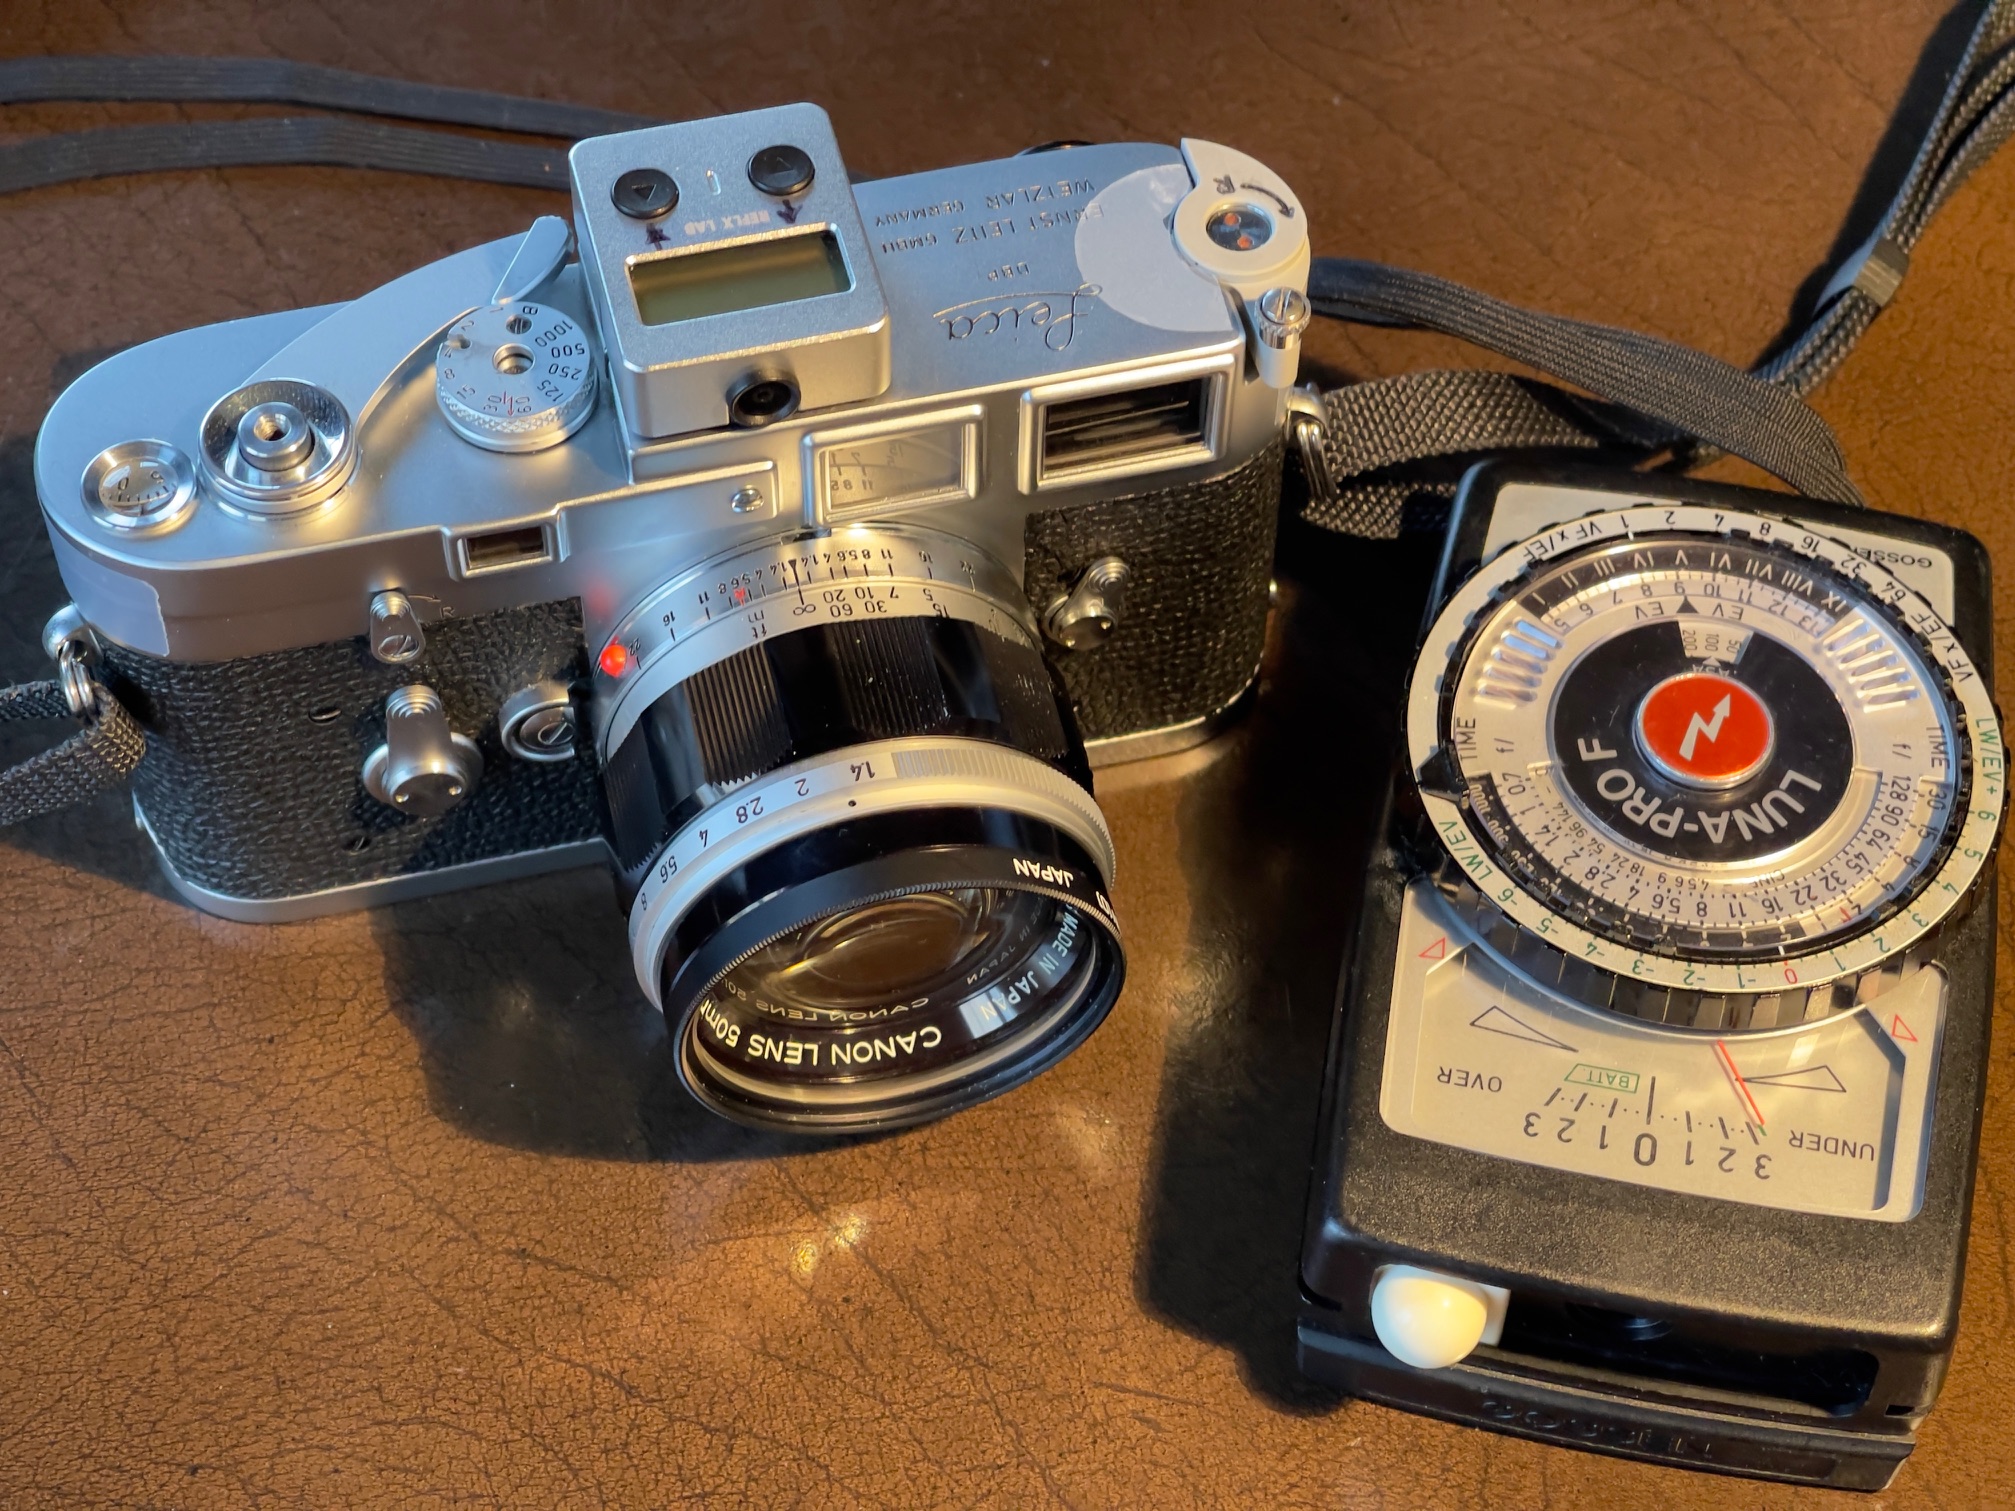
Late version of the Leica M2 with the first version of the rigid 50mm f/2 Summicorn.

Like the revolutionary Leica M3 of 1954, the M2 continued with the magnificent combined range/viewfinder but stepped the magnification down from 0.91x (almost life size) to 0.72x (not 0.75x as stated in the Asahi Camera report), to permit display of the 35mm frame. M3 users had to either use an external finder (not possible if you wanted the Leicameter fitted) or had to resort to the clunky ‘goggles’ versions of the 35mm optic to get the correct field of view. The M3’s native frames are 50mm (always displayed), 90mm and 135mm, the latter two switched either with the selector lever on the front of the camera or when the related lens was fitted.

Rumors that the M2, which was cheaper at the time, was less well made are nonsense. Yes, the rangefinder design was simplified (??? Look at Figure 4 in the Asahi Camera report – both look insanely complex to me) to lower production costs, there was no self-timer and the frame counter had to be reset manually after changing films. But otherwise everything was very much identical and, in fact, to Leitz’s surprise, the M2 became increasingly popular as photojournalists migrated to the 35mm lens. Better still, the clunky and always displayed 50mm frame in the M3 with its rounded corners (a Kodachrome slide mount legacy) was gone and the three frames in the M2 (35/50/90mm) would only appear one at a time. I have owned and used both the M3 and M2 for decades and much prefer the finder of the M2 for street snapping, as I tend to favor the 35mm lens.


Click the image for the PDF file.

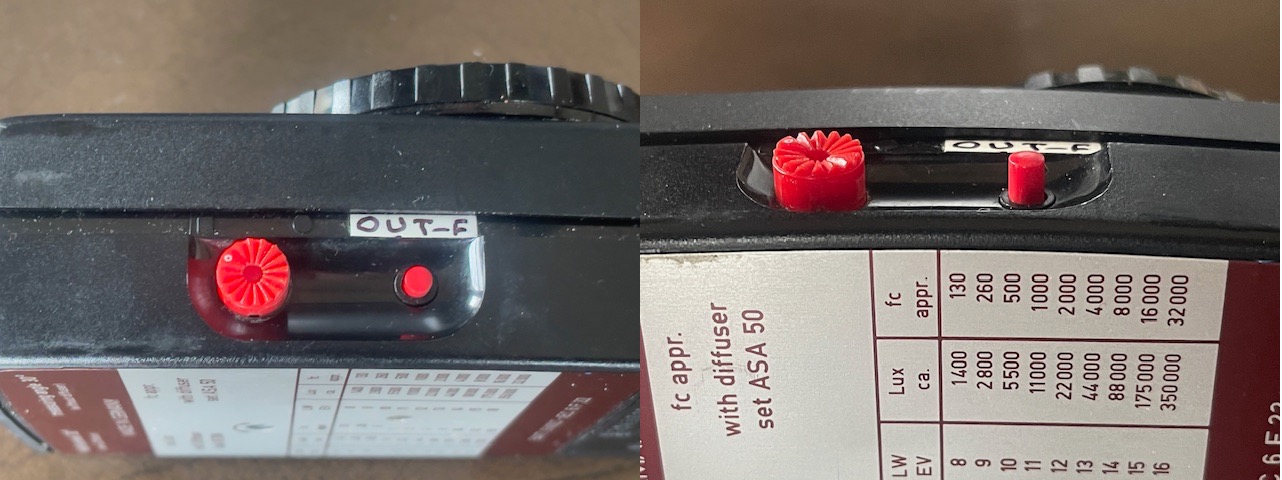
The Leica M2 had several minor variations. The first version came with a button you had to hold down while rewinding the film. Not great. The second version had the same button but once depressed it stayed down until the film advance lever was worked. Much better. The Asahi Camera report picks up on this. The third version reverted to the same small lever used on the M3. It’s very unlikely you will activate this accidentally, and quite how the earlier button design saved production costs beats me. The lever design is the best of all. You can see it in the first image above. Maybe this was just another case of the old German belief : “Why make it simple when complex works just as well?”

And the originally deleted self-timer could be retrofitted if desired (at goodness knows what horrendous cost) or came standard with later production. But these are minor quibbles. There are strong grounds for arguing that the M2 was the best street M Leica ever made. The successor to the M2 and M3 was the M4 and came with a cluttered finder, showing multiple frames at once. The M5 was a design disaster. The M6 saw construction quality fall, internal screws became rivets, and the whole thing just did not feel as good in the hands, TTL meter notwithstanding. I know. I used one a lot. The single worst feature was that there was no top plate readout to take an exposure reading so you had to raise the camera to the eye to accomplish this. A camera at eye level is anathema to the stealthy approach dictated by street photography of people.

The Asahi Camera report also reviews the first rigid version of the 50mm f/2 Summicron, the finest standard lens of the time. I used one for years and it really is wonderful. Sadly, the collector market has seen to it that a half decent copy will set you back $1,200. Many of this vintage have ‘cleaning’ scratches from fools who don’t seem to understand the purpose of a UV filter, or dried up grease, or corroded/oily diaphragm blades. And haze and fungus are common. Finding a good one is no mean feat.

The scans in the PDF above are high definition at 300dpi, and were made with the excellent scanner included in the Epson T-8550 printer. To view larger images on a Mac hit Command+.

Canon 35mm f/2 – some results

Compact and sharp.

For an index of all Leica-related articles click here.

I looked at the specifications the 35mm f/2 Canon LTM lens here.

After running a roll of Kodak Ektar 100 through it I can confirm that the lens is sharp and a delight to use. The only thing I miss is an infinity lock which would make it easier to mount and remove the small optic. The only modifications I made were the addition of the requisite LTM-to-M bayonet adapter, a protective, multicoated UV filter and a red indexing dome (extremely useful), all of which you can see below.


The 35mm Canon LTM f/2 on the M3.

In addition to being in ‘like new’ condition – hard to find for a lens which is over 5 decades old – mine came from Japan for a reasonable $35 shipping fee and arrived in just 4 days by FedEx. Amazing. If our government were so efficient the nation would have no debt, we would not be wasting a $trillion annually on losing wars, and the bad guys in Russia, NK and sundry other hell holes would have long been erased from the face of the earth. One can but dream.

While the M3 lacks a 35mm finder frame, I had no difficulty composing using the outer peripheries of the viewfinder image, which approximate the field of view of a 35mm lens. Handy. The only thing to remember is that you have the 35mm fitted as the 50mm frame in the M3 is visible at all times. To remind me I installed the 35mm/135mm version of the Fotodiox LTM-to-M adapter which shows the 135mm frame as an aide memoire.

Some snaps:


Decrepit machine shop.


Capitol dome.


Capitol wedding, at f/2.


Federal style furniture. 1/15th at f/2 and you can see I am not as steady as I was!


Red, yellow and blue. This one made a gorgeous big print.

If you can find a good one the Canon 35 is a cheap substitute for the ridiculously priced Leica optic.

Is the lens sharper than the costlier 35mm f/3.5 Leitz Summaron RF? I don’t know as the Speedy Photo scans (see below) are not as good as they could be. So some comparative tests using the same scanning service are called for. More when I do those.

A note on scanning: The film was scanned on a Noritsu scanner by Speedy Photo in Tacoma. They are fast – mailed on Saturday (USPS Ground), scans on Dropbox the following Tuesday – but I cannot recommend them. The resolution – and this with TIFF scans – is poor, the images are underexposed 1 stop (my exposure measurement is with the known accurate Reflx meter you can see in the first image above) and the color balance is poor. It looks to me like their scanner or operator is in serious need of service/education. I will revert to using SharpPrints in Wisconsin who use the same scanner manufacturer. I have learned that if you avoid their free pre-paid label, which uses molasses slow USPS bulk mail, and order through their Film Developing Company site which uses regular USPS, the film should get there faster and I know their HQ JPG scans to be of excellent quality. Their very responsive person assured me that C41 color negative scans are posted within 24 hours of receipt and round trip shipping is a very fair $6.95. For some reason they insist on returning your negatives. Whatever. Next time I will try their TIFF scans to determine if there is a discernible difference compared with HQ JPGs. They told me TIFF scans take no longer to produce.

90mm f/2.8 Tele-Elmarit – some results

A fine performer.

For an index of all Leica-related articles click here.

I wrote about the ‘thin’ Tele-Elmarit here. This is an optically improved version of the earlier and heavier ‘fat’ model, with most being made by Leitz Canada. With the exception of the modern ridiculously expensive collapsible (a feature no one wants or needs) 90mm Tele-Elmar this is the smallest and lightest 90mm lens Leica has ever made, and it proves to be a fine performer. It’s also affordable. Into the light it’s flare prone but the ‘Dehaze’ slider in LRc does wonders for that defect. To keep bulk down I do not bother with a lens hood.

While it’s a tad on the long side for street photography the lens is adept at picking out architectural details and at a light 8 ozs. in a very small package it’s easy to pop it in a coat pocket on the off chance it could come in useful.

Here are some early results, all on the Leica M3 with Ektar 100 film, JPGs scanned HQ on a Noritsu scanner.


As one of the very few affordably priced and reasonably modern Leitz lenses, assuming you can find a copy without haze or fungus, the 90mm f/2.8 Tele-Elmarit is recommended. Mine cost $454 shipped and absent some minor wear on the barrel has untarnished optics, with smooth focus.

Canon 50mm f/1.4 – some results

Not half bad.

For an index of all Leica-related articles click here.


M3, 50mm Canon f/1.4 LTM and a BIG print.
I added the red lens alignment index dome.

After the interminable wait for the scans to come back from the photo lab – sometimes I just hate film – they finally arrived 9 days after mailing in my Dropbox account and I duly downloaded the Noritsu HQ scans into LRc and immediately added EXIF data. I generally search the LRc catalog by lens used as that seems to work best for my memory.

What makes a lens ‘good’? For me I care little about resolution charts, coma tests, distortion measurements, you name it. What I want is a high resolution print at 13″ x 19″ in size, often cropped from just 50% of the original. Using that criterion the Canon 50mm f/1.4 LTM lens adapted to my Leica M3 is a fine lens indeed.

Here are some results, all on pokey 100 ISO Kodak Ektar. It may be slow but the grain is very fine indeed and the reds are the closest thing to Kodachrome since Kodachrome.


Barista girl. 1/15th, f/1.4. Ektar is sloooow!


Bench. f/8.


Local barber’s shop.


I couldn’t but think of Stieglitz’s famous Wall Street image.


Near-Kodachrome reds. Click the image for a larger version.


In the style of Keld Helmer Petersen.


More Keld.


Hard hat place.

If you do not want to spend megabucks on a Leica 50mm lens, the affordable Canon 50mm f/1.4 LTM optic is recommended.

Gossen Luna-Pro F

Handy.


Small it is not. Compare with the
Reflx meter in the camera’s accessory shoe.

Go to B&H and you will find no fewer than 51 hand held Gossen exposure meters listed. Gossen has been making light meters since 1932. Its major West German competitor was Metrawatt which made the various Leicameters and was absorbed by Gossen in 1992. You can view the full history here. And to this day you can blow upward of $2,000 on a fancy Gossen spot meter.

But there’s no need to spend that sort of money if all you need is a reliable, hand held workhorse.

My Gossen Luna-Pro F ran me all of $56 shipped, and arrived in mint condition. No case, but you really do not want one. It’s just one more time delay factor in the field.


The Luna-Pro F.
The green button is for checking the battery.

The meter was first sold in 1981 and is the last mechanical pointer meter made by Gößen, along with the SBC (scroll to the end). Now that’s retro.

You can download the user manual here and it’s an education in light measurement and beautifully written. I highly recommend reading this manual as the Luna-Pro F is a sophisticated, relatively complex instrument and repays a thorough understanding. Unlike its famed predecessor, the ultra sensitive Lunasix, the Luna-Pro F uses a regular 9 volt battery, not the discontinued dual 1.35 volt mercury cells used by the Lunasix. (The above Leicameter link will tell you all there is to know about the use of modern cells in meters which require 1.35 volts). Not that the sensitivity of the Luna-Pro F is poor, as it goes down to -8EV, which is ‘black cat in a coal cellar’ territory. -8EV is 16 minutes at f/2 with ISO100 film! Further the light sensor is a Silicon Blue cell, not the Cadmium Sulphide one used formerly. That mean that the CdS cell’s over sensitivity to the red spectrum is gone with a color response similar to that of the human eye. And of film.

Before inserting the battery take a look at the position of the meter needle. It should be centered over the small mark just to the right of the word ‘Under’ in the meter’s window. If it is not use a jeweler’s screwdriver on the screw in the back to adjust it. The battery must be disconnected. Connect it and the reading will change.

The battery compartment is well insulated from the internals of the meter so in the event of a battery leak there should be no damage to electrical components. The battery is a tight fit, so dress the two wires at the side of the battery, not underneath, to ease replacement of the sliding cover.

To test the battery, depress the large red meter reading button at left then depress the small green one at right. Mine needs a committed push. With a fresh cell the meter’s needle will move well past the right of the ‘Batt.’ inscription in the meter’s window.

Measuring 4.75″x1.75″x2.75″ the Luna-Pro F weighs 8.6oz/245grams with battery and lanyard. It will also measure flash exposures when the small mode selector switch at left is in the raised position. The coverage angle is 30 degrees for reflected light readings which is like a 90mm lens on the camera. Slide the white cone in front of the cell and the acceptance angle becomes 180 degrees for incident light measurement. The large red switch at left is depressed to take a light reading. Depress and turn it clockwise and the meter goes into continuous reading mode, switching off after 30 seconds to conserve the battery. Mine turns off exactly 30 seconds after taking a reading – there’s that famous German sense of humor at work for you.


The factory label was AWOL in mine, so I added an explanation.
When the smaller button is ‘out’ (right image) the meter will measure flash.

If you are seriously off your rocker you can even procure a tele attachment with a viewfinder which narrows the measuring angle to 15 or 7.5 degrees:


The Gossen Variable Angle attachment.

There’s a host of other attachments – one for microscopes, one with a fiber optics probe, one for copying and finally, for the seriously deranged, an Enlarging Attachment if you are seeking to emulate that darkroom doper and serial over-processor Ansel Adams. Funny cigarettes are extra. Come to think of it, AA would have benefitted from that attachment. Naturally Gossen thought of everything and has included Zone System settings for all the Zonies out there.

You see, those humorless Germans decided that this light meter would be a system not some poncy toy for poseurs.

Putting aside this insanity the core instrument is a delight to use. Unlike most meters which indicate a reading from the galvanometer needle, the Luna-Pro F uses a ‘null reading’ design. After taking the light measurement you rotate the large dial until the needle is centered, and all the resulting shutter speed/aperture combinations are easily seen. Want to overexpose a stop? Or two? Or three? Simply rotate that dial until the needle points to +1, +2 or +3. It’s the same for underexposure, with the needle the other side of the ‘0’ mark. (There are small 1/3rd stop dots between the major intervals for obsessives).

Simple, elegant, uncluttered, with nothing left to chance. How a machine should be.

And that rotating dial is big and bold, leaving no doubt as to the result. While there are scales for ciné and all sorts of funky corrections, these are about as useful as the markings on the rotating dial on your overpriced sports watch. No one understands them and even fewer use them. These are yours to disregard.


A null reading. What could be simpler?

One beauty of the null reading design is that once you have established a mid-tone reading you can point the meter at the lightest and darkest areas of your subject, take light readings of both and immediately see what the exposure range is based on the +/- reading of the needle. With slide film, for example, where over-exposure is a killer, you may want to elect to under-expose, based on what those readings tell you, recovering shadows in post processing.

Battery life? I have no idea but suspect it’s huge. Those 9 volt cells pack a punch. And there’s a battery check function to tell you how it’s doing. And you can probably even find this battery in sub-Saharan Africa. It’s the same one used in your home’s fire alarm.

The Gossen Luna-Pro F is the last hand held meter you will buy, with mint used versions under $60 representing one of the great photography bargains. While listings for the predecessor Lunasix are much more numerous there really is no need to go there with all the related battery problems. Some patience and a Luna-Pro F will turn up. (The meter is known as the Lunasix F outside the U.S.). Later digital versions? Oy! Digital schmigital. Humans are analog beasts. This analog device pairs nicely with your retro film camera whose meter died long ago.

Don’t get caught out: There’s an Exposure Factor adjuster (for things like filters) on the dial’s outer periphery:


The hidden EF adjustment – the setting is circled.

You want this set at ‘1’, doing so by rotating the adjustment using the arrowed tab. It has a detent you can feel. Set this at anything other than ‘1’ and your exposures will be shot in the worst way – overexposed – unless you really are using a filter. With the adjustments available in LRc who needs a filter?

The Lunasix Pro F is not only a competent daylight meter. It can also measure flash, and I recommend reading the manual about how to do that. The speedy response of the silicon blue cell permits this function and the meter can measure either reflected or incident light. Try that with your fancy DSLR! I have tested the meter in my flash equipped studio and can confirm it’s accurate.

An alternative: Recognizing that not everyone needed flash measurement, Gossen released the Lunasix Pro SBC. It’s far easier to find on eBay than the F model and except for the deletion of the flash measurement capability is identical, using the same Silicon Blue Cell and a 9 volt battery. It uses the same wonderful ’null’ method of metering and includes the incident light sphere. The operating manual can be found here. Excellent examples can be found for under $50.