The coup de grace of 360 x 180 QTVR panoramas.
Photograph a 360 x 180 panorama with just about any lens, even a fisheye, and you will be left with nasty empty ‘holes’ at the top and bottom, visible when the viewer of the resulting QTVR ‘movie’ scrolls up and down with the mouse to the zenith and nadir. That’s because the lens, even a full frame fisheye, cannot cover enough vertical angle to get everything in, dictating that two more pictures of the zenith and nadir areas be made, with the camera pointed vertically up and down, respectively.
I can think of no fewer than five ways to get rid of the ‘holes’:
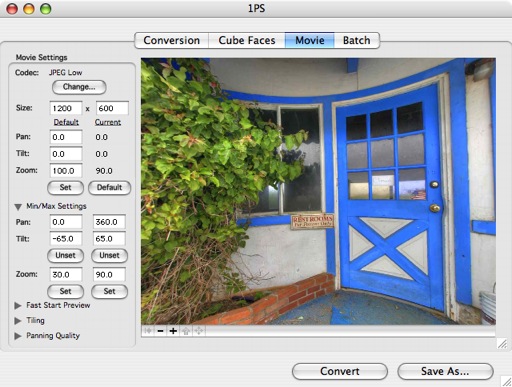
1- Avoid the issue by restricting the vertical scroll angle in CubicConverter:
With the Canon 15mm fisheye on the full frame 5D, the vertical angle of view is approximately 136 degrees, meaning that each hole will subtend a 22 degree angle (180 – 136)/2). So if you restrict the Tilt in CubicConverter to +/- 68 degrees (90-22=68) the viewer will be restricted as to Tilt angle and will not be allowed to see the holes, as here:
This is a quick and effective solution where sky or ground details add little to the panorama, as in this 180 x 180 QTVR of a deserted motel:
I have also restricted the pan settings to 180 degrees as that’s the area in which the most interesting portion of the subject lies.
2 – Use the clone stamp in Photoshop on the top and bottom faces:
If the top and bottom holes are largely devoid of details – say bland sky or grass areas, you can drag and drop the top and bottom cube faces from CubicConverter into Photoshop and simply use the clone stamp to get rid of the black areas, as has been done in this candid panorama:
3 – Use PTMac to stitch in the zenith and nadir images:
Sometimes this works, sometimes not. I like to select control points to match image overlap manually using PTMac, but on occasion letting the program do this for all eight images works – manual addition of control points for zenith and nadir images is mind bending and very slow, as each image pair requires at least three points, making for 36 in all with a six picture circle. As often as not PTMac goes crazy generating lousy control points for all eight images. In this case I got away with it – I restricted the base tilt in CubicConverter as the image of the wooden bridge is not interesting and detracts from the whole:
4 – Use Photoshop layers and the transform tool to insert the zenith and nadir images:
If you dislike using layers in Photoshop as much as I do, well, this method is not for you. However, it’s worth the effort, providing the easiest, fastest and best stitch. In addition to Photoshop and CubicConverter, you will also need ‘de-fishing’ software like ImageAlign to get rid of fisheye distortion in the original zenith and nadir images.
I sort of learned this technique from Eric Rougier who shows it in his excellent video here. The issue with that video is that everything is so smooth and fast it’s very hard to follow all the steps as Eric (a great panographer, by the way) does his Photoshop magic at a blinding pace. If you read what follows you will learn exactly how to do this – a process that took me a while to crack, not without a bit of help from a friend who has forgotten more about layers than I ever want to learn!
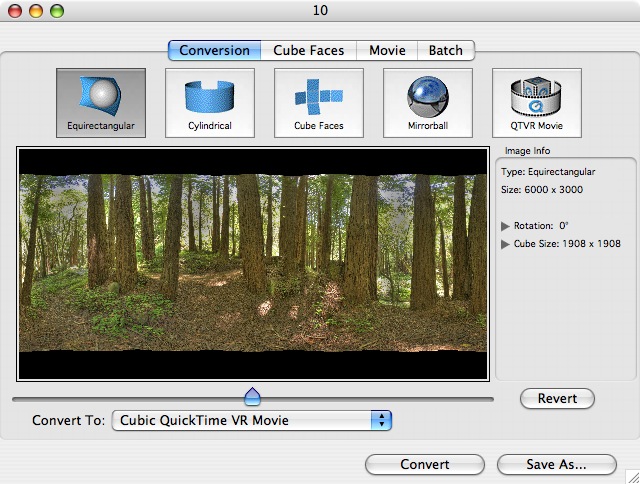
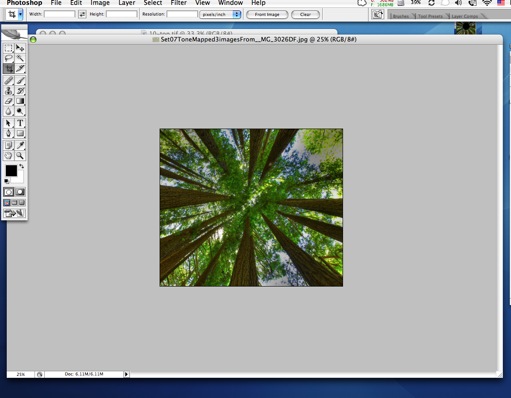
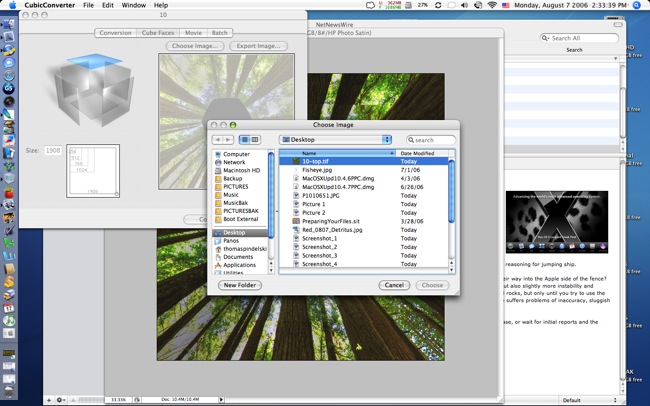
a) Drop the TIFF file created by PTMac into Cubic Converter thus:
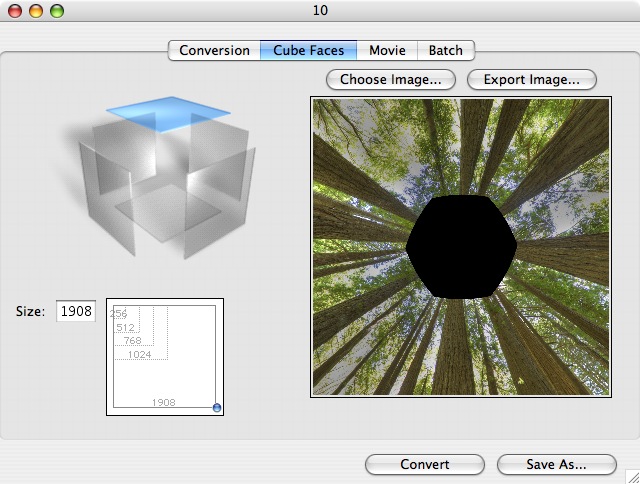
b) Generate the QTVR file and select the zenith (top) cube face as here:
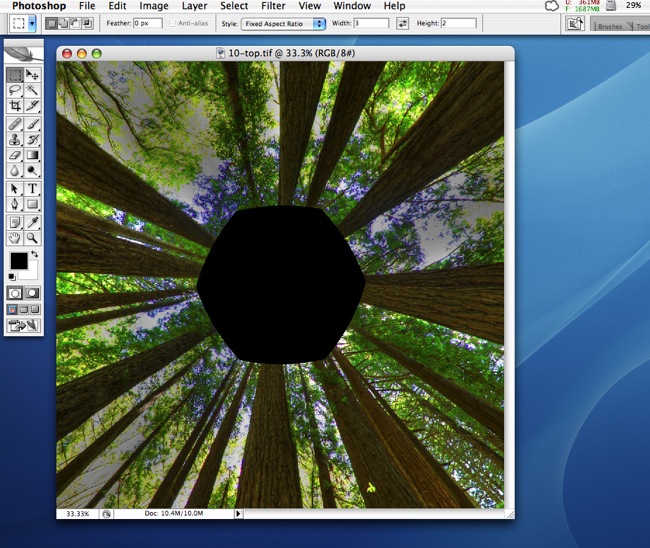
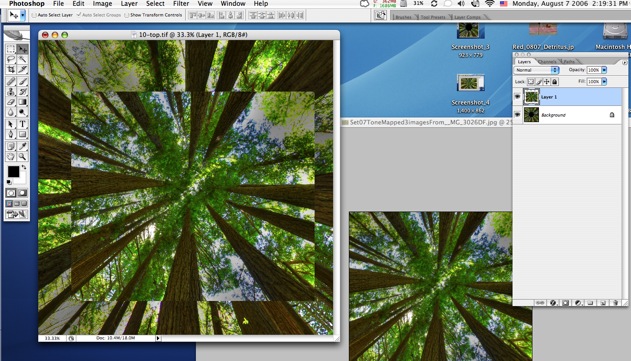
c) Drag and drop the zenith face into Photoshop:
d) Drag and drop the true zenith image you made by pointing the camera up to the sky into Photoshop and de-fish it with ImageAlign – it looks like this after de-fishing:

e) Using the Crop Tool, cut out a central rectangle from this image like so:
f) Switch to the Move tool in Photoshop and drag this cropped image onto the original zenith image – the one with the hole in the middle:
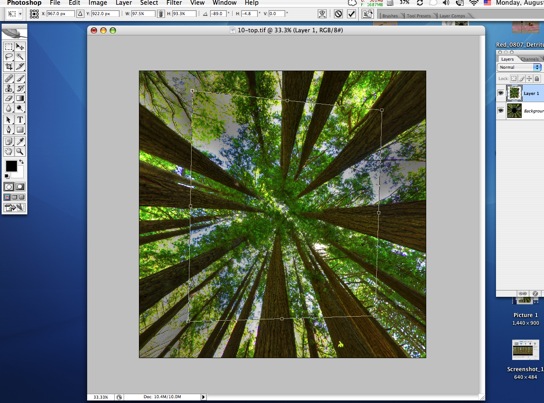
g) Click on the superimposed zenith image – the one without the hole – and hit Apple-T. This enables the Transform tool and allows rotation of the zenith cut-out over the base image with the hole:
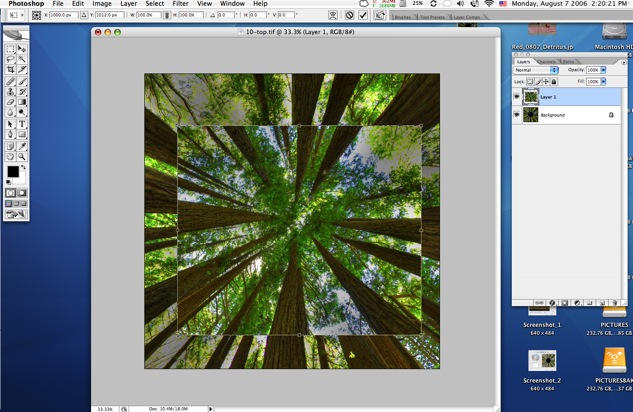
h) Place the mouse pointer outside the corner of the superimposed zenith image and it will become two arrows on the ends of a quarter circle. Rotate the image by moving the mouse until something aligns. In this example I have roughly aligned the tree trunks at the lower left:
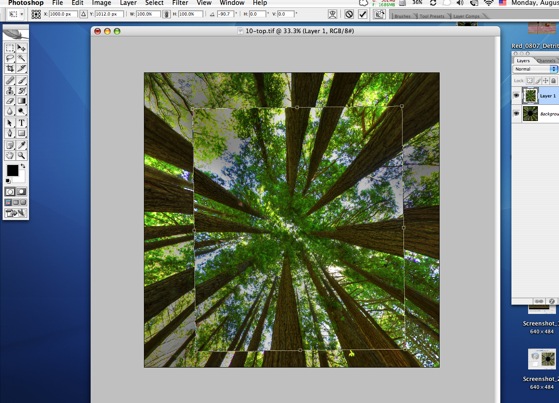
i) Actuate the Edit->Tranform->Distort tool as shown here. Better still, use Edit->Transform->Warp which gives you finer control. This allows you to drag the corners (+sides if you use ‘Warp’) of the superimposed zenith image to your heart’s content until everything lines up nicely:
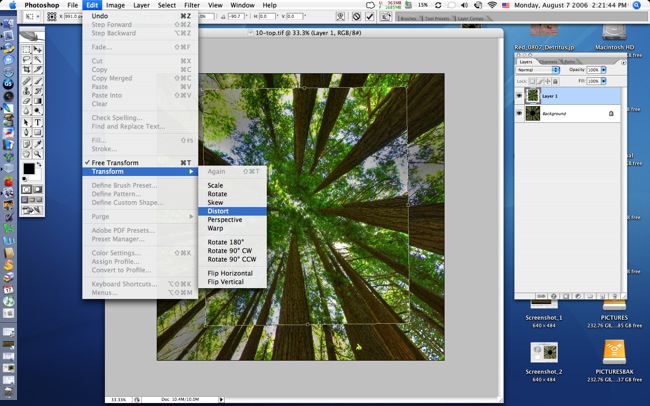
k) After a few minutes of clicking and dragging you will be close, like this:
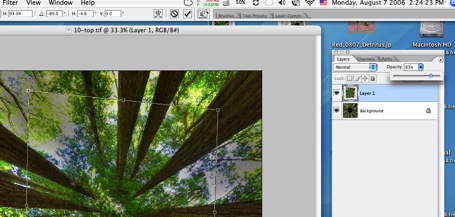
l) Once things are properly aligned, adjust the opacity of the top image using the slider as here:
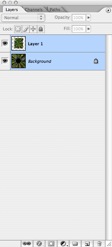
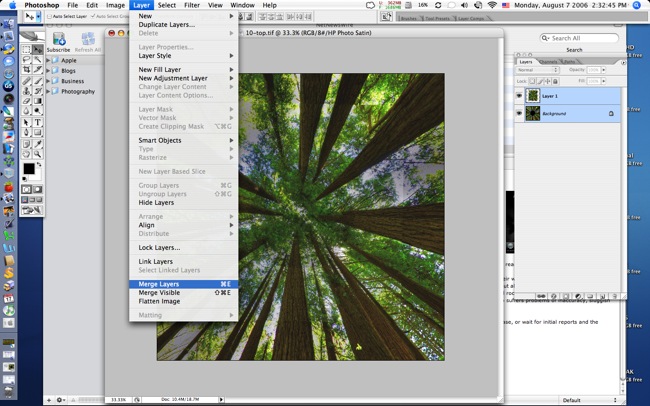
j) Shift-click both layers to make them mergeable:
k) Now merge the layers like this:
Save the file to the desktop.
l) Go back into CubicConverter, make sure the top cube face is selected, and import the file you just saved to the desktop:
You are done with the zenith image. A like approach can be adopted for the nadir image; in this case, the nadir is a tangle of undergrowth so to speed matters I simply used the clone tool to patch up the hole in the nadir image. Simply drag and drop the nadir image from CubicConverter into Photoshop, do the Clone work, save the file to the desktop and reimport it into CubicConverter to replace the existing nadir image. Now in CubicConverter regenerate the QTVR picture with the new zenith and nadir faces and you are done.
Here is the resulting 180 x 360 panorama:
You will note that the stitching at the top is not perfect as I jogged the camera resulting in some image blurring – the ‘2 stops under’ image (I am using three HDR pictures for each of the eight constituent images in the panorama) called for a slow shutter speed in the dark confines of the forest. Since then I have been hosed down $45 by Canon for one of their electrical cable releases so this should not recur. (You can buy cheaper afermarket clones on eBay if you want to run the usual eBay risk of fraud and theft). Oh! for the days of old fashioned $5 mechanical Bowden cable releases. I suggest you use a cable release wherever slow shutter speeds are involved as a heavy camera on a KingPano head and a tripod is not the acme of stability.
5 – Tilt the camera up 30 degrees when taking the ‘circle’ panorama images:
This approach will get rid of the zenith hole but will increase the size of the nadir hole, so it may have limited use.
One last thought on taking the nadir shot. This is best done freehand with the camera removed from the tripod. The layer technique illustrated above will fix any alignment problems and you will avoid getting the panorama head and tripod in the picture.
Phew! That’s it. Time to put all this into practice. I hope the above provides some useful options for those photographers seeking to excise those nasty zenith and nadir holes.
[tags]QTVR photography[/tags]