Underexpose then adjust.
After working with a few digital sensors – from cheap and nasty ones in point-and-shoots through the best on the market, the one in the Canon 5D, the thing they have in common is that highlights burn out very easily and are mostly impossible to fully recover in the displayed or printed image.
Case in point. This snap of the first sign of spring here in central California was originally exposed for the shadows, meaning about 1/400th @ f/4, ISO 250. That’s because I automatically tend to meter for the shadows, and that approach with a subject like this is all wrong. Recalling this, I metered on the sky instead and retook the snap, which resulted in some three stops less exposure – 1/3000 @ f/4.
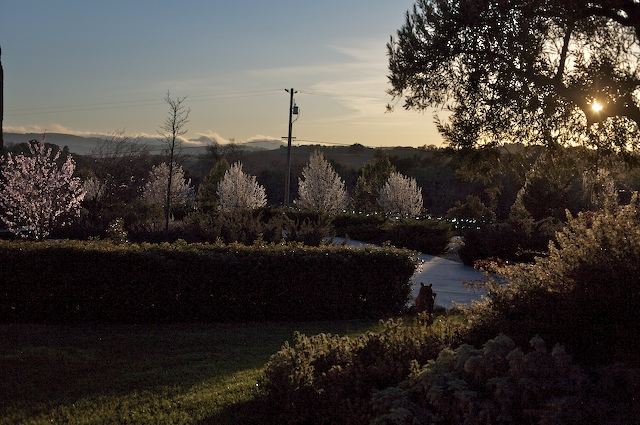
First signs of spring. Canon 5D, 50mm lens
The original is dark and muddy, so much so that one’s first inclination on importing it into Aperture is to delete the image. But wait. As this was exposed in RAW format, we can do a lot of image manipulation without hurting quality, aided by that awesome, grain free sensor in the 5D. A simple (and substantial) tweak of the Shadows slider in the image HUD in Aperture brings up the shadows and cherry trees nicely, while preserving the tone of the sky. By contrast, the version exposed for the shadows has highlights so blown out that it’s past saving.