The Custom setting on the mode dial fixes things
In my little experiment to determine the seriousness of mirror slap-induced blur, I concluded that locking up the mirror before taking long exposures on a tripod made sense. Sharpness was improved – not something that would make any diffference for regular prints or web images, but clearly an improvement with big prints.
At the same time I grumbled about the difficulty of finding the right setting on the LCD panel on the rear of the 5D when it came to actually locking up the mirror, a problem compounded by the poor visibility of the LCD screen outdoors. Well, until someone comes up with a neat software fix to reprogram the little used ‘Print’ button on the back of the camera to lock up the mirror, here’s the next best thing.
Set up your camera for your preferred mode of use, go the the LCD screen and set the mirror to lock-up on the first pressure on the shutter release, using Custom Function 12. Now set the mode dial to ‘C’ (the dial to the left of the prism atop the body), go back to the LCD screen and click on ‘Register Camera Settings’. In this way, anytime you set the mode dial to ‘C’ you will have mirror lock-up available.
In my case, the preferred settings are Aperture Priority (meaning I set the camera up with the Mode Dial at ‘Av’), ISO at 250, center area average metering and the RAW file format.
So next time the camera goes on a tripod I will simply move the mode dial to ‘C’ and off we go.
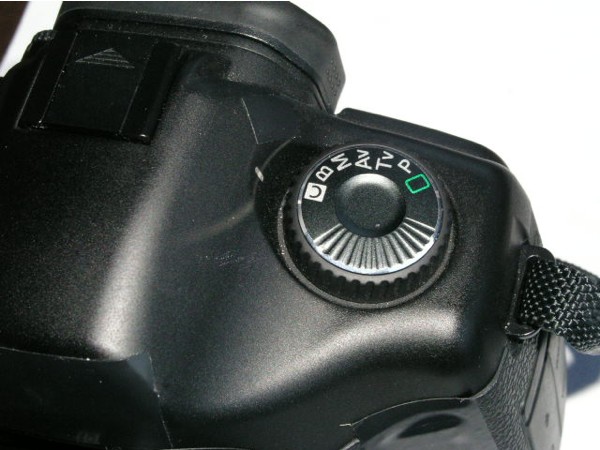
The 5D’s Mode Dial set to ‘C’