The whole process, start to finish.
I thought it might be helpful to illustrate the complete process of creating an eBook from start to finish. The final eBook can be placed on your server of choice and made available to anyone you want. If it contains client-specific pictures, adding password control to the downloadable file is an easy enhancement, explained below. In this case the book created is not password protected.
The tools used are:
- Lightroom 2 or 3 for assembly of the pictures
- Lightroom 2 or 3’s Slideshow module to create a PDF file
- iWork Pages to make title, colophon, etc. additional pages
- Apple Preview to add these pages to the PDF
As I have saved templates in Pages for the Front and Colophon pages, all I need do is modify these and re-save them as PDFs before adding them to the PDF book exported from Lightroom. You should do likewise to smooth and speed the process.
Having done this a few times I thought it might be fun to time the complete process. It took me just fifteen minutes to select the 20 pictures for the eBook, move them to a new Collection in LR3, arrange them in my preferred order, save the PDF and then add front and colophon pages. I call that pretty efficient. This timing assumes you have the constituent pictures in Lightroom and that they have been processed to your liking before you start.
Here are the screenshots showing the process:
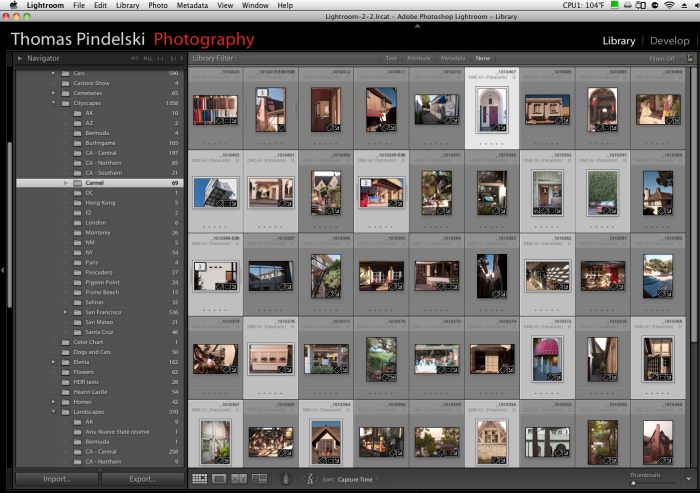
Select the pictures for a new Collection in Lightroom – I hold the Command (Apple) key in Lightroom->Library and mouse click the ones of choice:
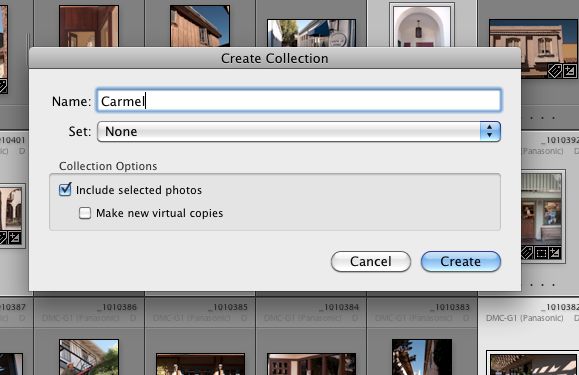
In Lightroom, click Library->New Collection and check the box as shown:
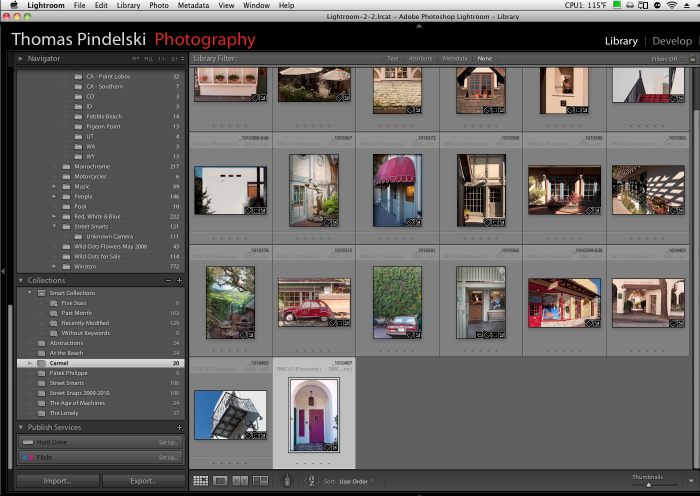
Go into the Collection in Lightroom->Library and drag and drop the pictures in your preferred order:
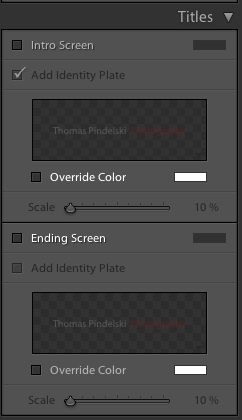
Jump to the Lightroom->Slideshow module and uncheck the boxes for the Intro Screen and Ending Screen – you want to do this to ensure page numbering is correct:
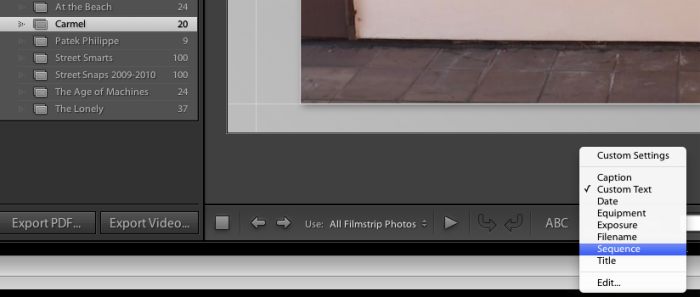
Click on ‘ABC’ at the base of the screen and select the data you want to display on each picture – I have selected ‘Sequence’:
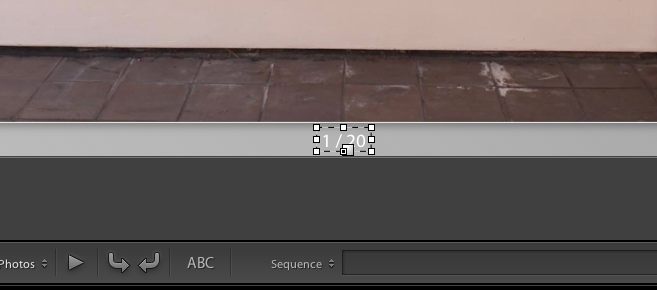
Place and size your data box:
Choose your background and frame color preference using the Slideshow panel on the right. Now, export the slideshow to a PDF by clicking on ‘Export PDF’ on the lower left. Use the Quality=50 setting shown. Extensive tests, documented here, show this to be optimal for a wide variety of display devices.

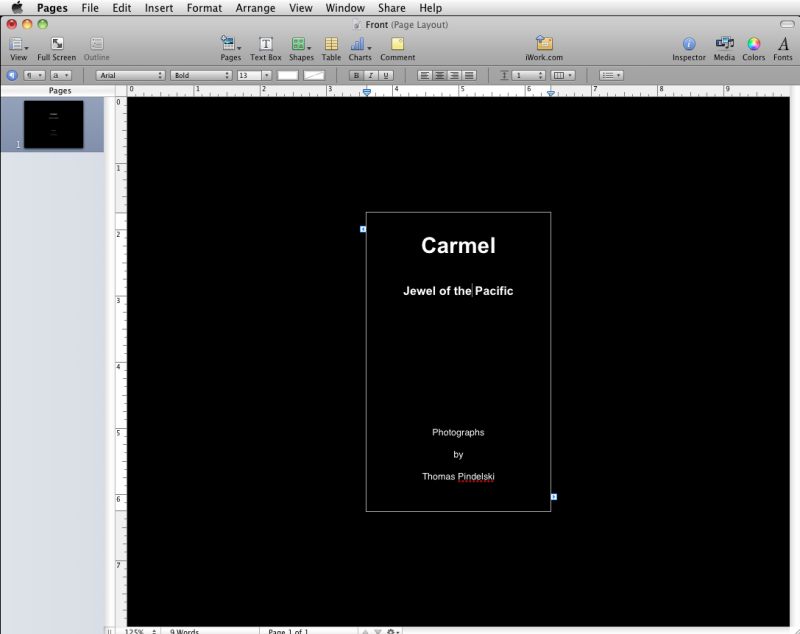
You are done with Lightroom. Open iWork Pages and create or modify the front page:
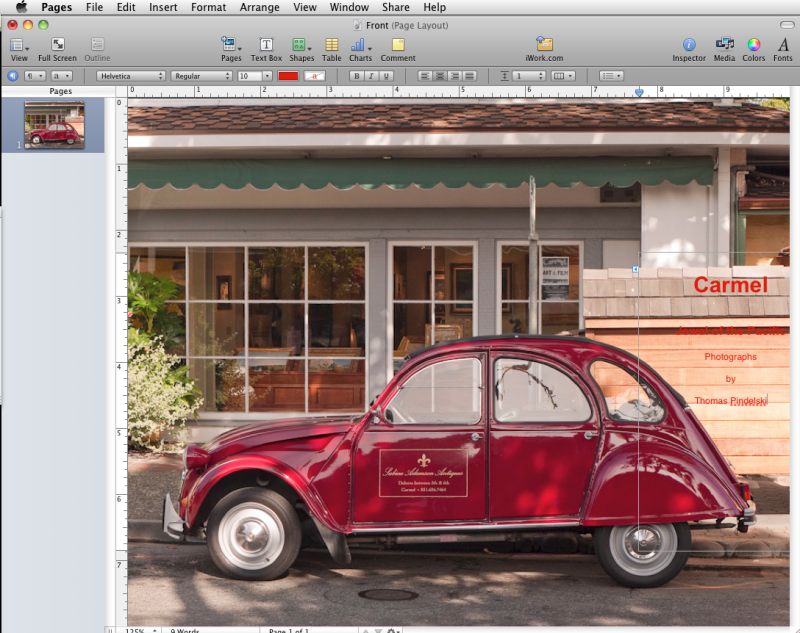
In this case I wanted an image on the cover so I popped back into LR3 and exported a JPG of my picture of choice, then drag and dropped that onto Pages. Eventually I also changed the type from red to blue to improve visibility. You have a lot of control in Pages:
Still in Pages, create the Colophon:
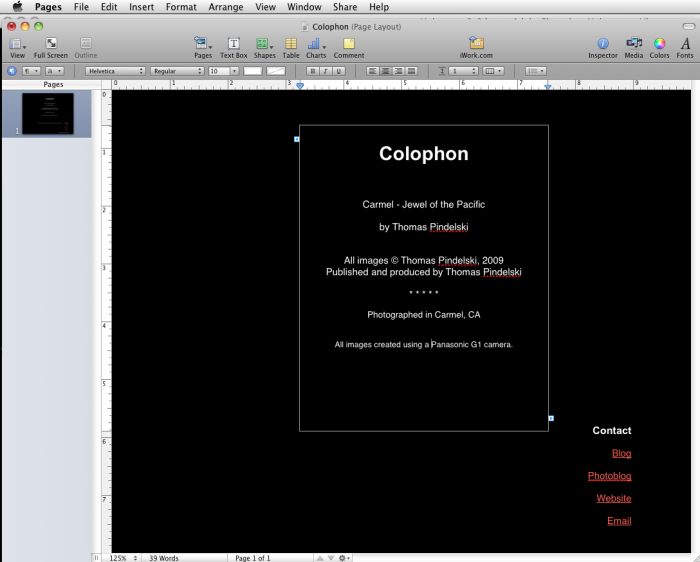
Note that I have added Hyperlinks to my sites at the lower right of the colophon page – easily done in Pages using Insert->Hyperlink->Webpage (or email). This is a powerful tool for marketing your services if you are a pro. Any reader of your book can simply click these to contact you.
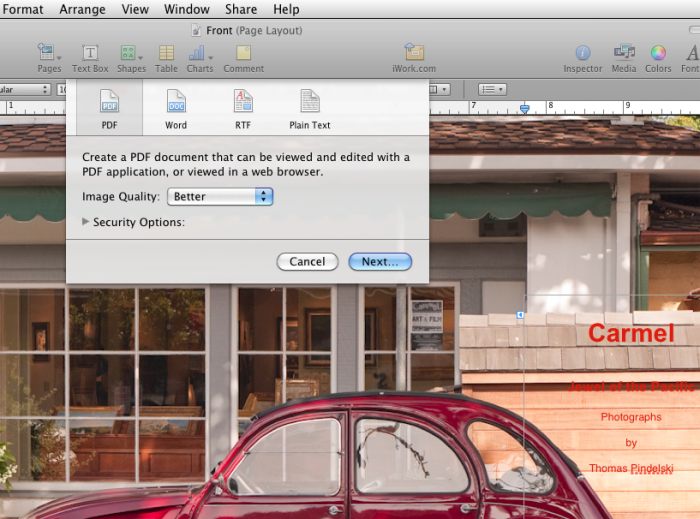
Using Pages->File->Export, export both the front, colophon and any other pages to separate PDF files.
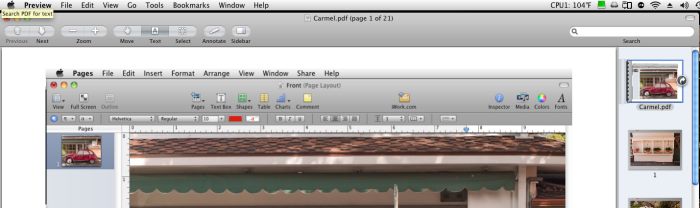
Now open the PDF of pictures you exported from Lightroom in Preview and drag and drop the cover page into position in the right hand Sidebar (View->Sidebar->Show Sidebar if you cannot see it):
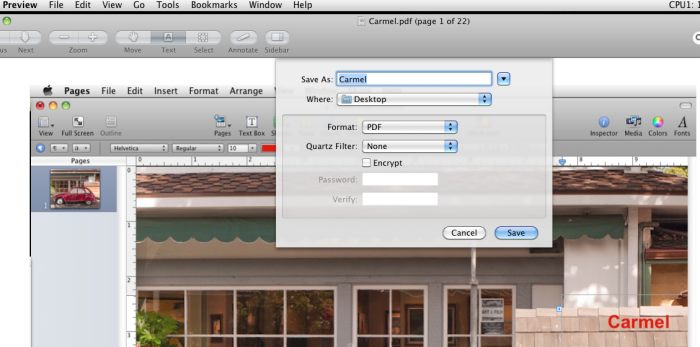
Repeat the above step for the colophon and any additional pages. Now save the enhanced file from Preview – this is where you can add password protection if required:
You are done! To put the timing in perspective, creating the eBook and this whole article from scratch, including file upload to server and all the screenshots took me just 50 minutes. The hard work was in writing this blog piece (35 minutes) and the easy part was making the book (the other 15 minutes).
All that remains is to move the file to your display storage of choice – file server, iPad, whatever.
And to see the finished product, click the picture below. Need I add ‘Best viewed on an iPad”?
Enjoy!
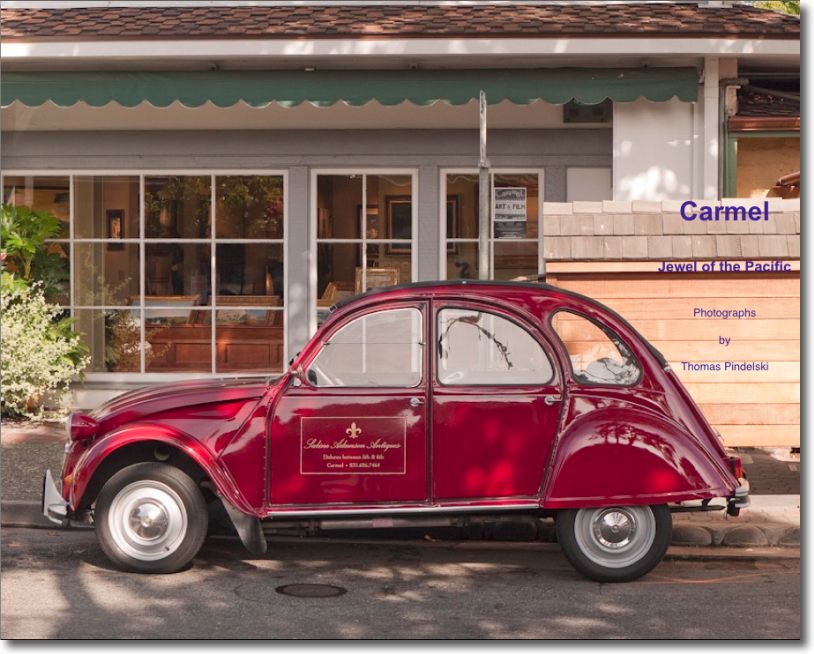
Click picture to download PDF file.