The optimal photographer’s build.
The stock market just laid another egg, your investments are down 20% YTD, but you still need a new computer? Build a Hackintosh.
While my Hackintosh continues to deliver high performance and reliability, competitive with all but the most exotic current computers, its components are dated. Today’s Hackintosh builder could no longer buy the same motherboard new nor would he want to, as cheaper alternatives which accommodate newer CPUs and faster RAM are available.
With that thought in mind, and knowing that many readers here would like to screw up their courage and dump Apple’s flaky iMacs for good while not wanting to be hosed down for a new MacPro, I asked expert computer builder FU Steve (the builder of my HackPro) to put together a components list for a Hackintosh best suited to the needs of a photographer who might also want to do video processing. Video needs far more processing power than still pictures.
The design dictates were much the same as for my Hackintosh, meaning:
- Outstanding heat management
- Bullet proof reliability
- Uses standard PC industry parts
- Motherboard must be easily adapted to run OS Lion
- 80/20 performance – 80% of the best there is at 20% of the price
- Easily hacked to run Lion with a minimum of technical expertise
- Expandable
- Five year life expectancy
Here’s what FU came up with.
Thanks, Thomas.
I list the components below with today’s pricing at Amazon US, together with some words on each.
CPU:
Intel Core i5-2500K, 3.3gHz – $220
This is by no means Intel’s fastest CPU. It’s the mid-range model of their latest Sandybridge line with the ‘K’ denoting it’s unlocked, meaning it can be overclocked. Overclocking by 15% to 3.80 gHz is safe and will compete on speed with the $100 costlier i7 in non-overclocked mode. Thomas’s HackPro with its overclocked Core2Quad delivers a Geekbench score of 8,700 – that’s a CPU speed test. You can expect the i5 to deliver that in stock mode, rising to 10,000 once overclocked. The i7 supports 8 simultaneous threads compared to 4 for the i5, but for use with Photoshop and Lightroom/Aperture that adds no value. These CPUs use Intel’s latest 1155 socket fitting, so if you ever need to upgrade to an i7 it’s a plug-and-play replacement.
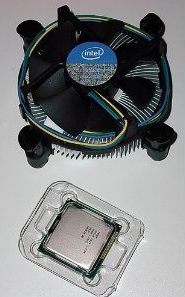
CPU cooler:
Cooler Master Hyper 212 Plus 120mm Sleeve CPU Cooler, RR-B10-212P-G1 – $27
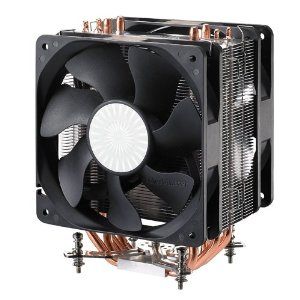
Intel sold the Core2Quad with one of the worst fan coolers ever. The i5 comes with an equally crappy fan. Don’t mess with success – use the tall Coolermaster 212 with its large array of fins in the radiator and a dedicated fan to keep things cool. This is the same one used in Thomas’s HackPro and fits the 1155 Intel socket CPU fine. Use Arctic Silver paste between the cooler and CPU – $5 – the tube will do more computers than you can.
Motherboard:
Gigabyte Intel Z68 ATX DDR3 2133 LGA 1155 Motherboards GA-Z68X-UD3H-B3​ – $160
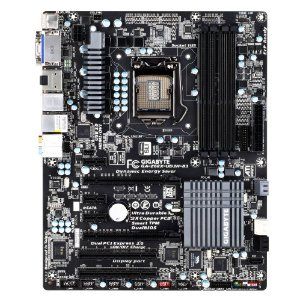
This one’s a slam dunk. The Gigabyte board chosen is easily adapted to Mac OS duties, fits the Intel 1155 socket Sandybridge CPU and has four RAM slots, each capable of holding 8gB for a 32gB total. It’s a full size ATX board making assembly easy and will pose no issues with the large Coolermaster CPU cooler which can be a squeeze on smaller boards. Unlike smaller boards which typically come with only one fan connector, this Gigabyte sports four – CPU, two System and one Power supply. There are also more USB and SATA and other connectors on this board than you will likely ever need.
Memory:
Corsair XMS3 4 GB 1333MHz PC3-10666 240-pin DDR3 Memory Kit for Intel Core i3 i5 i7 – 2 off = $60

If you ever see the need to go to 32gB buy one 8gB memory stick to make addition easy, but those are premium priced and it’s hard to imagine even a heavy video processor needing more than 16gB. As 8gB is more than adequate in Thomas’s HackPro I’m using two 4gB sticks here, leaving two slots open. You can add 4gB or 8gB sticks to these when you talk yourself into believing you need them. Why not faster 1600mHz RAM? Because the price-performance equation breaks down. 1333 is the price/performance sweet spot.
Graphics and video:
EVGA GeForce GT430 1024 MB DDR3 PCI-Express 2.0 Graphics Card Video Card 01G-P3-1431-KR – $64

There are faster and far costlier GPUs than this one but this is a tremendous price for an advanced card which will support two DVI-D displays. You can start with one display and then add a second later. If you need more than two do as Thomas does and use an USB-DVI adapter. I’m sticking with EVGA and the Nvidia chip as Thomas has had such tremendous performance from his EVGA Nvidia 9800GTX+ card, which is marginally slower than this card, but cost twice as much. The card comes with its own cooling fan, which is as it should be. On Cinebench, a graphics frame rate test, Thomas’s dated HackPro delivers 35 fps. Expect up to 50 fps from this build. Either is way beyond the needs of any but the hardest core gamers. For video processing these are more than you need.
Computer case:
Antec Sonata III 500 Quiet Super Mid Tower ATX Case – $130
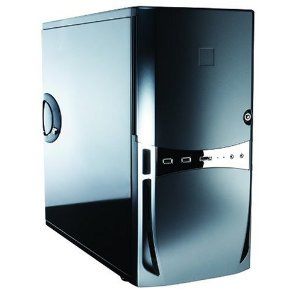
A case, is a case, is a case …. not! This one has stood the test of time in many computers I have built. It’s sturdy, well ventilated, well made and the price includes a 500 watt power supply, more than adequate for a photographer’s needs. There are USB, SATA, and sound ports on the front and room for four internal and five front-mounted drive bays. It’s modestly sized but roomy enough to make assembly easy and comes with two fans – power supply and case. With the GPU having its own fan and the Coolermaster CPU fan this rig will run cool as can be, overclocked or not.
Keyboard:
Kensington K64366 wired slimline USB for Mac – $38 (not at Amazon).
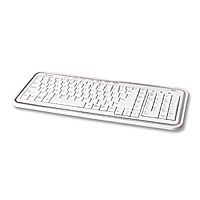
Forget wireless – simply not reliable enough. This keyboard uses mechanical scissor-type key springs and is superior in every way to the execrable ergonomics of the overpriced ones made by Apple. You use a keyboard all the time – why not the best? Get a cover while you are at it – $20 – and keep it clean and long lived.
Disk drives:
Seagate Momentus XT 500 GB 7200RPM SATA 3Gb/s 32 MB Cache 2.5 Inch Solid State Hybrid Drive ST95005620AS-Bare Drive – 2 off = $200
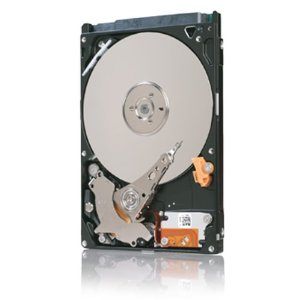
You can get awfully used to the fast boot of an SSD but it comes at a price. As you can leave your HackPro on 24/7 there’s no need for a fast booting costly SSD, so use a good compromise, a hybrid HDD. This uses some internal memory to cache frequent uses (open PS, open LR, etc.) but traditional spinning disks for storage. The price is right. 500gB is plenty; if you need more buy larger traditional drives and consider using a small SSD drive for booting the OS and for loading apps. I’m buying two of these – boot and backup.
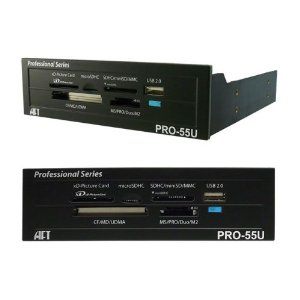
DVD and SDXC readers:
DVD: Sony 24X SATA Internal DVD+/-RW Drive AD-7260S-0B – $20
SDXC: Atech FlashPro-55U Internal Flash Memory Card Reader w/ Front USB 2.0 Port for 5.25 Inch Drive Bay – $58
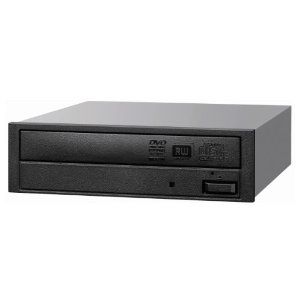
Steve Jobs may be junking the DVD drive but you don’t have to at the price Sony is asking. Forget slimline or slot loading drives – made to fail.
The SDXC card reader is expensive but makes for an elegant fit in the front panel of the Antec case. External USB types can be had for $20.
Mouse:
Microsoft Wireless Mobile Mouse 6000 – White – $23
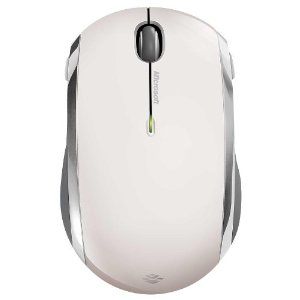
Bluetooth mice – Apple’s and many others – are plagued with interference problems. Like Thomas once did, I use the Microsoft Mobile Mouse because it’s cheap, comfortable, runs for three months on one AA battery and uses RF not BT. A small dongle is inserted in any available USB port and there’s no pairing or disconnection issues. Instant on, never off. Best of all, the white one has a semi-gloss surface which does not show fingerprints and is $4 less than the shiny black one. Go figure. Download MSFT’s Intellimouse software and you can tailor the two side buttons and the scroll wheel. The latter supports both vertical and horizontal (tilt the wheel) scrolling. A superb product, even if it does say ‘Microsoft’ on the box. The scroll wheel is freewheeling – if that does not work for you look at RF mice from Logitech.
By all means try Apple’s Magic Mouse. I suspect you will conclude, as I did, that the ergonomics suck, leaving you $70 poorer.
Bluetooth:
IOGEAR USB 2.1 Bluetooth Micro Adapter GBU421 – $12
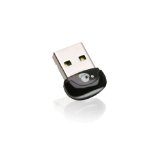
If you need BT, plug this in to any USB port. The mouse used does not need it.
Speakers:
Logitech LS11 2.0 Stereo Speaker System – $18
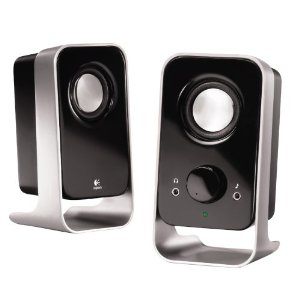
These will give you sound about a billion times better than the ones in an iMac for very little outlay. They are wired – forget wireless toys. This model has been around for ever, with just cause.
Display:
UltraSharp U2211H 21.5″ 1920 x 1080 1000:1 Widescreen LCD Monitor – $248
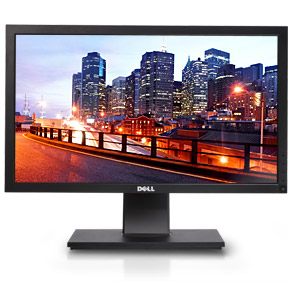
With 1920 x 1080 definition this is a photographer’s dream display owing to its IPS panel – a worthy successor to the three 2209WAs Thomas uses (and which are only 1680 x 1050) and at a fantastic price. Comes with DVI-D cable included.
Wireless 802-11n:
TP-Link TL-WN951N 300Mbps Wireless N PCI Adapter – $34
Newer Technology USB dongle from MacSales – $30
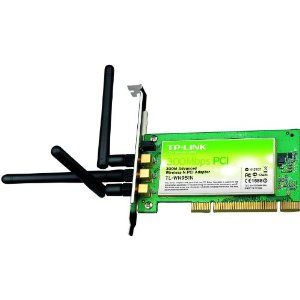
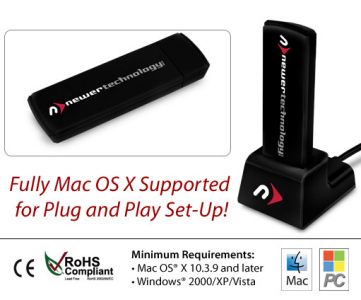
Plug and play as it uses the Atheros chip. An alternative and faster solution is the like-priced Newer Technology USB dongle from MacSales for $30. The latest driver works perfectly with OS Lion.
Software:
OS X Lion – $30

The most overrated ‘upgrade’ to an OS ever, but robust, stable and easily made to behave like its awesome predecessor, Snow Leopard. Thomas has written about it a lot on his blog, and it is priced right. Kakewalk will allow you to do a fresh install – no need to have Snow Leopard installed first. Download Lion to your crappy old iMac and, before restarting, copy the installation files to an 8gB flash drive or SDHC card. Once you restart the iMac the required installer files for your Hackintosh will be erased.
Hacking:
Kakewalk – free, but make a $30 donation. Don’t be cheap.
It has never been easier. All the components above are supported by Kakewalk software, the same I used to install Lion on Thomas’s HackPro.
Assembly:
When I built Thomas’s HackPro I made a slide show showing assembly. As the same Antec case is used here and the motherboard is similar in layout, just refer to those original pictures to see how easy assembly is. Those assembly pictures also illustrate how to set up the BIOS (motherboard software) and the setup here is the same. That pictorial shows installation of the stock Intel CPU cooler; as I recommend the larger Coolermaster 212, above, be sure to fit the retainer plate underneath the motherboard before you install the motherboard in the case. Unlike the stock cooler which clips in from above, the Coolermaster is much larger and needs the retaining plate installed underneath the motherboard.
You can see the Coolermaster installed in Thomas’s HackPro here. The clips holding the fan to the radiator have been (mercifully) redesigned and now make attachment of the fan very easy.
Time value:
You will have an up front investment of your time. The times below are for complete novices who have never built or hacked a computer before.
Assembly time – it’s all plug and play. Needs one screwdriver. All components are keyed so you cannot install them incorrectly. 4 hours.
Hacking time – Kakewalk is so easy it’s hard to go wrong. 2 hours includes screwing up a couple of times.
Repair time – When something blows, you don’t have to lug your iMac down to the condescending ‘geniuses’ making minimum wage at the Apple Store. Order the replacement part for modest cost shipped overnight and you are up and running again in 24 hours.
What’s your time worth?
Cost:
Total outlay: $1,347.
As importantly, the single costliest part is the CPU at $220, so you will be out very little money if a component needs replacement.
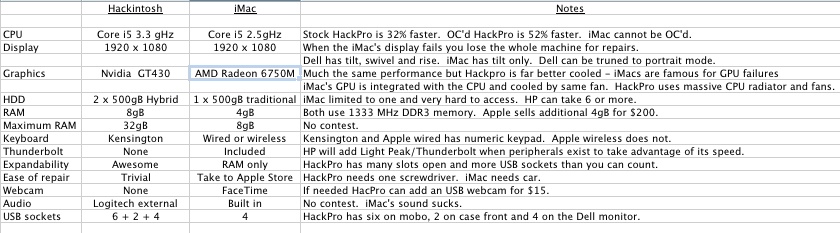
Mac comparison:
Forget the MacMini – bush league.
Which iMac does that amount of money buy you? The base spec 21.5″ iMac for $1,199 is the nearest comparison. All of the Hackintosh’s components come with 3 year warranties, the iMac with just one year, so add $169 for AppleCare to make it three years, for a total of $1,368. How does it compare?
A fairer comparison may be with the MacPro. Even the lowest spec MacPro uses the Intel Xeon CPU which retails at $1,000 and up, so comparisons are difficult. You can expect the MacPro to outperform on multi-threading benchmarks but for photographic use there is no advantage. Spares are costly ‘Apple only’ even though the parts are stock PC ones, gussied up to rip you off. You can do the math but expect to pay a minimum of $3,600 for a machine with the HackPro’s performance.
Thanks, FU – a timely update.
So readers, what on earth are you waiting for? This is a killer photographer’s computer.
Scared that OS updates will brick your Hackster? Nah! Just keep reading this blog.
Thanks Thomas great article, it inspired me to build my own (thanks einstraus for putting me on to you). I have just succeeded getting Lion to run on my Hack’, I thought I would add my experiences and comments.
– I like your choice of components I was able to find everything (August 2011) …even in Canada!
– The graphics card GT430 comes in two guises – I tracked down the one in your illustration (2x DVI outputs) as opposed to the alternate with one DVI and one VGA. I think this is important in case you ever want to run a 27″ screen in which case both DVIs are needed to drive the monitor. (I’m not 100% sure on this, but there’s no upside to having the VGA output for me). (Editor’s note: This is not correct. Read this to understand the requirements for 27″ and 30″ LCD displays.
– Brand / model no.s of other components (RAM, HDDs, CD-ROM) is NOT critical – choice of MoBo and Graphics card IS!
– If you go for two 2.5″ HDDs then you need to come up with a way of mounting them in the Antec case which only provides space for one (right at the bottom). What I ended up doing was using tie-wraps to lash-down each HDD onto a 3.5″ tray sandwiching the silicone stand-offs (tray and stand-offs come with Antec case). I then grounded each HDD case to the Hack’ case using some multistrand wire. Alternatively you could buy tray adapters for $10 each!
– I opted for one 500 GB hybrid drive as you suggest, and one 120 GB Solid State which is big enough for the OS and Applications that I use.
– You should use anti-static tie-wraps inside the Hack’
– The fan on the CPU cooler blocks the 4th RAM slot. If I ever need it, I will move the fan to the other side (unclips easily), and perhaps re-wire it to suck rather than blow through the fins to maintain good air flow through the case
– Kakewalk (4.04) did 90% of the install, but I had to run MultiBeast (Ed. – He means Chameleon). before I could boot from the HDD. This took me a long time to work out…!
– TonyMacX86 is an excellent resource, use it!
Phew.
I tested my Hack’ (un-overclocked) and got a GeekBench32 score of 8938
The cost of my build excluding monitor, keyboard etc is about $850 (including Canadian taxes).
Thanks again Thomas, Kakewalk, and TonyMac
Forgot to credit FU Steve – thanks for the components list and good advice!
Excellent article, however I have the same network card TL-WN951N 300 Mbps, and is getting Kernel Panics with my configuration … So how did you get it to work with an i5 and Lion??? My configuration is an Intel Extreme DX58SO, i7 950, 6Gb Kingston Hyper Tri-Channel, XFX HD6870 1Gb DDR5, and I installed Lion 10.7.2, and I constantly get KPs and the dreaded 809c: Unknown locale error, so if you can give me a tip of how did you get the TL-WN951N to work fine I will really appreciate, what kexts or hacks did you use?
Because I wanted to use AirDrop in Lion I have migrated to a PCMCIA card with a Broadcom wifi card which has the related benefit that it supports 5gHz 802/11n (in addition to 2.4gHz) and requires no kexts – plug-an-play – and behaves just like Airport in a Mac. You can read about it here. Uses one short slot on your motherboard.