Equalling the original at half the price.
Expert computer builder FU Steve set out the current state-of-the-art in Hackintosh building for photographers and video artists in his piece here. At a cost of $1,347, which included one Dell 21.5″ IPS display it’s some 20% faster on most tasks than my Core2Quad machine which is overclocked to run at 3.60gHz versus 2.83gHz stock.
Truth be told, that latest build, using the Intel i5 Sandybridge CPU is overkill for most, so I asked FU to spec out a lower cost machine whose goal was to equal the performance of my Core2Quad Hackster at half the price. In contrast to the paper specs of the i5 machine, this one would be put to work as a stock quote and Excel machine in my office, so there is no room for any cost cutting which threatens reliability.
I’ll hand it over to FU Steve. Having built the HP1, my daily user, he now embarks on the HP10.
Thank you Thomas.
This build is going to use the Intel i3 3.1gHz CPU and a low power drain motherboard and graphics card. That will save on cooling without compromising reliability. On the other hand, the power supply will be over-spec’d to allow for the addition of more drives and monitors down the road with a possible upgrade to an i5 or i7 CPU which is a drop in replacement for the i3. The stock Intel cooler will be used; it’s a poor cooler but should be adequate for the demands here.
CPU:
Intel Core i3-2100, 3.1gHz – $124
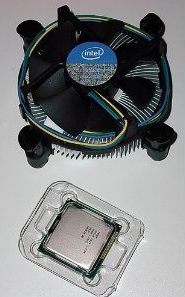
This is a superb bargain. It can only accept very modest overclocking, which is a waste of time, but uses little power and is easily cooled.
CPU cooler:
I am using the stock Intel cooler which comes with the CPU, with Arctic Silver thermal paste in lieu of the stock paste supplied by Intel.
Motherboard:
Gigabyte Intel H67M-D2-B3 – $100

I’m sticking with Gigabyte as it’s a known and reliable maker. This board is a Micro-ATX board, though we are using a full sized ATX case. It supports the new 6gB/s SATA data transfer rate, twice as fast as the older 3gB/s. It will only accept two memory sticks, but we will only be using one, for 4gB.
Memory:
Corsair XMS3 4 GB 1333MHz PC3-10666 240-pin DDR3 Memory Kit for Intel Core i3 i5 i7 = $30

Another can be added if needed later on.
Graphics and video:
EVGA GeForce GT430 1024 MB DDR3 PCI-Express 2.0 Graphics Card Video Card 01G-P3-1431-KR – $64

There are faster and far costlier GPUs than this one but this is a tremendous price for an advanced card which will support two DVI-D displays. You can start with one display and then add a second later. I’m sticking with EVGA and the Nvidia chip as Thomas has had such excellent performance from his EVGA Nvidia 9800GTX+ card, which is marginally slower than this card, but cost twice as much. The card comes with its own cooling fan, which is as it should be. This is a low power consumption card and does not require plug in power, deriving what it needs from the motherboard.
In addition to the two DVI-D sockets for computer displays (a rarity on a card which is so inexpensive), the card also has an HDMI socket for use with modern LCD TV sets, making this machine ideal as a home theater PC, though I would use a smaller case and a notebook HDD for such purposes. There is no VGA socket – if that’s required, look at other cards. Gigabyte alone makes so many it’s mind blowing.
Computer case:
Cooler Master Elite 371 Mid Tower ATX Case – $40
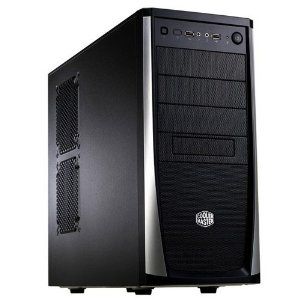
Not as massive as the Antec Sonata III Thomas uses in his Core2Quad machine, but adequate for our purposes. It has especially easy installation for disk drives and peripherals and lots of space for cooling and expansion. There is no reason to go with a small case for this application.
Power supply:
Thermaltake W0070RUC TR2 Series 430W Power Supply with 2 Fans – $41
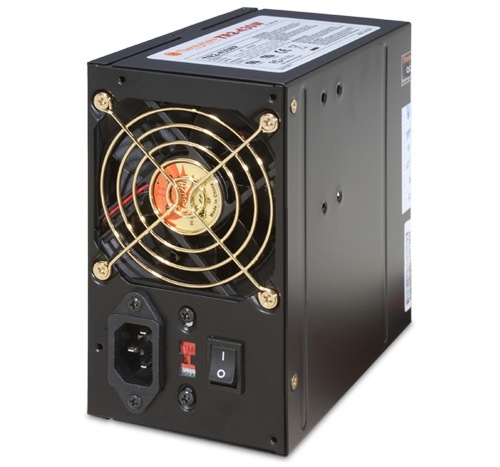
It’s easy to be cheap here, but an under-spec’d power supply will die on you, maybe taking the motherboard with it. Plus it limits upgrade potential. The power supply used here has shielded cables, lots of connectors, a twin fan and a great reputation. It includes a 115/230 volt switch.
You can use the table here to properly determine the power supply wattage needed. This rig demands 234 watts, so with a 430 watt power supply there’s no stress. Add a second HDD, two SSDs, more USB devices, more fans and an i7 CPU overclocked, and the power needed rises to 295 watts. (By contrast the Core2Quad Thomas uses needs 404 watts at full power, which gives you some sense of how power needs have fallen with the latest components).
Keyboard:
Kensington K64366 wired slimline USB for Mac – $38 (not at Amazon).
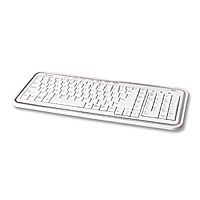
Forget wireless – simply not reliable enough. This keyboard uses mechanical scissor-type key springs and is superior in every way to the execrable ergonomics of the overpriced ones made by Apple. You use a keyboard all the time – why not the best? Get a cover while you are at it – $20 – and keep it clean and long lived.
Disk drives:
Seagate Momentus XT 500 GB 7200RPM SATA 3Gb/s 32 MB Cache 3.5 Inch Solid State Hybrid Drive ST95005620AS-Bare Drive = $100
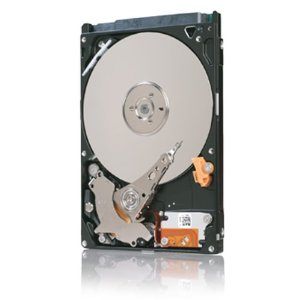
You can get awfully used to the fast boot of an SSD but it comes at a price. As you can leave your HackPro on 24/7 there’s no need for a fast booting costly SSD, so use a good compromise, a hybrid HDD. This uses some internal memory to cache frequent uses (open PS, open LR, etc.) but traditional spinning disks for storage. The price is right. 500gB is plenty; if you need more buy larger traditional drives and consider using a small SSD drive for booting the OS and for loading apps. If the budget is tight, you can get a 500gB 6gB/s Seagate 7200rpm drive for as little as $40.
DVD readers:
DVD: Sony 24X SATA Internal DVD+/-RW Drive AD-7260S-0B – $20
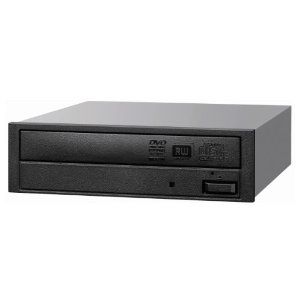
Steve Jobs may be junking the DVD drive but you don’t have to at the price Sony is asking. Forget slimline or slot loading drives – made to fail.
If you need an SDXC card reader, external USB types can be had for $20.
Mouse:
Microsoft Wireless Mobile Mouse 6000 – White – $23
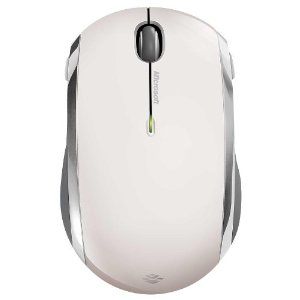
Bluetooth mice – Apple’s and many others – are plagued with interference problems. Like Thomas once did, I use the Microsoft Mobile Mouse because it’s cheap, comfortable, runs for three months on one AA battery and uses RF not BT. A small dongle is inserted in any available USB port and there’s no pairing or disconnection issues. Instant on, never off. Best of all, the white one has a semi-gloss surface which does not show fingerprints and is $4 less than the shiny black one. Go figure. Download MSFT’s Intellimouse software and you can tailor the two side buttons and the scroll wheel. The latter supports both vertical and horizontal (tilt the wheel) scrolling. A superb product, even if it does say ‘Microsoft’ on the box. The scroll wheel is freewheeling – if that does not work for you look at RF mice from Logitech.
By all means try Apple’s Magic Mouse. I suspect you will conclude, as I did, that the ergonomics suck, leaving you $70 poorer.
Bluetooth:
IOGEAR USB 2.1 Bluetooth Micro Adapter GBU421 – $12
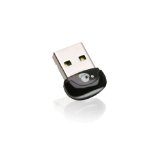
If you need BT, plug this in to any USB port. The mouse used does not need it.
Speakers:
Logitech LS11 2.0 Stereo Speaker System – $18
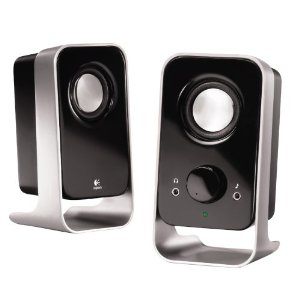
These will give you sound about a billion times better than the ones in an iMac for very little outlay. They are wired – forget wireless toys. This model has been around for ever, with just cause.
Display:
ASUS VH222H-P 21.5-Inch Widescreen LCD Monitor – $138 + $5 for a DVI-D cable.
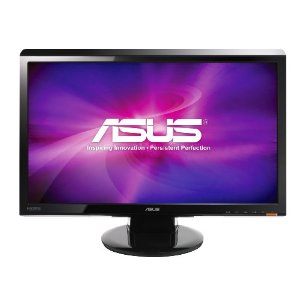
With 1920 x 1080 definition this is a nice modern display. Not top of the line but adequate for all but the most critical users. Comes with DVI-D cable included. There’s a small built in speaker (poor) but will suffice if you do not need big sound.
Wireless 802-11n:
Newer Technology USB dongle from MacSales – $30
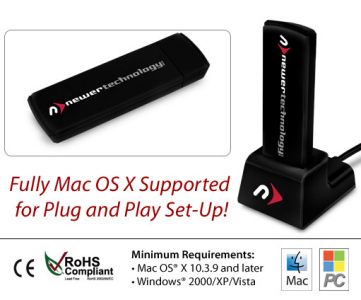
The latest driver works perfectly with OS Lion.
If you prefer wired Ethernet, be sure to install the RealtekRTL81xx.kext file (available free from kexts.com) using KextBeast (available free from the Downloads area of Tonymacx86.com). Simply place the kext file on your desktop and run KextBeast, then restart the computer.
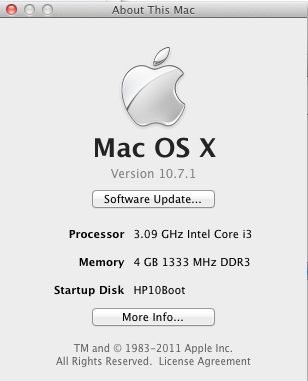
Software:
OS X Lion – $30

The most overrated ‘upgrade’ to an OS ever, but robust, stable and easily made to behave like its awesome predecessor, Snow Leopard. Thomas has written about it a lot on his blog, and it is priced right. I used the TonyMac installation which is clearly documented here. The site has a host of DSDT files – these are specific to your hardware to make Lion run. Installation is simply a question of placing the file on your Desktop and running MultiBeast.
Sound is a little tricky. The motherboard uses the Realtek ALC888b codec. To avoid nasty crackling sounds run System and AppleHDARollback from Multibeast. Then go to Kexts.com and download GigabyteALC888b.kext and HDAEnabler.kext, place both on the Desktop, run KextBeast, reboot and you are done.
The installation here is a ‘clean’ Lion one, with no need for a pre-existing Snow Leopard installation.
You can update Lion 10.7.0 to 10.7.1 using Software Update in OS X; mine installed flawlessly.
Time to assemble the hardware and tools required:
Study the pictorial at the end of this piece first, then run it on your iPad as you do the work. I believe that even a first time computer builder could assemble this in a very leisurely ninety minutes, two hours with a pause to walk the dog. Tools needed are a medium Phillips screwdriver, a flat bladed screwdriver, a pair of snips to remove blanking plates (though you can just wiggle them until they break off), a 5mm nut driver to tighten the motherboard stand-off posts (though you could butcher these just as easily with a pair of pliers if you have no pride in your work), a thin piece of stout plastic to spread the thermal paste on the CPU and heatsink in the fan base, and a bent paper clip to test the power supply before installation.
Software hacking for Lion OS X:
There are a large number of web fora addressing OS X hacking. Some of the most useful are:
- InsanelyMac – a lot of noise on this forum, but the chances are high that your issue will have been encountered by someone else and, if not, posting a question comes with a good chance of a reply.
- TonyMacX86 – this aims for a much ‘cleaner’ presentation and comes with a host of free hacking tools and files.
- Lifehacker – Hackintosh – the source for the original Adam Pash build of Thomas’s HP1 Core2Quad Hackintosh, much enhanced since original construction. Lots of great tips on upgrading to Lion from Snow Leopard.
In both cases there is a strong sense of community and helpfulness, so if you derive value from these be sure to try and help others if you can.
Economic risk:
No component costs over $140 here, so if one part blows, your replacement cost exposure is low.
Expandability:
The beauty of using a generously sized computer case is not only that it makes cooling easy (you can get three more case fans in there and a large CPU fan) but also that the computer can be greatly expanded as needs dictate and the budget permits. Some examples:
- Add three more case fans
- Upgrade the Intel Core i3 CPU to an i5 or i7 – drop-in replacement, no software changes. The Core i3 used has excellent resale value.
- Use an i5 or i7 in the overclock version and you can further significantly increase processing speed
- Add more RAM – one more 4gB stick for 8gB total or two 8gB sticks for 16gB
- Add SSDs, HDDs, card readers, etc. until you are blue in the face
- Replace the Micro-ATX motherboard with a full sized ATX one if your needs are extreme
- Migrate to an exotic graphics card for the most demanding video processing needs
- Add a second monitor without the need to add a second graphics card
Further, by not chintzing on the power supply at this stage, there is more than enough current and connectors available to cope with increased power demands.
Total cost:
$814.
$724 if using wired internet and a regular 500gB disk drive.
Add as much as you want to spend for a costlier monitor. Or two.
In Thomas’s case, he had many of the peripherals and OS Lion, needing only the CPU, RAM, motherboard, graphics card and power supply, for a total outlay of $400.
For that price you get performance comparable to a mid-range iMac at half the price and with far better cooling, meaning far greater reliability.
Thanks, FU. FU is building the machine right now and I will run Part II with performance measurements on Photoshop CS5 and Lightroom 3 once it’s up and running.
Click the picture below for a slideshow of how FU assembled the HP10 computer:
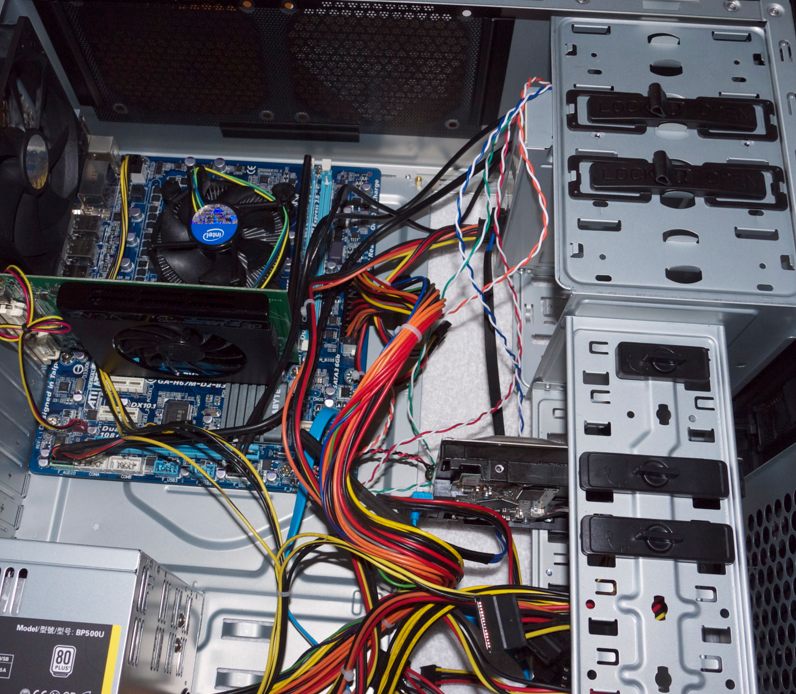
Click the picture for the HP10 assembly pictorial. © FU Steve.
Part II on the economy Hackintosh appears here.
Hello there !
Just a quick word to thank you very much for this tutorial. After months of browsing the internet around hackintosh, I found your experience inspiring and decided to follow it. I did not have enough time to test my brand new machine, but I must say I’m already impressed by the ratio cost/performance !! Thank you again so much….
Laurent (from France)