A mixed bag.
For an index of all my Film related articles, click here.
I sold my first – and last – Leica 35mm film camera 12 years ago after 35 years of use, and that tragic tale is related here. Maybe the lesson from that experience is that no modern camera is going to last 35 years as technology marches on, for in all key regards film camera technology did not improve after the first Leica M3 was introduced in 1954. Heck, you might argue that the outstanding Zeiss Contax II really defined the genre, and that was in 1936! The only material improvement added in the M3 was the suspended, illuminated frame lines, admittedly a stroke of design genius.
When my first serious digital camera came along, the magnificent full frame Canon 5D it was clear that film was toast. The flexibility and resolution of that 12mp Canon sensor was an order of magnitude above anything film could do, even if it was Kodachrome in a Leica with a Summicron lens fitted. And the sensor in that 5D delivered excellent colors, to boot. And booting was never necessary as this complex machine was as reliable as a hammer.
So it was with some apprehension that I awaited the processing of my first two rolls of Kodak Gold 24 by TheDarkroom.com, exposed primarily to check for any malfunctions in my newly acquired $100 Nikon FE body. I say that but a related goal was to take good photographs and hope that nothing went wrong.
I opted for the highest resolution 6774 x 4492 byte scans, which figures to a 30.4mb file though Lightroom reports less, likely due to compression of continuous tone areas:
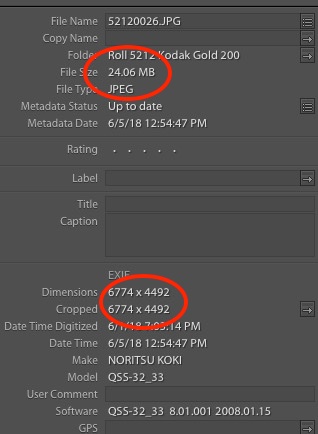
Theoretical and actual scan sizes.
Exposures seem to be bang on using the camera’s Auto function, and no light leaks were noted. Maybe 1/4-1/2 stop over-exposed, but nothing to worry about. The scans are clean, scratches notable for their absence.
Anomalies? One frustrating finding is that the perspective correction controls in LR (Lens Correction->Basic->Level/Vertical/etc. are useless. They simply do not work with the film scans making a hash of things, so you have to round trip the image to Photoshop which works fine. Mystifying. These LR controls work perfectly with original digital images from any number of cameras and I use them often in architectural images. Frustrating and mystifying.
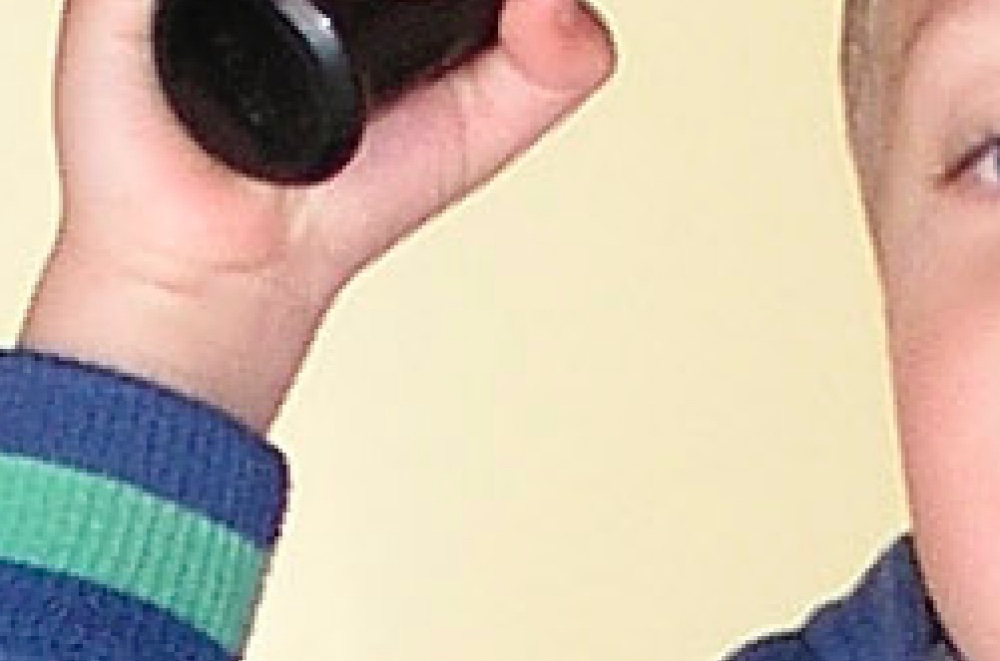
How is the resolution? Meh. It compares to a decades old 5mp Olympus C5050 point-and-shoot digital with a stated stated 1920 x 2560 byte sized image coming out at just 2.3mb in the file below. In the images below I have selected enlarged sections which would, as a whole deliver prints sized 60″ x 40″. In other words, very large. There is more detail in the film image but also a lot more grain.
Olympus C5050 at 40x.

Kodak Gold 200 at 40x.
The digital image shows pixelation, the film one coarse grain.
The film image was from the Nikon FE using a superb 135mm f/3.5 Nikkor stopped down to f/8 and correctly exposed.
Practically speaking the film image would deliver a decent 16″ x 20″ print, but forget selective enlargement or pixel peeping.
Here are some images from that first outing, all snapped in downtown Phoenix:
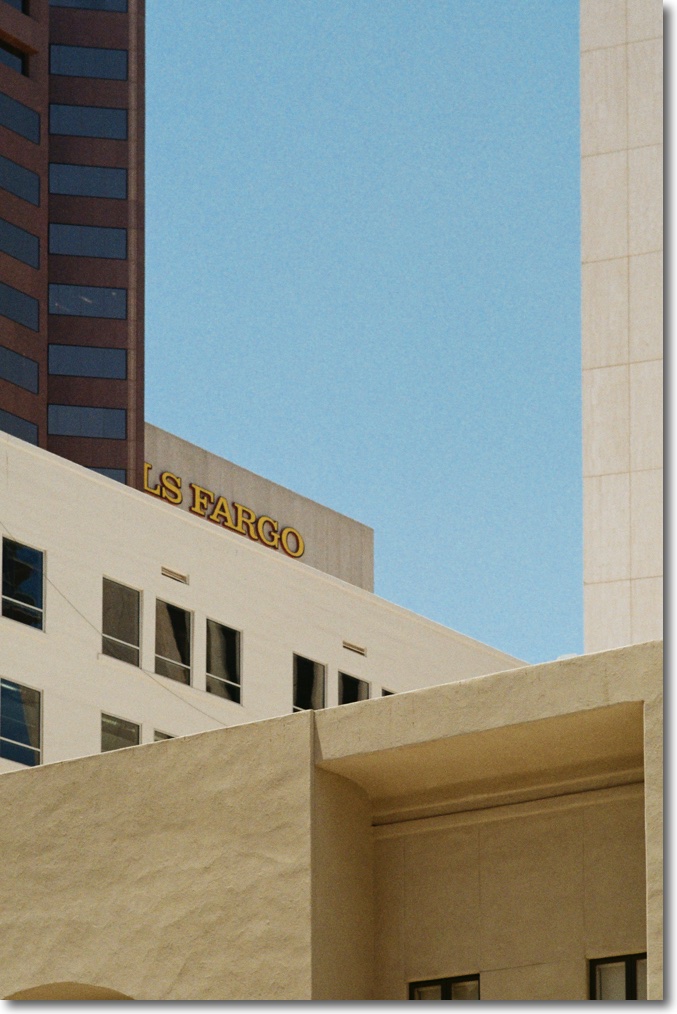
Sheraton downtown. 135mm f/3.5 Nikkor Q.
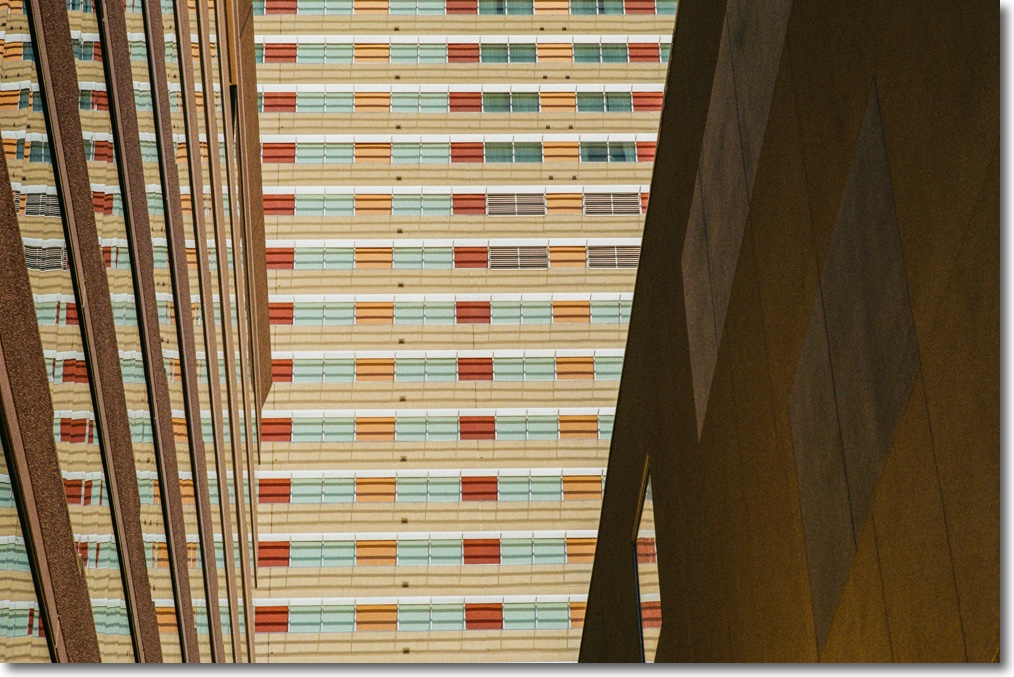
Crooks’ HQ. Grain in the sky is visible
even at modest enlargement. 135mm Nikkor Q.
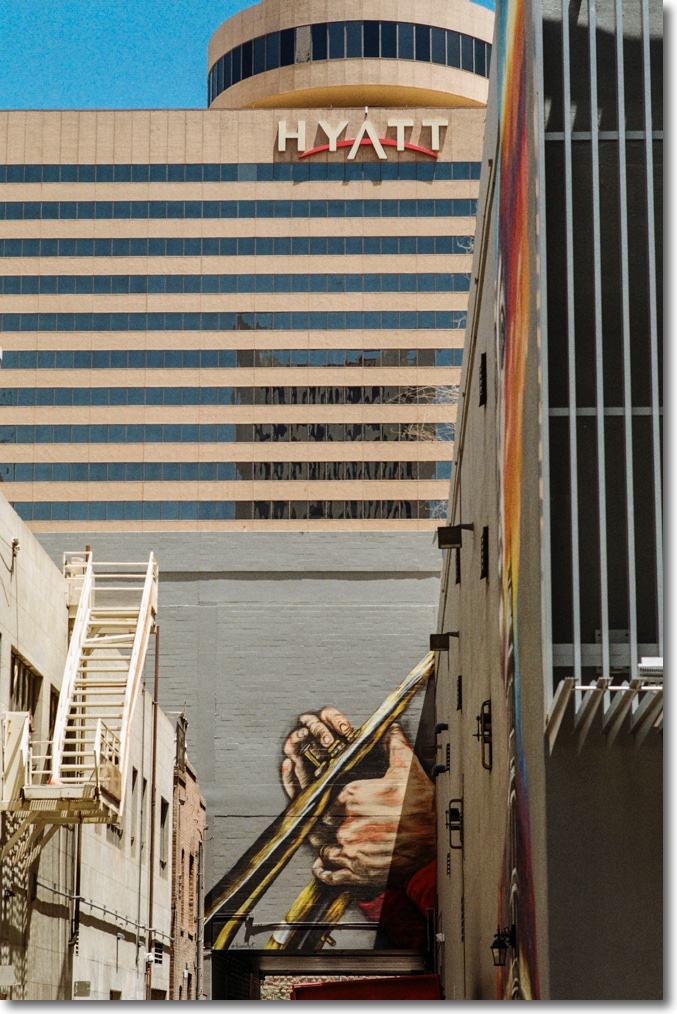
Hyatt with trumpeter. 135mm Nikkor Q.
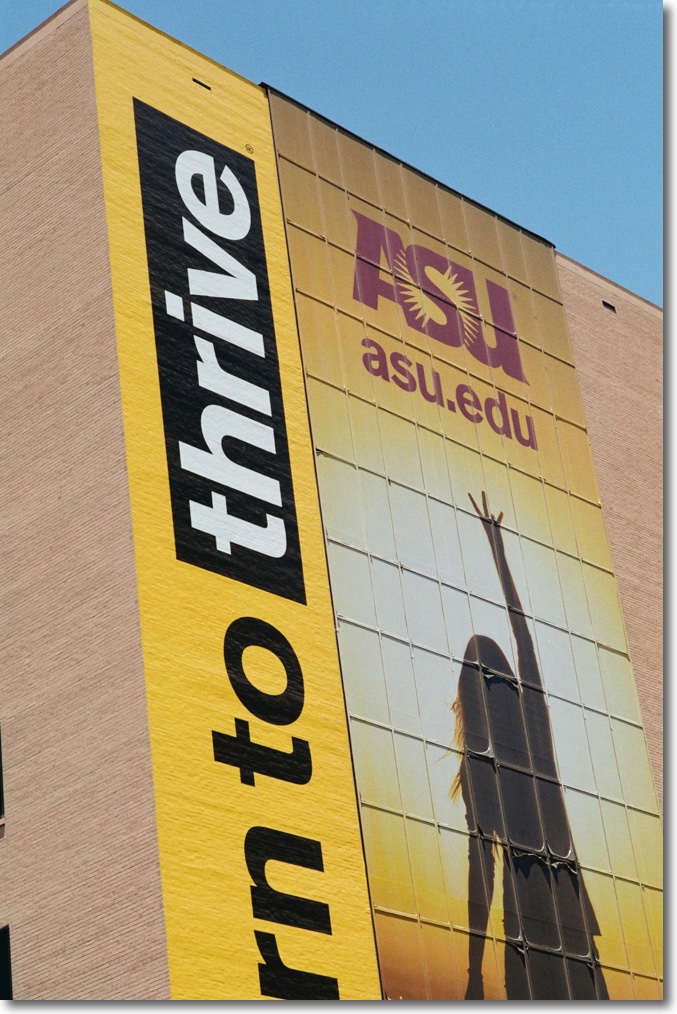
ASU. 135mm Nikkor.
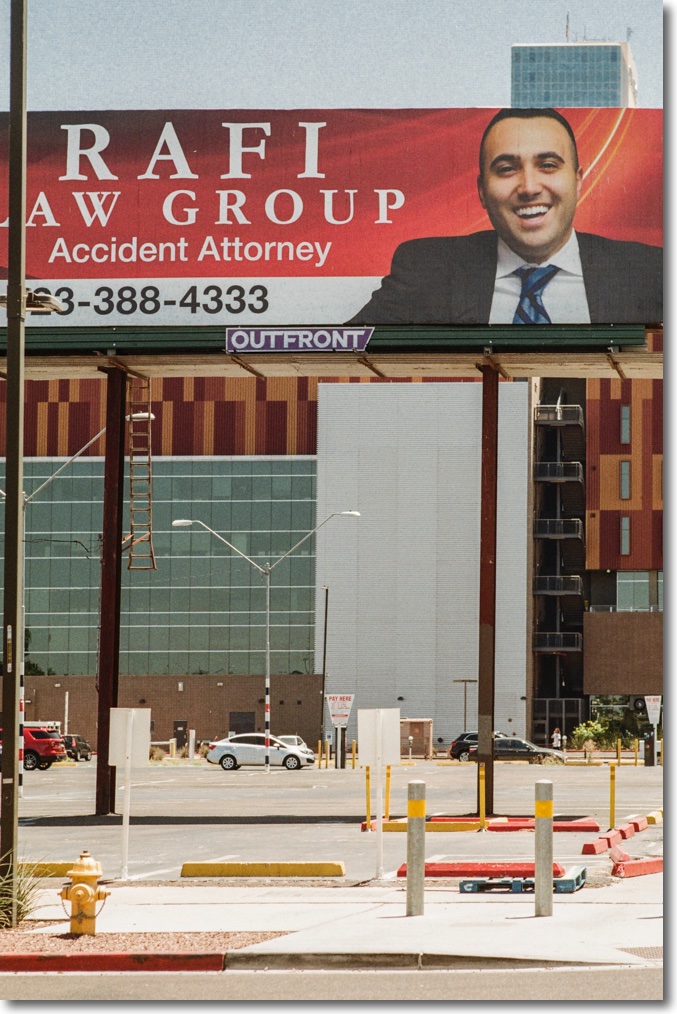
Ambulance chaser. 35-70mm f/2.8D Nikkor.
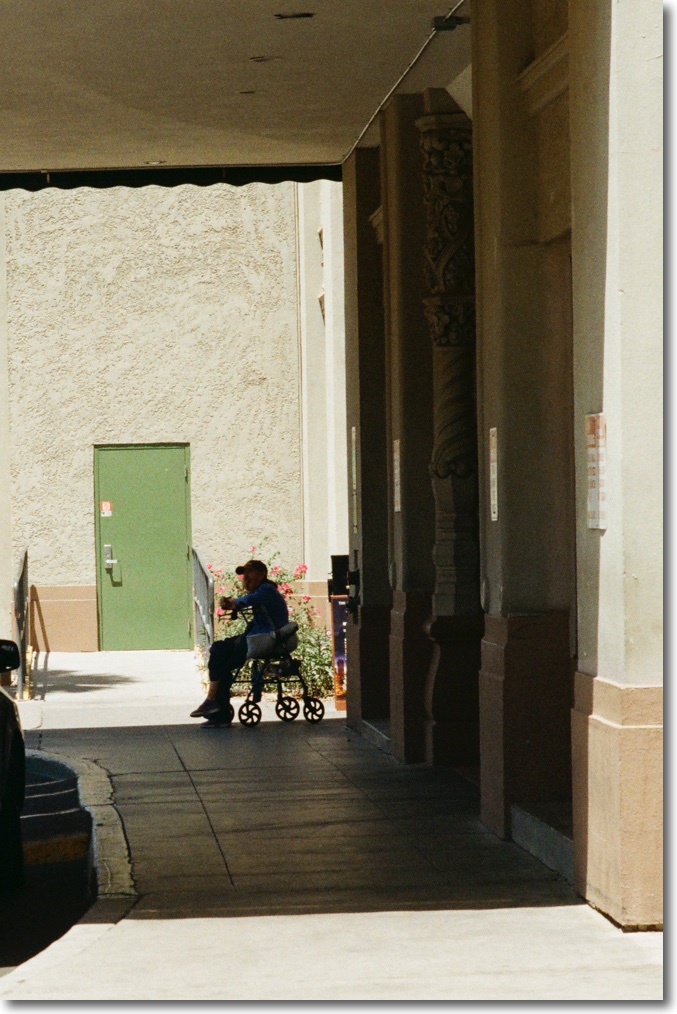
Vet. 35-70mm Nikkor.
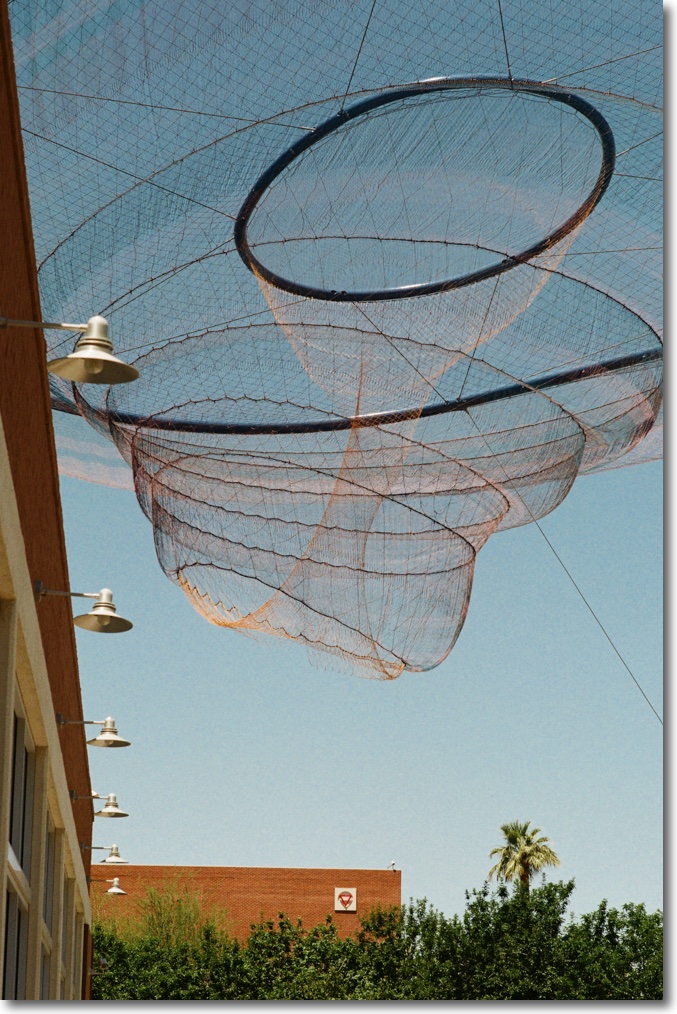
Basketball. 20mm UD Nikkor.
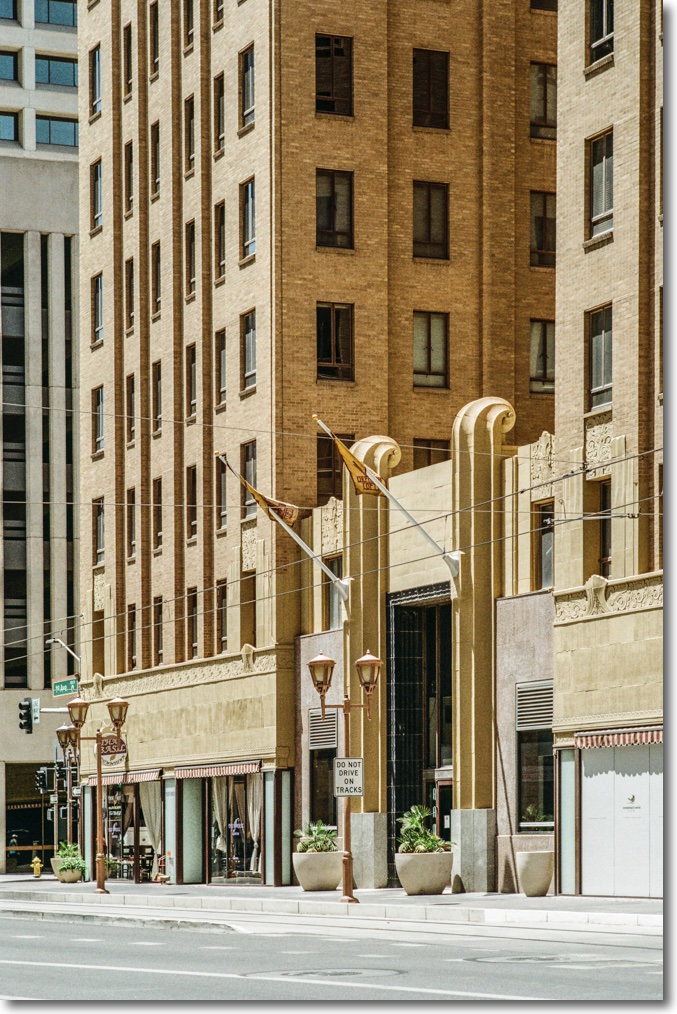
Art Deco. 35-70mm Nikkor.
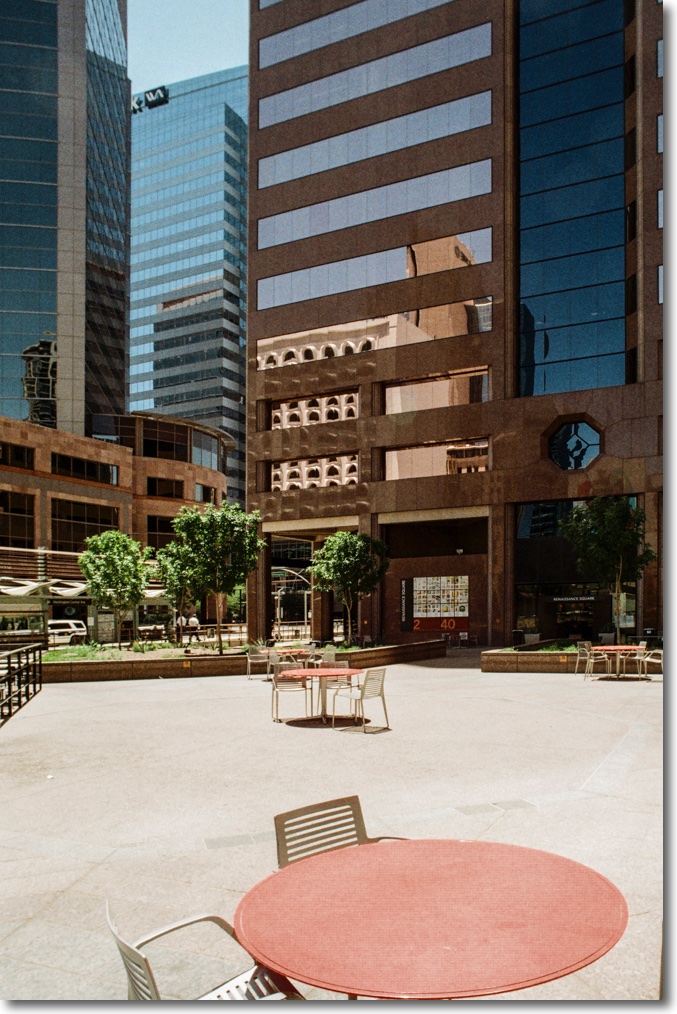
Red. 20mm UD Nikkor.
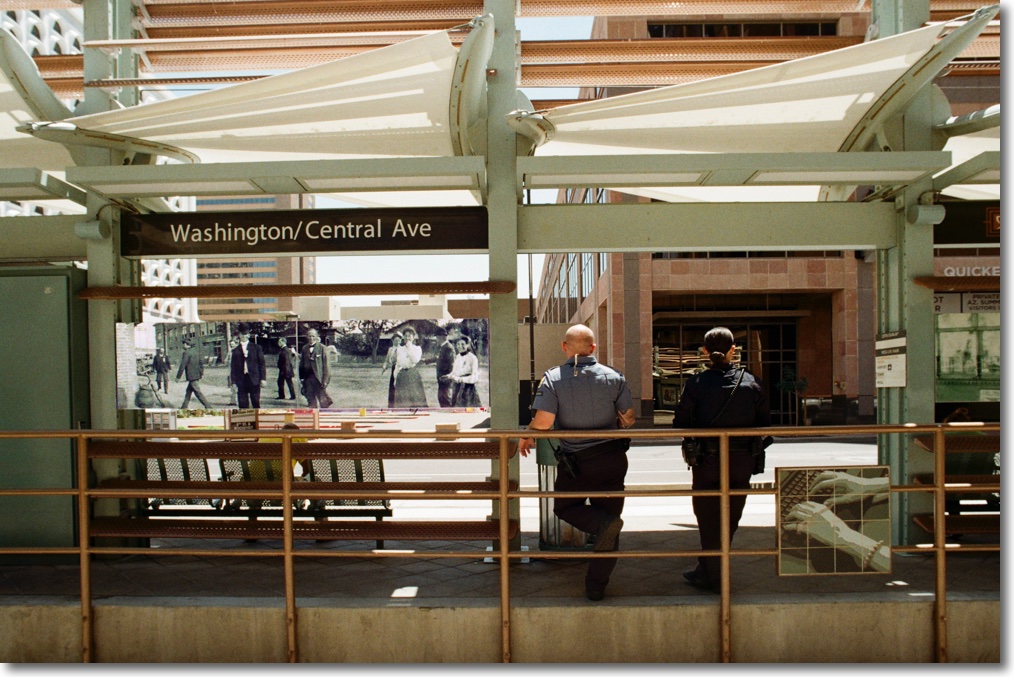
Central Avenue. 20mm UD Nikkor.

Signature cocktails. 135mm Nikkor Q.

Downtown Deli. 35-70mm Nikkor.
Adding EXIF data:
I like to have camera and lens data in the EXIF data for each image as that’s how I tend to remember images, rather than through clunky keywords.
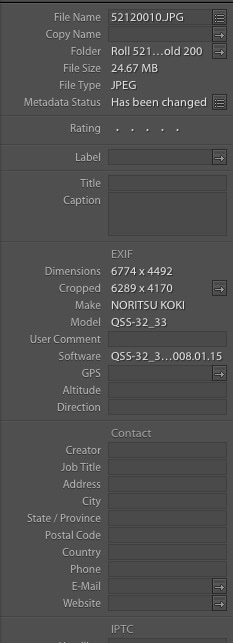
As scanned the EXIF data shows the name and model of the Noritsu film scanner used by the lab.
To confer proper camera and lens data I purchased an app named ‘EXIF Editor’ from the OS X App Store. It’s a tad clunky but can be integrated into LR for the roundtrip in Lightroom->Preferences->External Editing:
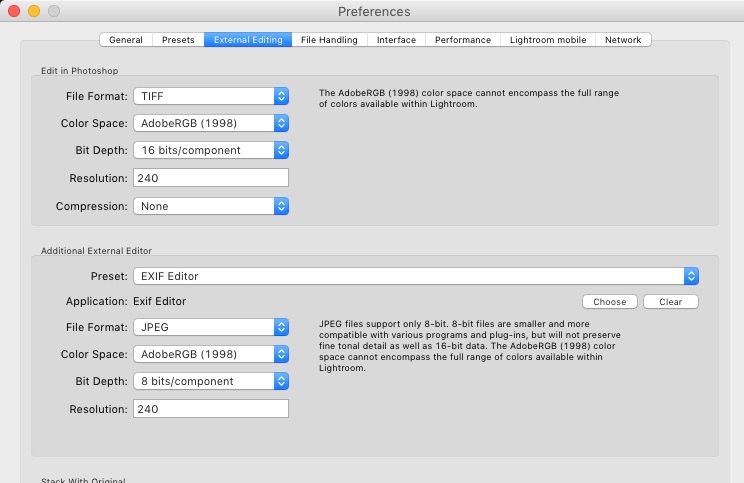
EXIF Editor set as an external editing option.
Then, after restarting Lightroom, choose the photo or photos (this functionality permits batch processing in EXIF Editor) to be round tripped thus:

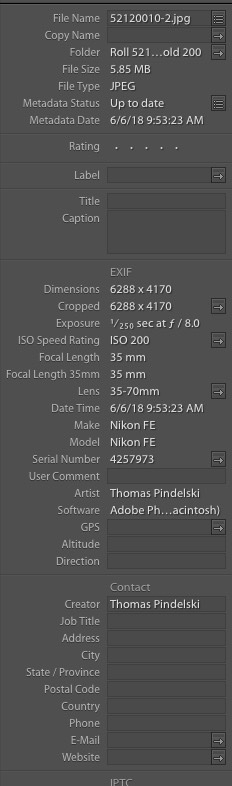
Here is an example of ‘before’ and ‘after’ EXIF data:
I generally find that you have to restart LR with each batch of images to be round tripped; while EXIF Editor is clunky, you can set up presets with favorite camera/lens combinations, electing the preset once the image batch is in EXIF Editor. Hit ‘Process’ and the images will be saved as additional photos in a stack for each image in LR. The originals in LR can then be deleted as they add no value.
Here is the LR metadata display after adding correct camera/lens data for the folder:
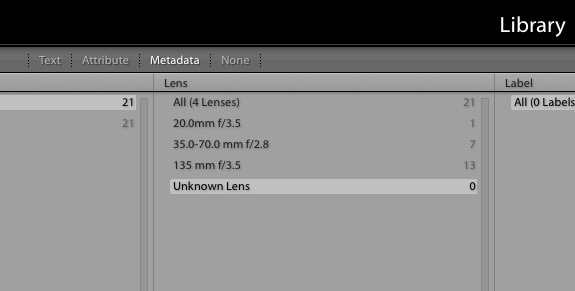
Once you establish a workflow it’s less effort than it seems and, after all, there are one 36 images on a roll!
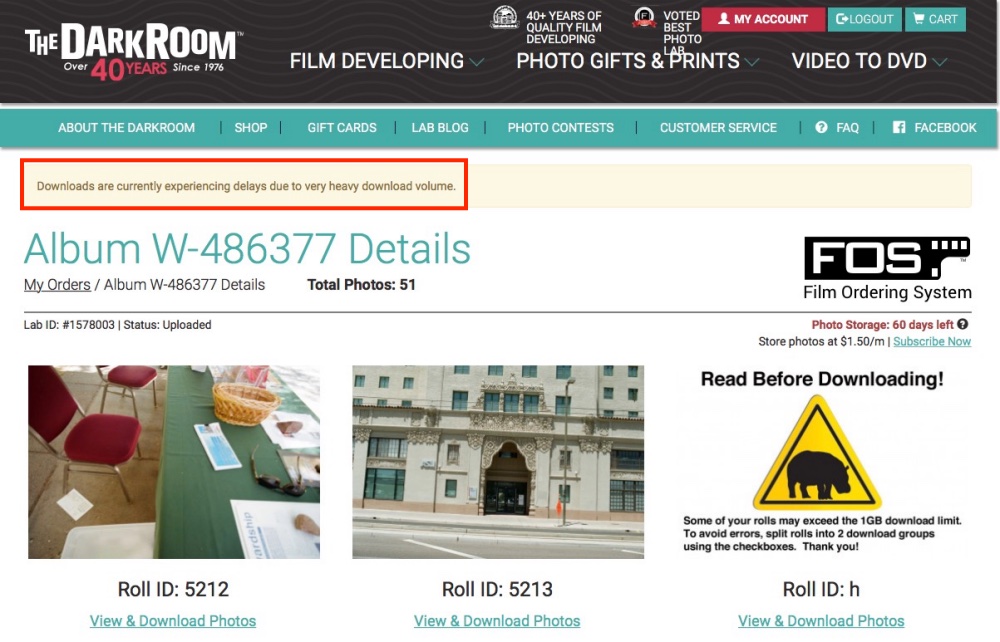
This film processing and scanning service is in Los Angeles and came recommended. Their 6774×4492 scans are the largest HQ ones I could find and unlike other services I looked at, TheDarkroom.com offers online image download from their servers which store your images for 60 days, unless you want to pay for extended storage. This is what you see once your scans are on their server:
Scanned images ready for download.
There were two snags. First this, which is simply inexcusable:
I selected just two images and got this idiotic message:
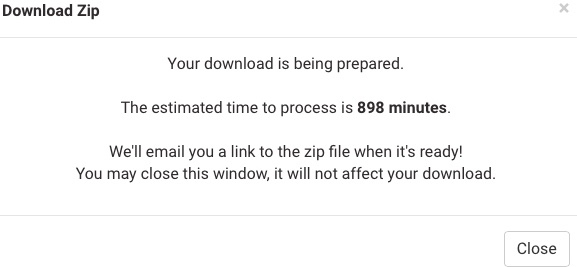
That means you have to download one image at a time.
Second, the selection box for checking images to download returns a green check mark when clicked but then clicking ‘Download’ does nothing. I managed to beat direct download links out of them – after two tries for they sent me the wrong ones. Next time I’ll take my business elsewhere. Meanwhile, they got what they deserved in my Yelp review: