Outstanding definition.
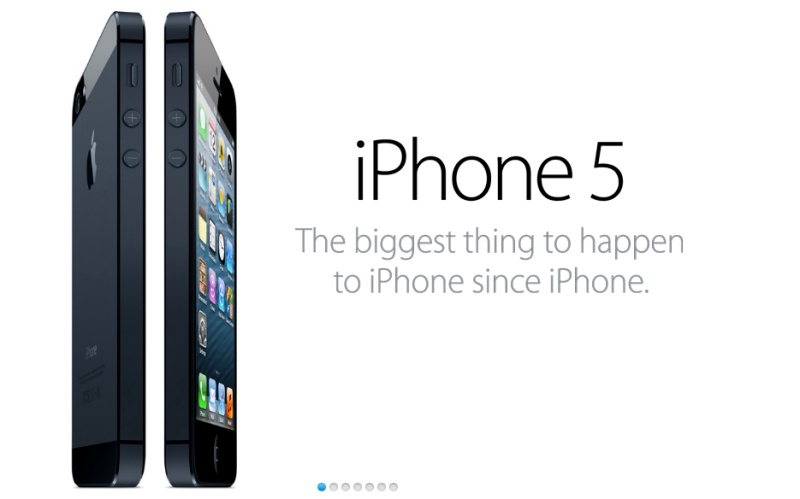
When you see results like the one below you want to beg Apple to make a real camera. Something with a minimum of buttons, no ridiculous multiple choice LED settings, small, fast, maybe with software enhanced out-of-focus capability, iCloud integration, Siri voice control and an in-body non-extending zoom covering 28-90mm at f/2.
I have mentioned before that Apple needs to explore new markets to keep up its torrid growth, markets such as home appliances and in-car controls.
But the obvious one is cameras. It meshes perfectly with Apple’s business model. Take something which everyone uses – PCs, phones, cloud storage, cameras – and make it better. A lot better. In the process get rid of all the options only a few pizza-guzzling nerds deem essential, serving only to make an ergonomic nightmare of the result. And the competition here, as was the case with smartphones, hasn’t had an original idea in years, resting comfortably on its oligopolistic laurels (meaning Canon and Nikon) for lack of competition. Ripe for the picking.
And Apple has to do this because at present rates even pygmies in equatorial New Guinea will soon have iPhones.
The camera market is enormous and the competition simply awful. Look at the average DSLR. A design catastrophe with its plethora of buttons, levers, controls, options and so on. The modern DSLR could hardly be made less user-friendly and the prime reason to own one is to secure the highest quality results, accepting the penalties of bulk, weight, poor useability and cost.
How large is this market? Apple could sell a sophisticated, beautifully designed iCamera for $499 all day long. They already have all the knowhow needed to make such a device. If the iPhone 5 can make a projected 100 million in sales then an iCamera could easily do 25 million annually. That’s $12.5 billion in revenue and $5 billion in profits, instantly adding 25% to the bottom line and share price.
To see what I’m rambling on about, look what iOS6’s panorama mode from the minuscule sensor in the iPhone 4S can do:

Click the picture to download the 8MB original file
Stretched across the full 57″ width of my three Dell 21″ displays the definition is stunning.

57″ wide display.
The location is the sundial garden at Filoli, the same sundial which my son and I set correctly on our previous visit. It remains correct.
Disclosure: Long AAPL, BRCM, QCOM, OVTI.