Nailing down the variables.
For an index of all articles about the Epson ET8550 printer, click here.
When it comes to getting good color matching out of your printer the exercise has much in common with rocketry. It’s always something. There is a host of variables and just when you think you are prepared for take-off some new gremlin comes along and your rocket or print leaves a useless mess on the launch pad or paper, as the case may be.
What follows reflects my experience with a 2010 Mac Pro running OS 10.13.6 High Sierra with an Epson ET-8550 ink jet printer. An old Mac Pro because “it just works” (remember those days?) and an old version 6.4 of stand-alone Lightroom because it will be a cold day in hell before greedy Adobe extracts a license fee annuity out of me, with the near impossibility of ceasing monthly payments, short of death by the payor.
See what I mean?
Most of this piece is likely of generic applicability to Mac users with this Epson printer who opt to use the Epson non-AirPrint driver, the only driver which will properly allow the user to invoke custom ICC paper profiles in Lightroom. If you have a supply of paper where an ICC profile is not available from the manufacturer, having a tailored profile made is the way to go.
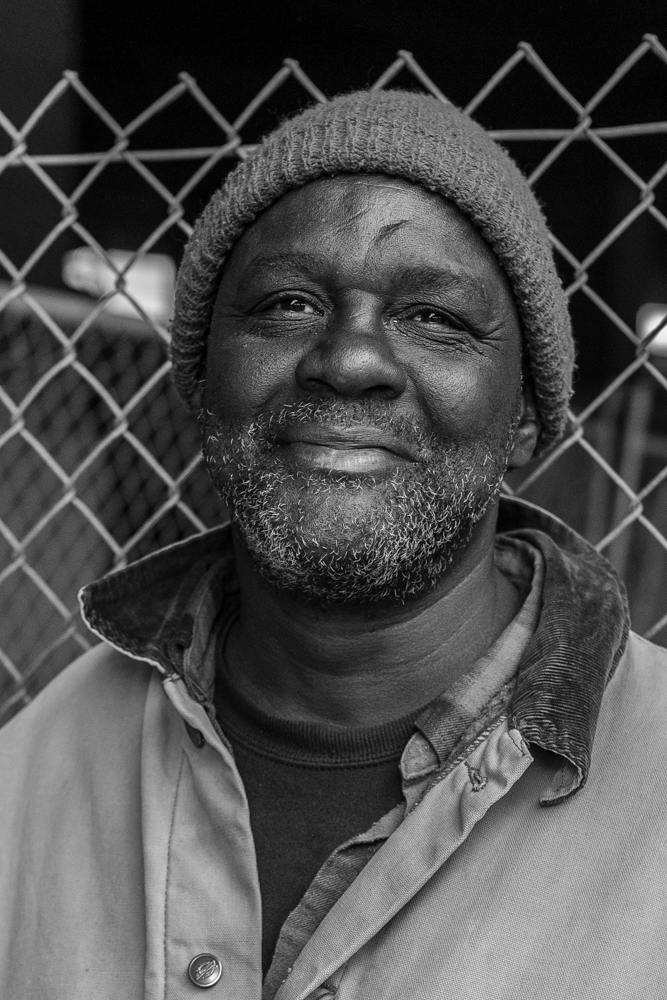
In this earlier piece I explained how my large stock of obsolete HP Premium Gloss photo paper required procurement of a tailored ICC paper profile to optimize screen-print color matching. The HP paper is no longer made and the standard HP profile for that paper, while close, rendered Caucasian skin tones slightly too pink to be acceptable.
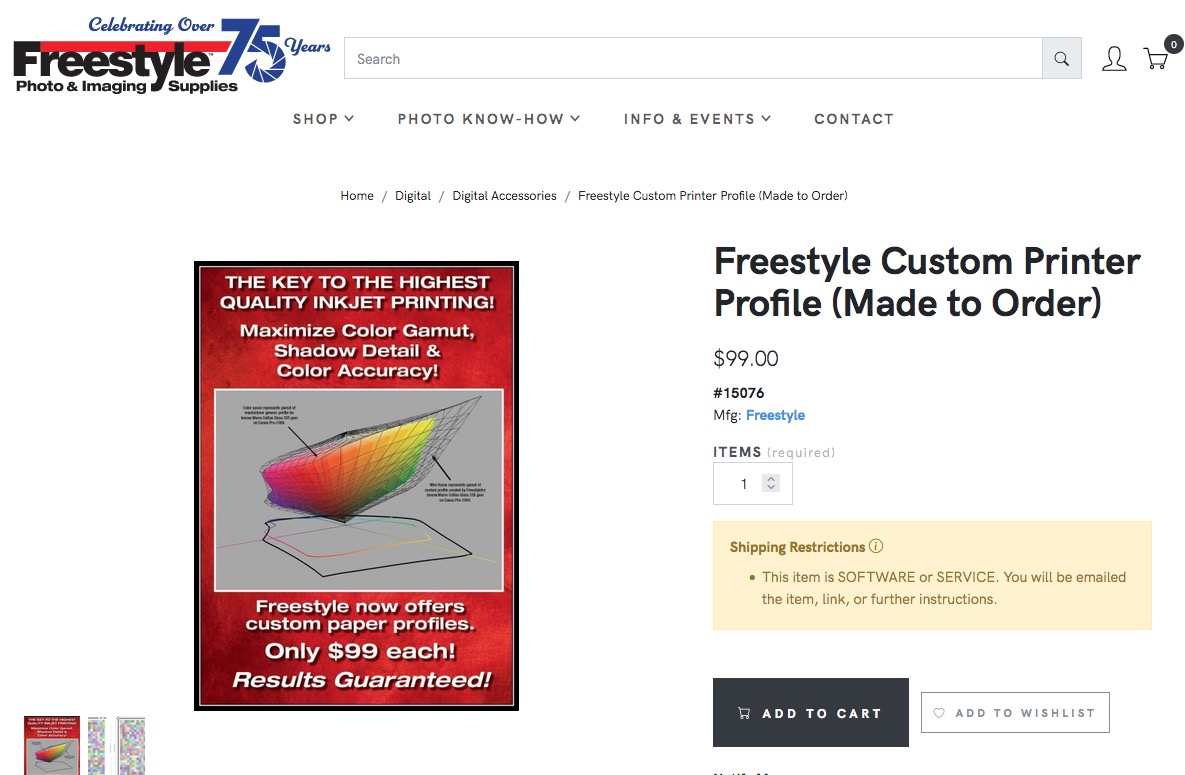
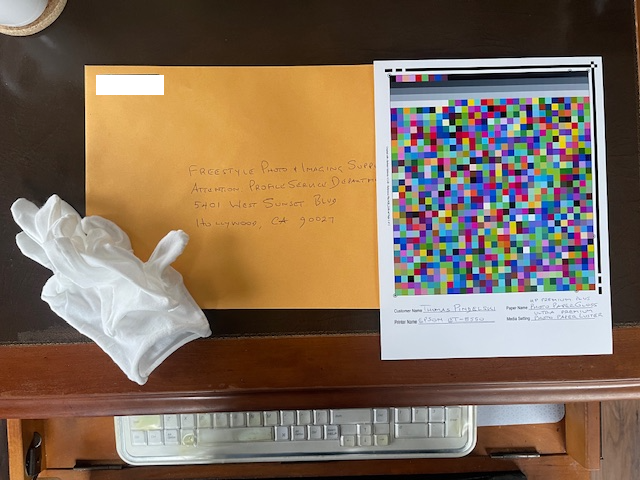
The Hollywood place I used (Freestyle) was happy with my second set of color patch prints (I messed up on the first pair and they did a bit of hand holding – thank you, Eric! – to help me get it right) and emailed the new profile to me last night. $99 well spent. To complicate matters Apple Mail kept erasing their emails and I had to resort to an old Gmail address which, of course would only work with iOS as my Mac Pro is too old to allow the use of Gmail, if you can believe that. More planned obsolescence.
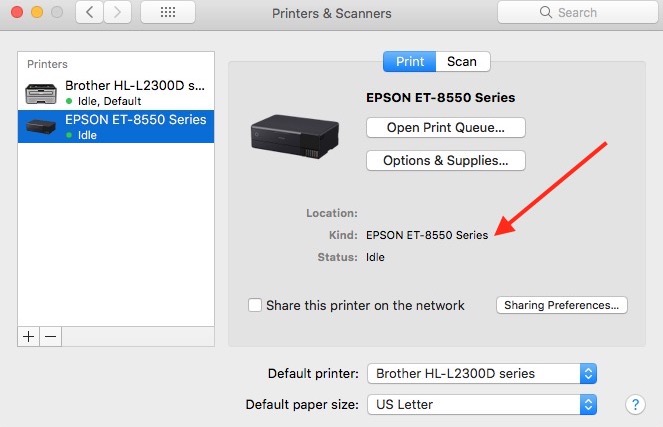
So having installed the non-AirPrint Epson printer profile, and deleted the default AirPrint version, as explained here, I found that I could not print on 13”x19” paper. After some whirring nothing happened. I am limited to 8”x10” with the Epson non-AirPrint driver. It’s best pointing out that exactly the same thing happened trying to print using Apple’s Preview application, suggesting the fault lies with Epson not with Adobe or Apple. As with Lightroom, the printer would happily make 13″ x 19″ prints using the AirPrint driver but resolutely refused to print anything with the non-AirPrint driver.
This is why it makes sense to beat this to death before moving on. You really do not want to revisit the large number of variables when it comes to making prints – paper size, margins, paper quality, print quality, ICC profile, printer driver and on and on. Once it’s right, save everything in LR presets – see below – and printing becomes a one-click affair, as it should be.
Having determined that the Epson absolutely refuses to print on 13” x 19” paper if that’s what you dial in in LR when the non-AirPrint Epson printer driver is used, some experimentation was in order. LR works fine with the AirPrint driver at that size but that driver does not invoke custom ICC paper profiles correctly, if at all, and the colors are unacceptable. So the AirPrint default driver that Epson forces you to use unless you know better is useless, in practical terms.
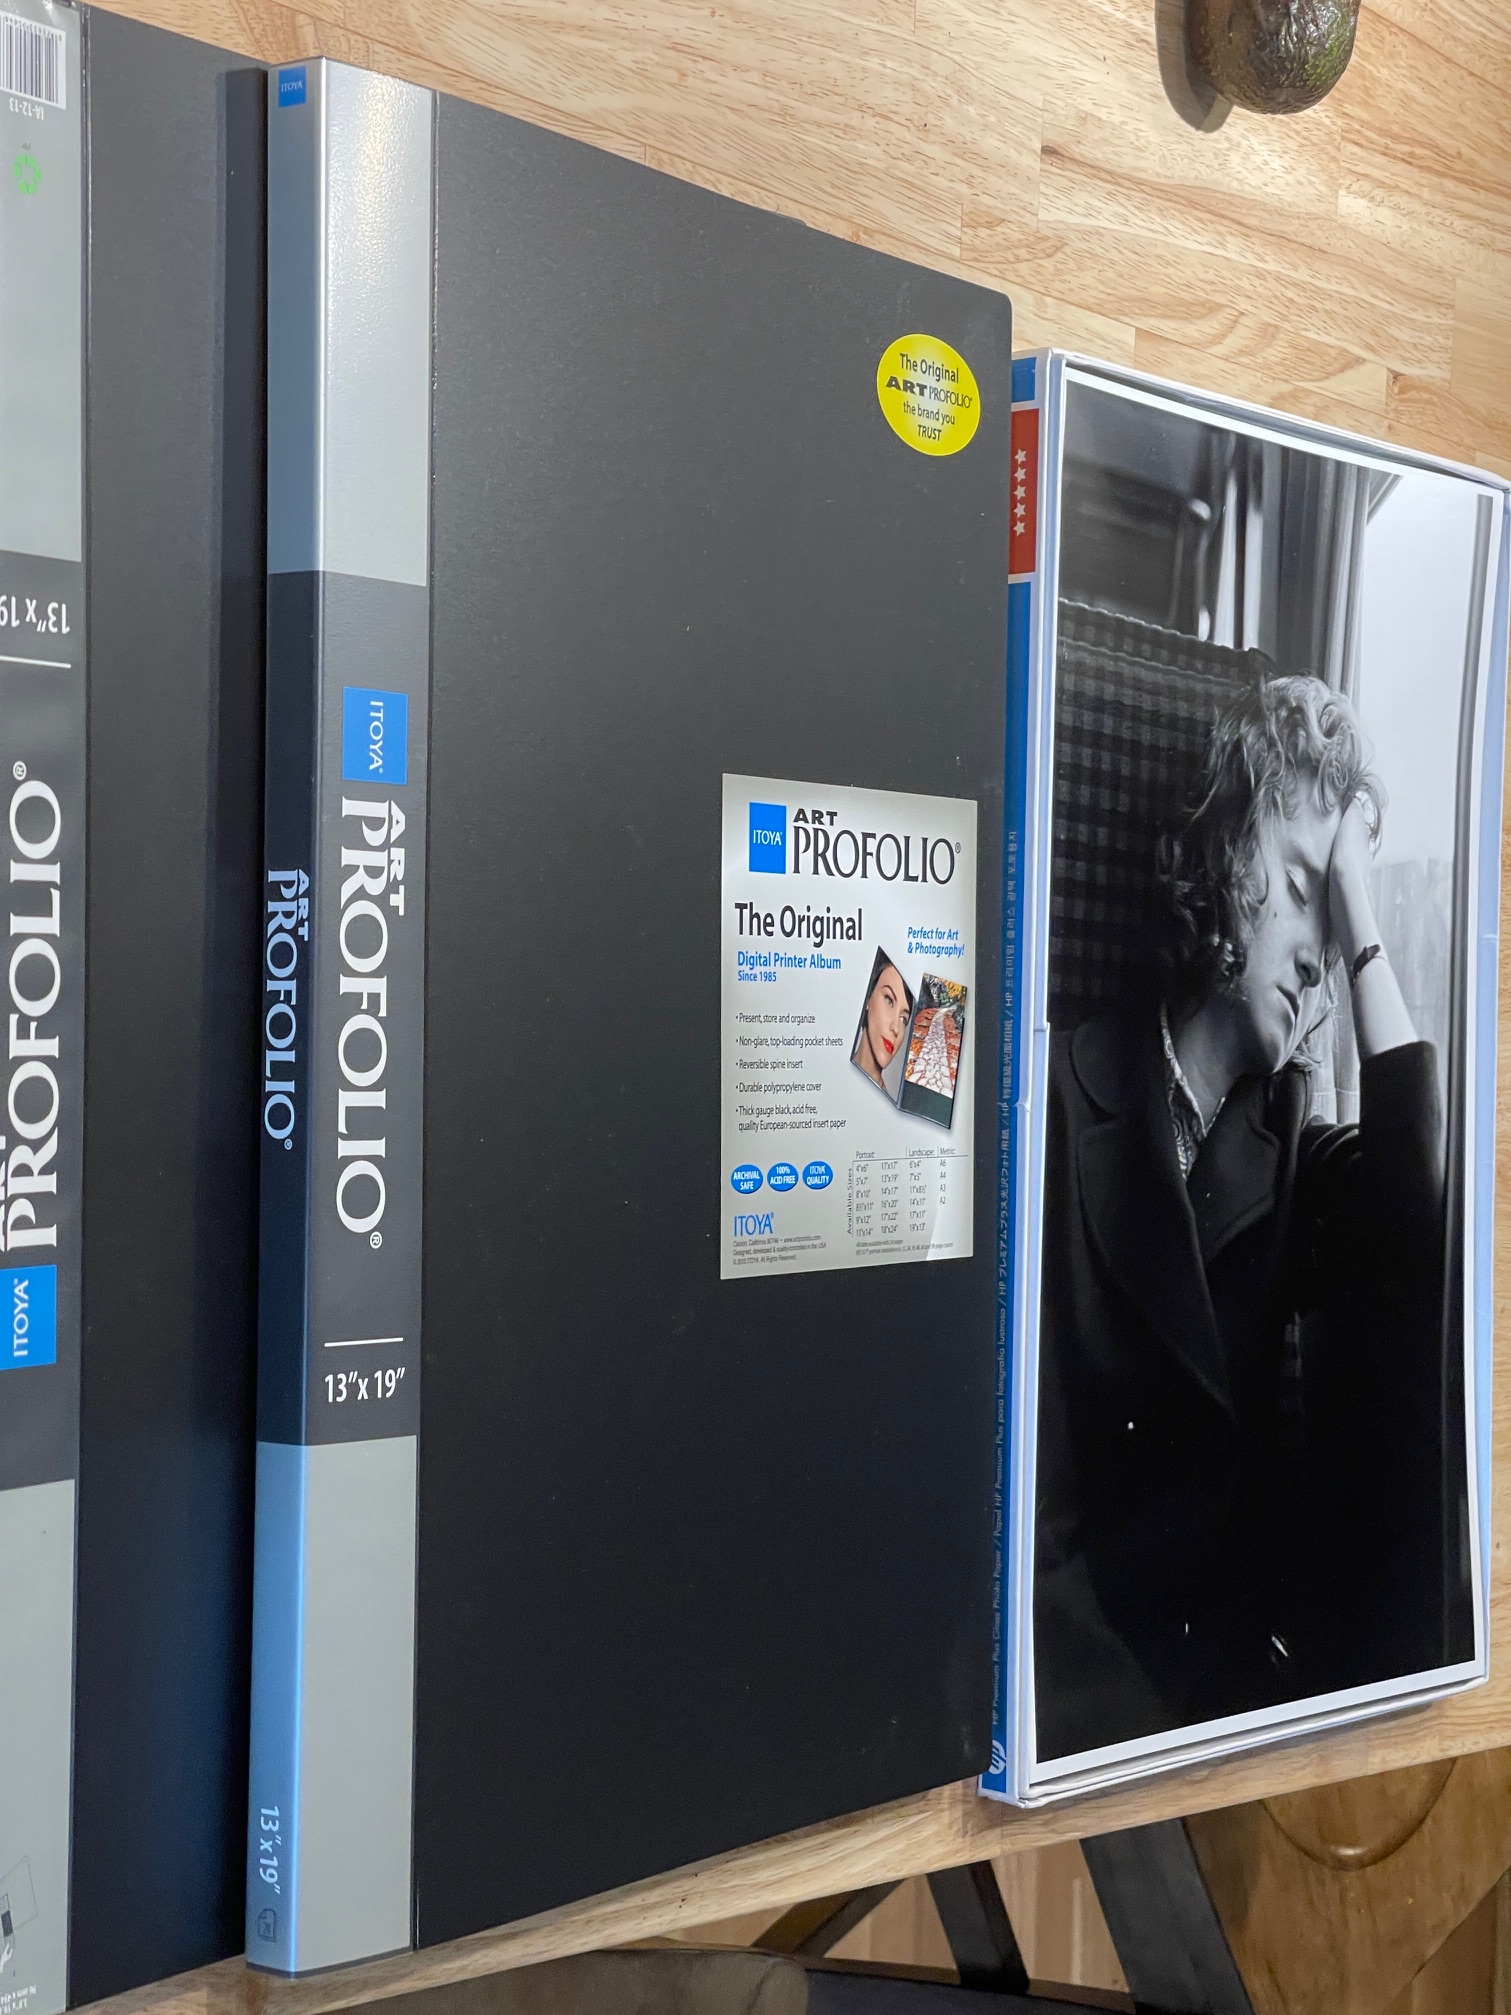
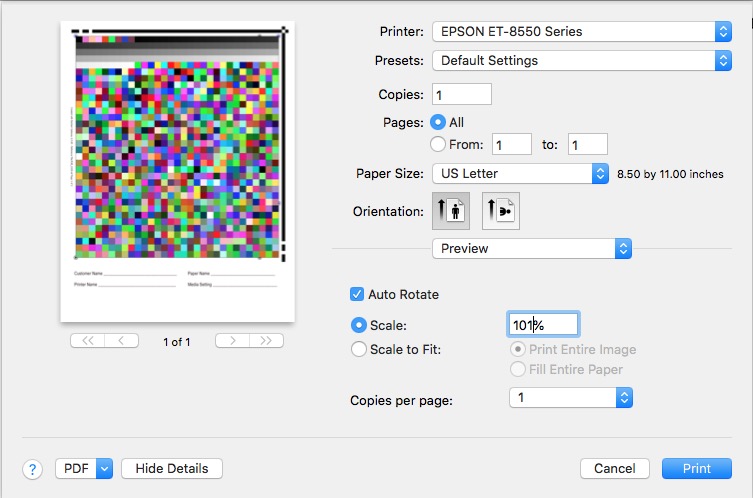
However, the Epson prints 8” x 10” prints just fine on either 8.5” x 11” or 13” x 19” paper. Thus I had to try some sleight of hand and discovered that if you tell the printer the paper is a tad under 13” x 19” it will print, if not borderless, using the Epson non-AirPrint printer driver. The mats I use have an opening of 12.75” x 18.75”, so borderless makes little sense. You simply lose some printed image with borderless prints once matted. And if there is a benefit to using borders then it’s that here is no overspray from the ink jet nozzles messing up the innards of the printer.
In the LR Print module go into Page Setup and you will see:
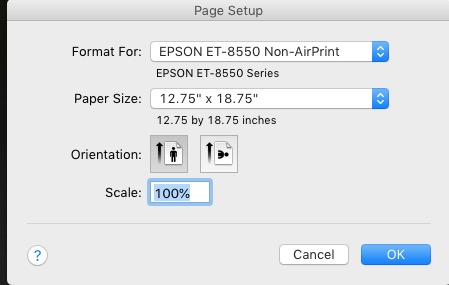
Click the Paper Size drop down and click on Manage Custom Sizes, and input the variables shown:
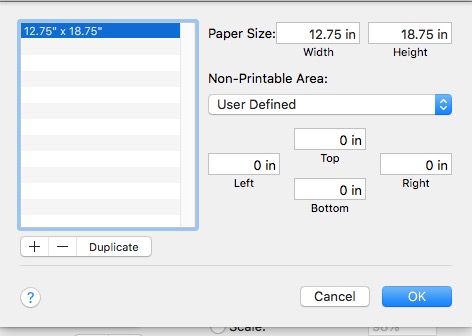
This enables you to tell the Epson that your paper is 12.75″ x 18.75″ in size.
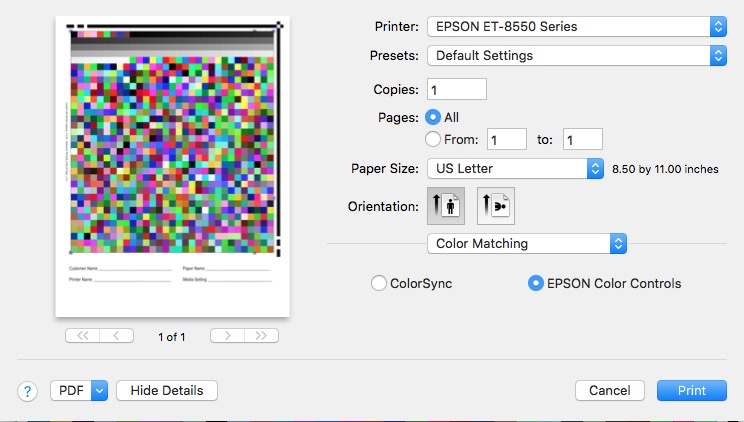
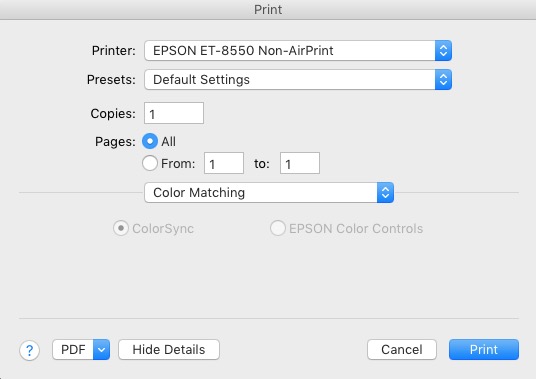
Now click on Printer in the LR Print module, clicking Color Matching in the third drop down box. This is an important check. You must see the radio button against Colorsync checked and both buttons greyed out. This confirms that the ICC color profile will be used by LR when printing, not Epson’s stock profiles:
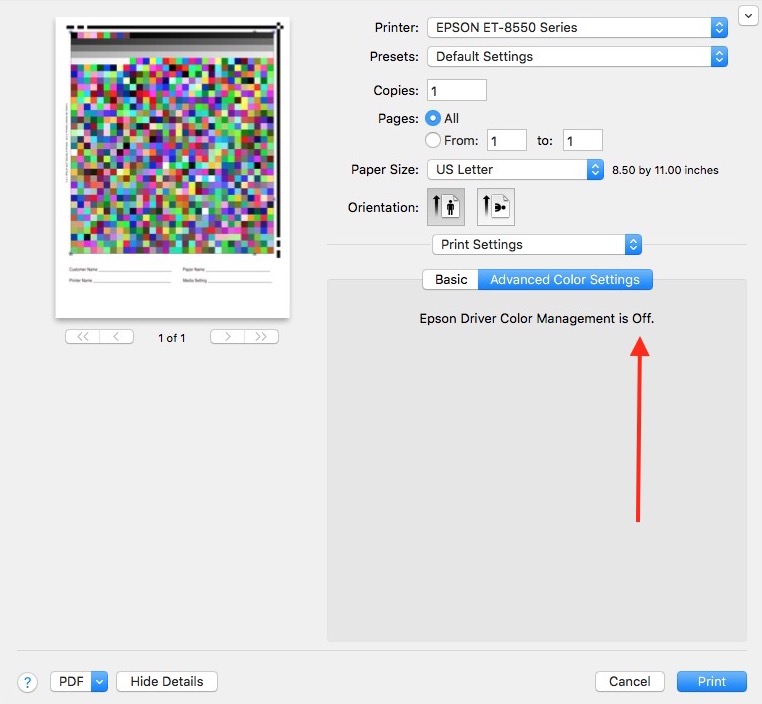
Cancel out of that screen and now click on Print Settings in that same third drop down box:
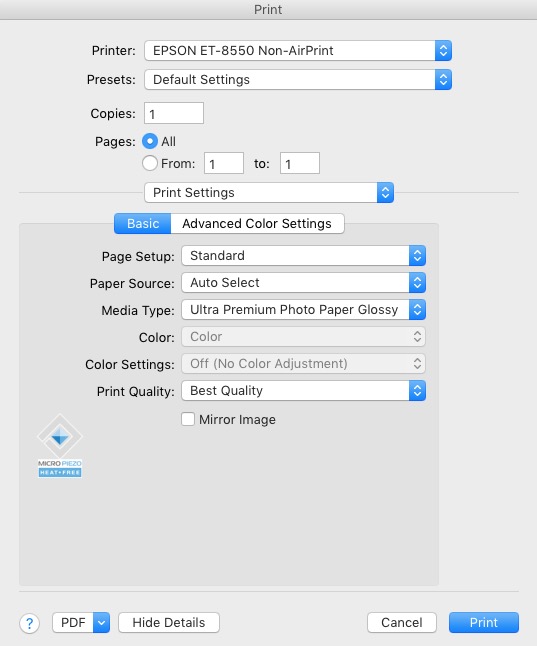
Conform your setting as with the above. I have chosen Ultra Premium Photo Paper Glossy, which is consonant with my HP paper.
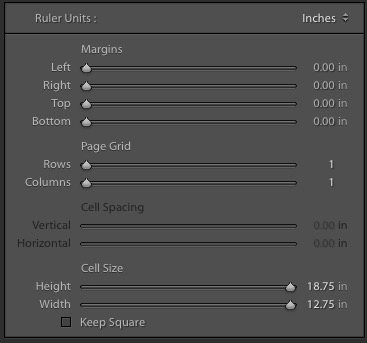
Next, in the Print module of LR scroll the right hand panel (hit F8 to toggle it on or off) and look at the Margins section at the top. Set your Margins and Cell Size as shown:
Then scroll down to the Color Management section:
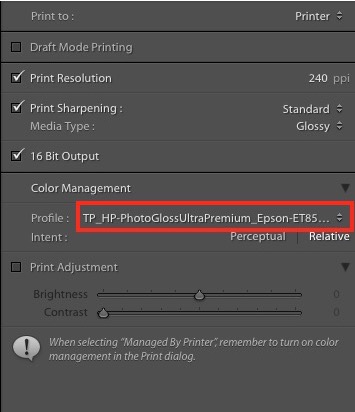
Click the Profile drop down and choose the ICC paper profile you previously placed in Finder->Your username->Library->ColorSync. You do not want ‘Managed by Printer’ in this box. That setting passes control to Epson’s printer profiles. Select your profile and that’s what the printer will use.
You are ready to print and the Epson ET-8550 will print on 13″ x 19″ paper as long as you tell it that the paper is 12.75″ x 18.75″. The result fits the cut out in my mats perfectly with no white border showing.
Using the new profile from Freestyle the results are excellent. The slight pinkish tinge in Caucasian skin tones (using either Epson Glossy or HP Glossy ICC paper profiles) is gone and the print is a close match to the profiled Benq display used, in as much as that is ever possible. After all, we are comparing a device with a large dynamic range with its own controlled trans-illumination light source – the display – with one with a very poor dynamic range – the print, judged by reflected midday daylight of uncertain color temperature.
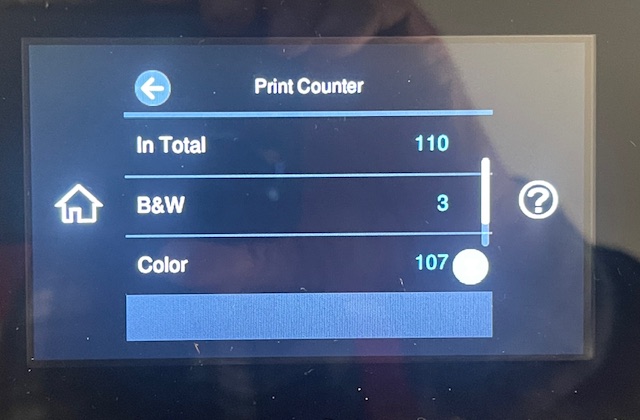
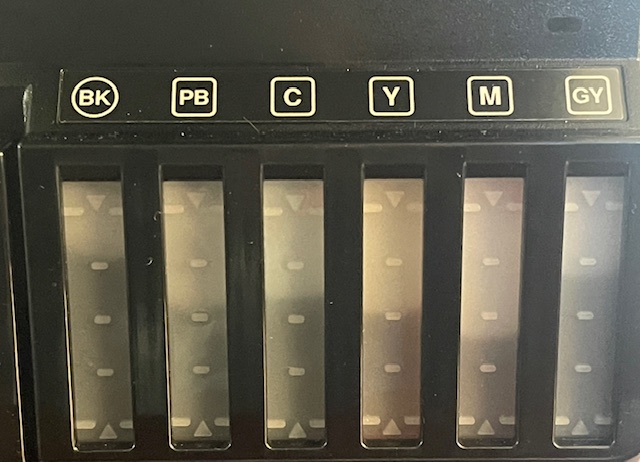
Ink use? I must have made some 20 13” x 19” prints – you need to judge at full size, IMO – and can confirm that the ink use from those generous capacity 70ml ‘tanks’ the EPSON uses is very frugal. Here are the levels now. Bear in mind that a good part of the drop from full results from the fact that the printer was new when first filled and the first fill uses maybe 1/8 of each tank to prime the heads and feed tubes – that’s equal to one half the distance between the quarter marks in the image. Paper use? What do I care? I have hundreds and hundreds of sheets in my inventory.
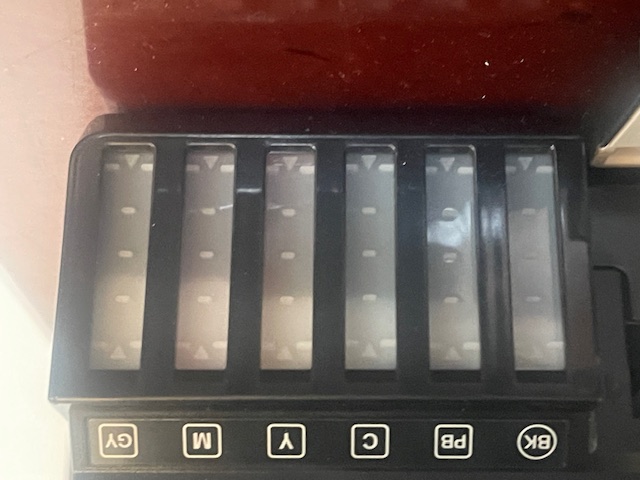
Ink levels after the first fill up and some 20 13″ x 19″ prints.
Like I said at the start of this entry, with printers it’s always something. Here’s to the next problem …. and no thanks to Epson for their poor printer driver designs and installations.