A special lens – when properly tuned.
For an index of all Leica-related articles click here.
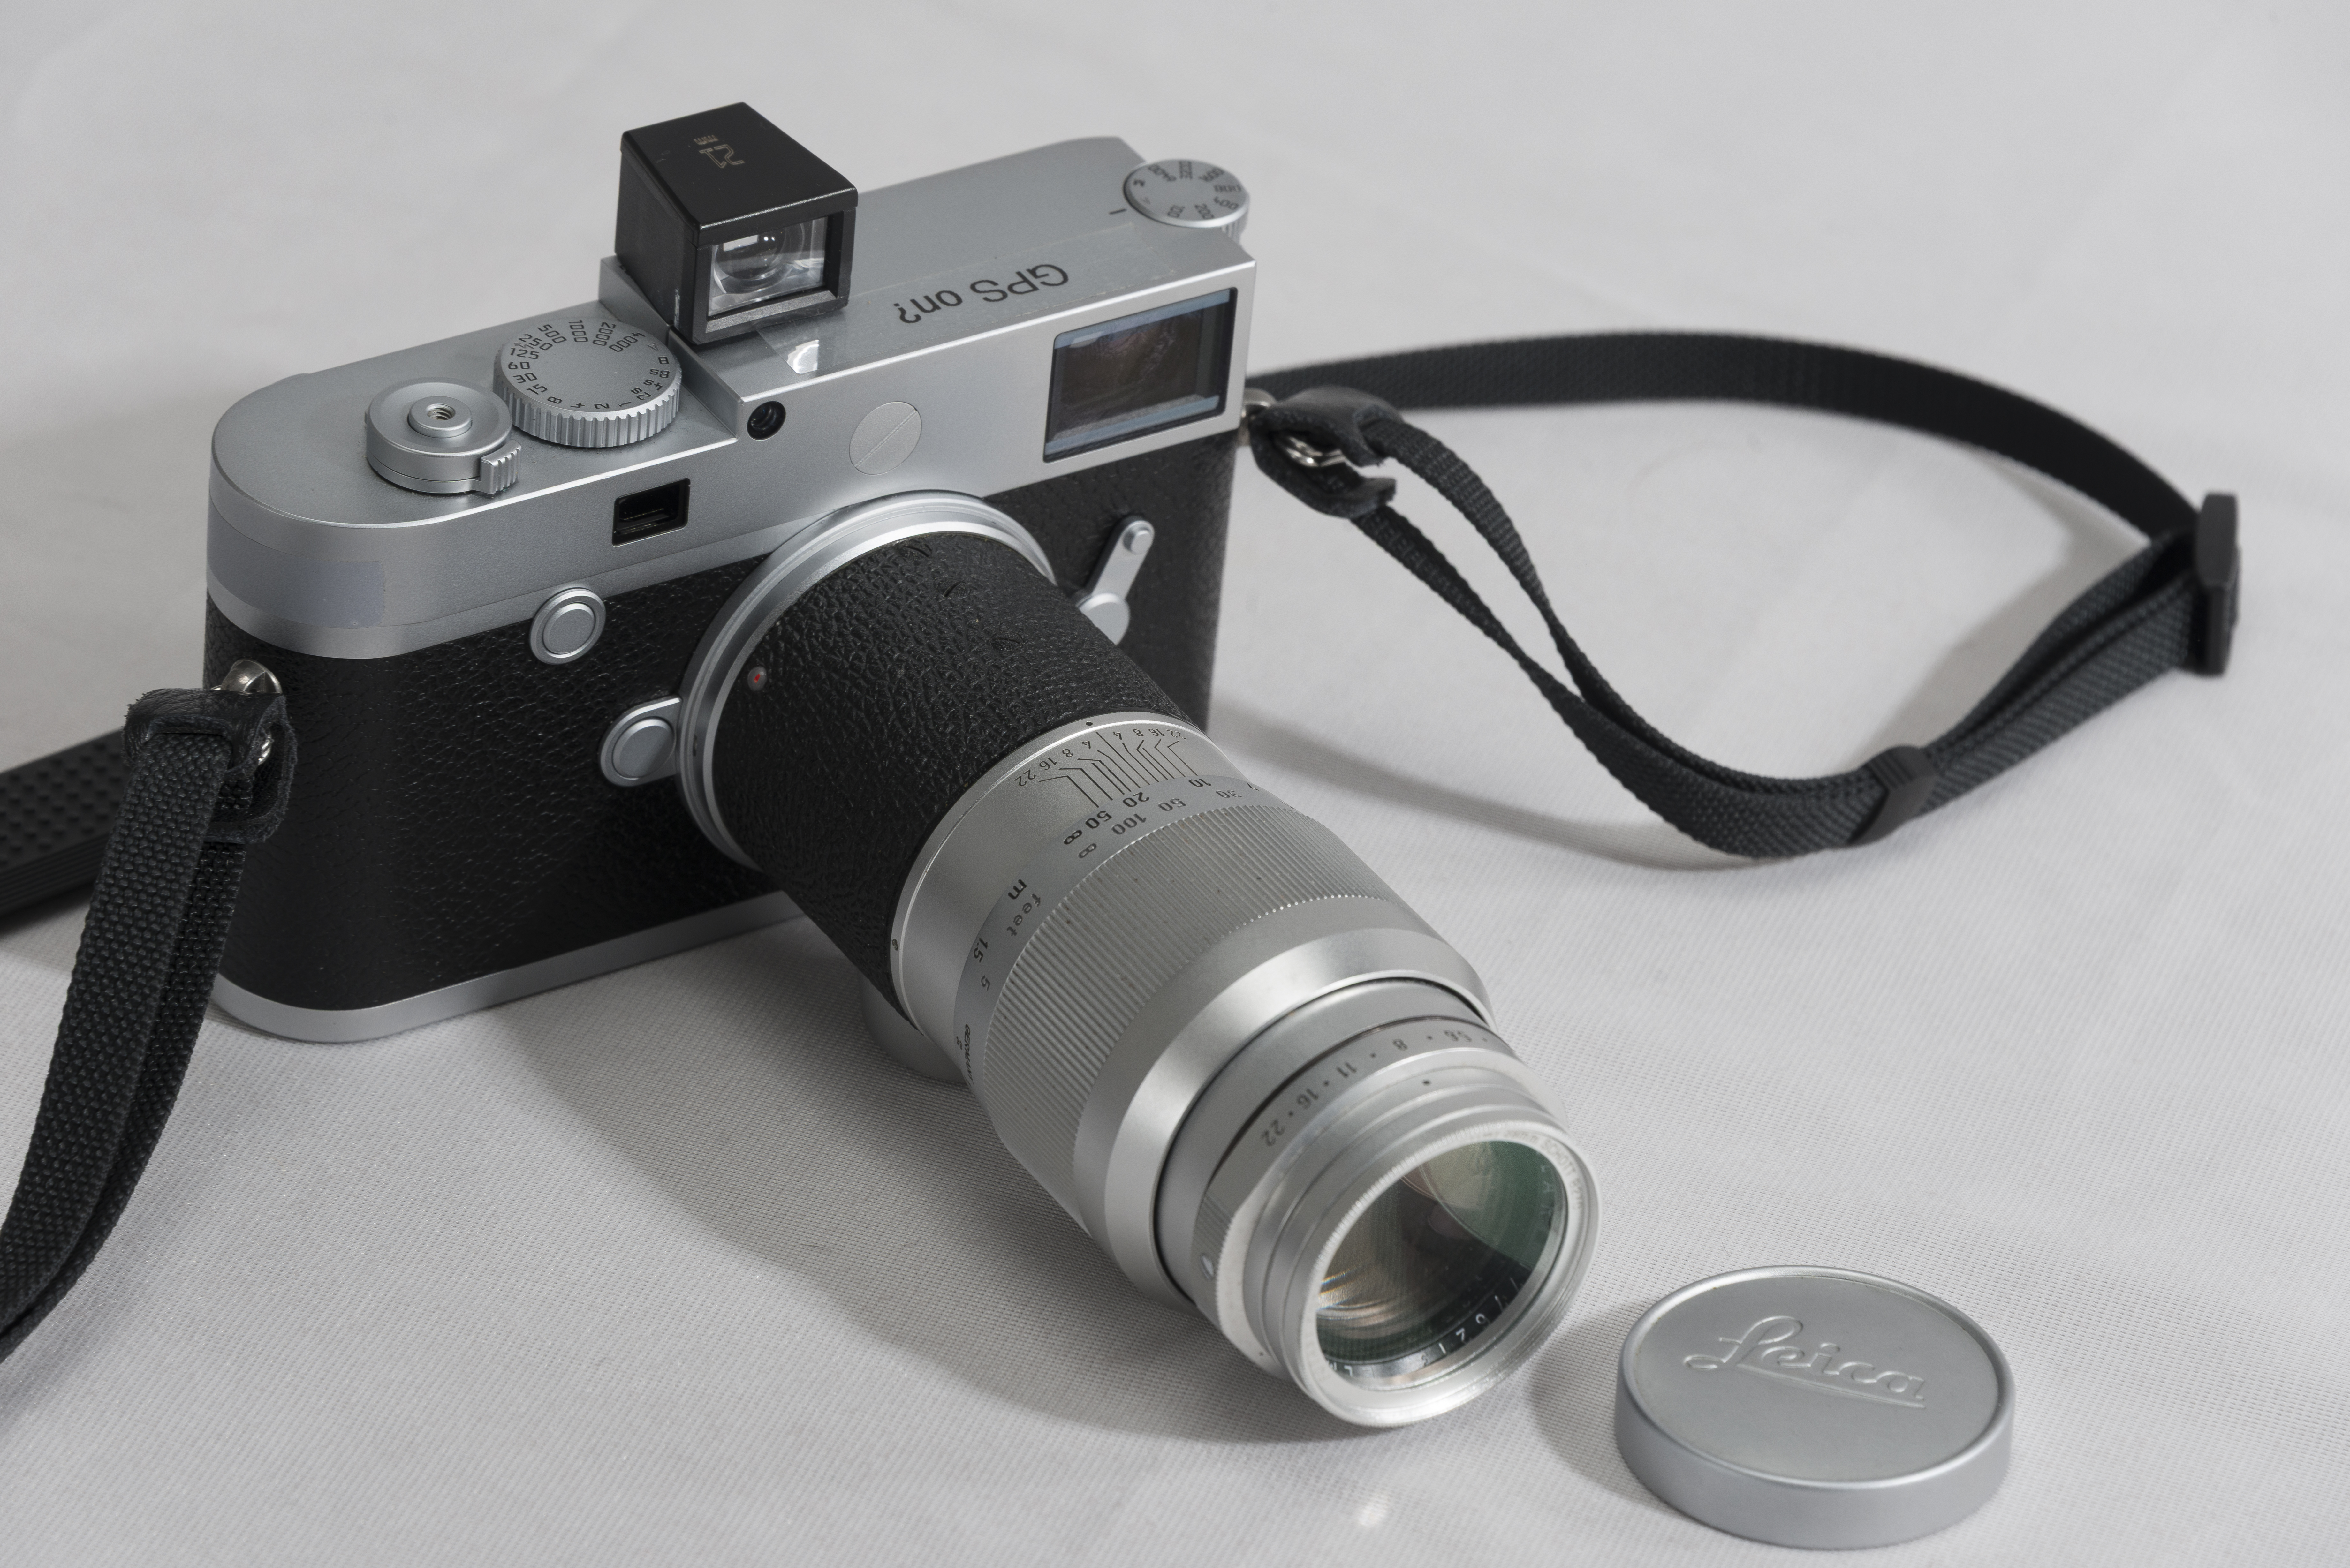
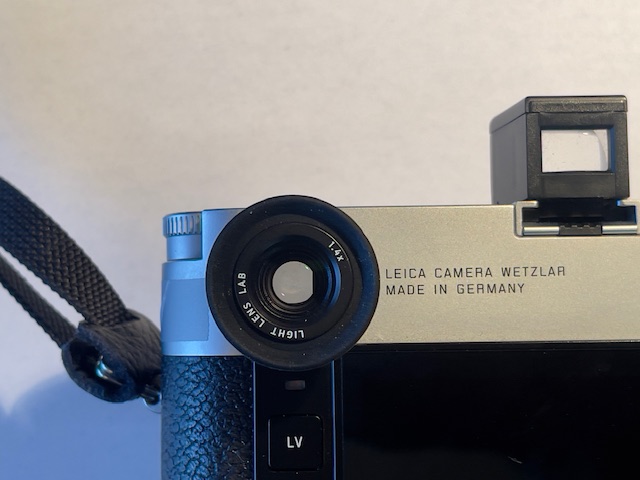
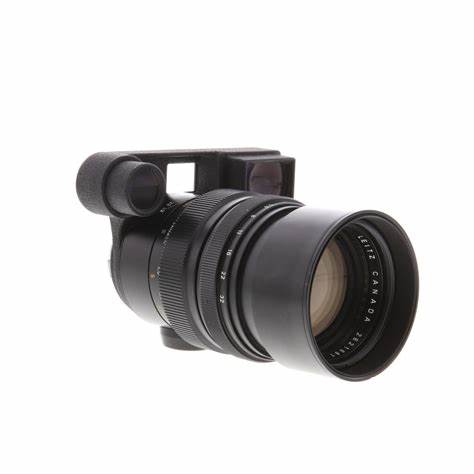
The 135mm f/4 Elmar on my Leica M10.
The auxiliary finder is for a 21mm lens.
I profiled the 135mm f/4 Leitz Elmar lens here. Read that piece to learn how to properly align your rangefinder to have this lens perform at its best. It’s a critical step which, if avoided, will have you blaming an excellent optic for unsharp results.
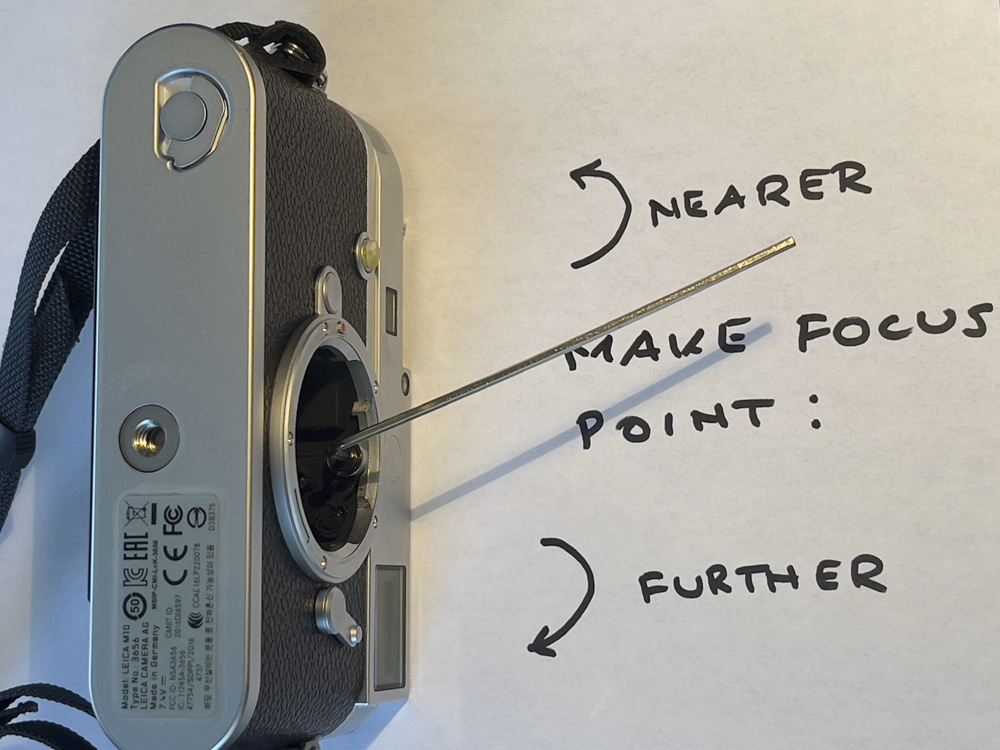
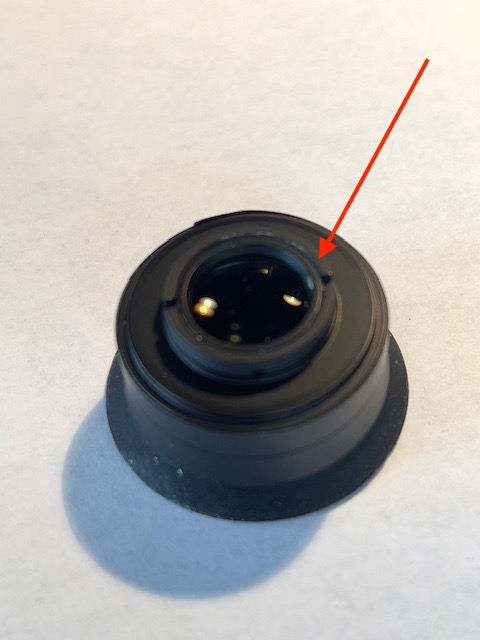
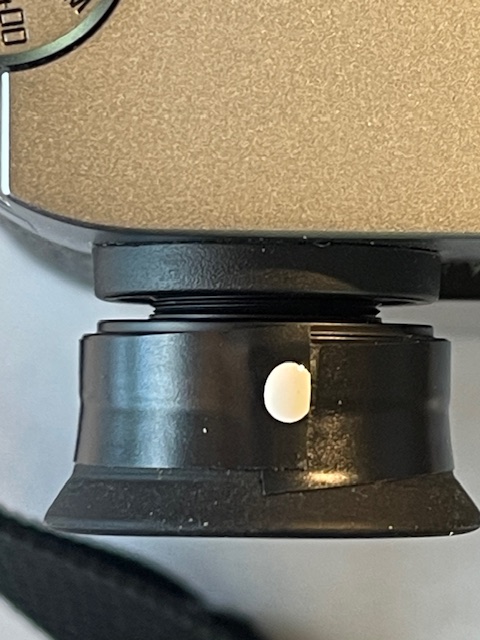
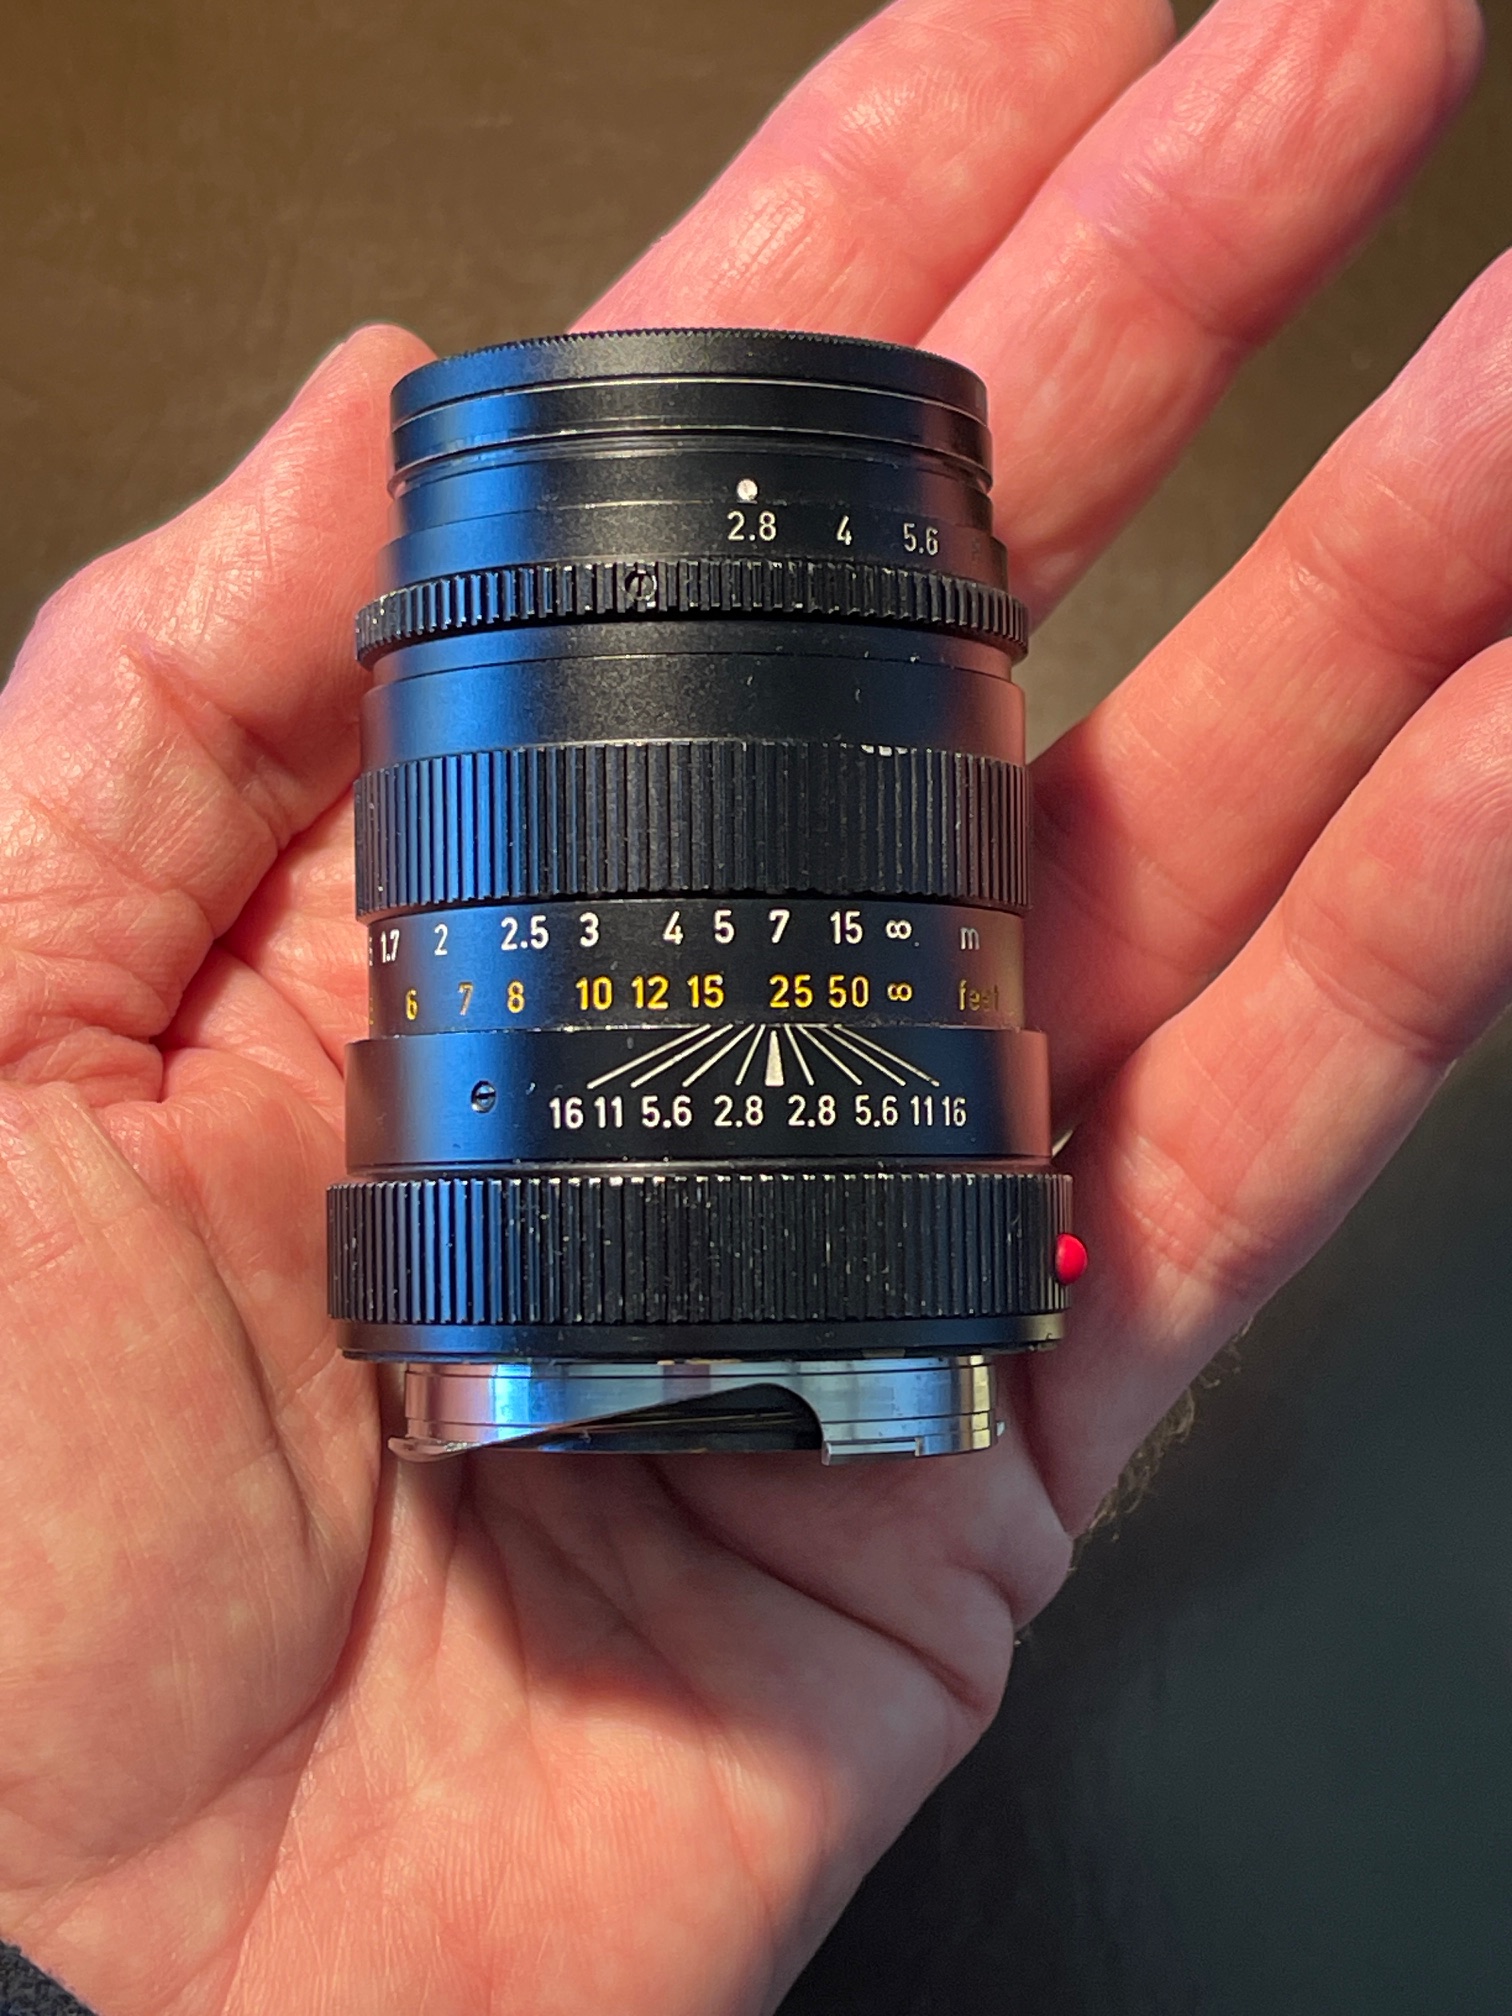
A 2mm Allen wrench is used to adjust the cam follower for optimum focus.
Explanation of which direction to turn the Allen screw adjuster: If the sharpest point in the LR magnified image is further than where you focused, then the focus point must be brought nearer, meaning you turn the Allen screw adjuster away from you, with the camera resting as in the above image. If the sharpest point in the LR magnified image is nearer than where you focused, then the focus point must be set further away, meaning you turn the Allen screw adjuster towards you, with the camera resting as in the above image. Take it easy with those adjustments – just a couple of degrees’ movement will shift the dice point noticeably.
The 135mm focal length, especially used at large apertures and/or close focus distances, is really stretching the rangefinder accuracy of the Leica M to its limit. To get the best (definition) bang for your buck I suggest that a 135mm Elmar plus a good finder magnifier beats the costlier 135mm Tele-Elmar with no magnifier, the outlays being roughly identical. What the Elmar lacks in contrast compared with its costlier successor is easily made up with a tweak or two in Lightroom. The Elmar lacks little when it comes to micro-contrast and resolution of fine details. An additional investment in sweat equity (and a 2mm Allen wrench) will see to it that your rangefinder is perfectly adjusted and that focus error will not be the cause of unsharp results.
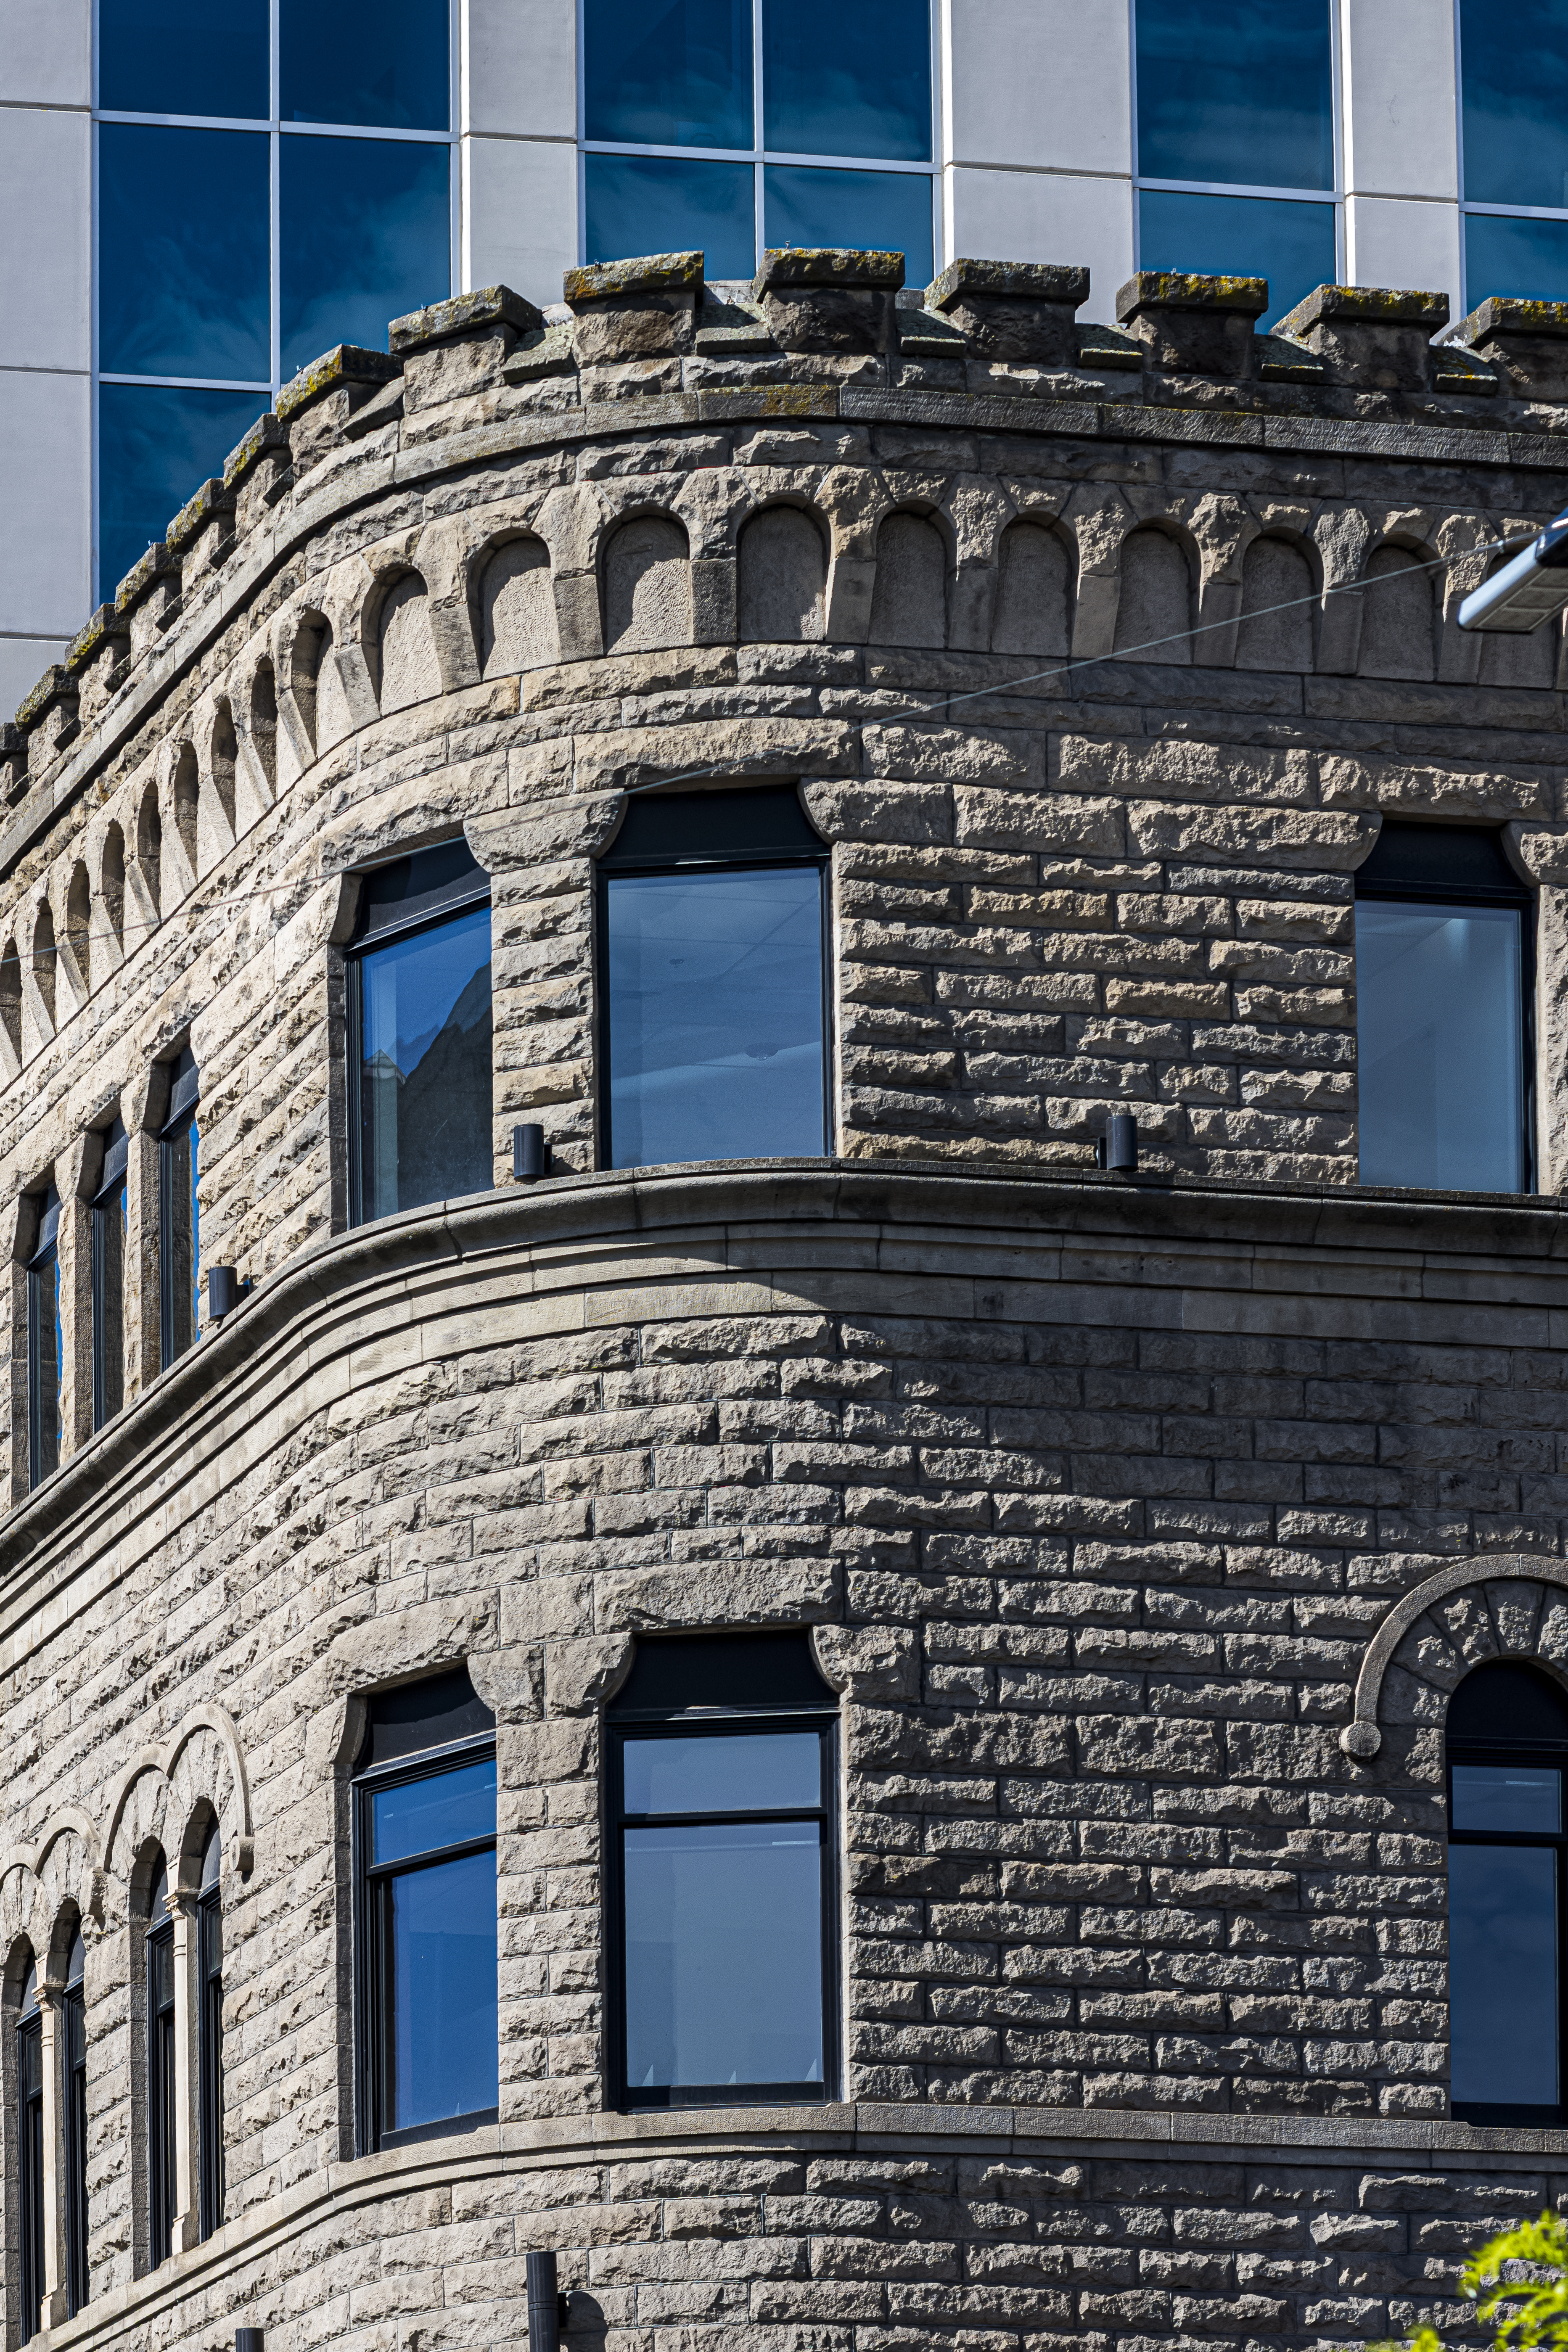
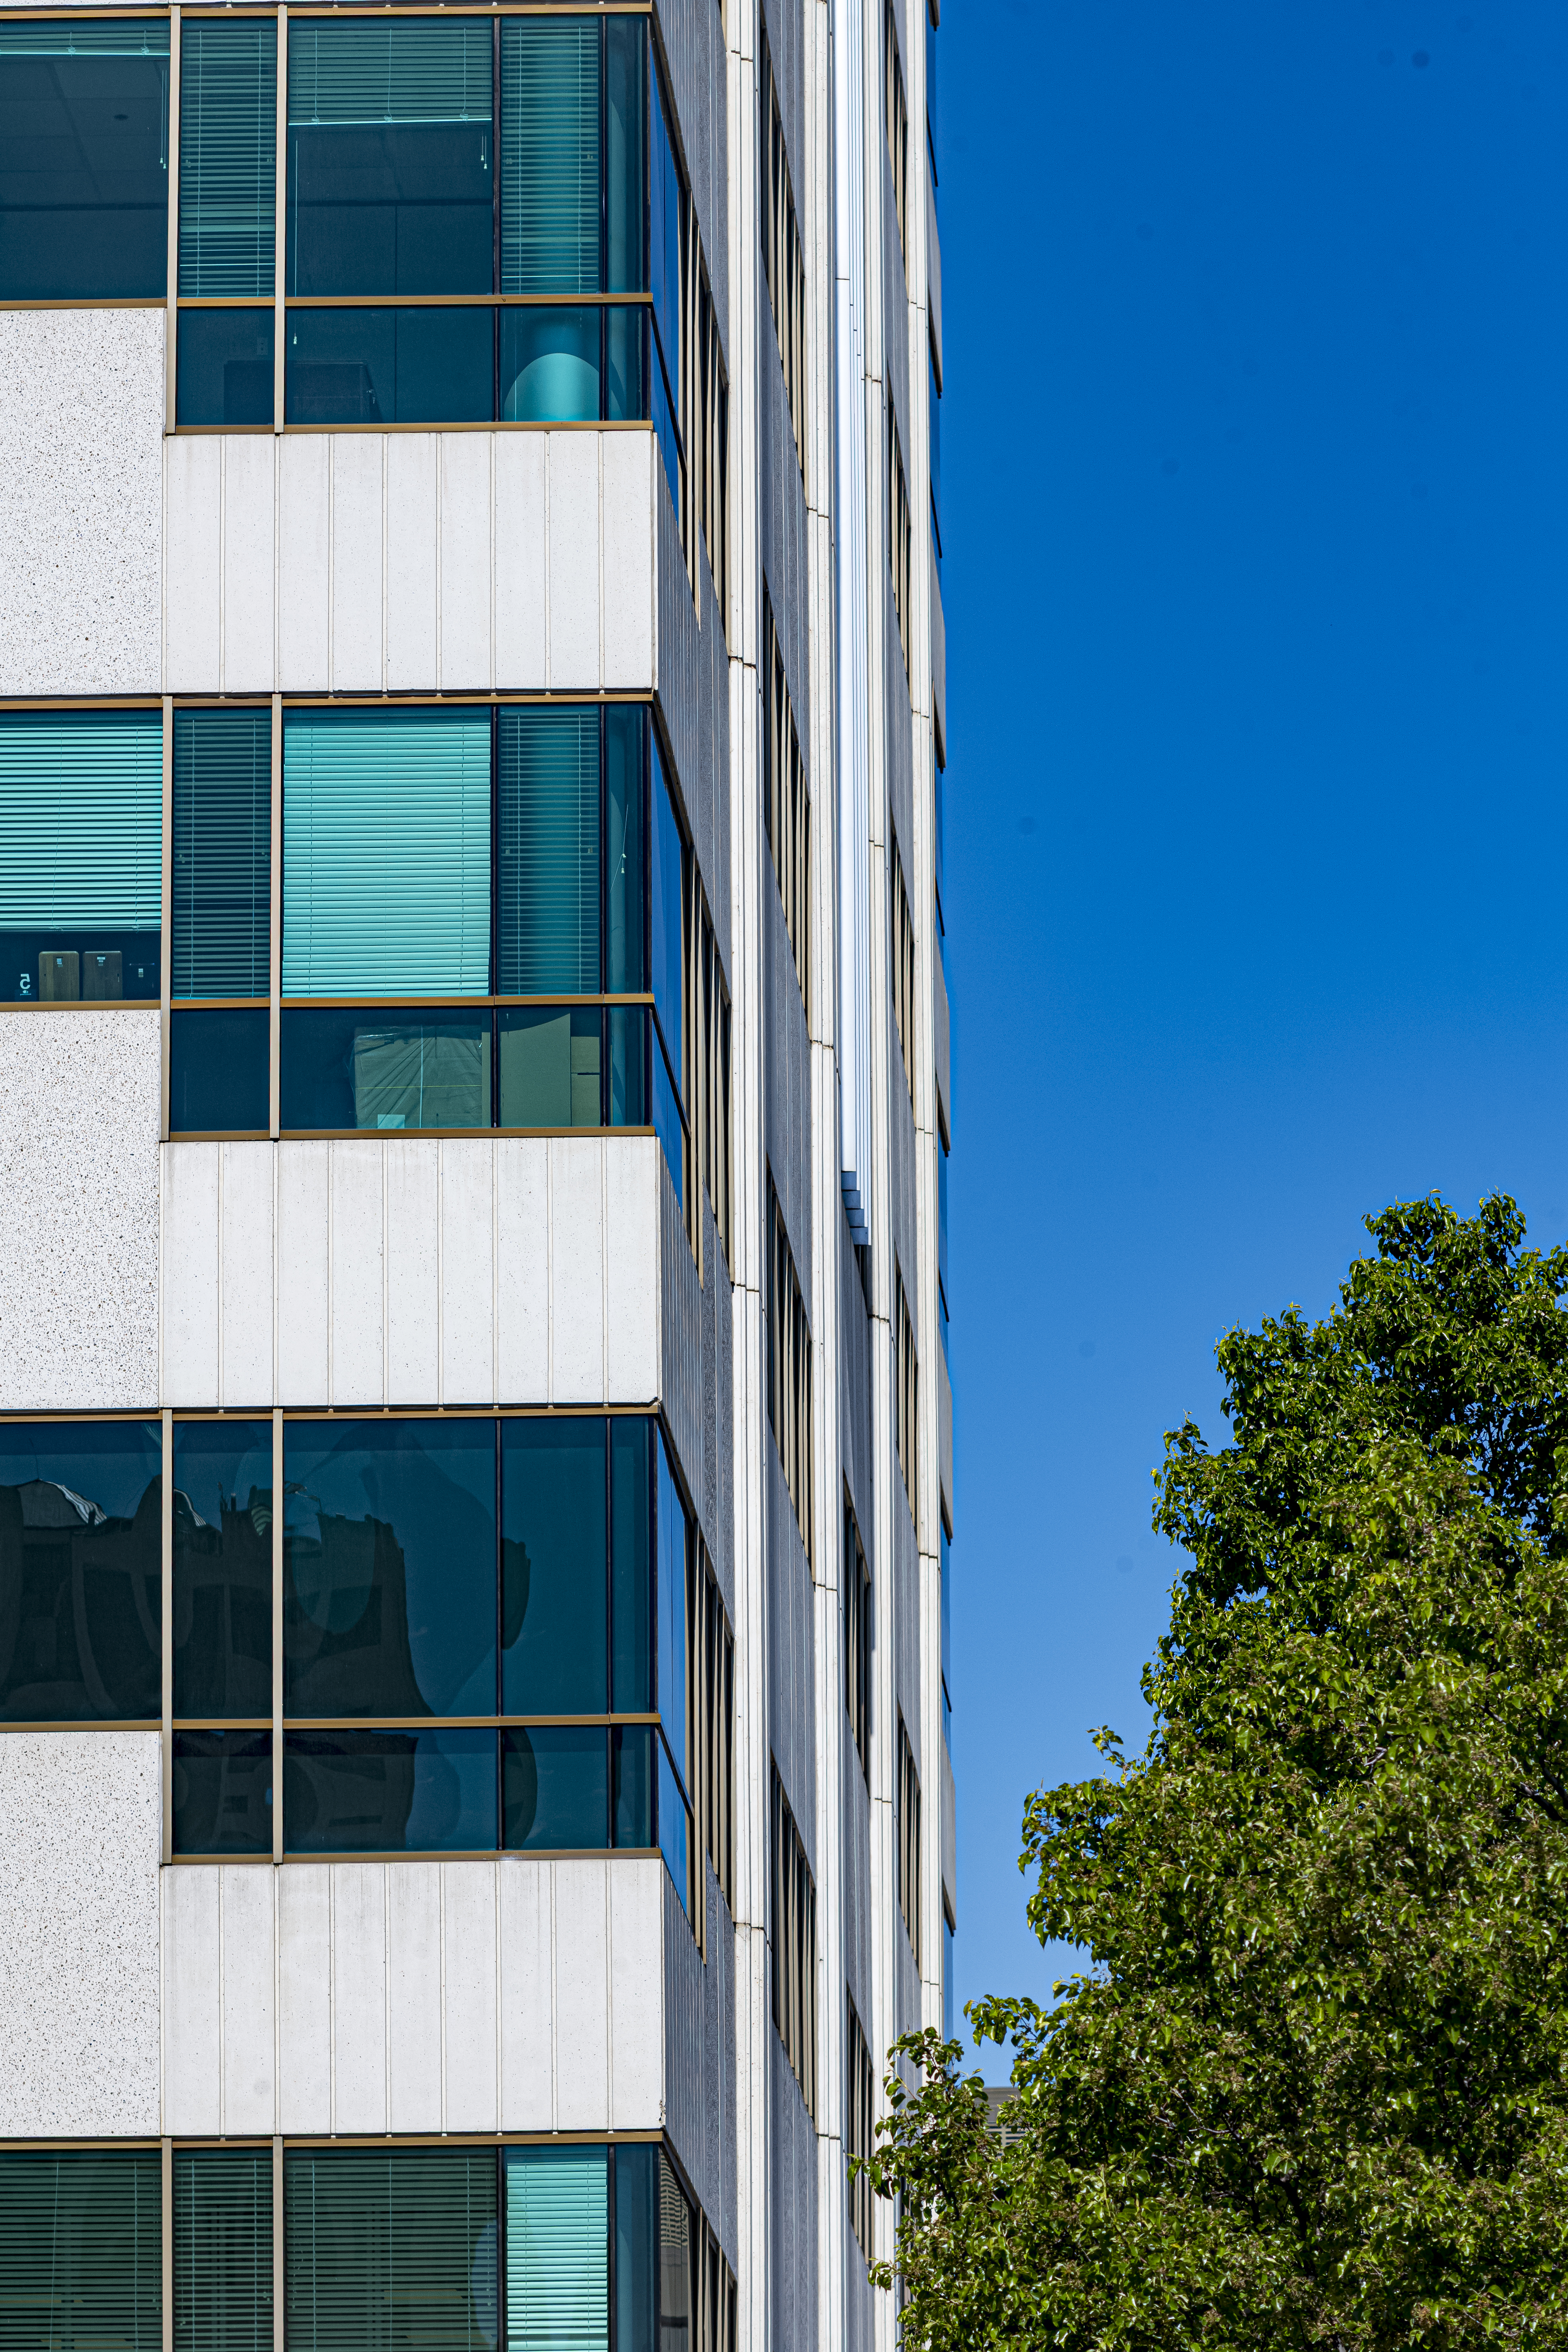
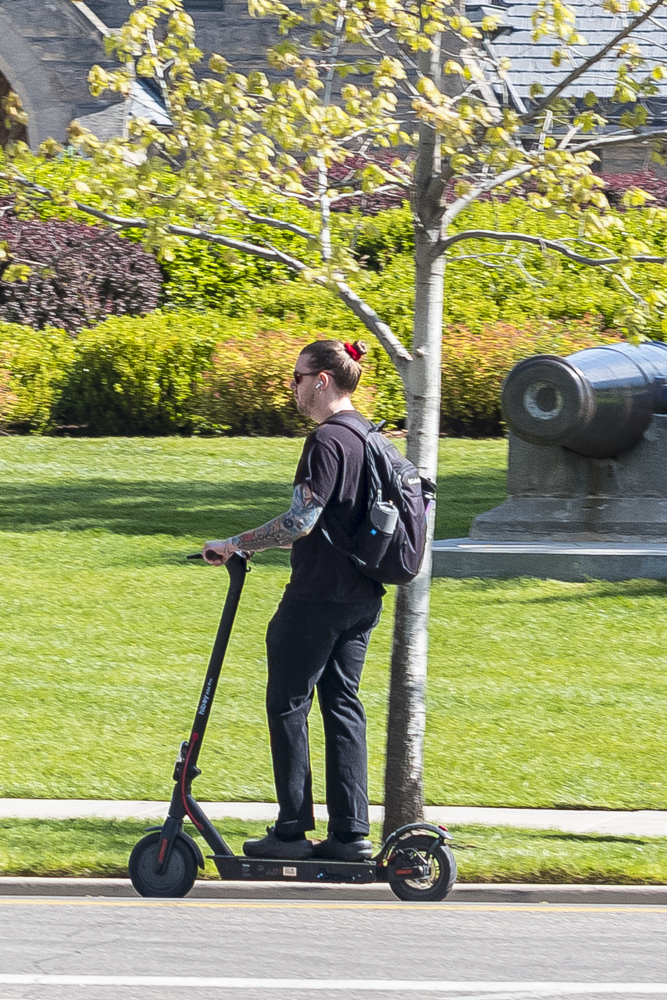
How far is ‘infinity’ as marked on the lens? It’s much further than you might think. In the test images below, the car’s registration plate is exactly 82 yards away from the camera, whereas the roof at the top right is 125 yards distant. There is a clear difference, per the rangefinder, between 82 yards and 125 yards. At 125 yards the lens is indeed set to infinity.
Stated differently, if you want to insure that when the lens is at infinity the subject is also at infinity, your subject must be 125 yards or more distant from the camera. That’s a long way off. At 82 yards and 100% pixel peeping at full aperture the depth of field is no more than 4 feet fore and aft of the registration plate of the car in these images. That’s as good an illustration of how critical focus is with a lens this long, used with a Leica rangefinder, as I can conceive of. It also shows what an extraordinary feat of mechanical/optical engineering the Leica rangefinder is to this day, and has been since the first M3 in 1954.
Here are the test images taken at all apertures from f/4 down to f/22 – the M10’s lens code is set to ‘135mm f/2.8 Elmarit’, which is the best choice. The lens is so distortion and vignetting free that there is no need to use a lens correction profile in LRc when processing images. These images are SOOC, and I used a monopod to minimize camera shake.
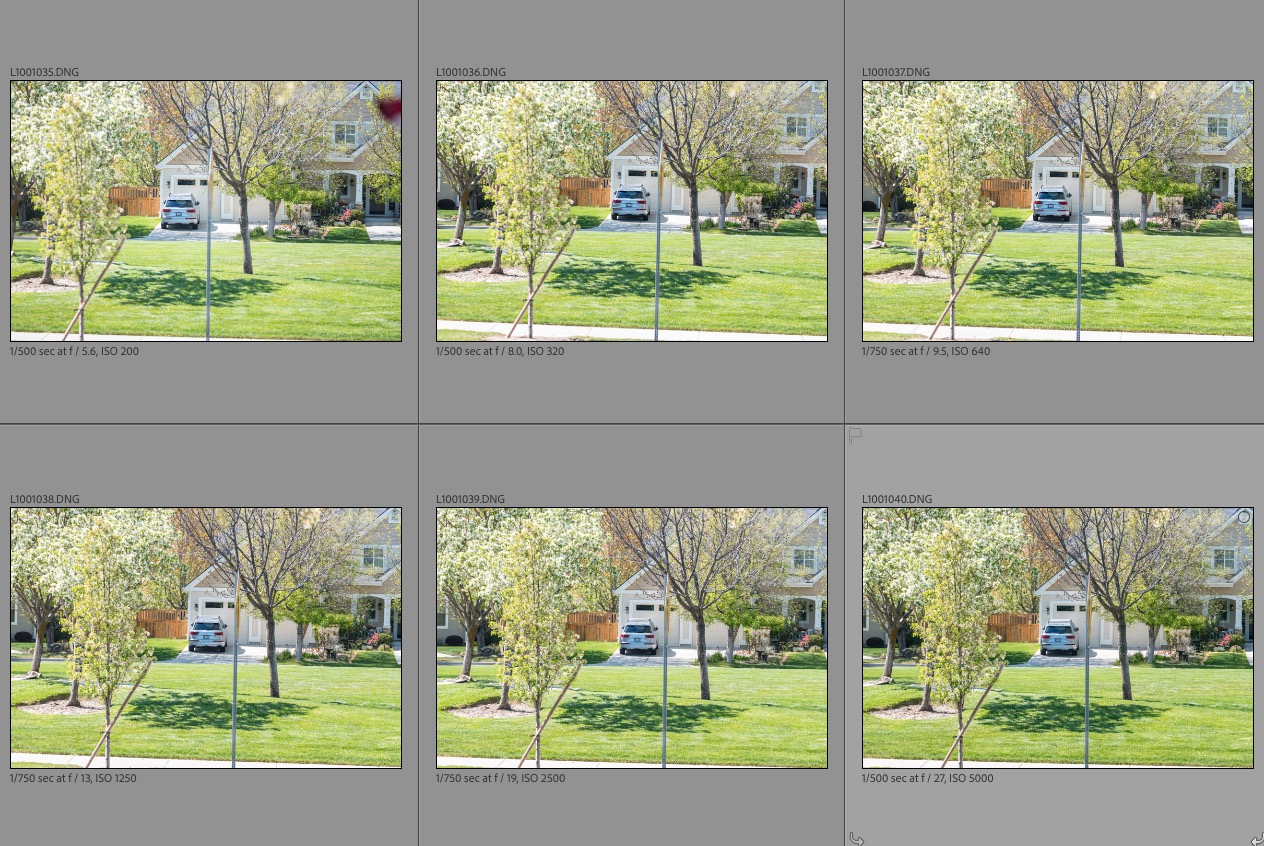
Test images from f/4 to f/22. The apertures shown are incorrect.
You can view all 8 images in medium size by clicking here.
To view full size 22mb originals click here. It’s a large file so be patient when downloading. You can zoom in on these to your heart’s content.
Conclusions?
- Hard to focus correctly using the rangefinder at full aperture and/or short subject distances. Focus accuracy benefits meaningfully when used with a 1.4x finder magnifier
- No flare or distortion at any aperture.
- At f/4 the whole frame is usable and will easily make a large print with excellent resolution if focus is correct.
- Micro contrast is excellent at any aperture.
- There is little change in resolution hereafter through and including f/22. If there’s any diffraction at the smallest aperture it’s nearly impossible to see.
- Peak definition is reached at f/5.6 but there’s very little to choose between any aperture from f/4 to f/22.
- No meaningful color fringing at the edges of the frame at any aperture. The camera is coded as a Leitz f/2.8 135mm Elmarit-M which delivers the best result of the three coding options for 135mm lenses in the M10’s firmware. Absent machining the lens cannot itself be 6-bit coded unless you buy the rarer LTM version and use a 6-bit LTM-to-M bayonet adapter.
- There is no LRc lens correction profile available so I use the one for the 135mm f/3.4 Apo-Telyt-M. The only noticeable difference is correction of extremely minor pincushion distortion, but it’s not really necessary other than in architectural photos taken straight on.
By the way, disregard the f-stop data in the EXIF information. The M10, even with 6-bit coding adapter, does a poor job of estimating the aperture used. (There is no electrical or mechanical link between the lens’s aperture setting and the camera, so Leica estimates the aperture based on the shutter speed and ISO used). Go by the file names, moving the decimal point in the last three digits one place to the left to see the aperture used. So, for example ‘110’ means f/11.
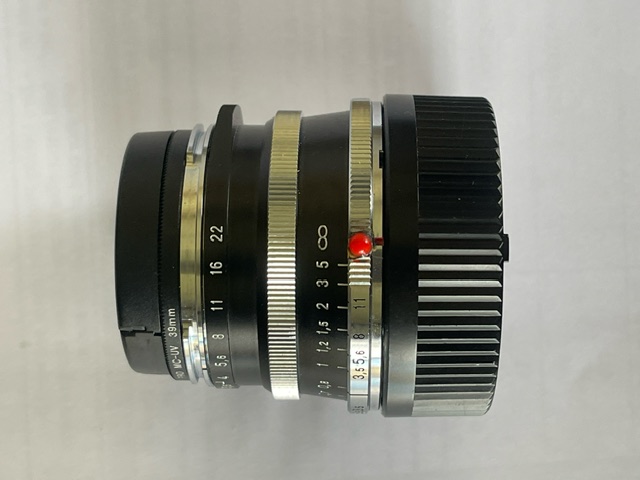
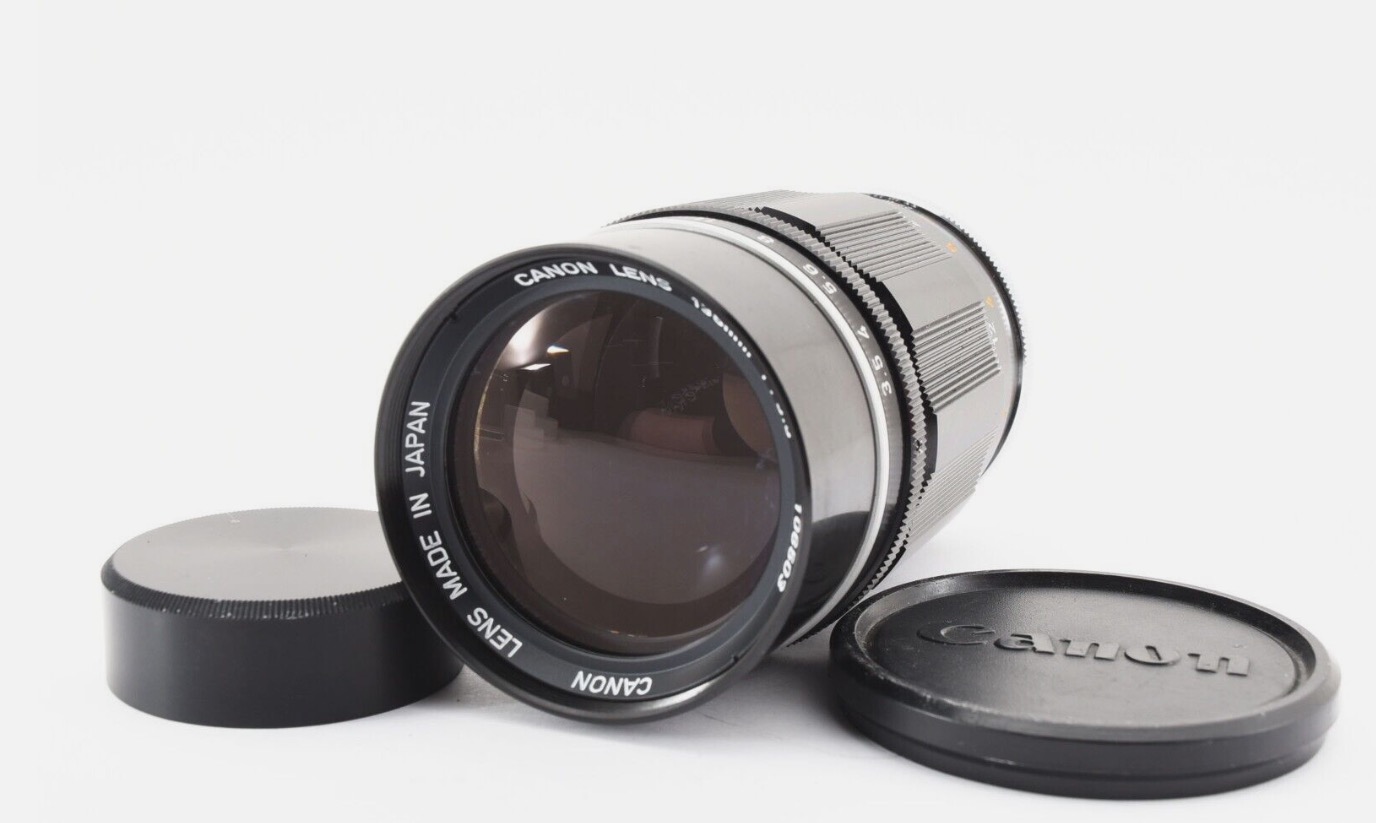
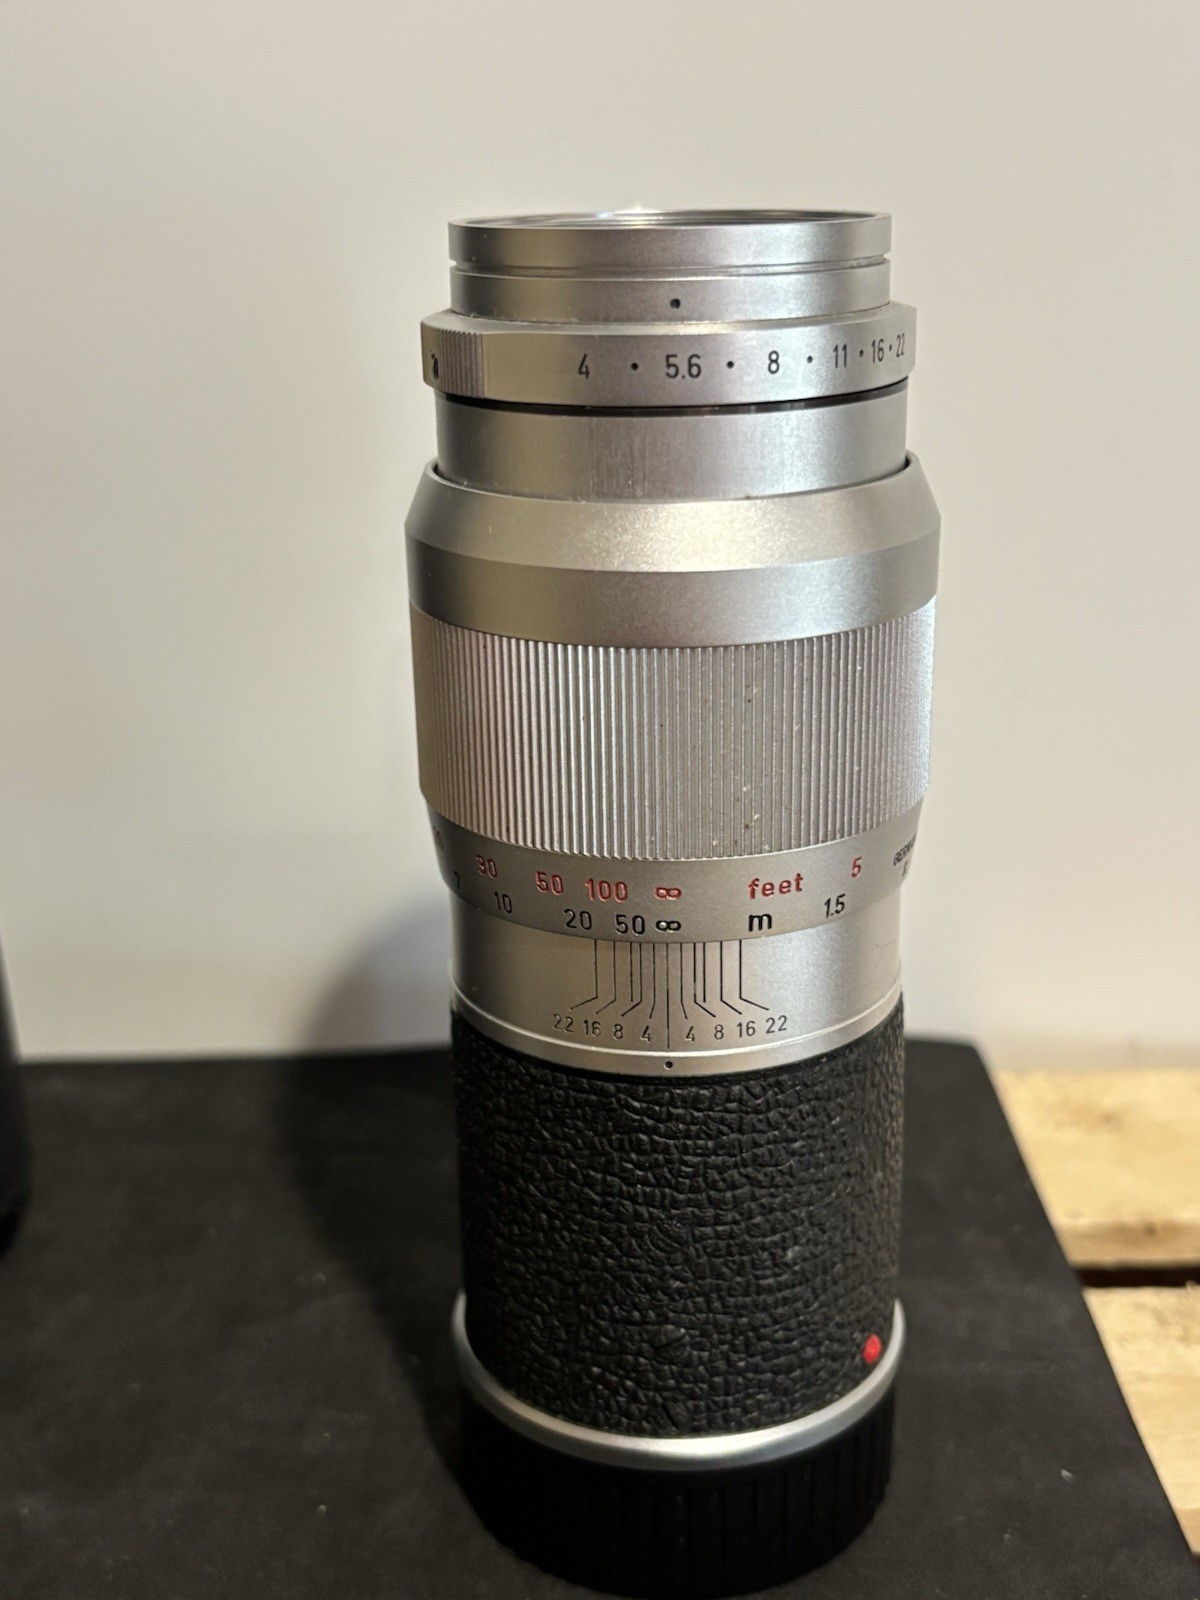
So which is better – the Canon 135mm f/3.5 LTM at $150 shipped from Japan or the Leitz 135mm f/4 Elmar at $260 shipped within the US? Both are bargains, but the Elmar is clearly better at all apertures and requires no amendments to the focus cam to properly align with the cam follower in the camera’s throat. There is no flare at any aperture and micro contrast is notably better at all apertures. Is the difference night and day? No. But if you make selective crops and big prints the Elmar is the one to choose, at a $110 premium, and abundantly available from domestic sellers. In summary, this 1960 optic is outstanding in every way. (Made from 1960 through 1965, the Elmar was replaced by the physically shorter but heavier Tele-Elmar. Most tests suggest the Tele-Elmar offers little optical improvement and, boy, it has an appearance only a mother could love).
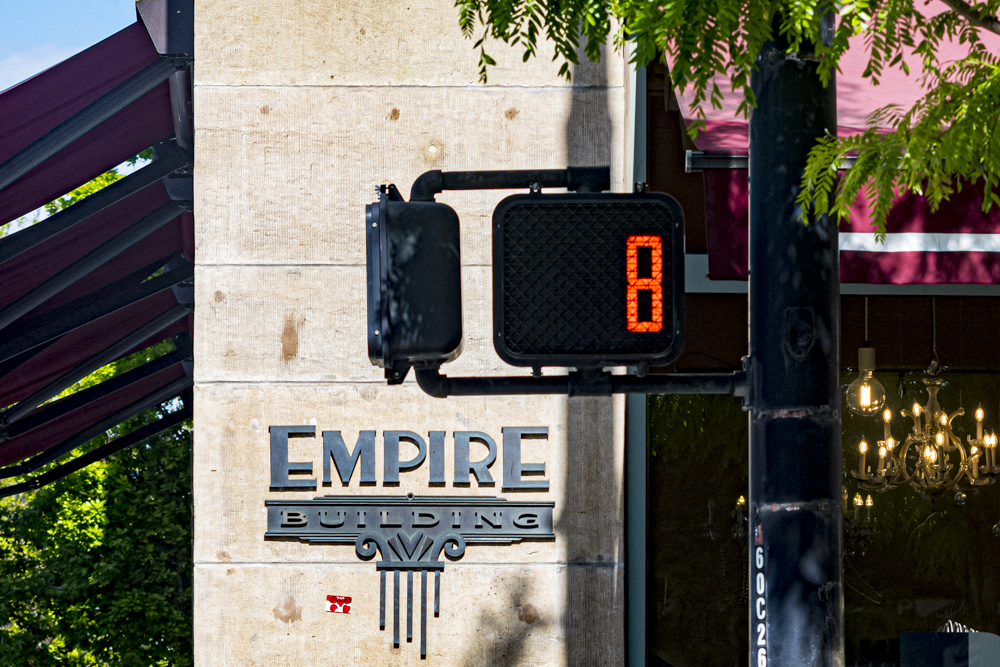
Here’s the Elmar at its very best:

Click for a bigger version. Check the definition in the glass
globe and wall stickers in the big version.