A useful technique for managing dynamic range.
I made mention of the single image capabilities of the tone mapping Photoshop plug-in from Photomatix here.
This technique may not be as effective as using three images – under exposed, normal and overexposed – but is ideal when the subject is moving or when older pictures have to be restored. For film user I would think it is invaluable.
When I first got my Canon 5D one of the early excursions made with it was to Limekiln State Park to test the image stabilization in the 24-105mm ‘L’ lens. It proved remarkably effective and I took a bunch of pictures at 1/4 – 1/15 second or so using just a monopod for support.
That experience is recounted here.
Originally published here the pictures may have been blur free but suffered from the most horrible loss of detail in the highlghts and shadows. So I went back and applied single image tone mapping to the twelve best with the results you can see here.
I have found it’s very easy to overdo things and step over the line to the garish, so I tend to leave the ‘Strength’ slider at the default of 40% (this one has a high ‘garish risk’) and generally crank up the ‘Luminosity’ and ‘Color Saturation’ sliders a tad. If the overall image is too dark a tweak of the ‘White Clip’ slider to the right usually suffices. After saving, a final adjustment of Levels (Apple-L) in Photoshop is all that is needed. You can see the plug-in sliders here:
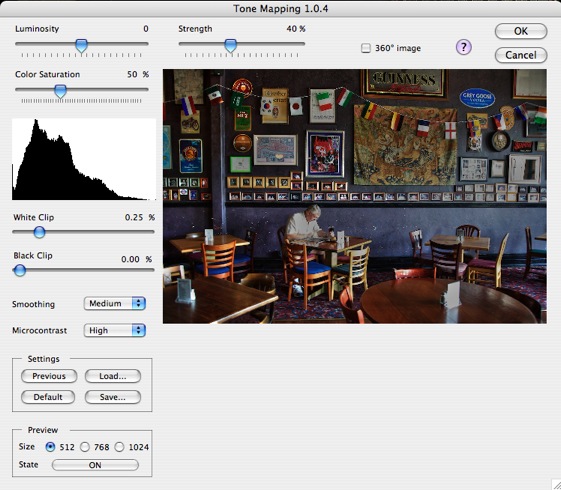
A very useful tool to have in the photographer’s tool chest.