It’s not fun, but it has to be done.
2023 Update: For an update with new vendors, much cheaper and every bit as good, click here.
Henry Ford, genius that he was, determined that it’s better to get a semi-skilled worker to do one task many times than to try and train him to do many tasks once. And, I’m afraid, when it comes to framing lots of prints, that a production line mentality is consonant with productivity and low error rates. Let’s face it. Only an assembly line worker, could find this work interesting.
I have previously illustrated how I Mount and Mat Really Big Prints. In this pictorial I will walk through the framing process.
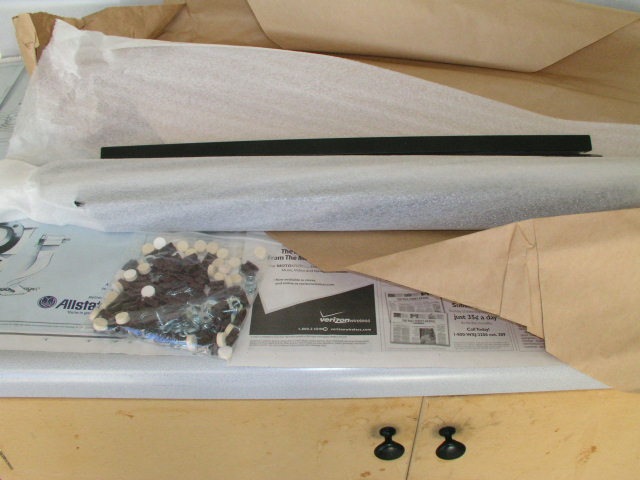
The time had come when I finally had to frame the last 15 prints for my one man show – some 18″ x 24″, the rest 13″ x 19″ – all mounted on 22″ x 28″ stock. Marty Paris, the UPS man, sadist that he is, had dropped off the framing supplies from the fine folks at Redimat, so there was little excuse but to get down to it and get through the drudge of framing. Earlier, glass had been procured from the nice people at Paso Robles Glass down the road, so no excuses remained.

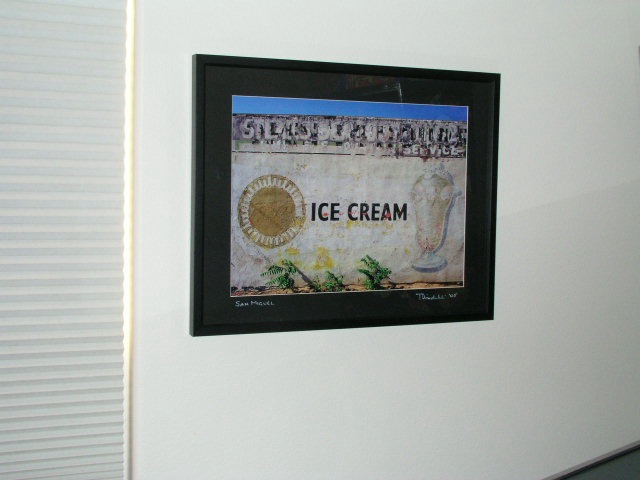
I use classic black frames.
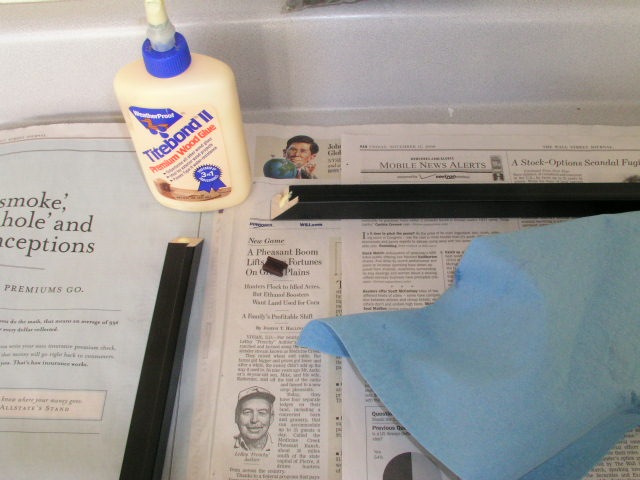
You need a clean, well lit, flat workspace, some Titebond II wood glue and a moist rag to clean up glue squeeze out. While wet, this glue is water soluble. Once dry – don’t even think about it.
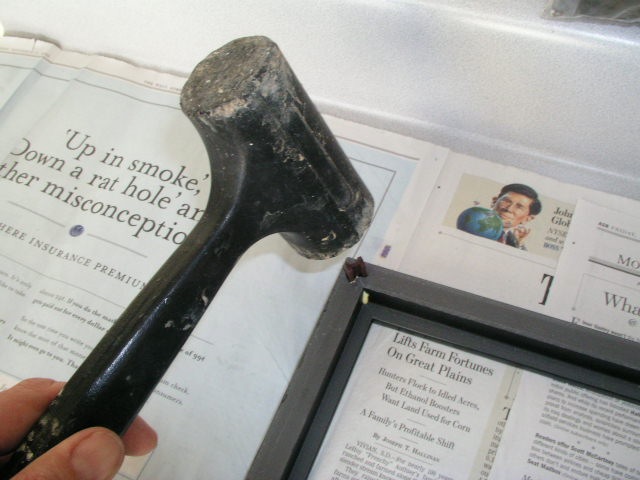
No sledgehammer needed. A drop of glue on the two mitred surfaces, pop in a corner piece, and tap it in gently with a soft blow mallet.
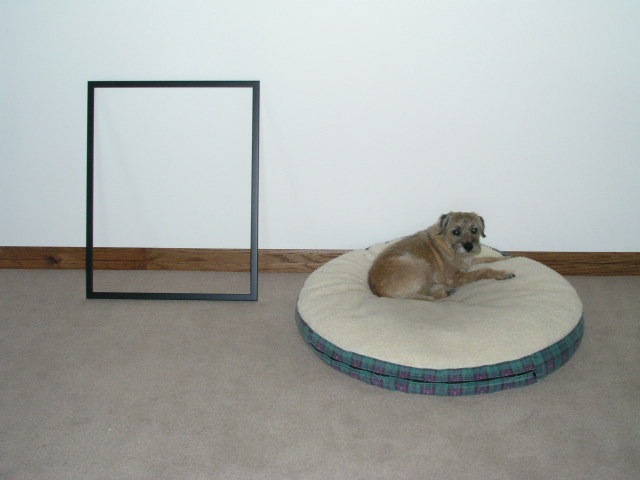
Wipe off any glue squeeze out and move the frame to a safe place. The matt surface is fragile and easily scratched. I delegated custodial and security duties to my regular assistant, Bertram the Border Terrier. If you use one of these, do make sure the chap is comfortable, as in the picture above. Guard duty is stressful, diligence essential.
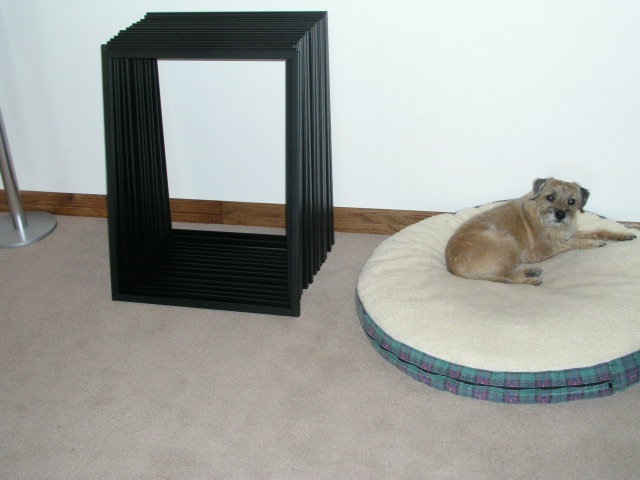
Thirty-three minutes of indescribable tedium later, fifteen frames are assembled. Note the unceasing diligence of the faithful hound.
When you buy glass this large – these sheets are 21 15/16″ x 27 15/16″ – do ask the glazier to pack them in groups of five, or you will be risking a hernia. Glass is heavy! While the frames accommodate 22″ x 28″ mats, I have the glass undercut by 1/16″ as the glazier cannot guarantee tight dimensional tolerances.
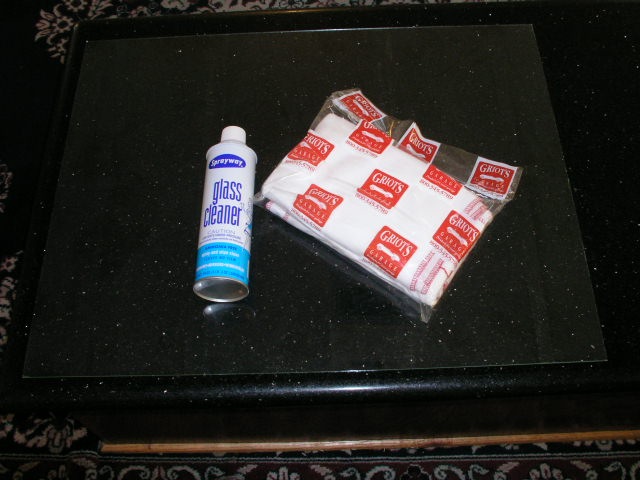
Now for the toughest and most dangerous bit. Tough because cut sheet glass is coated with fine polymer granules to prevent abrasion between adjoining surfaces. These must be cleaned off. Dangerous because you can easily cut yourself on the unpolished edges (ever seen a glazier’s hands?) – polishing these is God’s way of telling you that you have too much money. You need to get the glass crystal clear and lint free. Any dirt will show like you wouldn’t believe if you use black mats, which I prefer.
Rather than using an ammonia-based glass cleaner like Windex, which is prone to leaving streaks, I prefer Sprayaway, which is ammonia-free and simply does a better job. The lint-free cloths are from Griot’s Garage, a superb business which really cares for its customers. You can wash and reuse these until they fall apart. Forget the paper towel rolls from the local Home Depot – these have so much grease and oil in them as to be useless.

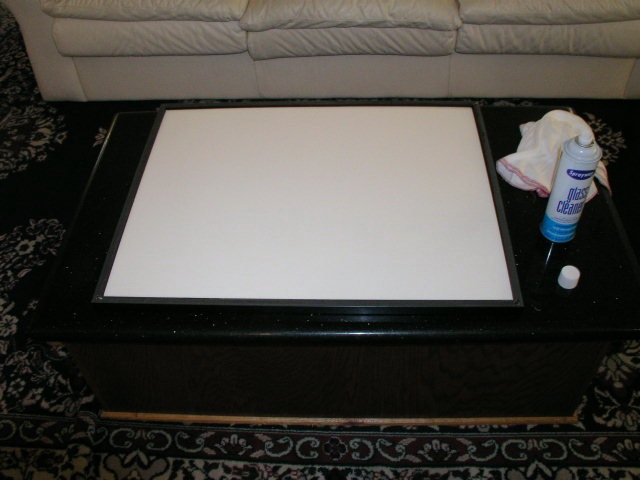
You will find it far easier – and safer – to clean the glass by placing it in the frame. That way you are protected from the sharp edges and it doesn’t slide around dangerously because of those polymer granules. I do this on a black marble table top for the simple reason that the black background discloses every piece of dirt and lint.
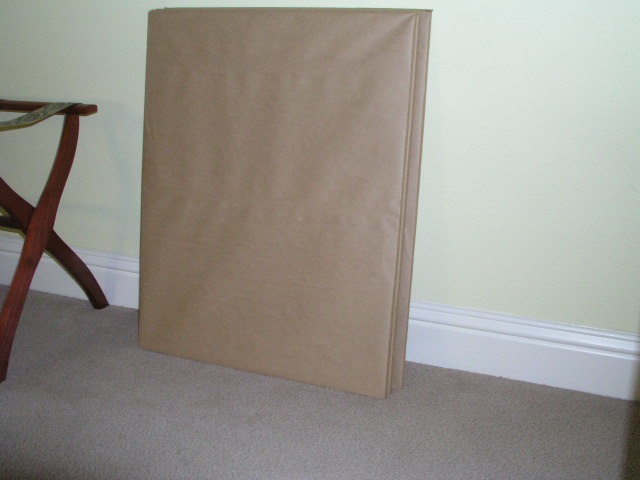
Once clean, drop the mat/print/mounting board sandwich in.
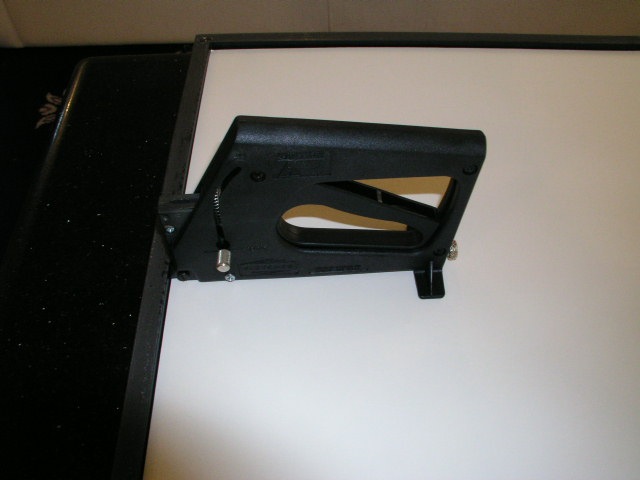
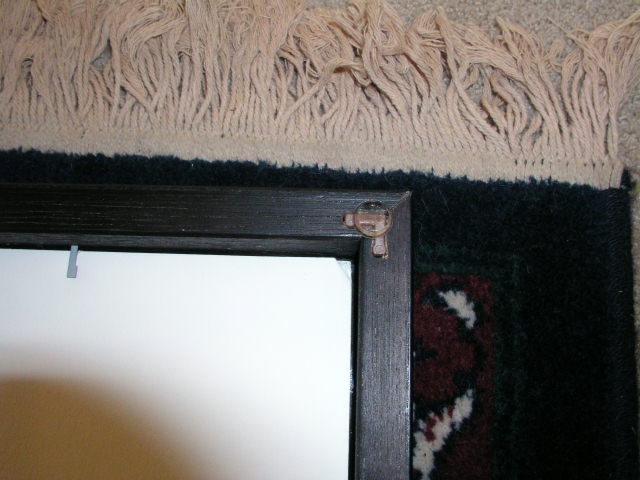
Now, do yourself a favor. There is only one effective way of installing framing points in a frame, and that is using the right tool for the job. This superb tool, available from Blick Art Materials in the fine state of Texas, goes by the name of the Fletcher FlexiMaster Framing Tool. Expensive, you say, at some $80? Nonsense. How about perfect point installation, all sixteen of them, in thirty seconds?

Thirty seconds later. What is your time worth?
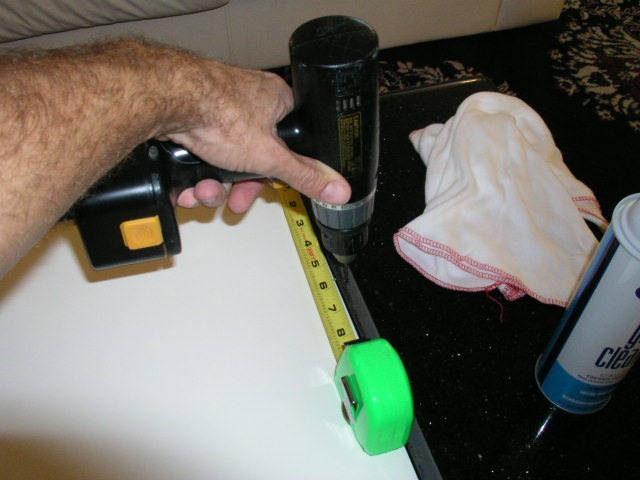
I leave drilling of holes for the wire eyes until the end for the simple reason I can never remember how many prints are portrait and how many landscape in my ‘production run’ and, of course, the placement is either on the long, or short, frame sides, respectively. Use a drill size that allows you to torque the screw down easily but not so large that it’s sloppy. If you are struggling and your Phillips screwdriver is jumping out of the screw, your drill is too small. This has to be right. The completed frame + glass + print is heavy and you do not want the screw coming out in the next California earthquake or whatever natural disaster your location is prone to.
I drill the holes six inches down for both portrait and landscape prints. Why the pedantry? Because if you make everything uniform, hanging a bunch of prints dead level becomes easy if everything is identically placed. Old H. Ford taught me well.
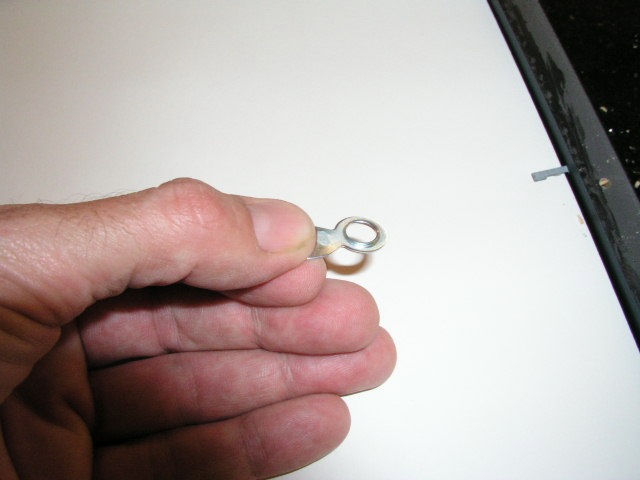
The wire eyes can now be attached.
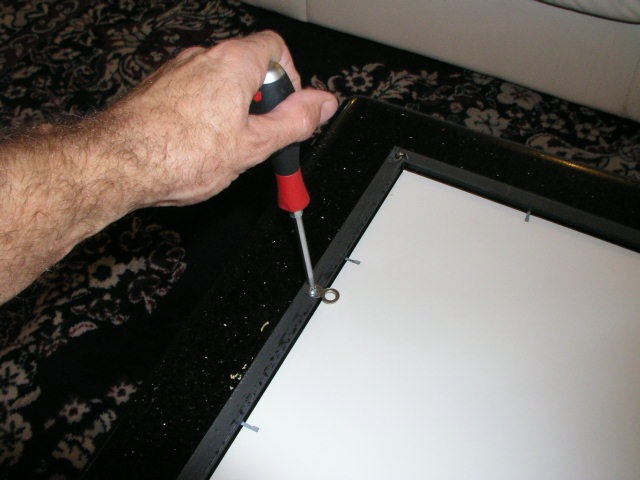
Once again, if you are fighting that screwdriver, use a bigger drill for the hole. And please repeat after me: “I will not use an electric drill to insert the screw”. Unless you want to split the wood frame, that is.
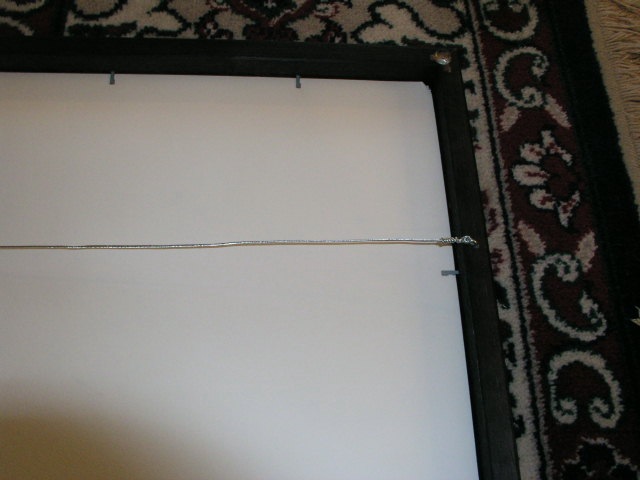
Attach the hanging wire – I use 20 lb wire which is more than strong enough. Don’t even think of using synthetics like nylon. They will rot with age and …. well, I leave the rest for you to figure out. Tension the wire identically for each picture and the degree of sag you will get when you hang them will be …. identical. Hanging pictures is right up there with framing – I suspect more practitioners have been driven to chemical dependency by this process than through doing their annual tax returns. And the eye is incredibly sensitive to improperly aligned prints – or horizons. It’s something God seems to have built in to our genetic make-up.
Finally, place one of the provided bumpers at each corner to protect the wall.
What does all this cost?
A sheet of paper sized 18″ x 24″ for the Hewlett Packard DesignJet 90 printer costs $4. Inks probably add another $4. The mat is $14, the mounting board some $7, the glass $18 and the frame $26. Add $2 for the wire, hook and mounting tissue, and you are in for $75 for each framed print. So my show, with thirty of these, plus a couple of dozen unframed prints in the saw horses on the side, adds up to some serious money.
But is it worth it, or what?
Aaah!