Can you say ‘fast’?
For an index of all my Film related articles, click here.
There is absolutely no upside to time spent scanning old films, other than the end result. The process is of surpassing tedium and the goal of the previous three articles, starting here, has been to make this process fast and seamless, without sacrificing a commitment to the highest quality results.
With LR tethering working well and a carefully tailored import preset dialed in in the tethering panel (exposure, contrast, vibrance and so on) I set about the project seriously and here is this morning’s result:
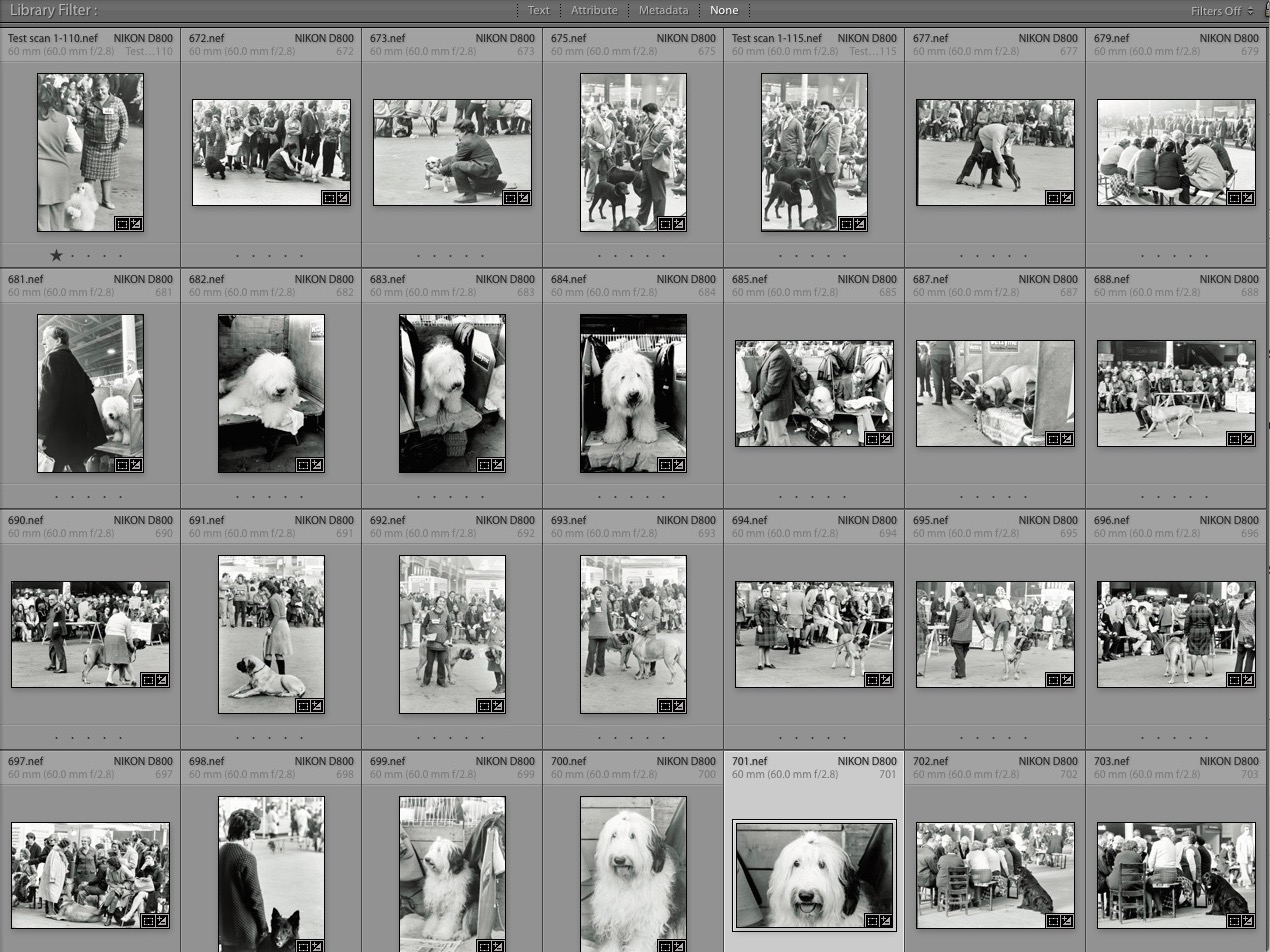
28 scans, 47 minutes.
Yup, 28 high quality scans in just 47 minutes and that includes negative strip selection and insertion in the film strip carrier, dusting, image recording using the D800 rig, conversion in Lightroom from negative to positive (in the import settings, so it’s automated), dust retouching – the most time consuming step though LR’s clone/heal tool is excellent and fast – and final contrast/exposure/vibrance tweaks. And I was not rushing things. The final step is to rename the files to conform with the original negative numbers should the originals ever need to be retrieved. The computer is a 2010 MacPro with two 3.47gHz 6 core CPUs, 96gB of 1333MHz RAM and an Nvidia 980GTX GPU.
The results are ready for printing …. large:
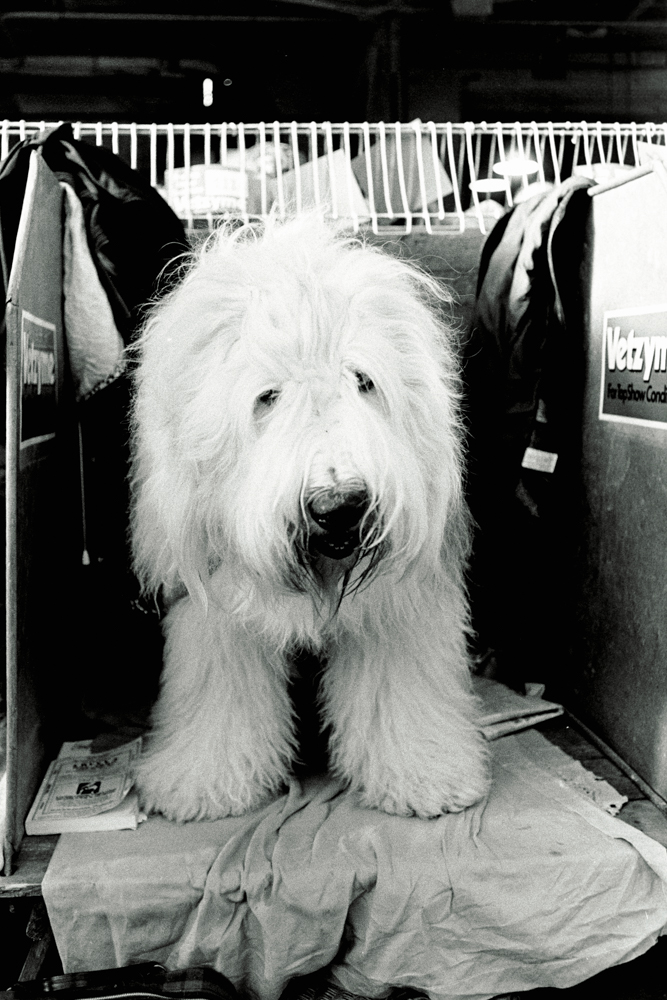
Magnificent English sheepdog.
These were taken at Crufts Dog Show in February, 1972. Leica M3, 50mm and 90mm Elmar lenses, TriX processed in Microphen pushed to 800ASA/ISO.