Tricky.
For an index of all Leica-related articles click here.
Having added two Canon Leica Thread Mount lenses to my little Leica M3 outfit, I found it difficult to easily align the lenses properly when fitting them to the M3. There’s a small red index line on the LTM-to-M bayonet adapter but it’s very hard to see when the adapter is mounted on the lens.
What I was missing was the red index hemisphere (“dome”) found on all Leitz M mount lenses, like on my 90mm Tele-Elmarit. These are absent from LTM lenses from any manufacturer:
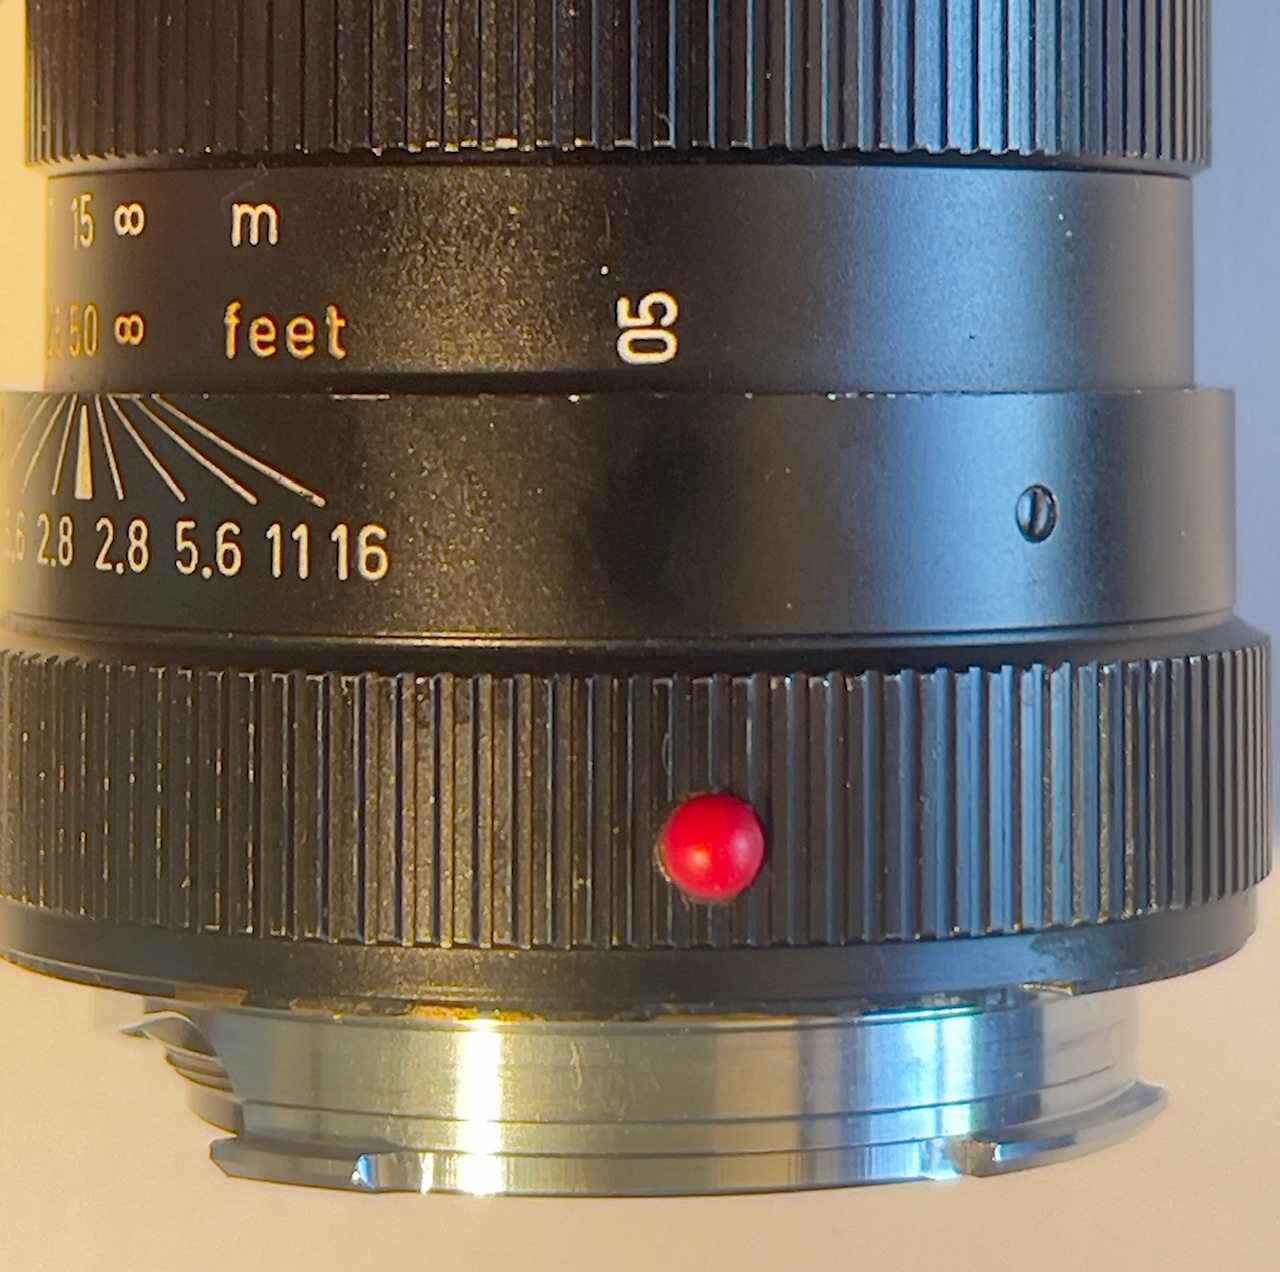
The indexing dome on the 90mm Tele-Elmarit
In addition to providing visual indexing when mounting the lens, these domes also provide ready tactile guidance so that you can literally change lenses in the dark almost as easily as in daylight.
A couple of minutes on eBay and I was hosed down $10.23 for two minuscule red plastic indexing domes, arguably the costliest plastic per ounce on Planet Earth. Still, watcha gonna do? (I searched for “Red Dot Marks for Leica Lenses”). Be sure to clean your lens’s mounting surfaces with some isopropyl alcohol before proceeding.
The domes measure 3.2mm in diameter (0.1255″), identical to those used on Leitz rangefinder M-mount lenses.
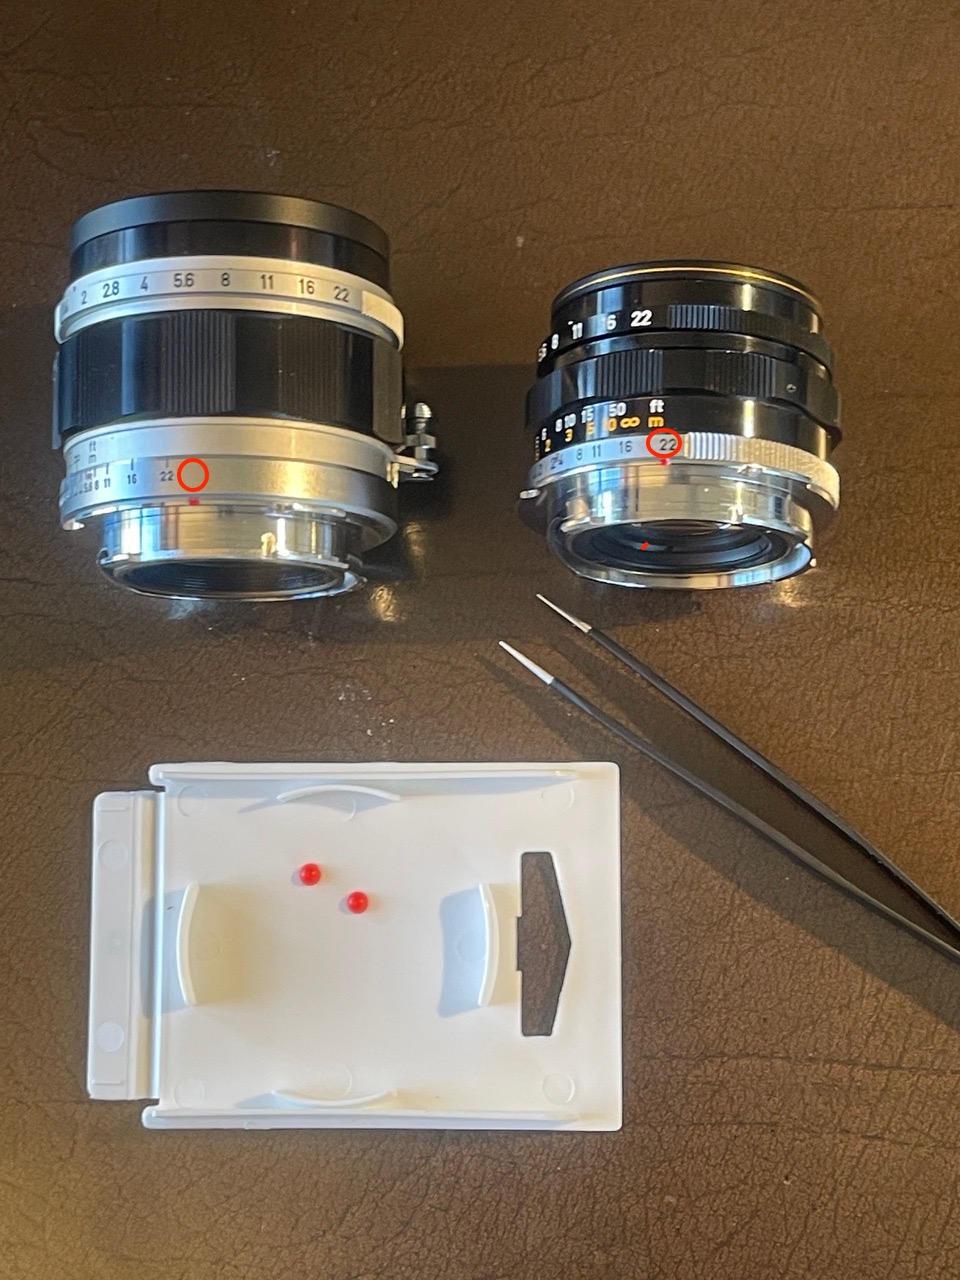
The domes with the 35mm and 50mm Canon optics.
Miniature tweezers are essential for easy placement.
Red circles indicate correct locations.
As you can see these are very small and you must use a pair of miniature tweezers to place them in position. The red circles indicate the installation points.
While some use cyanoacrylate glue I find it’s far too runny and impermanent for this purpose. Those domes are going to get knocked about in use and CA glue just does not cut it. What is needed is two-part epoxy and there’s none finer than regular JB Weld. Avoid the quick setting version (weaker), go for the real thing:
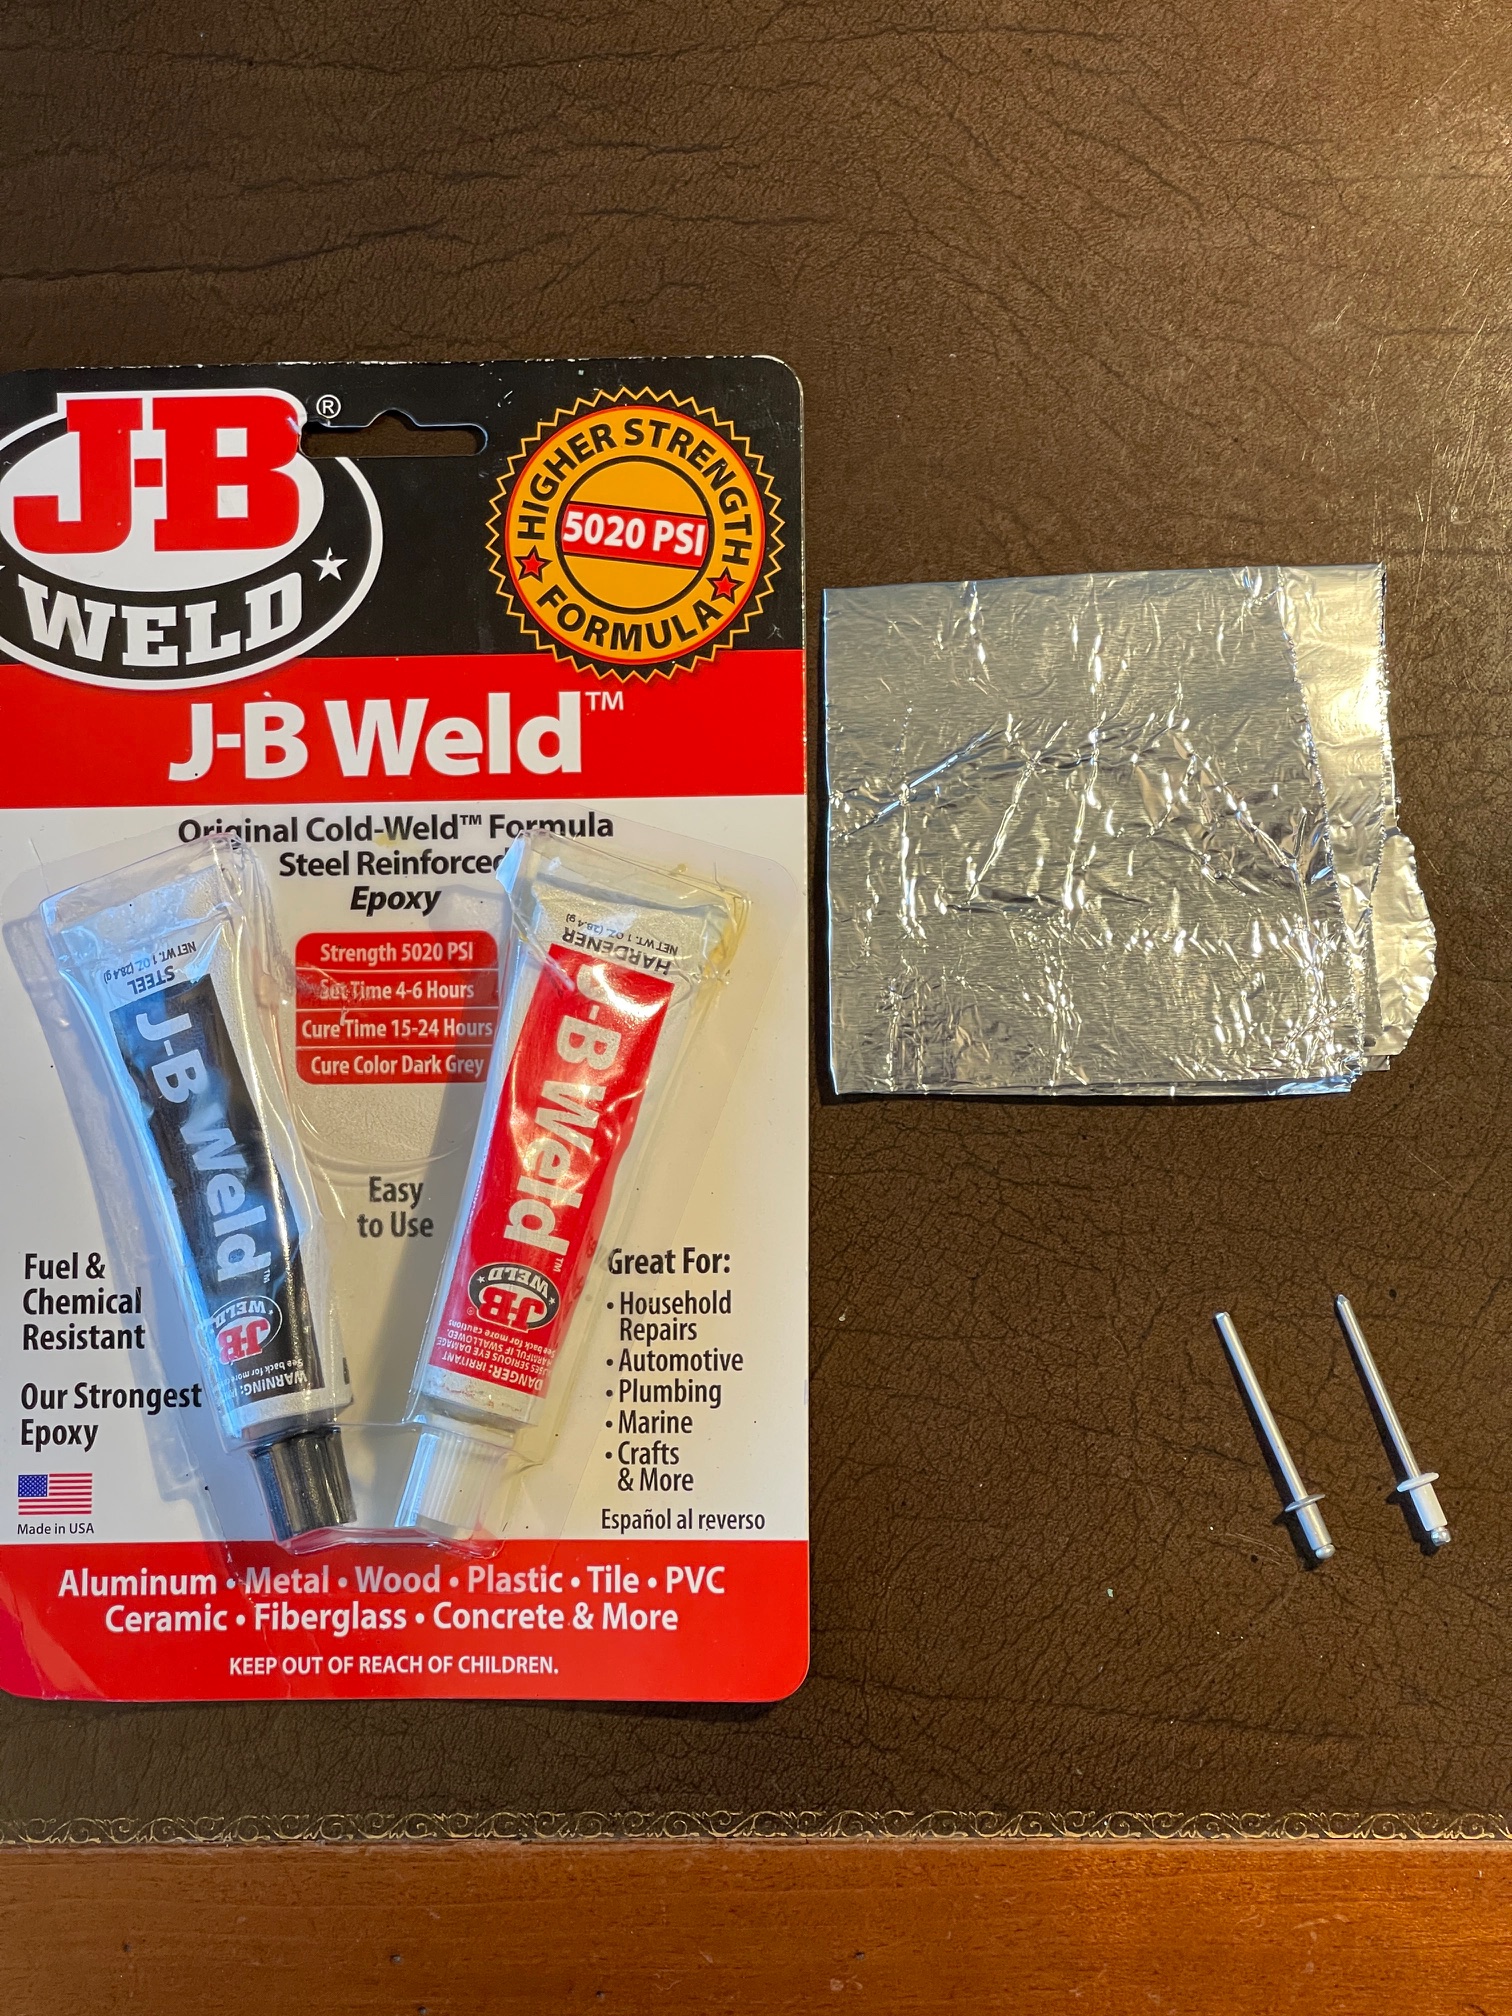
One rivet for mixing, the other for application.
Next it’s time to mask the rear rings on the lenses to avoid unnecessary and ugly over-application of the mixed epoxy:
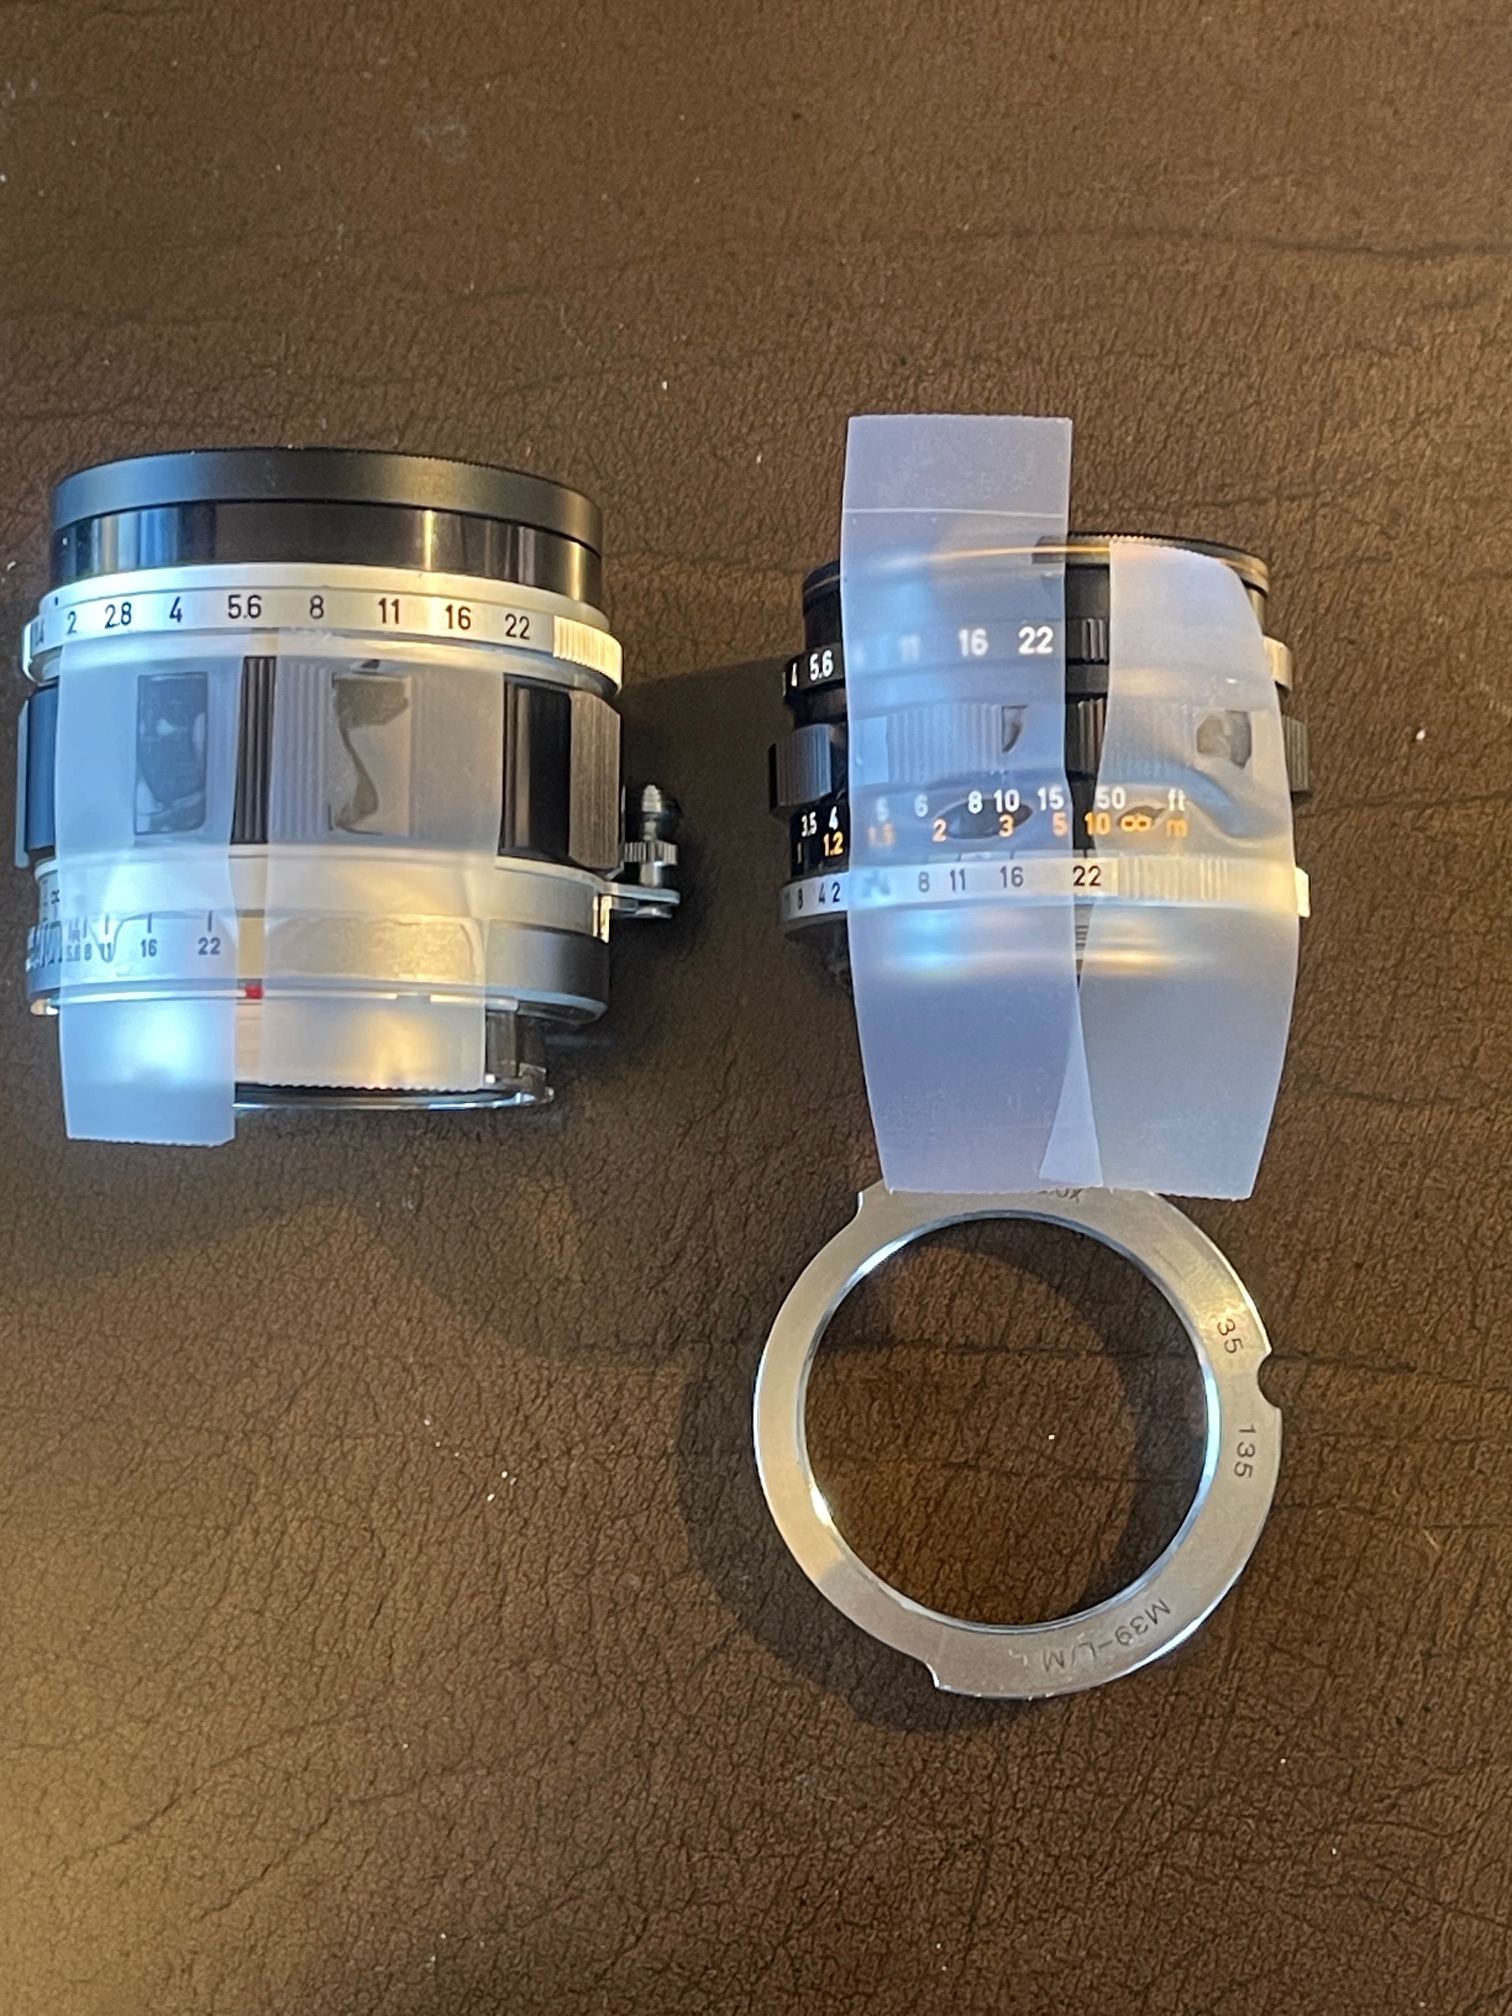
Scotch tape masks. The adapter has been removed
from the 35mm as it overlaps the rear lens mount.
This makes for better Scotch tape adhesion.
You have two choices. Apply the epoxy to the dome (high risk of dropping the dome as you hold it in the tweezers) or apply the epoxy to the lens (far lower risk, and the Scotch tape mask further mitigates error). After applying the smallest amount of epoxy to each lens, the domes are placed in position using the tweezers followed by light finger pressure for a good seal. This is why you want to use as little epoxy as possible. Squeeze out is ugly. Maybe lay off the coffee before these steps?
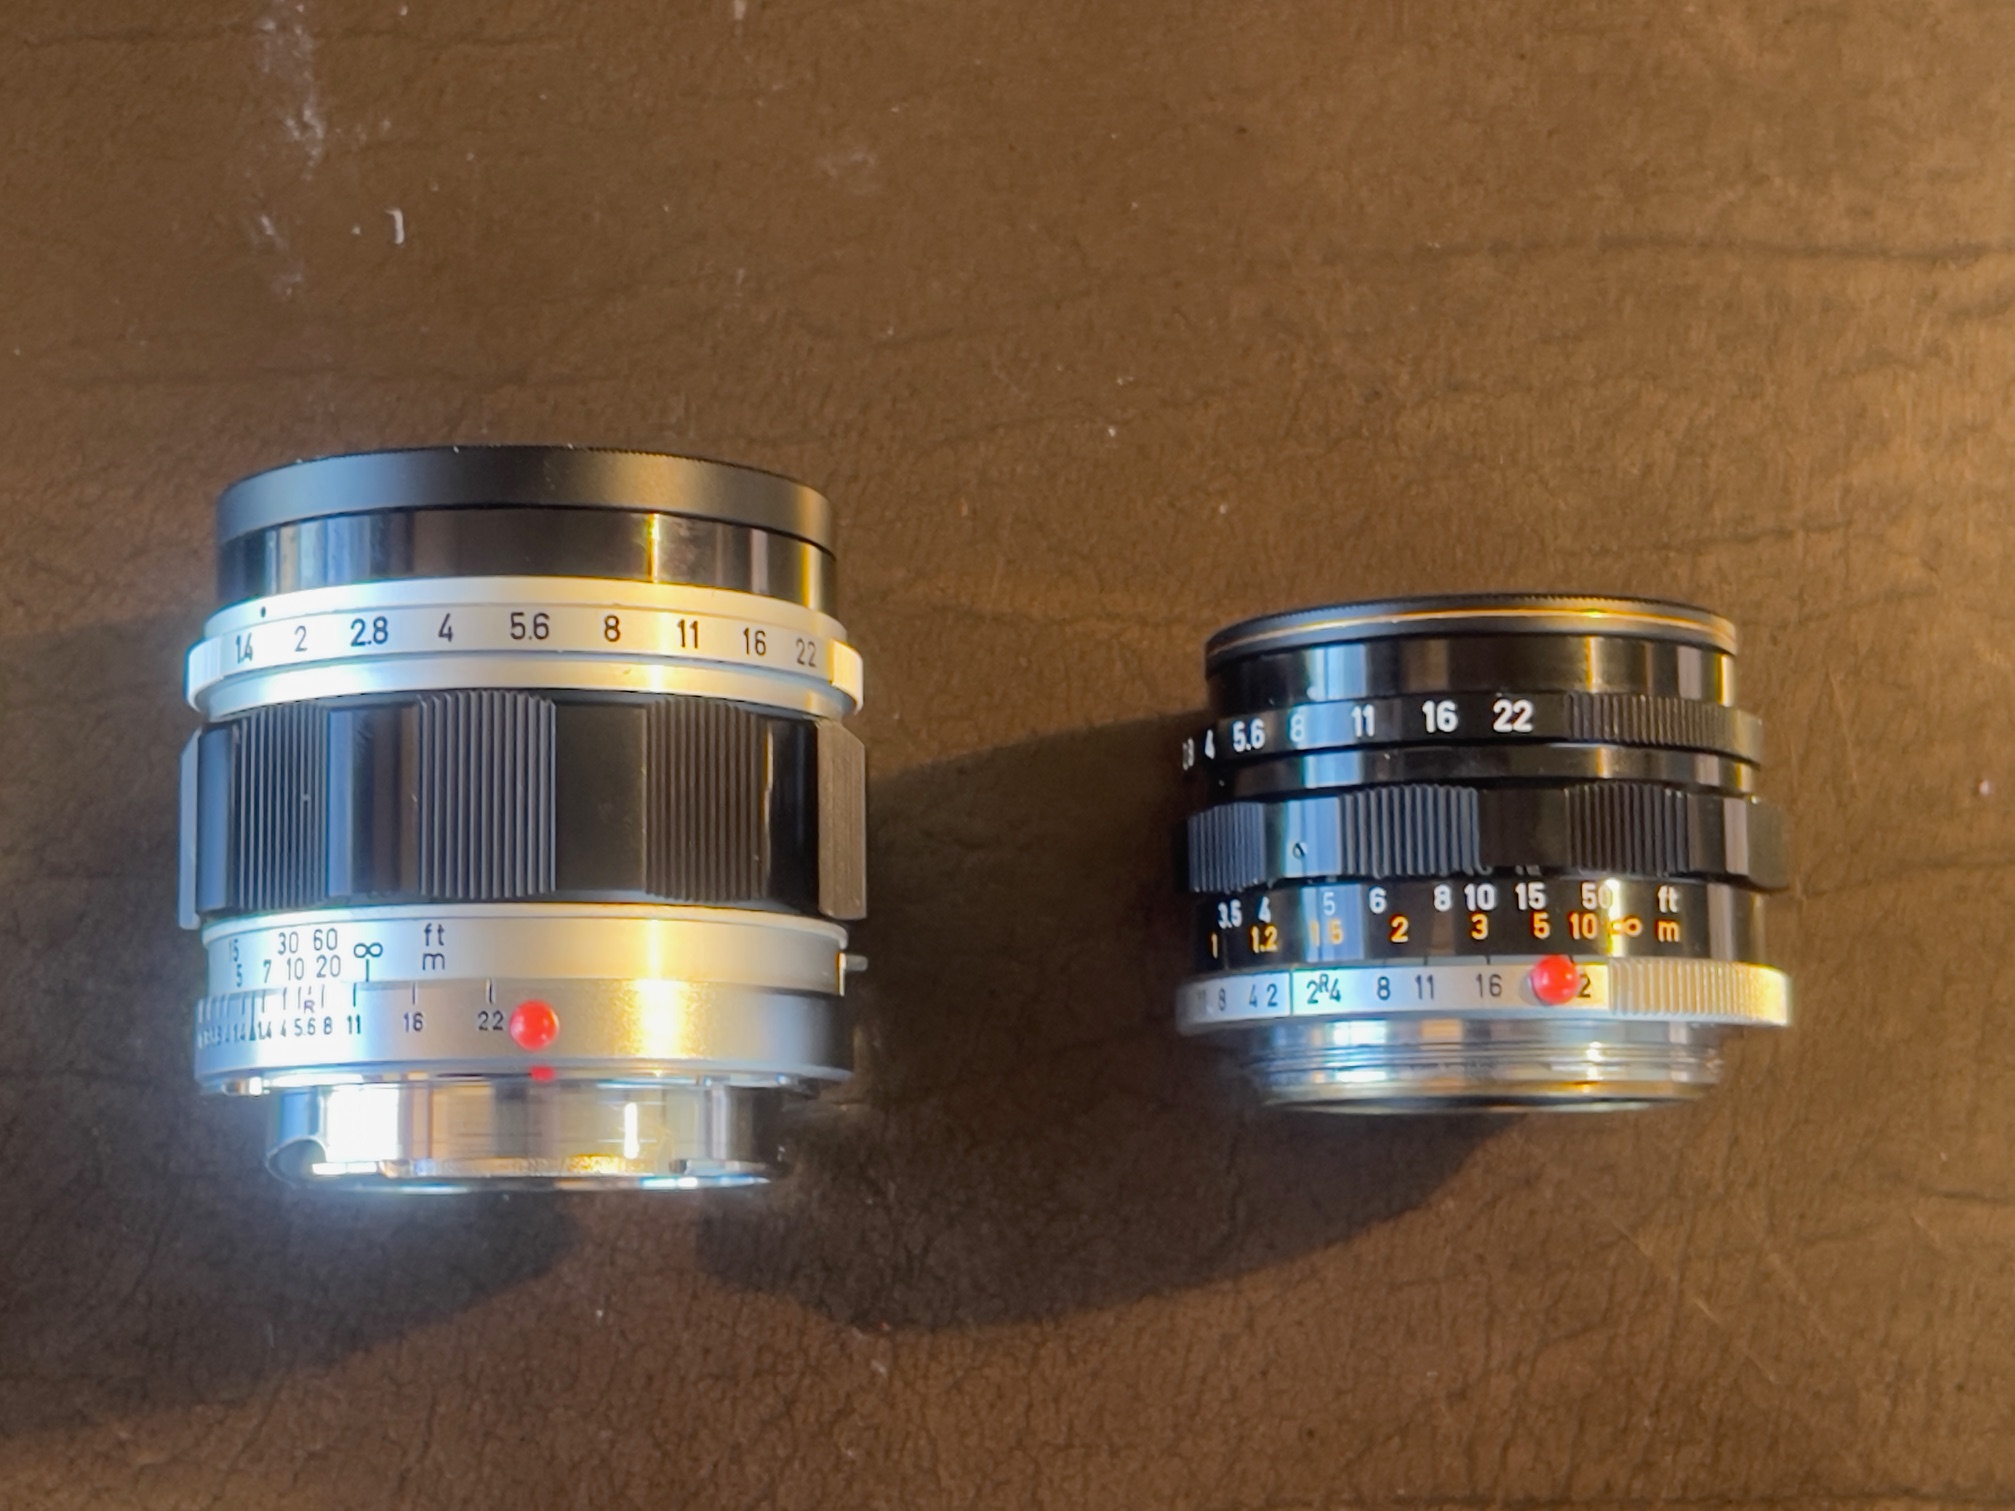
The domes in place.
Yes, the dome on the 35mm lens overlaps the far f/22 depth of field index but I’m not about to use that optic at f/22 where diffraction ruins resolution. So it’s a non-functional issue.
JB Weld two part epoxy takes 24 hours to fully cure at 70F. Not 20, not 16 not anything lower. Put the lenses aside and come back a day later. You can hit the coffee now.