No more gauche exhibitionism.
For an index of all Leica-related articles click here.
I’m not sure when the geniuses at Leica decided to emblazon their products with that loud red dot, an embellishment which announces to the world that you probably have more money than sense while simultaneously screaming “Steal me now”. It may have been with the Canadian Leica M4-2, but it was a long time ago. Why, they even have a gigantic one on their headquarters building in Wetzlar. There’s branding for you.
And Leica M users stuck with this execrable excrescence have been taping over the red dot ever since, in an effort to remain discreet and unembarrassed.
As my previous M bodies have been M3s, the M2 and an M6 I have been spared this pain but when the Leica M10 came along I immediately found a suitably sized washer in the garage and crafted a chrome sticker from flue tape, to cover The Red Dot.
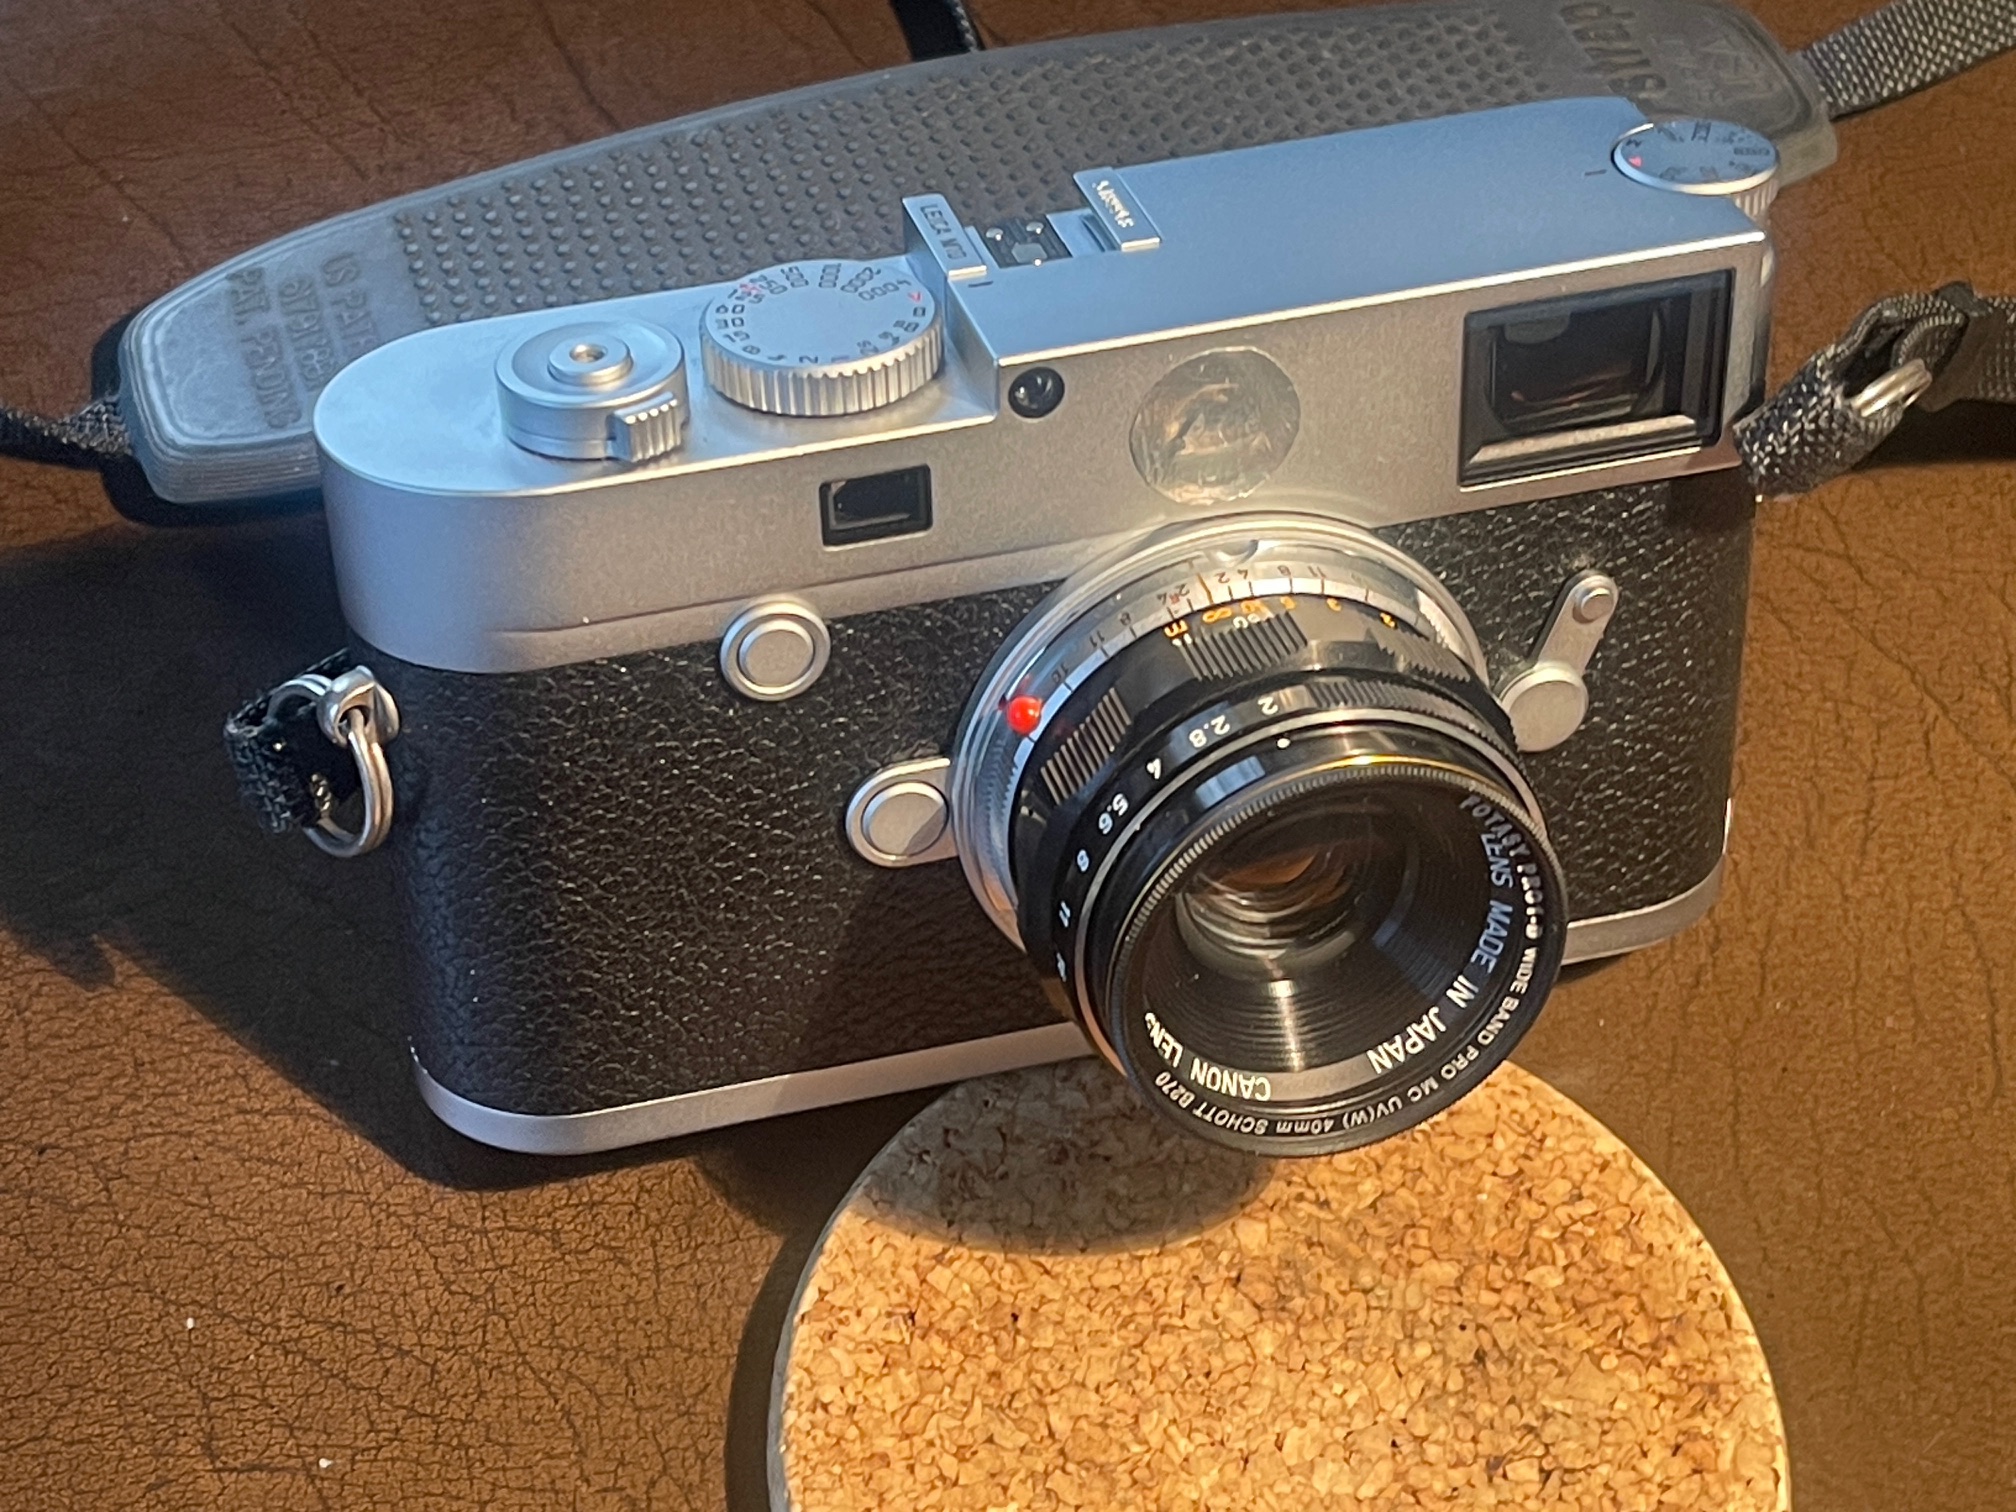
Silver tape temporary disguise.
The red dot covers the rangefinder vertical adjustment screw, as I further explained in Part II.
When Leica introduced the M10-P, an M10 with a quieter shutter and the gorgeous script restored to the M10’s sadly barren expanse of top plate, they replaced the red dot with a color matching screw to respect the stealth preferences of users. Around that time Grant at AGS Supply realized that this was an elegant solution and while the M10’s red dot opening is not tapped for a screw, the recess will neatly retain a replacement imitation screw with two-sided adhesive.
There are all sorts of varieties of replacement faux screws. The M10’s is 10mm in diameter. That for the porker M240 is appropriately larger at 12mm. And of course there are color variations – satin chrome (yes!), black chrome and black paint. You can see the full range on the AGS site.
While the first screw shipped to me was the wrong size, a call to Grant not only found him profoundly apologetic but also disclosed an interesting person, a Leica aficionado and a great back story. He had crafted a handful of the stick-on screws for himself and friends and before you know it was inundated with demand, suggesting a commercial opportunity. And while the imitation screw is not cheap I regard it as nothing less than insurance cost mitigating theft risk and, equally importantly, saving the M owner embarrassment.
Grant overnighted the correctly sized replacement and I set to removing the red dot without trashing the top plate.
Here are the instructions, which I followed to the letter, allowing a drop or two of isopropyl alcohol, applied with a Q-tip, to soak in for a few minutes before attacking that wretched dot with a couple of plastic spudgers. To provide working room for the spudgers I replaced the lens on the camera with a body cap.
Use metal anything to try and twist the original red dot and you will trash your camera. The raised ‘Leica’ lettering on the red dot, which you use to torque the dot this way and that until it yields, is shallow and your tool will almost certainly slip a time or two. And the thought of inserting a sharp metal point to try and pry up the red dot makes me shudder. You have been warned. But as the images below show, the effort is well repaid. I’ll bet that Wetzlar has a million dollar heated twisting tool which applies the right temperature to the nearest one hundredth of a degree Celsius, and can do this in a trice. It took me a few minutes with a somewhat cheaper tool kit, at a steady 72 Fahrenheit. I preferred to avoid the use of heat for fear of damage to the underlying innards.
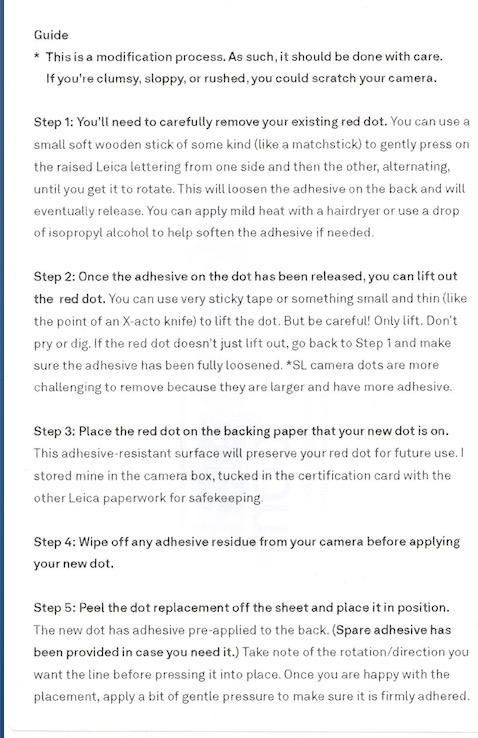
Instructions.
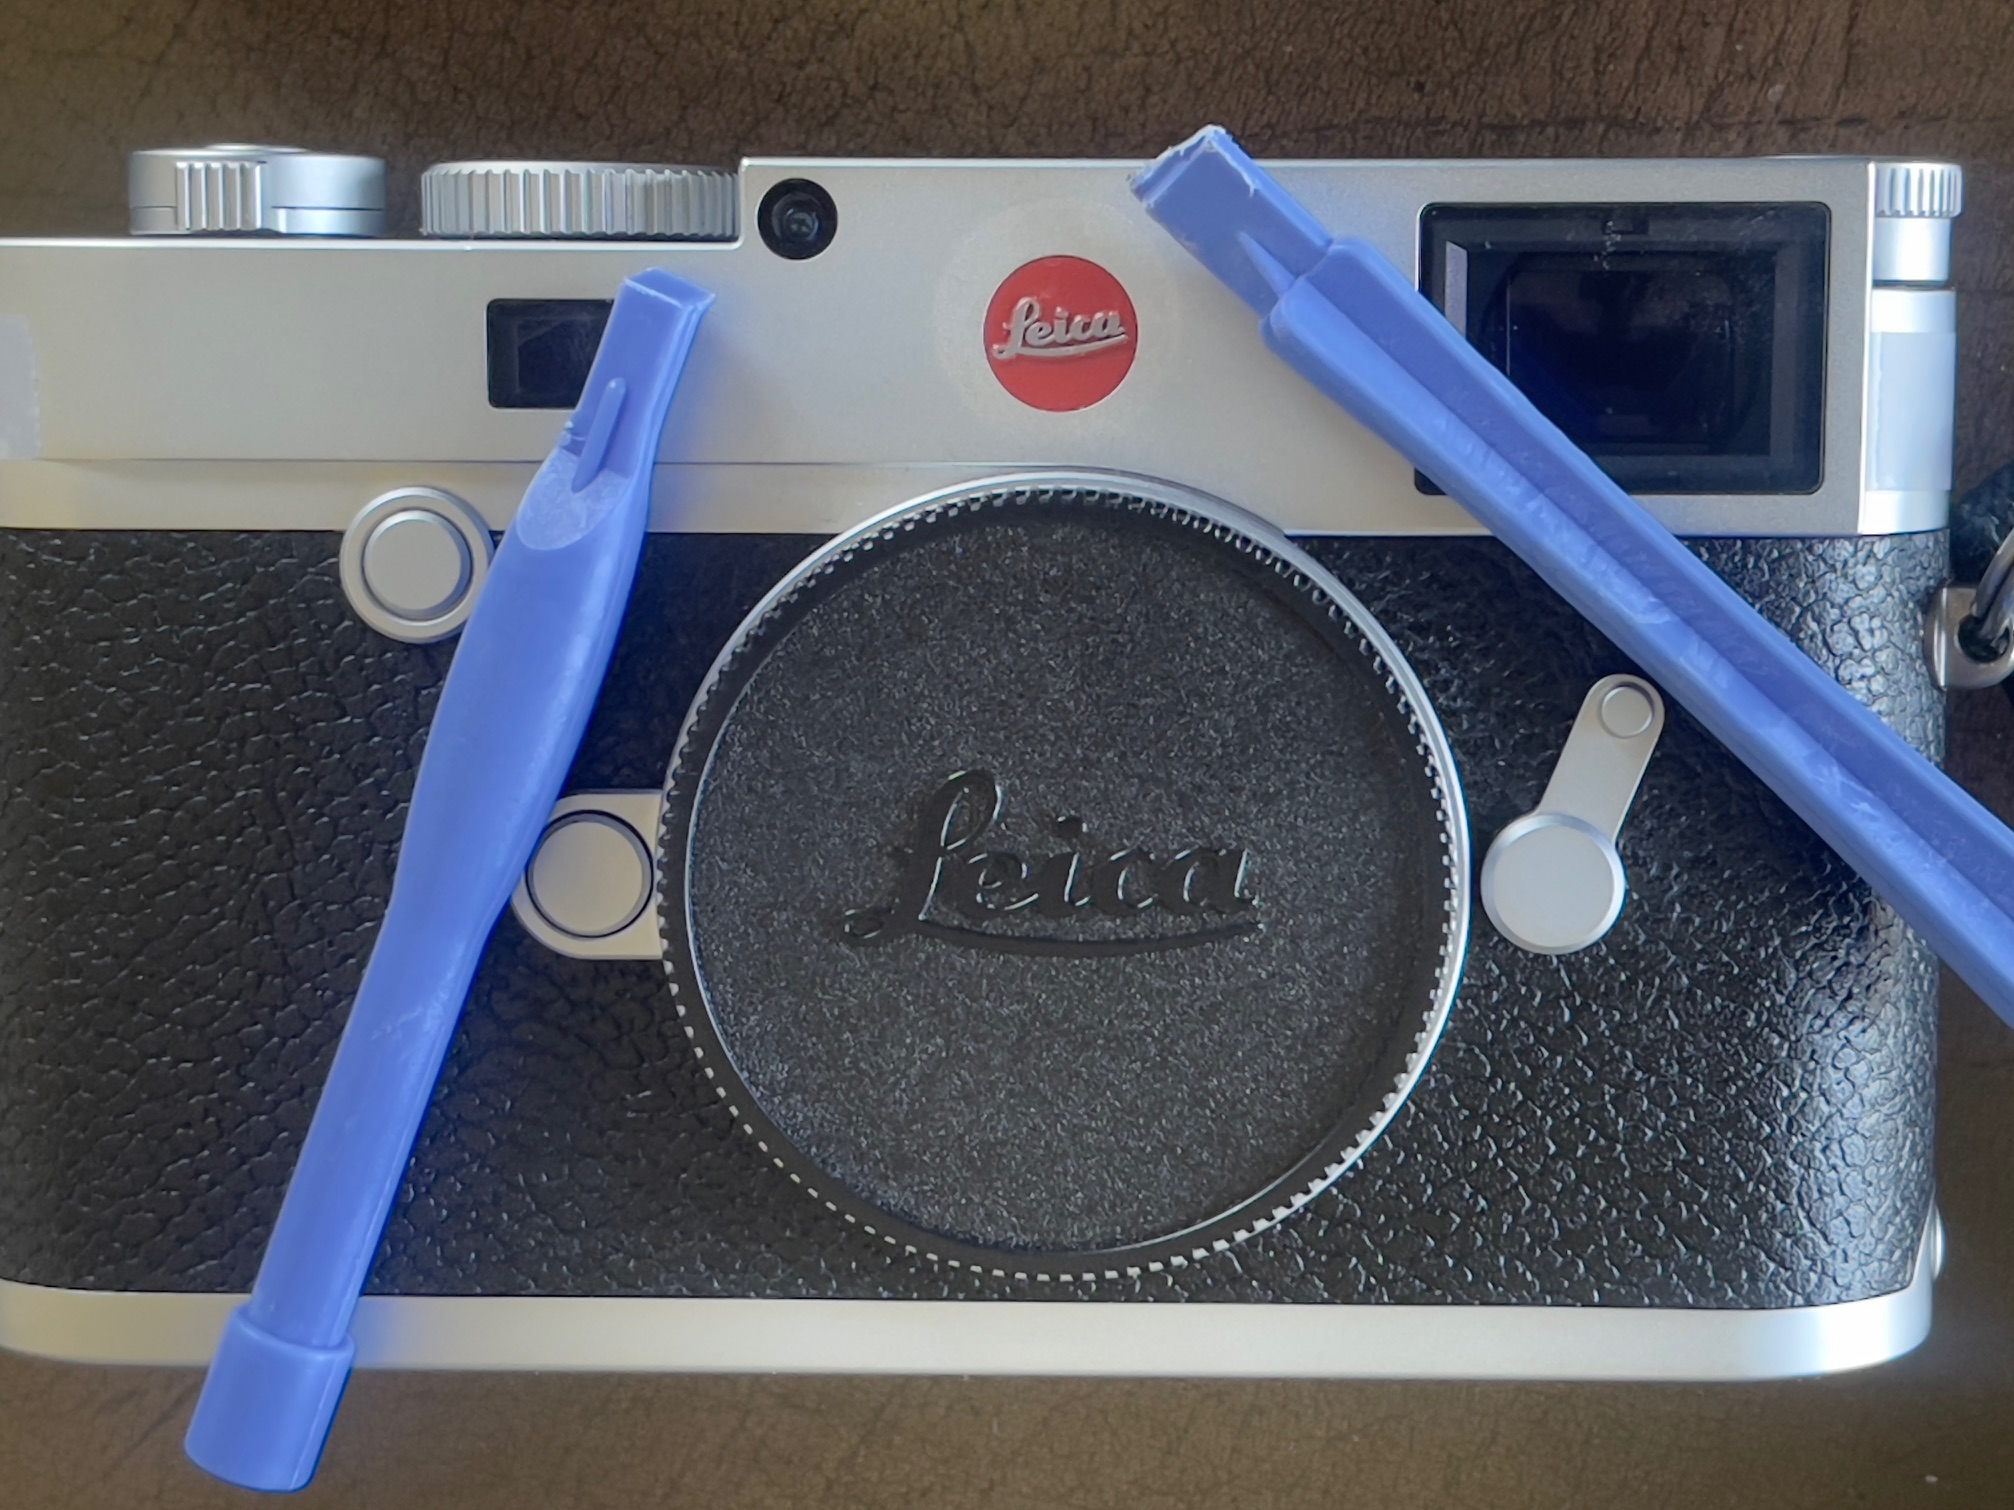
Spudgers at the ready. I have already started the twisting process, as you can see.
You do not want to touch the adhesive on the replacement with greasy fingers. I used a pair of miniature tweezers to place the replacement in position, carefully removing it from the greaseproof paper on which it ships.
The miniature tweezers used to place the new dot in place are from a Swiss Army knife.
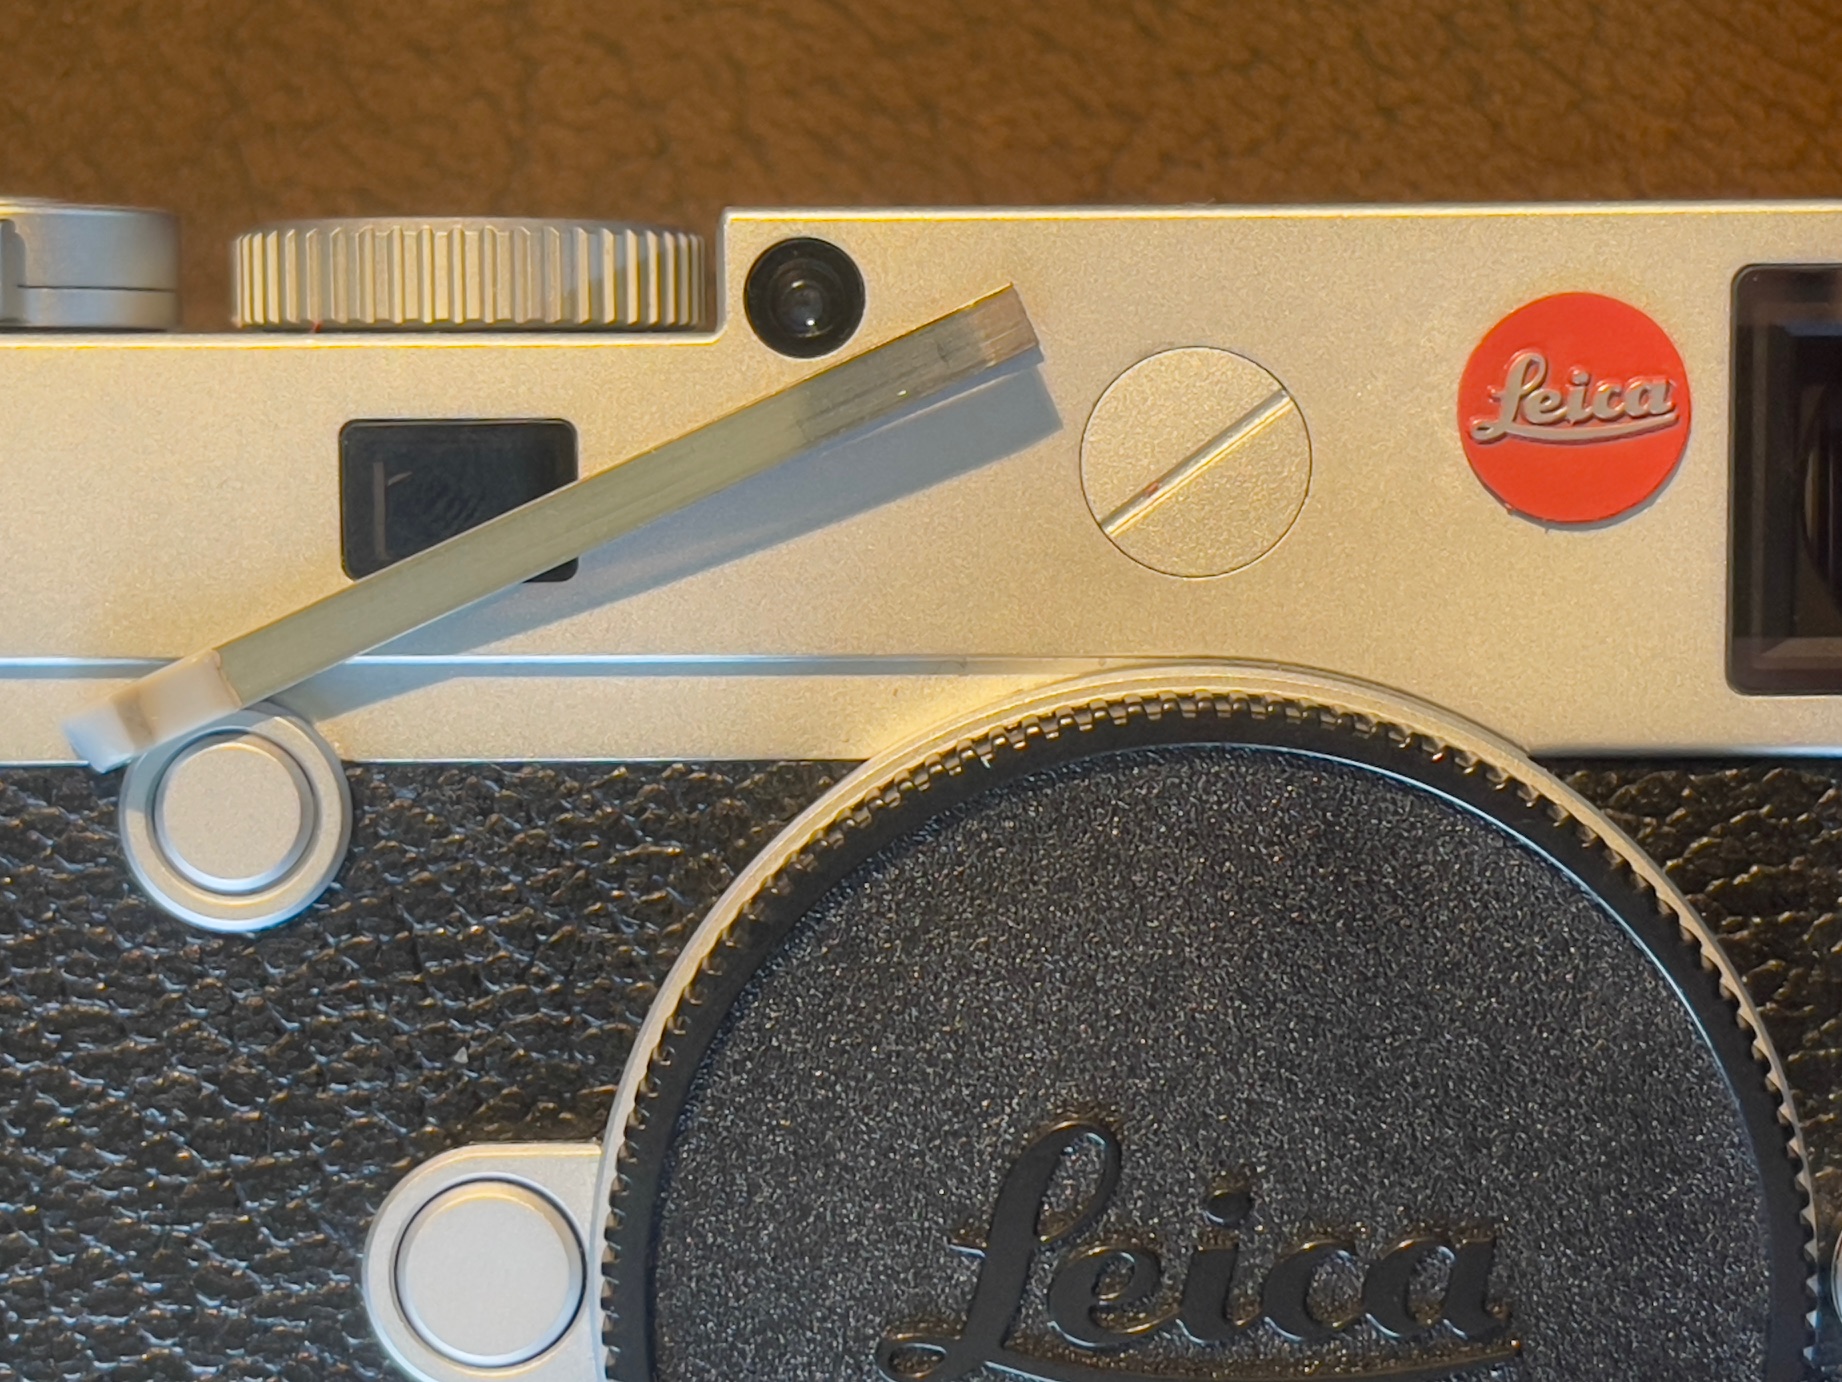
As is obvious the fit is perfect and the color is very close.
Ah!, you ask, what is the right angle for that screw slot? Well, needless to say, Grant has studied this carefully and the answer is that …. there’s no right answer. Check Leica’s US or German web sites and the angles of the screw-in screws on the M11-P, M11-Monochrom and M11-D (and their M10-P, M10 Monochrom and M10-D predecessors) are all over the place, suggesting that Leica is hand tapping the thread with no consistent starting point for the tap. I immediately dismissed the idea of horizontal orientation for the slot (boring) or vertical (too aggressive) and after much deep thinking decided on a jaunty ‘up and to the right’ placement, consistent with the behavior I wish for my investment portfolio.

All done, and a great color match. Now I can sleep at night.
Thank you for a fine product, Grant.