A fine long focus optic.
For an index of all Leica-related articles click here.
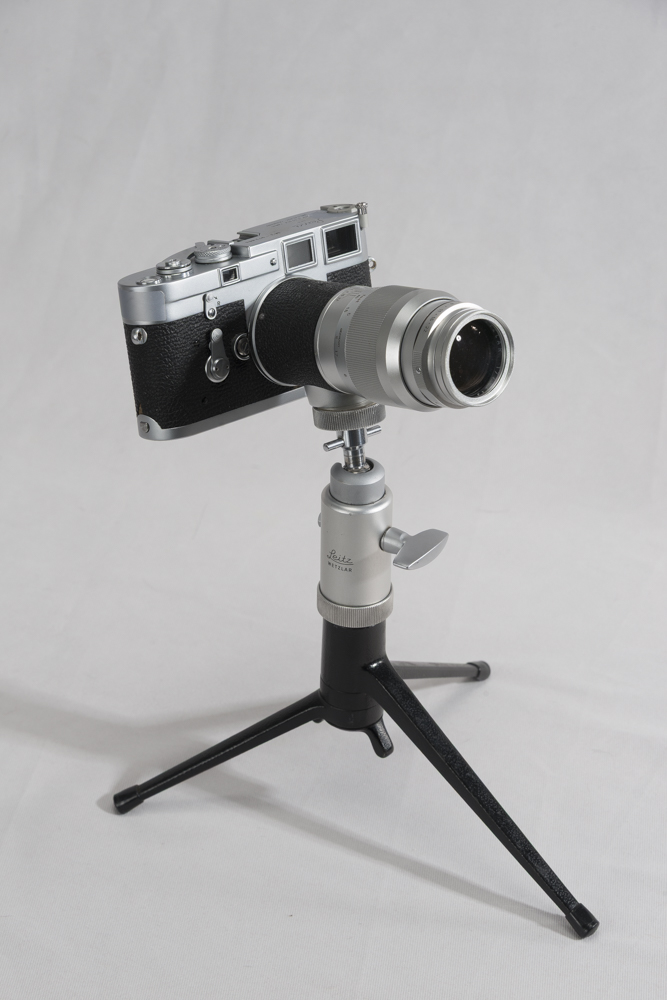
The 135mm f/4 Elmar on my Leica M3. Leitz ball head and tripod.
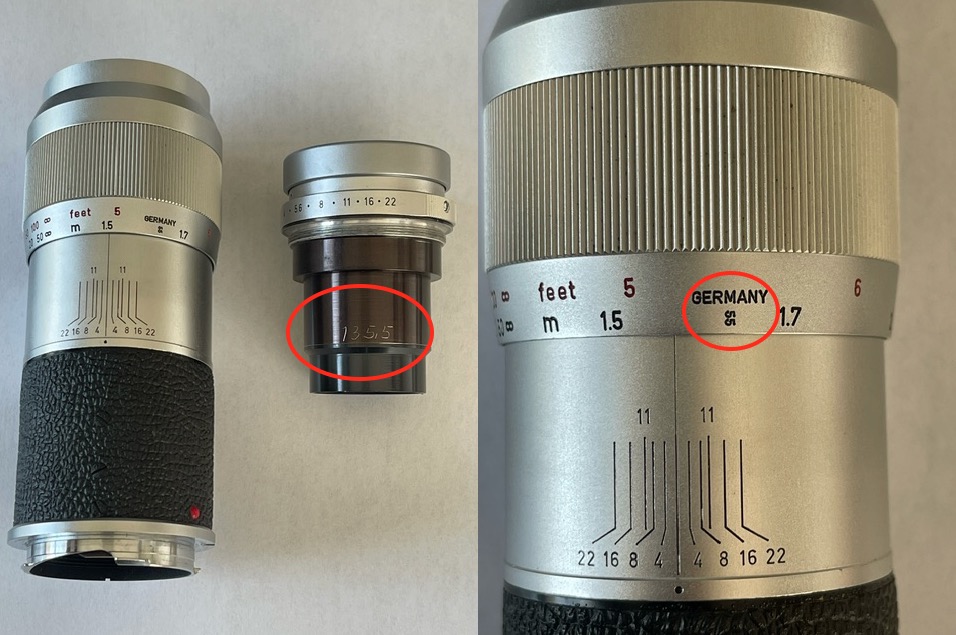
The lens head detached. The assembling technician has
scribed the exact focal length of 135.5mm on the inner tube and
the “55” engraving on the external focus collar confirms this.
Background:
The 135mm focal length for Leica M rangefinder cameras has largely fallen from favor, yet it’s an intriguing optic, especially if strongly out-of-focus backgrounds are called for. It poses some challenges in use but this lengthy piece gives background to its use for best results.
While the 135mm Canon LTM is an excellent long focus lens I could not let the chance of snapping up a pristine Leitz 135mm Elmar at a bargain price pass. I paid $260 shipped from a US seller. Made between 1960-1965 the lens was replaced by the telephoto design 135mm f/4 Tele-Elmar (physically shorter if probably no sharper), and later by the 135mm f/3.4 Apo-Telyt. Indicative used prices are $250-300 Elmar, $350-400 Tele-Elmar and $silly for the Apo-Telyt. 135mm Elmars are a bargain as that focal length has largely fallen out of favor with Leica M users and, indeed, Leica no longer lists any optics in this focal length. However, all M Leicas save the M2 (and the M1, MD, etc.) include the 135mm frame in their various viewfinders.
Choosing a lens:
When looking for an Elmar of this vintage be aware of the usual bugbears – uneven focus collar resistance, oil or corrosion on the aperture blades, haze and mould. And, of course, look out for lenses from previous owners who saw to it that their use of a tie to clean the front element wreaked havoc on the soft lens coating of the time, leaving scratches galore. One thing you do not have to worry about is balsam separation as the simple four element design has no cemented components. Used examples are abundantly available.
The design:
This is a no compromise mechanical design with a 12 (!) leaf diaphragm, solid brass internals and a vulcanite covered rear part to break up the large area of satin chrome. That number of diaphragm leaves sees to it that out-of-focus areas are rendered smoothly with no ugly polygonal artifacts. And yes, there’s a red half dome index for easy mounting of the lens on the M body. The lens is a delight on any Leica M, and no one does satin chrome finishes better. Beautiful to behold and very hard wearing. If you are into patina, look elsewhere. You want a black anodized finish? Prepare for ugly wear. Though made in Germany, it was designed by the great Walter Mandler at the now defunct Ernst Leitz, Midland, Ontario factory in Canada, so you get the best of the New World and the Old.
Like the Canon the Elmar has a very long focus throw of some 345 degrees from infinity to 5 feet. At 5 feet, without a hood, the tip of the lens with a UV filter fitted just touches the lower right corner of the related finder frame, meaning the body of the lens never interferes with the finder’s view on an M10. While the long focus throw does not make for fast focusing it does allow precise focusing and, believe me, you need that at larger apertures and shorter focus distances. The lens weighs 15oz/426 grams without caps but with a protective UV filter (39mm) fitted.
Rangefinder adjustment is critical:
The need for a properly aligned rangefinder cannot be overstressed with a 135mm lens. You need a 2mm Allen wrench to adjust the eccentrically mounted cam follower/roller, and I suggest you photograph a bookcase with a row of books at an angle to the camera, the camera on a tripod and the lens at full aperture, focused near the minimum distance of 5 feet. Books? Because the fine print on their spines makes for easy determination of the point of optimum focus. Tripod? Because you do not want to confuse movement blur with inaccurate focus. Take a snap then adjust the roller/cam follower as shown, take another snap, and so on, until the book’s spine you focused on and the sharpest spine in the image imported to Lightroom are one and the same:
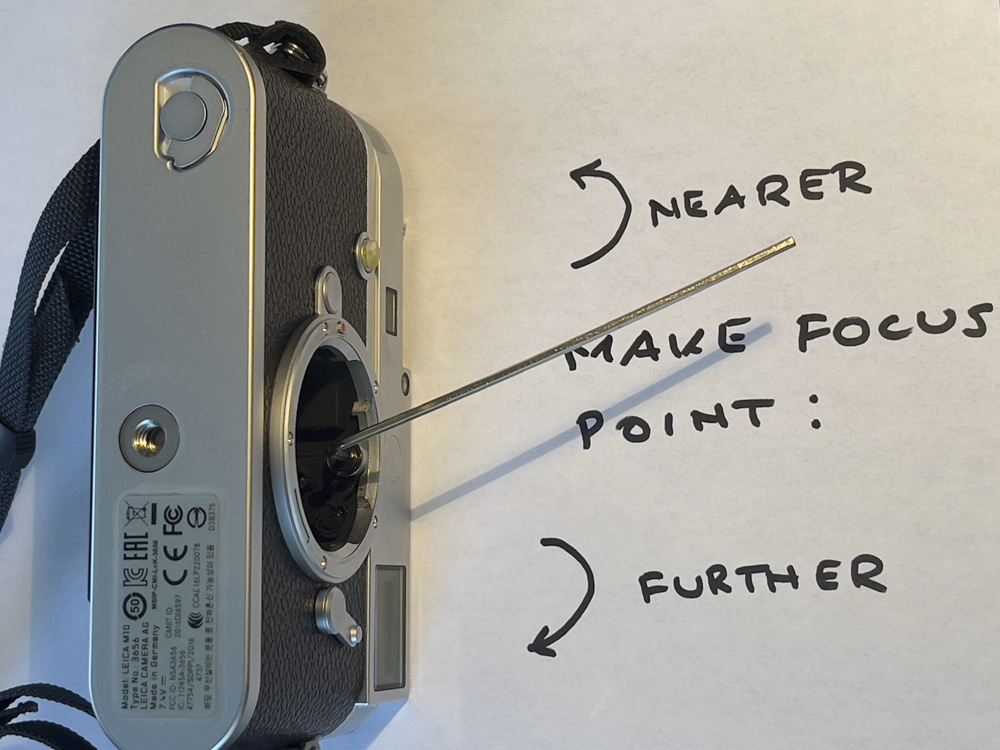
Make adjustments of no more than 2-3 degrees of arc at a
time and iterate the process until focus is perfect.
It took me a good half dozen attempts before I nailed it, but boy, was it satisfying or what? You really see what this lens is capable of with this simple process.
To give you an idea of the sensitivity of this setting a movement of 2-3 degrees of the Allen screw in the eccentrically mounted cam roller results in a focus change of 2-3″ at a focus distance of 7 feet. 2-3 degrees? That’s a small enough amount that you can barely tell that you have rotated the screw. That screw is stiff by design so take some time to get a feel for the amount of torque needed to turn it and take it a bit at a time to avoid frustration. This way you should be able to creep up on the optimal setting not oscillating crazily either side of what is needed, finally taking it one step too far and then backing it off to perfection. To make things easier, keep the tripod in a fixed position and the lens focus collar setting unchanged. If you refocus each time you are introducing another variable – operator focus error. Stick some Scotch tape on the focus collar to prevent accidental movement. On a film body, like an M2 or an M3, the adjuster is a slotted screw so you’ll need a right angled screwdriver to properly access it. Alternatively, grind down the tip of your screwdriver to an acute angle. (Or buy one from Leica for $5,000, I suppose). And good luck round-tripping this process using film! By the way, it only took Leica some 50 years to realize that an Allen head was a superior answer to the slotted screw original. Still, they had used that design for over 50 years, so why change it? Sometimes I think that the pace of change at Leica makes the Vatican look like it’s speeding ….
Which is out of alignment – camera or lens?:
In my experience Leica rangefinders go out of adjustment far more easily than Leica lenses. It’s more likely your rangefinder is incorrectly adjusted than your lens, unless the latter has been dropped. The analytical process is simple:
- Optimize your rangefinder as above with the 135mm lens at full aperture. It does not get more critical than that.
- Now swap the 135mm for a shorter lens and take test snaps at full aperture.
- Into LRc and see whether the point of optimum focus is what the rangefinder tells you. If it is, well and good.
- If not one or other of your two lenses is out, so try with a third lens.
- If the two shorter ones are both out then the 135mm needs adjustment. This is a job for an experienced technician and not a DIY project. Reckon on $150 plus postage plus time. You might as well get the lubricants refreshed while you are at it. Also consider asking the technician to add 6-bit coding pits.
- Chances are that if your 135mm is correctly adjusted to your rangefinder all shorter lenses will be fine, as small focus errors will be covered by increased depth of field with the shorter lenses. By the time you get to 35mm or 21mm DoF is so substantial that you can almost guarantee the rangefinder will deliver sharp results.
In camera lens correction profile:
I have found the 135mm f/2.8 Elmarit in-camera profile of the M10 delivers the best corner detail, noticeably so at large apertures with pixel peeping at 100% in LRc. (The other choices in the M10 are the 135mm Tele-Elmar and the 135mm Apo-Telyt). The Leitz 135mm Elmar cannot be 6-bit coded (unless you send it out to a technician to have the code pits engraved) but by leaving the camera’s manual lens setting at ‘135mm f/2.8 Elmarit’ that profile is automatically invoked when this sole uncoded lens is mounted. All my other lenses are 6-bit coded and will invoke the correct profile for each, overriding this manual setting when mounted on the M10. Images show no distortion or color fringing and little except depth-of-field is gained by stopping the lens down. It has excellent resolution even at full aperture, all the way to the corners, reflecting Leitz’s early use of rare earth glass in its design.
The non-rotating focus mount:
The lens has a double helicoid focusing mount – unlike the single one in the Canon – meaning the aperture ring does not rotate as the lens is focused. Nice, though why Leitz chose to add click-half stops beats me. A solution looking for a problem. At least the aperture settings are equally spaced. So why does the lens have a mirror aperture scale underneath the regular one? Because the lens head is detachable to use on short barrel focus collars when fitted to the old Visoflex mirror box and the focus mounts for those are single helicoid, meaning the aperture ring rotates when the lens is focused.
The depth of field scale:
I also suggest you disregard the engraved depth of field scale. This was determined assuming far smaller print sizes – using film – than permitted by modern digital sensors. DoF for a 13″x19″ print is far shallower than for a 5″x7″ one. Stated differently, DoF for big prints is considerably less than the DoF scale on the lens suggests.
The Visoflex reflex housing:
No one in his right mind uses the old Visoflex any more – though it fits the M10 body perfectly – but credit to Leitz for their foresightful thinking. In the 1960s when this lens came to market Leitz was struggling mightily to keep up with innovative, landmark camera and lens designs from the likes of Nikon and Pentax. Unfortunately, the clunky and massive Visoflex II and III were not exactly in keeping with the Leica design ethos, and probably did little to stem the bleeding of sales to the Japanese. The massive hunk of the prism viewfinder of the Visoflex added weight but not brightness to the image viewed through it. Not that it was a new idea for Leitz. The pre-war Visoflex I was even clunkier, but sort of worked and all three are fine for lab work, especially with the waist level finder fitted. And SLRs did not exist pre-war so the Visoflex was the only game in town. Modern digital Leicas accept the later EVF versions of the Visoflex which looks every bit as wrong on the camera as the old mechanical one, though mercifully it is much smaller and lighter. The Leica M is a rangefinder camera, but Leica continues to deny this with the EVF. Forget all this nonsense with reflex housings/kludges.
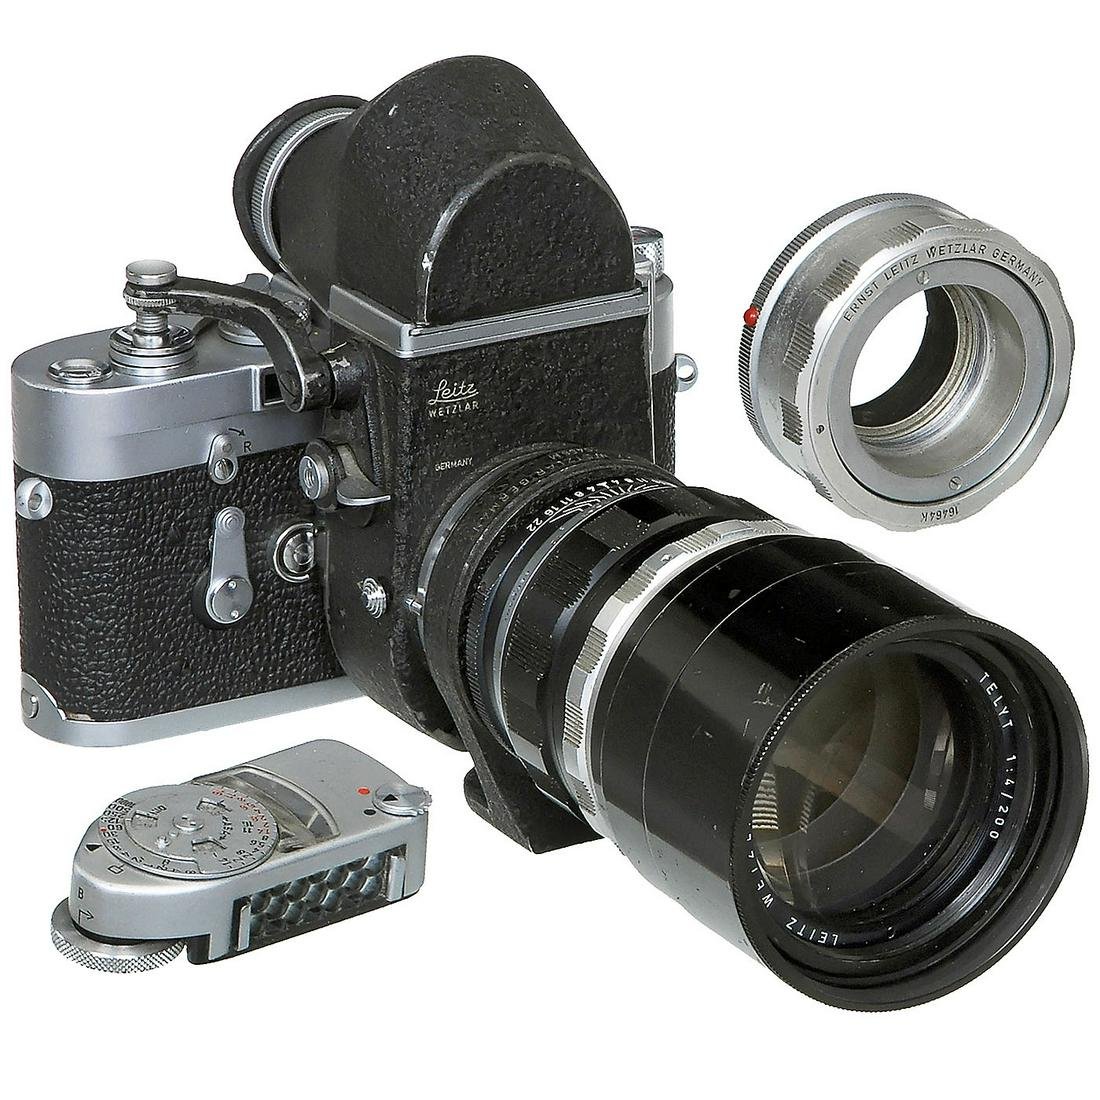
The Visoflex II on an M3 with the 200mm Telyt.
To compound their problems Leitz introduced the Leicaflex in 1964, a design which was immediately a generation behind the best from Japan. But that’s a story for another day. Suffice it to say that when it came to shooting themselves in the foot, Ernst Leitz had awesome aim in the 1960s. But there was little wrong with the 135mm Elmar whose use of newly computed glass formulae was truly state-of-the-art.
Getting best results:
None of these diversions should deter ownership of the 135mm Elmar as a long, rangefinder coupled lens. To get the best results, just make sure your rangefinder is accurately tuned to meet the focusing demands of this fine and inexpensive lens, and use fast shutter speeds to minimize definition destroying camera shake. Better to up the ISO for a shorter shutter speed and get some grain than have an image ruined by motion blur. Sometimes those can be recovered, but don’t count on it.
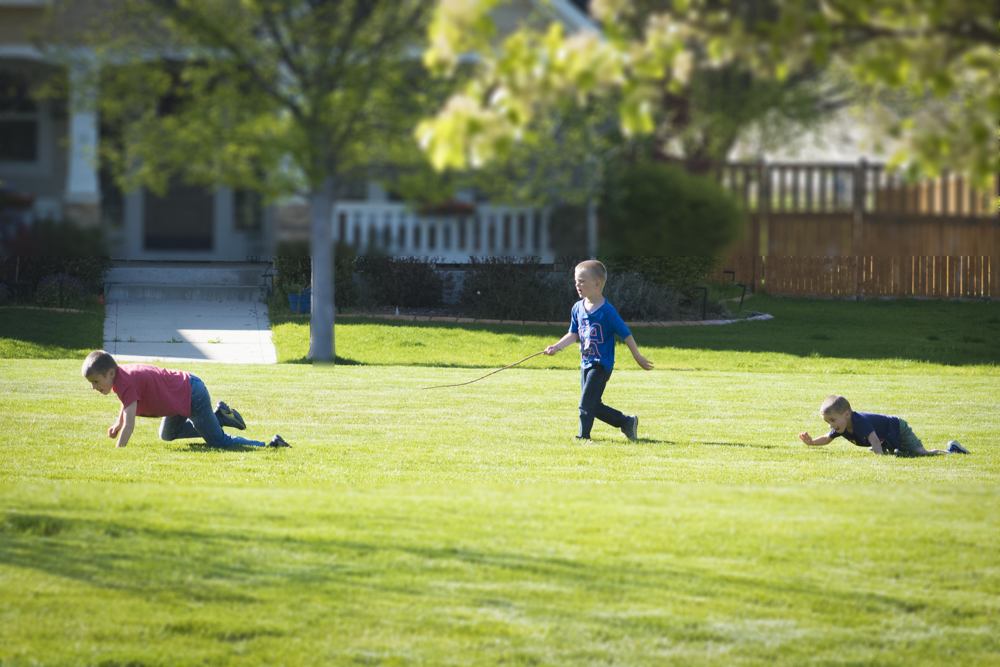
Kids at play. M10, 135mm Elmar at f/8. A crop from 1/4 of the file.
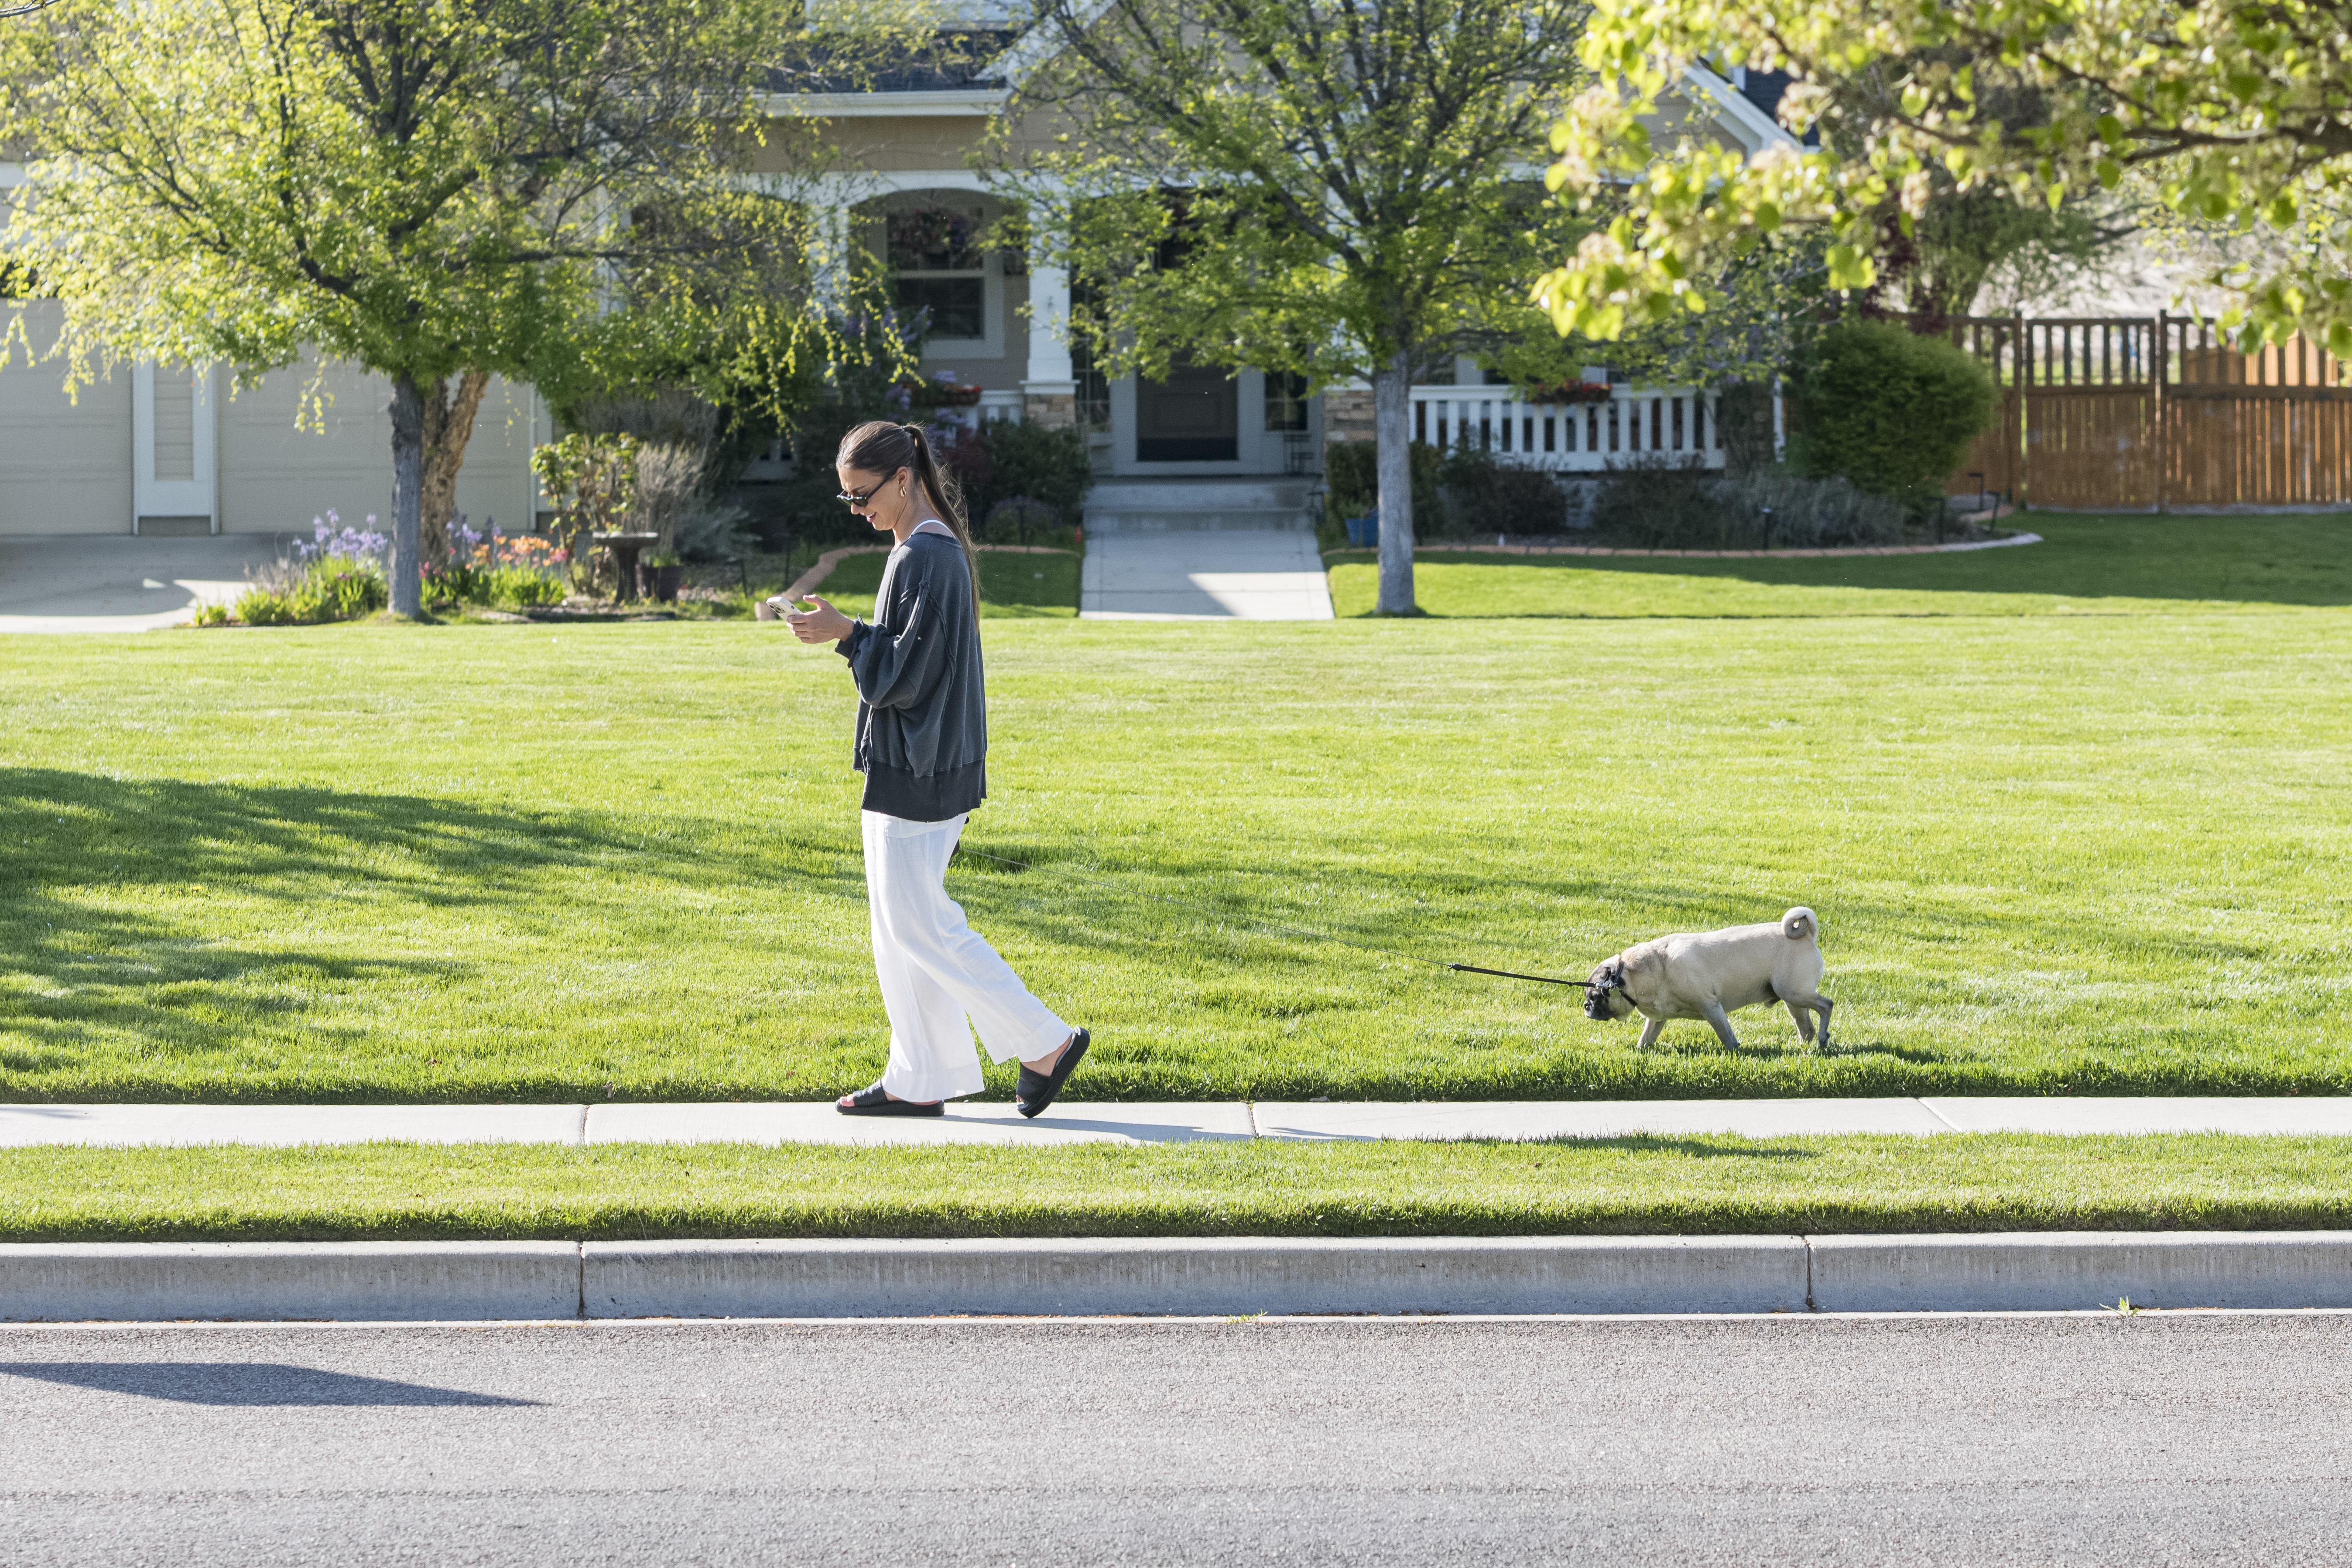
Walking the pug. M10, 135mm Elmar at f/8.
Click the image for a big version.
First results appear here.
Resolution tests appear here.