Category Archives: Photographers

The Hackintosh and Blu-Ray

Another step forward.

It’s no great secret that Apple has never included a Blu-Ray reader/burner in its computers. Maybe they are right. With the increasing availability of HD streaming video they have concluded that BR makes no sense. Maybe their greedy profit margins on their mostly mediocre hardware couldn’t survive the markup? Who knows?

A related problem is the dishonesty of the movie studios. Ever interested in hosing the consumer down for something claimed to be newer and better, a lot of classic movies have been cynically copied to BR discs with no effort made to go back to the original film stock, no enhancing of signal-to-noise ratios, no scanning of the original images and no great sound. That’s a lot of no. So you often get a poor transfer whose major distinguishing feature from the SD DVD is the price.

My choice for my inaugural Blu-Ray movie is Lawrence of Arabia. Robert Harris is recognized as one of the most adept restorers of old movies, and every frame of the original 65mm film has been scanned, retouched, color corrected and so on. A true labor of love. So I started with a Blu-Ray disc created from his restoration.


El Orance at the Red Sea, Aqaba.

But first the technical details.

The HackMini, my TV Hackster, uses a modest Gigabyte H67M-D2-B3 motherboard and an equally modest EVGA GT430 graphics card, the last sporting VGA, HDI and DVI outputs. It runs OS X Lion 10.7.4 because there’s no earthly reason to upgrade. I have long used it with VGA connected to the TV set with a separate 3.5mm coaxial cable for sound. It has worked really well. An expert Hackintosh friend (thank you, PB!) had alerted me that getting the HDMI port (it conveys digital video and audio) working is quite a challenge. For those into Hack matters, the DSDT.aml file has to be edited extensively and depending on your hardware, additional drivers (‘kexts’) may have to be installed. It all looked a bit forbidding, and my ace hacker and Hackintosh guru FU Steve was out of town, so I got down to the hardware part first.


The inexpensive nVidia GT430 – this is the VGA/HDMI/DVI version in the HackMini.

The cheapest Blu-Ray reader/burner I could find was an LG for all of $44 – prices seem to fluctuate daily:

As you can see, the size is the same as that of its predecessor, and replacing the original Sony drive was a matter of a few minutes, helped by the ample space in the HackMini’s enclosure. MacMini owners need not apply ….

Next I connected the drive to the TV using an HDMI cable and rebooted. Naïvely thinking that I could use the latest version of the VLC video payer with Blu-Ray enhancements added, I fired up the app and got an error message. The Lawrence of Arabia BR DVD is encrypted and will not play through VLC.

So I hunted around a bit and came up with BluRayDVDPlayer and had a perfect picture first time but …. no sound over HDMI. You can try this app free, the $40 price registration removing the obtrusive watermark. Sure enough, looking in OS X’s System Preferences->Sound disclosed no HDMI output. I checked out the hacking instruction at Tonymacx86 and was less than enthralled, so I reconnected the drive to the TV using a VGA cable and separate sound cable. Ha! BluRayDVDPlayer takes the digital sound feed and makes it available to the analog VGA feed. Wonderful. Video and audio was now working. So the all in cost was $44 for the hardware and $40 for the application. But nothing is every clean in Hackintosh land. For once, those unfortunates who do not get it, AKA Windows users, can click right through.

But try and buy the Mac app from the BluRayDVDPlayer site and nothing happens when you click the ‘Buy Now’ icon.


Click the image.

However, right click or ‘control-click’ on ‘Buy Now’ and ‘Open in a new tab’ and you are up and running. A code is immediately emailed to you, easily input, and the watermark is gone. The interface is exquisite, the tuning Preferences engineered by users – lean and mean, fast, unobtrusive – and the app appears to be regularly updated for the latest nefarious copy protection schemes of the fools in Hollywood who earnestly believe that buyers will make 35GB copies for distribution to their friends. Right.

Update September 24, 2013:

Since updating my TV media PC to a Mac Pro using the same excellent nVidia GT430 card, I have had great success using the HDMI connection from the Mac Pro to the TV using this HDMI hack referenced here with BluRayDVDPlayer. A fine product. The only anomaly was that on occasion a Blu-Ray movie ripped using MakeMKV would not reproduce sound, somwething that could be remedied by going to Audio->Audio Device->HDMI (Encoded Output) and switching to Audio->Audio Device->HDMI. I dropped the developers a line asking how to make the latter the default audio setting, as it works with all movies (and also respects the scroll wheel on my BT mouse for volume control) and immediately received the following response:

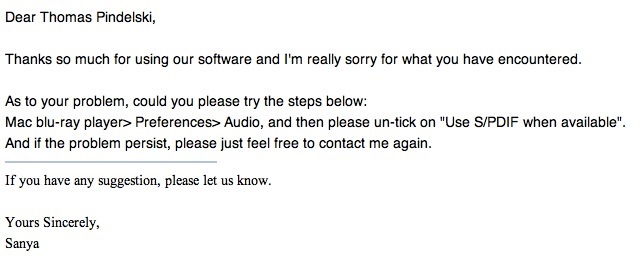
This works perfectly. Try getting this sort of service from the big boys in Cupertino or Redmond ….

Update ends.

So what about the experience?

Lawrence of Arabia in Blu-Ray is truly starting at the top. A photographer’s dream. As I wrote in the introduction of this piece, it is overwhelming, one of the greatest movies made, its great length but a flash as you sit, enthralled. I once saw it at the Carnegie Theater on 7th Avenue in NYC in 1985 on a large screen and really that is the way it should be seen. But a decent sized home TV and this splendidly remastered Blu-Ray DVD come pretty close. I’ll leave you with two images, a mere 1000 pixels wide – no prizes for guessing which is which.


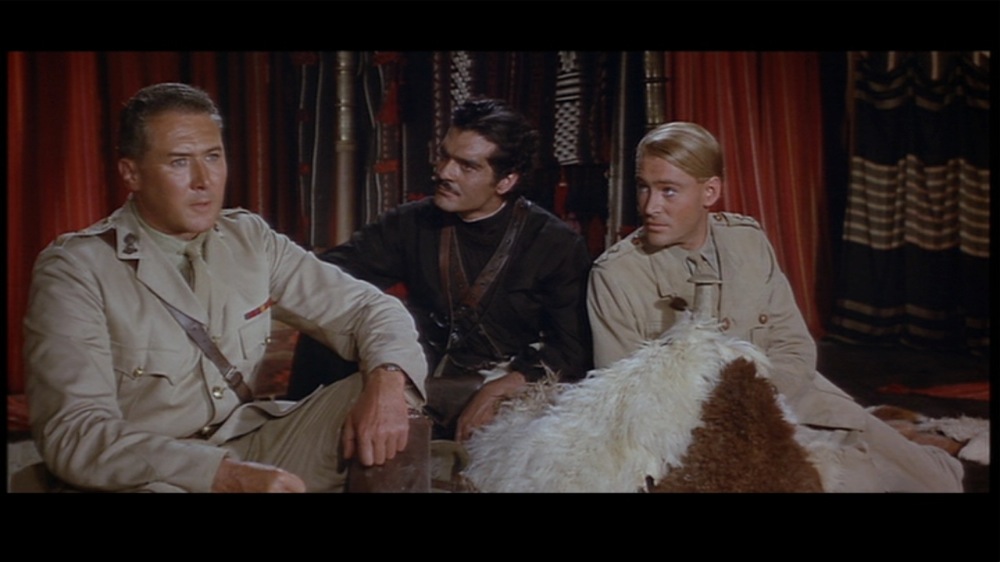
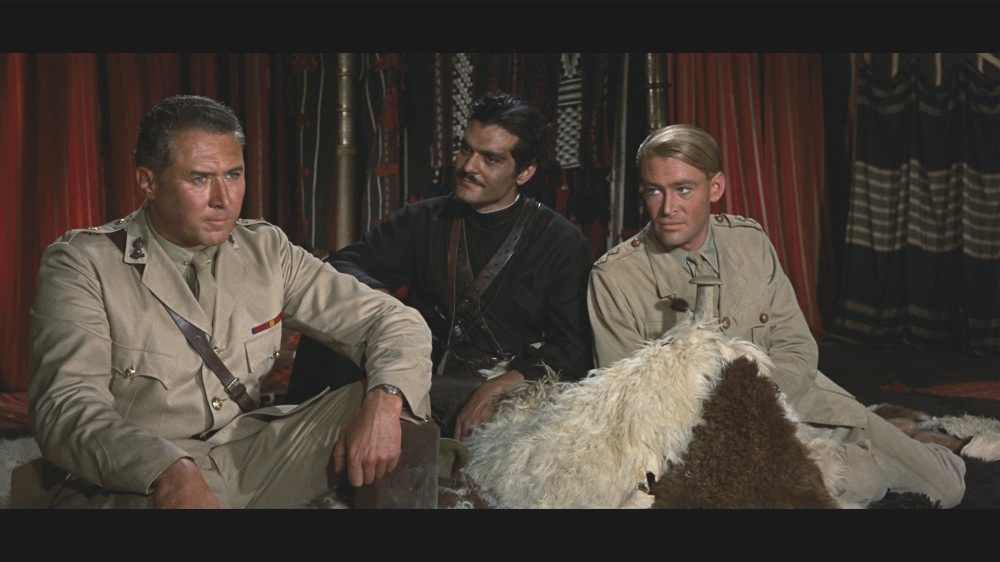
Subjectively? Blue-Ray leaves HD streaming content in the dust. Regular DVDs? Not a chance. Netflix will happily rent you Blu-Ray DVDs for a monthly premium of $4. Their catalog now numbers some 3,300. Just make sure the ones you rent have really been remastered (Amazon reviews are good for this) not some slimy hack copy of a low quality DVD file.


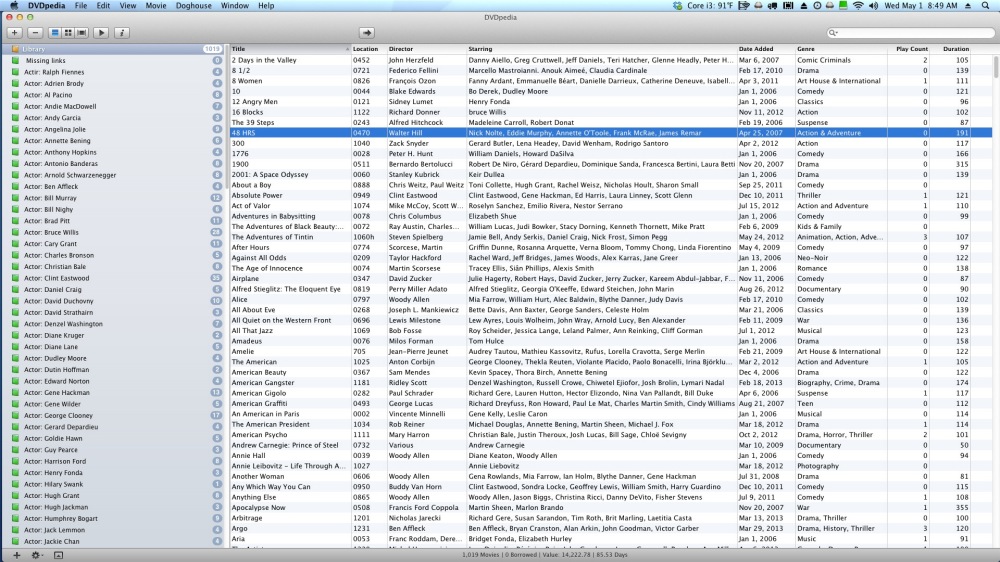
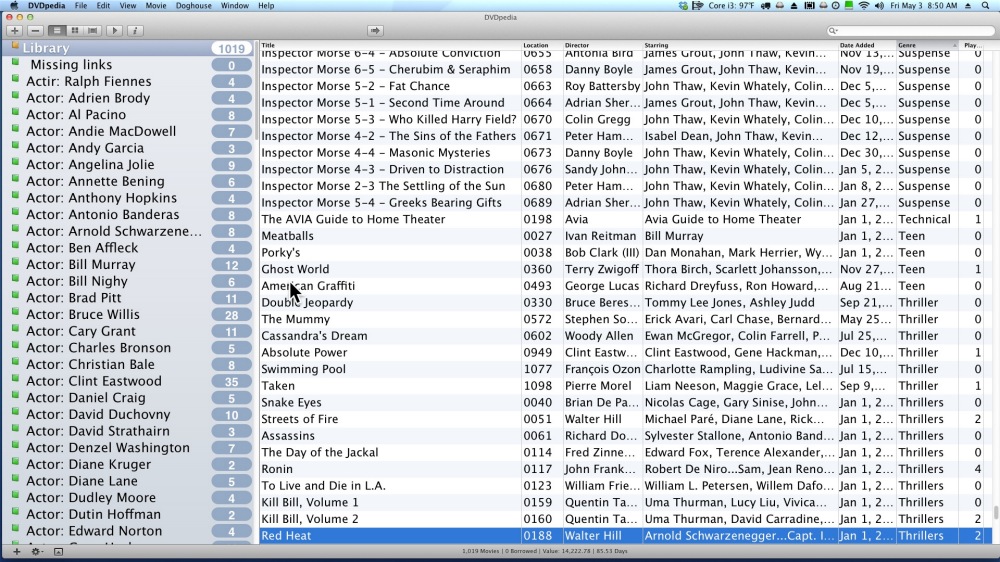
The home screen on the HackMini.

Indy developers rock!

Thank you, DVDpedia.

I have been using DVDpedia for over half a decade to catalog my burgeoning movie collection. Because all my movies are stored on hard drives, the discs discarded, DVDpedia also has a priceless feature which not only looks up a new movie in Amazon, returning all the details of actors, director, dates, cover art, etc. it also allows links to the file on the harddrive to be made with ease. Thereafter, any movie is one click away, with all the search and sift benefits denied those who store discs on bookshelves. Try finding all the discs starring James Stewart under Alfred Hitchock’s direction, or finding all the Suspense genre movies on your bookshelf in 5 seconds. Indeed, the number of DVDs chez Pindelski is exactly one, a remsastered Blu Ray version of Lawrence of Arabia which I am using to get a new Blu Ray reader installed in the HackMini to work over HDMI. More of that later.

DVDpedia permits the user to set up ‘Smart Collections’ and I have done this for favorite Actors, Directors and Genres. Now my voice controlled TV (“Winston, pull up all the Hitchcoks, please”) system is complete.

Anyway, when I upgraded the TV from a 720p 42″ to a 1080p 55″ the other day, it immediately became obvious that the grid view font was now so small as to be unreadable:

So I dropped Conor at Bruji, the author of the app, a line with a screenshot.

Two days later he sent me a re-coded and recompiled version which, with the addition of a couple of simple Terminal commands which he provided, delivered this:

Now all is readable again at my preferred 10 feet viewing distance. I even saw the typo in the left bar at last!

This is the sort of thing which makes it so great to have independent developers around. Truly bespoke customer service. Thank you Conor.

You can buy DVDpedia for a very modest sum by clicking the image below and I recommend the app without reservation. Variants for Books (which is what you see when you click on Books on Photography at the base of this page), CDs and Games are also available, and the iPad/iPhone version is wonderful when you want to quickly check whether you have a movie or not, as it syncs your Mac with the mobile device.


Click the picture to go to the Bruji site.

Movies are a huge source of inspiration to any photographer and you simply cannot have enough. Online services tend to see movies come and go so it makes a lot of sense to keep local copies for home viewing for those occasions when they are not available elsewhere. Mine reside on two Mediasonic hard drive enclosures, holding four 3TB drives each.

I understand from Conor at Bruji that he hopes to add the extra large font option in future releases of his application.

Update May 10, 2013: The Extra Large font feature has been added and you can download the enhanced application here. You don’t even have to do any additional code input with this version.

The BTS steadicam

Prces fall.

While film director Stanley Kubrick was not the first to use the gyro-stabilized Steadicam rig to allow hand-held vibration-free movie making, his terrifying movie The Shining, using a Steadicam with a low level attachment, redefined movie making. Anyone who has seen the scene with the child riding the tricycle down the dingy hotel corridor will have had a flashback whenever checking into a hotel.

The Steadicam is not cheap, starting at $11,000. Now a new competitor, the Mōvi has hit the market, and my attention was drawn to it by my nephew who is a professional film cameraman. It’s rumored that the first $15,000 version will be complemented by a $7,500 one soon. Doubtless there will be a burgeoning rental market, as that’s a lot of money to have tied up in gear.

You can see the capabilities of this device by clicking the image below. Watch especially for the part where the operator on roller blades (!) hangs onto a moving New York City cab. The camera used is the new and very exciting Canon 1D C, specially made for movie making. That body offers 4K resolution, meaning 4096 x 2160 pixels per frame. Still image quality in a movie camera.


Click the picture for the video.

The director/videographer is Vince Laforet who has been featured here before.

The Mexican Suitcase

An incredible story.

The Mexican Suitcase refers to three boxes of negatives taken by Gerda Caro, Robert Capa and Chim Seymour (the last two, along with HC-B and George Rodger the founders of Magnum) during the Spanish Civil War which were long thought lost. When they surfaced a few years back and ended up donated by the owner to ICP in New York, still run by Capa’s brother Cornell, the content created an international photographic sensation.

Mercifully Capa’s darkroom technician had an obsessive personality which saw him create three neat boxes with dividers and exquisite inscriptions. Today, were he alive, he would doubtless be writing tedious articles arguing the relative merits of one overpriced MF digital back over another; he would no more be taking pictures now than then. But we should all be grateful for this darkroom jockey’s attention to detail.

The documentary, available on Netflix and Amazon VOD, is a tad idiosyncratic, struggling to keep a well defined story line, but the story is none the less thrilling for all that. Just how the negatives ended up in Mexico and the story of that nation’s special hospitality to many who would otherwise have been chewed up by Franco’s killing machine, is gripping.


The inside cover of one of the three boxes in the Mexican Suitcase.

Taro was killed in the Spanish Civil War, Capa and Chim were both killed in later war zones.


Taro and Capa.

What truly distinguishes the images in this documentary is their startling immediacy. War photography had never been done like this before, the photographer indistinguishable from the soldier save that he had a camera in lieu of a gun.

If you want to see an excellent recreation of what Capa’s style must have been like, I recommend Hemingway and Gellhorn about the time the title characters spent in the Civil War.

Here’s a typical image from the documentary – I’m uncertain which of the three took it:

Timothy O’Sullivan

The first photographer of the American West.

Timothy O’Sullivan (1840-1882) was the official photographer of the US Geological Exploration of the newly explored American West in the 1870s, having been a journeyman on Matthew Brady’s staff photographing the killing fields of the American Civil War.


Canyon de Chelly, Arizona, 1873.

Unlike the later images of Ansel Adams, these are mercifully not crassly over processed. Just straight prints which do the land due justice.


White House ruins, Canyon de Chelly, Arizona, 1873.

O’Sullivan used the wet collodion process which necessitates the taking of the picture with a freshly coated, wet glass plate in the camera. Once dry it loses its light sensitivity. It’s not clear how sensitive the film was but judging from O’Sullivan’s images of posed groups he was probably using exposures of no more than 1-2 seconds. So I’m guessing maybe 1-2 ISO.

His images of Utah and Arizona remind us just how special the landscapes of the American West really are. If I have a favorite location it has to be Monument Valley on the Utah-Arizona border.

These were probably the first ever photographs made of the American West. You can see much more here.

I took the picture below in beautiful Utah a couple of decades ago, using a Rollei 6003 MF film camera. While heavy, it was without a doubt the best handling chest-level camera I have used, with state-of-the-art ergonomics and optional exposure automation. The Zeiss lenses weren’t half bad, either, and no wet collodion was involved. The film was scanned on a Nikon Coolscan 8000 MF scanner. Both camera and scanner are long sold, with superior quality easily obtainable from modern DSLR hardware at a fraction of the cost with far less weight.


Utah, Rollei 6003 Professional, 40mm Distagon, Kodak Portra.