Extraordinary.
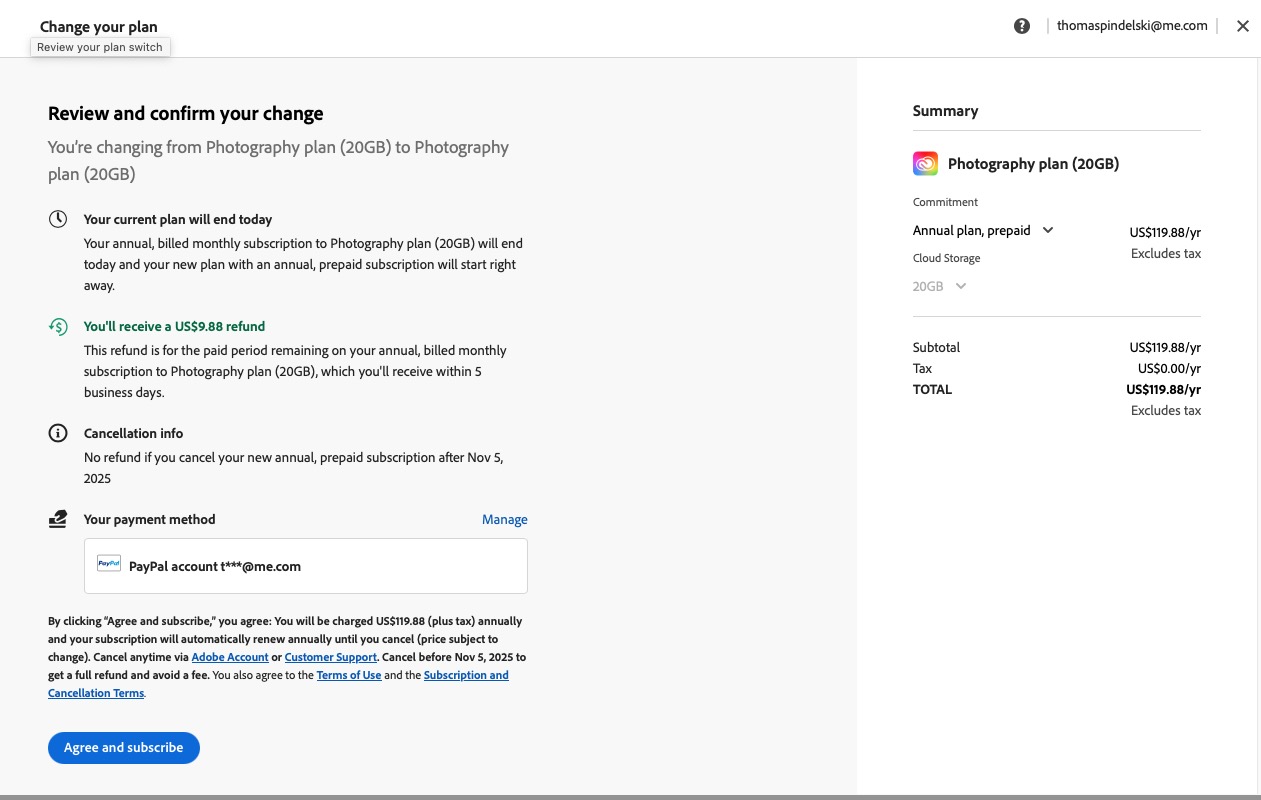
I’m one of the crowd that detests Adobe’s subscription model for its many photography applications, having paid to own Lightroom many years ago only to find that Adobe made sure it refused to work on the Mac Mini M4, forcing me to ‘upgrade’ to the subscription version with its predatory pricing. So much for lifetime ownership.
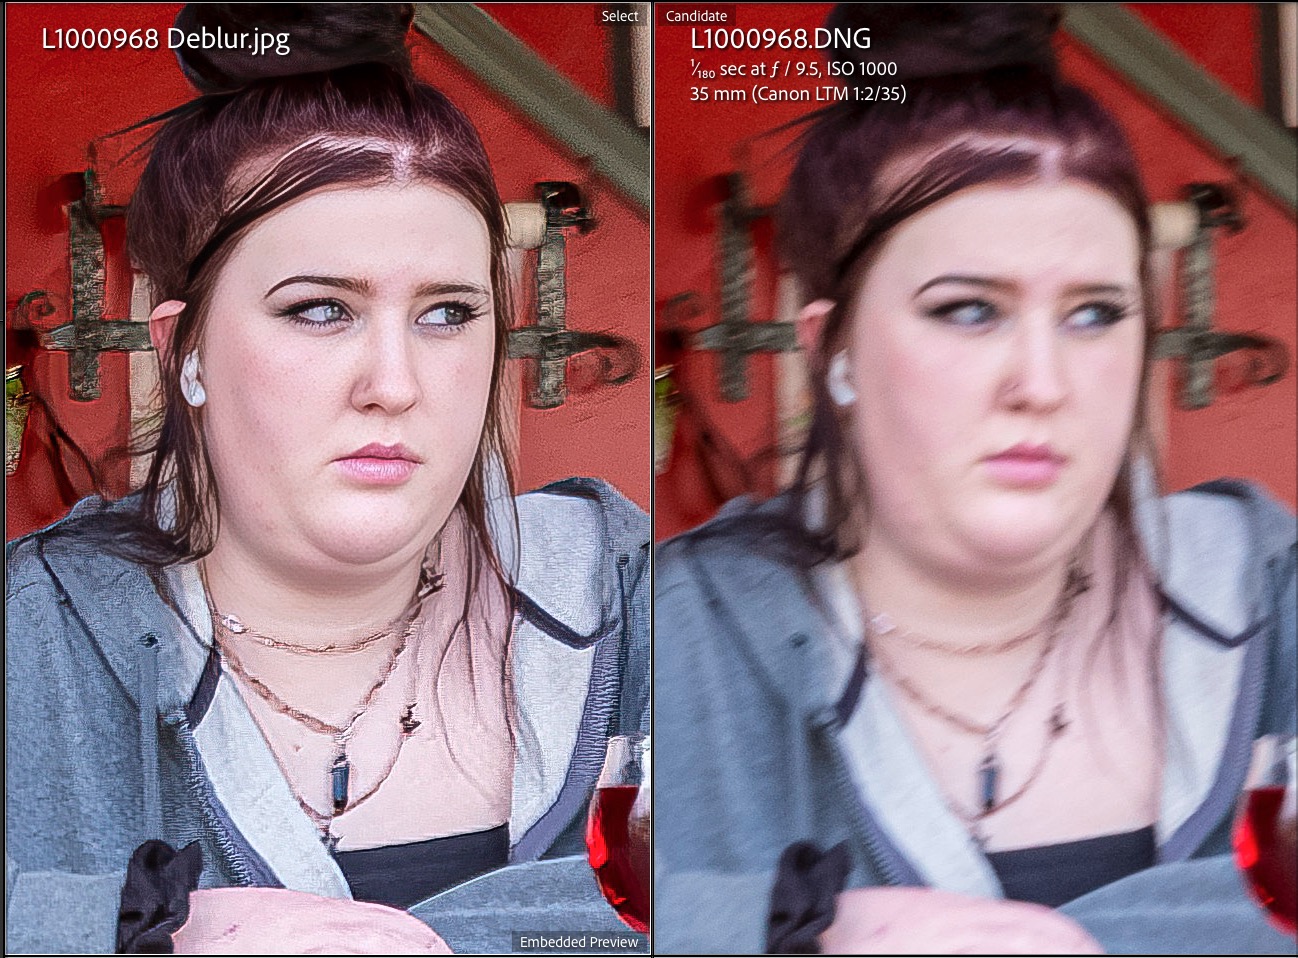
However, giving credit where it’s due, the masking and highlight recovery capabilities of v15, the latest upgrade, are extraordinary. These are best illustrated by the image I took of Marion Campbell in 1977 in the Outer Hebrides island of Harris, off Scotland’s northwest coast.
Back in 2008 I wrote:
I have been trying to process this snap for thirty years. Every decade it gets better as processing technology improves. Oh! if only I had had a fill in flash with me. Anyway, I now have the burned out highlights largely recovered and some vestige of detail in that wonderful, craggy face.
And that effort was tortuous indeed, requiring much work in Photoshop.
Now, with Lightroom v15, the process has become an order of magnitude easier. A while back I had re-‘scanned’ my early Tri X film images using the Nikon D800 and a Micro Nikkor lens. Definition is as good as you will ever get from a film scan, and far faster than using a flat bed scanner with its mediocre results.
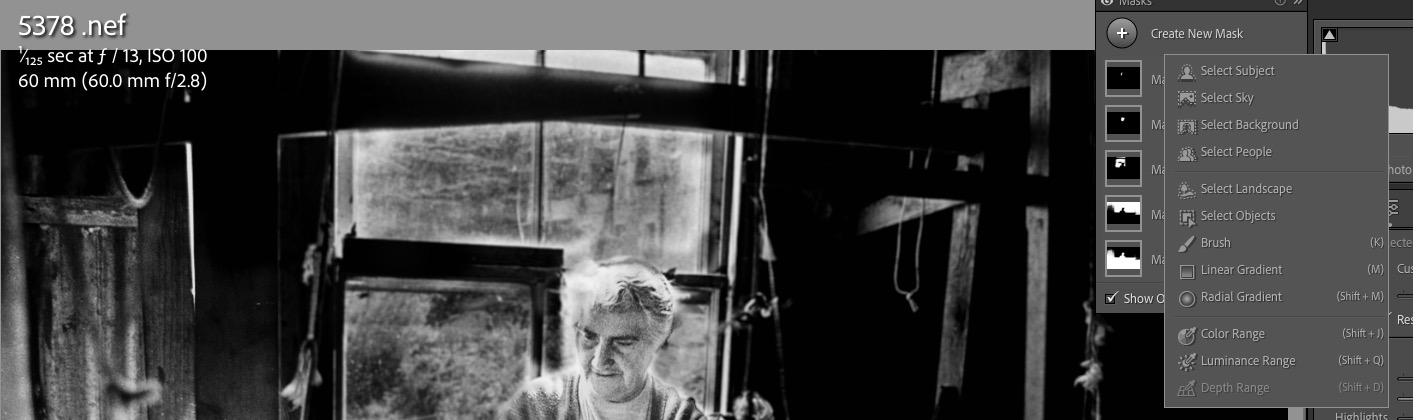
Still, the ‘scanned’ image does not look great. After importing the image into LR and straightening things up, with some added tweaks on the sliders I had a half decent image but one which still has horribly burned out highlights from the window behind Ms. Campbell’s head:
The unprocessed film scan from the D800.
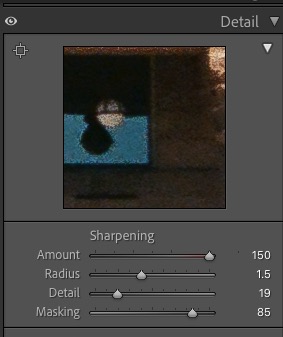
Adobe claims that v15 of Lightroom uses AI – doesn’t everyone claim AI as the magic sauce today? – in helping with masking, so I had a go using the dropdown box which gives several masking options:
Masking options.
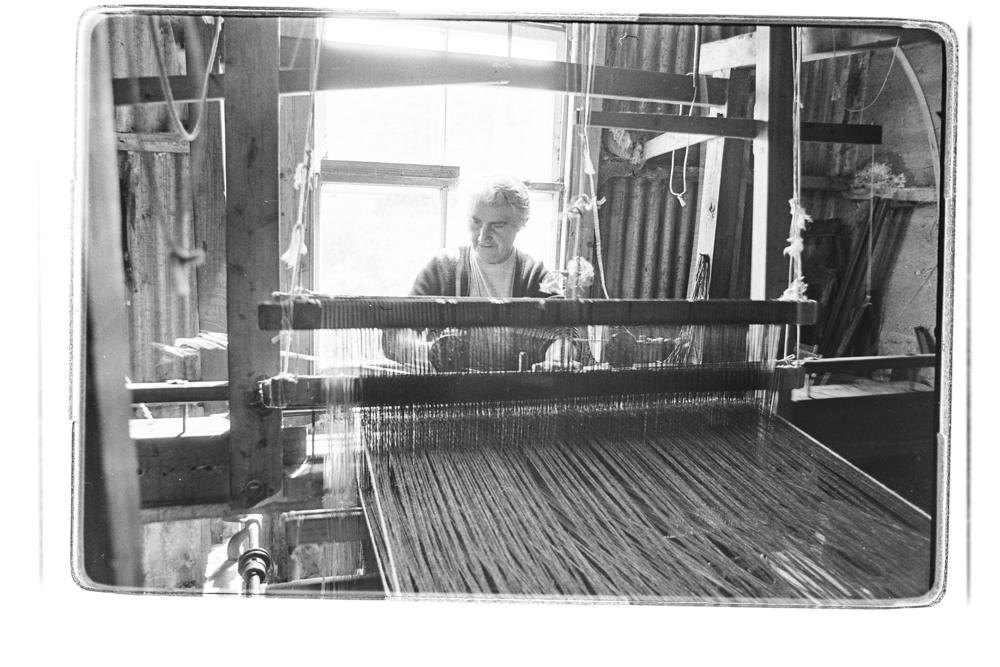
I chose ”Select Subject’ and LR did a great job of doing just that, allowing me to add contrast and vibrance to the face. Next I added another mask, this time choosing ‘Select Background’, which LR accurately did, and had at it with the Highlights slider, for a truly exceptional result. A third mask using the ‘Brush’ this time allowed me to paint in her blown out hair with another tweak on the Highlights slider and here is the result which took less time to do than to write about:

The final result.
So finally, 48 years later, I have the displayed image which, until now, has resided in my mind’s eye.
Why, I’m almost feeling good about that Adobe subscription ….