Category Archives: Photographs

In search of Atget

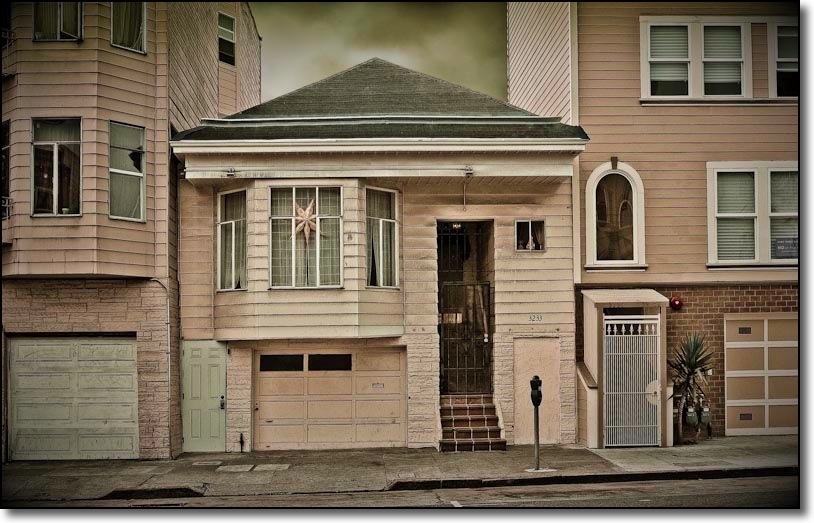
Remembrance of times past.

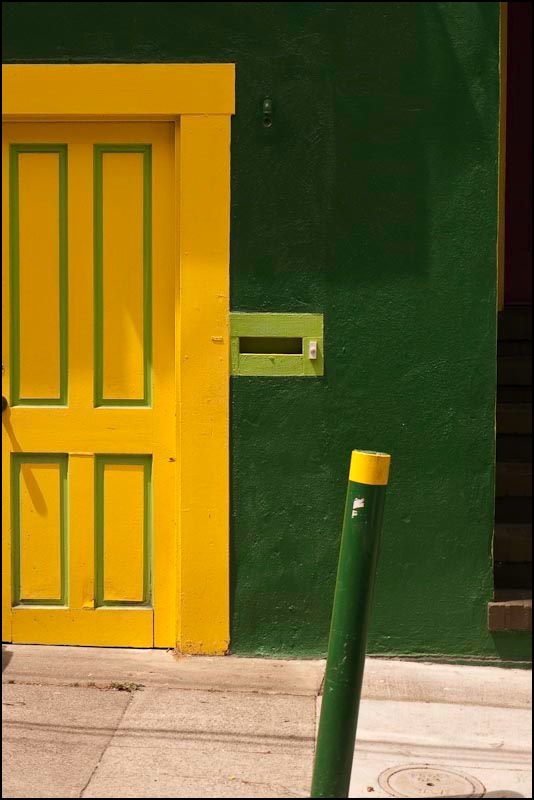
In the Mission district of San Francisco. G1, 14mm, 1/500, f/7.1, ISO 100

You can read more about the great documentary photographer Eugène Atget here, though in fairness I should add that describing Atget as a ‘documentary photographer’ is about as accurate as saying that Cartier-Bresson was a snapshotter.

Detail in the overcast sky was recovered using the technique described here. The obligatory corner vignetting, which takes the G1’s wonderful kit lens and makes it resemble the Coke bottle your great-grandfather and Atget shared, was conferred using Lightroom’s Post-Crop Vignette function. Finally, a touch of the graduated filer with underexposure was used to fade the top part of the picture. Atget probably had it easier!

Alleyways

You never know what you will find.

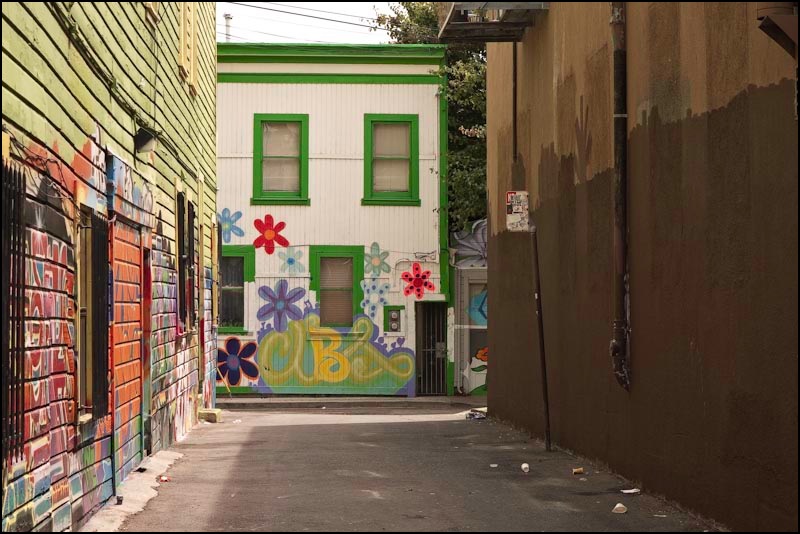
I can never resist alleyways in big cities, and am often surprised with something special like these, spotted in San Francisco’s Mission district the other day.


Primary palette. G1, 45mm, 1/800, f/6.3, ISO 100


Flowers. G1, 39mm, 1/200, f/6.3, ISO 100

Bugr!

Viva Italia!

This site is completely non-commercial. I only mention what I like and, when it comes to hardware, mostly use. But it would be churlish to deny one of the classic motorbike shops in America its due. That store, Munroe Motors on Valencia Street in San Francisco, has been around for over fifty years which says all you need to know. Actually, there’s just one more thing, as Inspector Columbo might say.
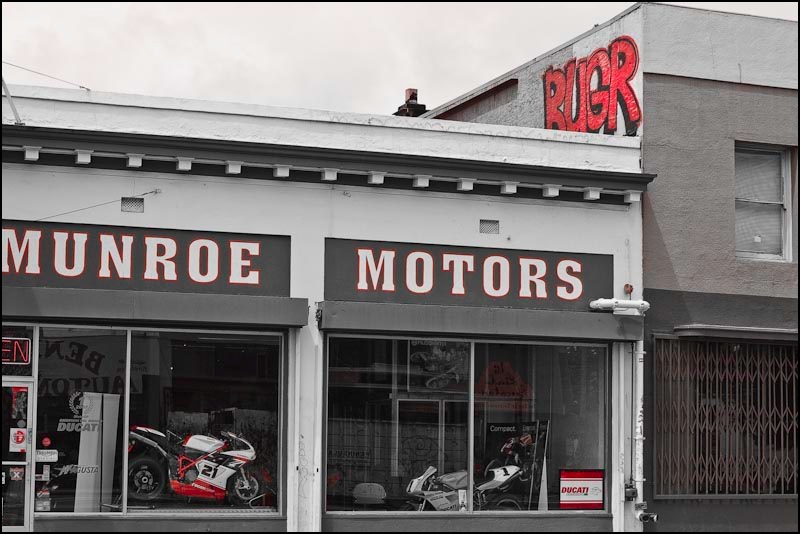

G1, 29mm, 1/640, f/6.3, ISO 100

Is it the cavernous interior, the near total lack of lighting or the whispered tones of the worshippers inside, or is it simply the overpowering and glorious smell of oil and grease as you enter?

You see, Munroe Motors sells and repairs Ducatis. A Ducati is to motorcycles what a Ferrrari is to cars and Sophia Loren is to women. No more need be said.

My ride is a tad more staid, but in keeping with my modest skills.

BUGR indeed!
Fighting for dynamic range

Lightroom 2 to the rescue

Sometimes there’s no alternative but to restore dynamic range using some manipulation at the processing stage. The Panasonic G1’s smallish sensor does not help in the dynamic range department – the Canon 5D’s, almost four times the area, is better in this regard.

The following is a case in point – I exposed for the brick wall, which is in bright sun, knowing the fire truck would be lost in gloom. Exposing for the fire truck would have burned out the wall and foreground.

After round-tripping the image from Lightroom 2 into PS CS2 to correct leaning verticals (Image->Transform) I saved back into Lightroom and used the Brush with AutoMask switched on to outline the garage bay, first hitting Option-O (this toggles mask visibility) to see exactly what I was masking. Then a quick tweak of exposure and an overall increase in red saturation and the picture was finished.

Here’s the ‘before’ and ‘after’ in Lightroom 2:


Shadow recovery – before and after

As the shape I was outlining had straight edges, I reduced the ‘feather’ setting to zero for a hard edged mask.


Fire truck. G1, 31mm.1/200, f/9, ISO 160

When God gives you lemons, make lemonade ….

Meet my new view camera

A Panasonic G1? Are you crazy?

I have absolutely no reservations about cropping and manipulating an original picture if it results in a better result.

Never does this apply more than in architectural photography.

The other day, making my way through the horrors of the UCSF-Mission campus in south east San Francisco, I was struck yet again by how ugly much modern architecture is. Given the incredible cost of land, bribes to officials and unions, the cost of design and materials, how much more would it take to make something beautiful rather than just another precast, soulless box? And this is on a campus of higher learning, for goodness sake, where you are meant to encourage open communication, sharing and ample leisurely exchange to help brains grow. How do you do that surrounded by architecture seemingly inspired by concrete makers and designed by structural engineers?

Gazing at the horrors around me I was reminded how Prince Charles has been pilloried over the years for his stance on keeping British architecture beautiful. Whereas he was written off as a privileged nutter with nothing better to do but gripe about buildings and talk to his daffodils, we now increasingly see him as a voice of wisdom in an ugly urban world and a pioneer of the green movement. UCSF-Mission needs him.

Back to the topic at hand, architectural photography. When I know I cannot but have leaning verticals, I make a point of leaving plenty of space around the subject as it will be needed when correcting these at the processing stage, if correction is needed.


Before and after. G1, 41mm, 1/250, f/8, ISO 100

Here the G1’s kit lens was almost fully extended to bridge a building lot in front. I knew that what I wanted was a borderless image of the multi-colored glass (a movement originated by Cesar Pelli in New York, if I am not mistaken). The lamp standard lower right was simply icing on the cake. Here’s an example of the use of modern materials in a lovely, refreshing manner, providing visual interest and harmony in an otherwise uninspiring box shape. And some of the windows actually open! Nice work.

Once the RAW original was in Lightroom 2, I exported it to PS CS2, set up a background layer and used the Edit->Transform->Perspective function with the Grid turned on (Command-Apostrophe) to aid in aligning the verticals. This corrects leaning verticals but shortens the image, squashing it vertically, so to return the correct aspect ratio to the windows I switched to Edit->Transform->Distort and simply stretched the picture vertically until the windows looked right. Finally, before saving (PS integrates with LR so the ‘Save’ creates a second stacked image in LR – nice) I go to Layer->Flatten to keep the file size small – no need for the bloat of layers in the LR catalog of images. I use a lossless TIFF format to save the PS-processed image.

So there you have the G1 as a compact view camera! Here’s the final image. It will make for a nice 30″ square print.