I can see!
The Nikon Magnifying Eyepiece, DK-17M, is one of those “Why didn’t I think of this before?” accessories for the D700 and similar bodies.
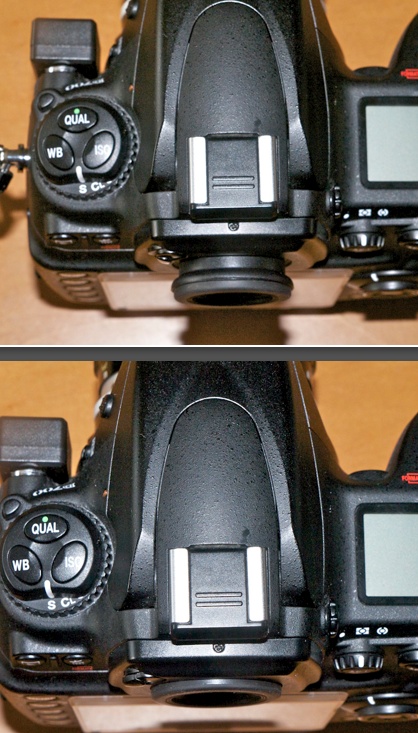
DK-17M top, and stock eyepiece, bottom.
The stock viewfinder magnification of the D700 is 0.72x, identical to the fabulous range/viewfinder in the Leica M2 which I used for many years. That’s OK, and a whole lot better than the ‘tunnel vision’ you tend to get with APS-C mirror reflex DSLRs (MFT EVFs are far superior in this regard) but it could be better. With lenses up to 90mm and f/2 or smaller the Leica is far easier to focus manually than the D700, thanks to the finest rangefinder focusing device conceived by man.
The DK-17M is a 1.2x magnifier, so the 0.72x stock magnification rises to 0.86x with this eyepiece fitted, which is close to the 0.91x Leica users enjoy with the Leica M3 body, one I used for over three decades. And that one, predating the M2 by some 5 years (1954), was even better than the one in the M2 (1959). It seems the intervening half century has seen little improvement in manual focusing aids.
Some user comments at B&H and Amazon state that the corners of the finder view are vignetted and that the data display at the base is obscured when the DK-17M is installed. I wear vision glasses (I have astigmatism and modest near sightedness) yet suffer neither problem. While not cheap at $38, there’s no way I’m removing this from my D700. It’s well made, uses glass not plastic, and the only thing you have to remember is that the eyepiece shutter must be closed for removal/installation. As you can see the DK-17M protrudes a little further from the body than the stock eyepiece, but that has no negative effect in practice. I have no need for a rubber eyecup as those interfere with viewfinding for spectacle wearers in my experience.
Like magnifiers exists for APS-C bodies, though I believe the model number is different. The DK-17M fits the D1, D2, D3 and D700 DSLRs and the F3HP, F4, F5 and F6 film bodies according to B&H. I am not sure but would be prepared to bet it fits the D4, D800 and D800E also.
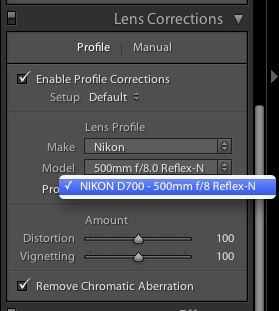
To put the difference in perspective, the hardest to focus MF lens I own is the 500/8N Ai-S Nikkor Reflex. With the DK-17M fitted I can nail focus 7 times out of ten when focusing by eye then looking to the focus confirmation LED as a cross check. Without the DK-17M my success rate is at best 3 out of 10 with final focus dependent on the LED.
One alternative is to have an aftermarket focusing screen fitted but that does not pass the smell test for me. First, why would Nikon fit anything substandard to their best bodies, with years of experience in optical design? Second, many of the aftermarket screens use a split image center focusing device. The effective base length (a measure of sensitivity) of these, compared to the finders in rangefinder Leicas, is pathetic and falls as the aperture falls. Further, the split image prisms (or microprisms in variants) tend to black out at smaller apertures and will not work with a 500mm Reflex lens with its modest f/8 fixed aperture. Finally, aftermarket screens cost over $100, typically, for an uncertain outcome, plus cost of installation. DIY is for the brave only.
The DK-17M works, being in equal parts a focus and compositional aid. Even with AF lenses where no focus assistance is required, the enhanced view is a revelation. This accessory is highly recommended as long as you have no finder vignetting issues. The view through the eyepiece reminds me of nothing so much as my Leicaflex SL, which also happened to have the best microprism ever devised. But that’s another story.

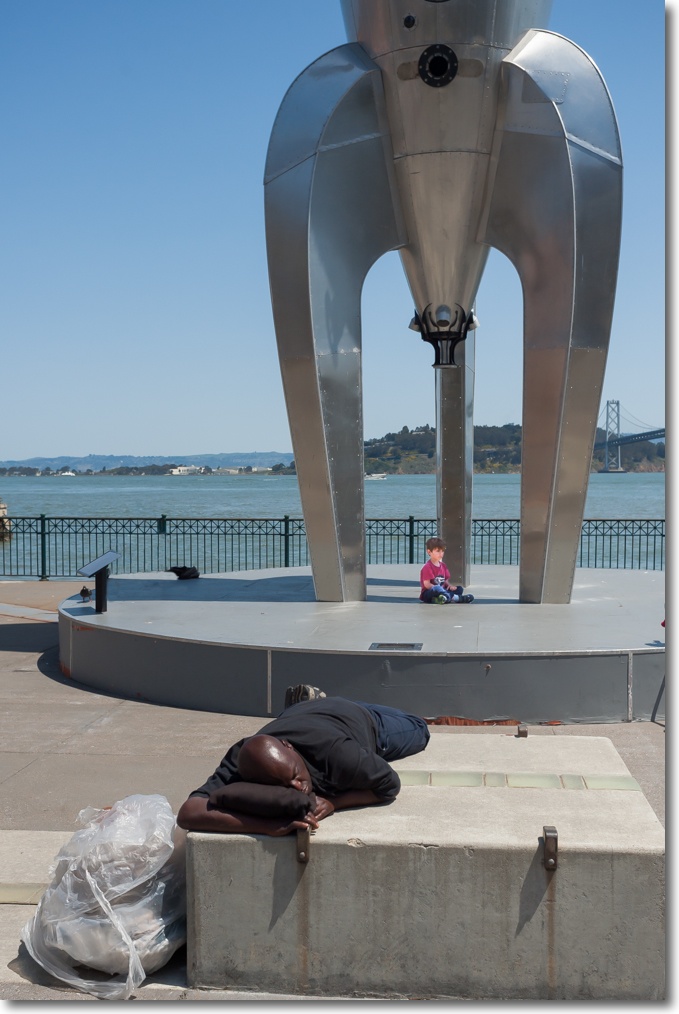
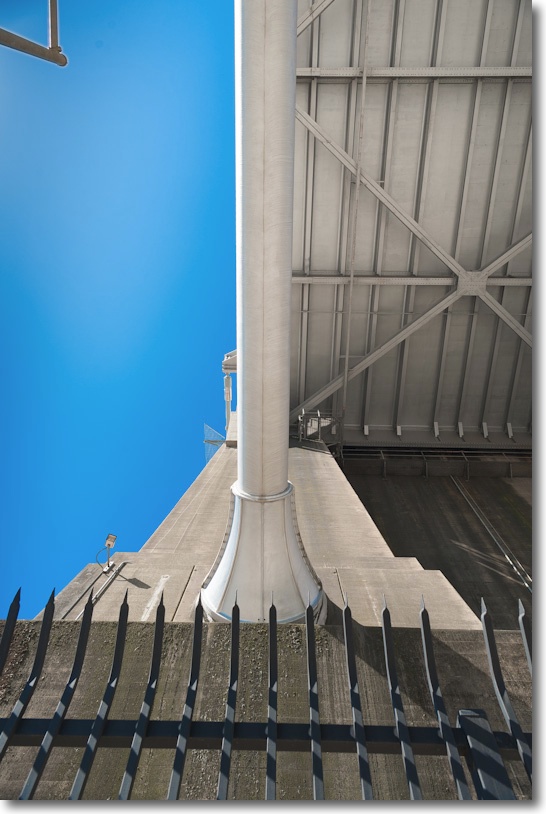
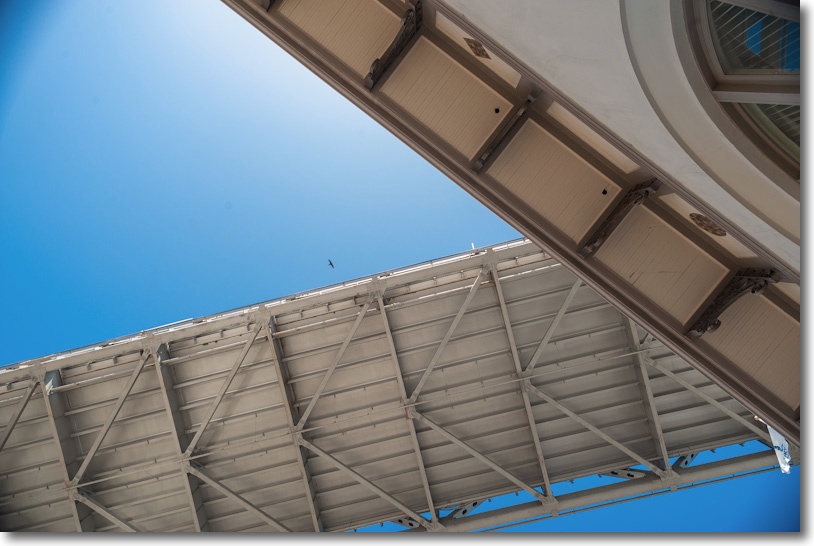
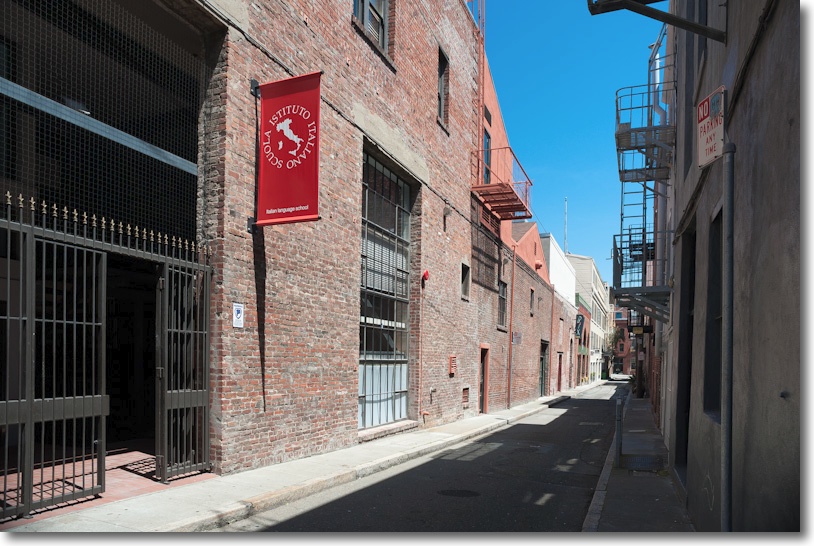
T. Brannan Street, SF yesterday. D700, 50mm f/2 Nikkor-H, DK-17 eyepiece. Click the picture.
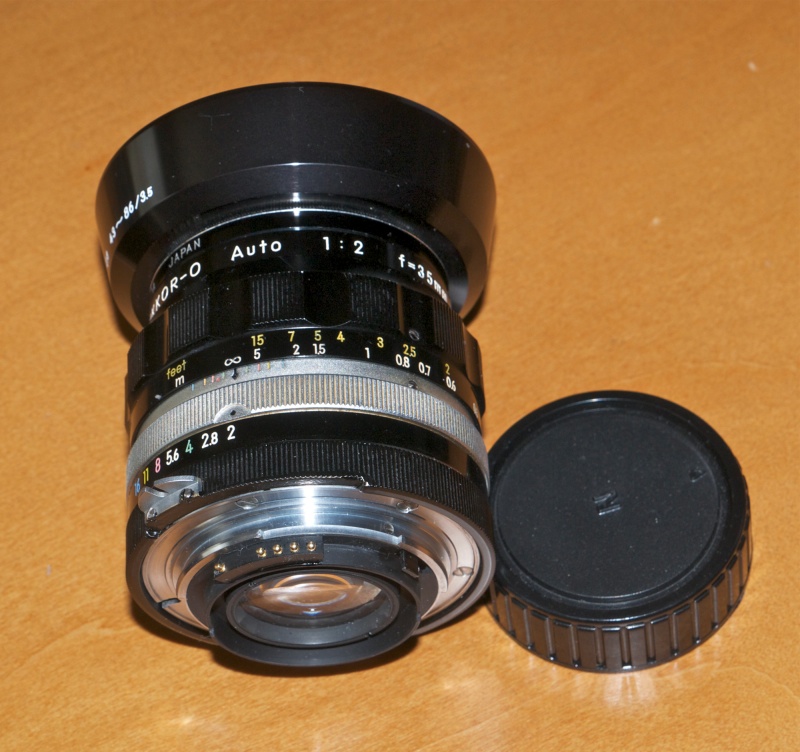
The beautiful color rendering of this 40+ year old MF Nikon optic has to be seen to be believed. And you would have to try really hard to spend more than $50 on one, plus $30 for a CPU.
And, yes, look hard and that’s my ghostly reflection in the door ….

Me and T.