Realities.
Jony Ive, the genius designer of all things Apple, keeps an Aston Martin DB9 in his San Francisco garage. It’s not that he drives it, you understand. It’s because it is right. By his own admission, when he seeks inspiration, he treks down to the garage and just stares at it. Because it is right.
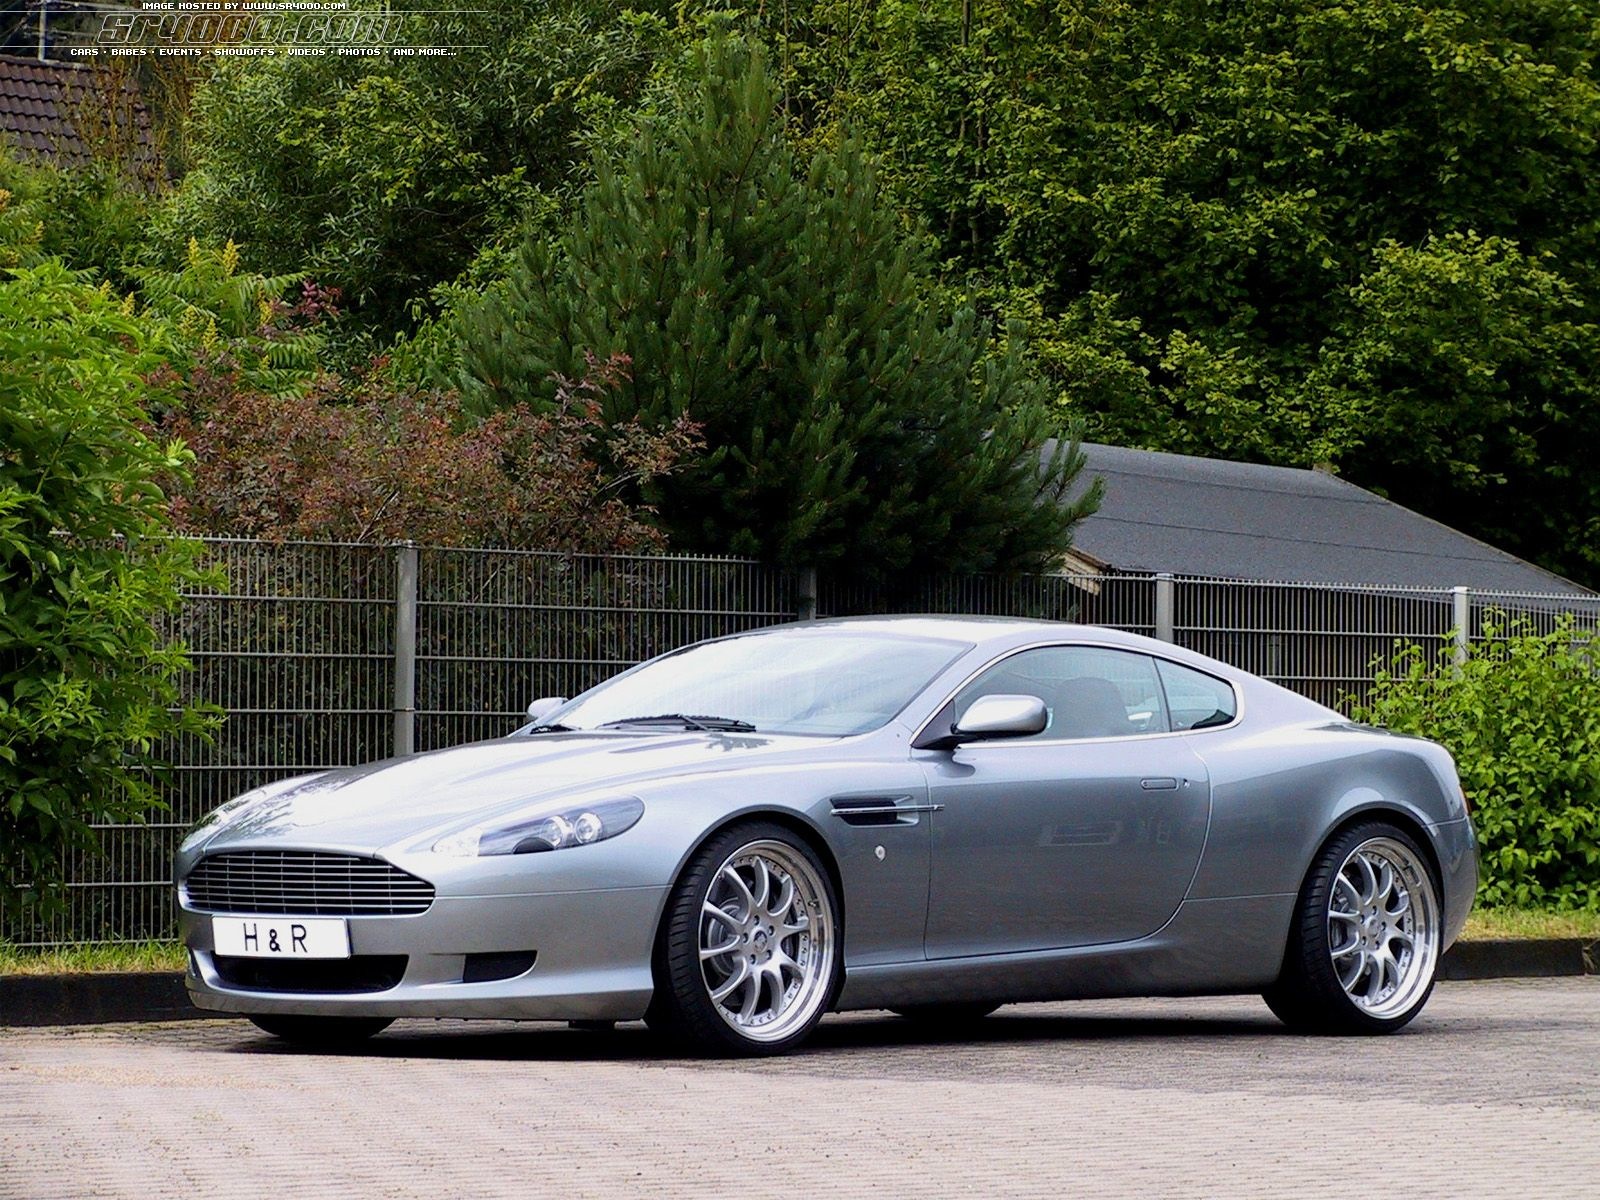
Sir J’s non-ride.
This weekend is about Monza. The Italian Grand Prix. The home of Ferrari.
And win or lose, you know who I am rooting for. Because great design is obvious, whether it’s a toilet (where Sir Jony got his start) or a red bolide boasting seven hundred Italian horses.
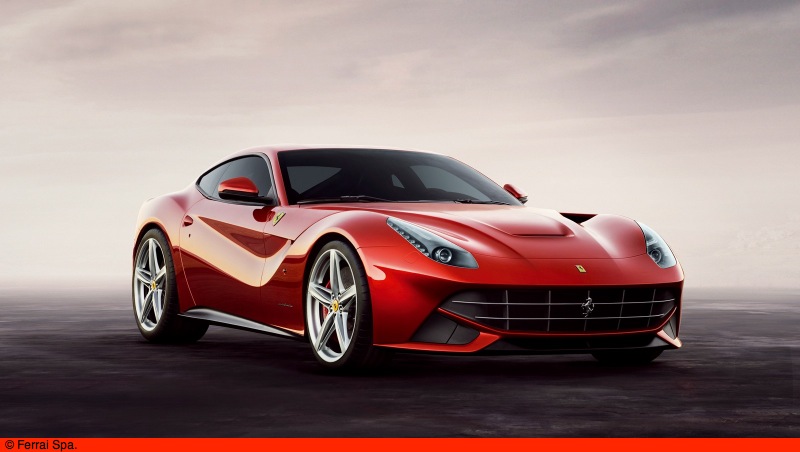
The F12. Great design is obvious.
So, you ask, where’s yours? It’s not like you can’t afford it.
Well, the answer is simple. Take that other design masterpiece which it took me two years to save for as a kid. The Leica M3. Perhaps the most perfect marriage of form and function in the analog photography world. That one was a no brainer. I knew it would make me a better photographer and I knew I could make it sing.
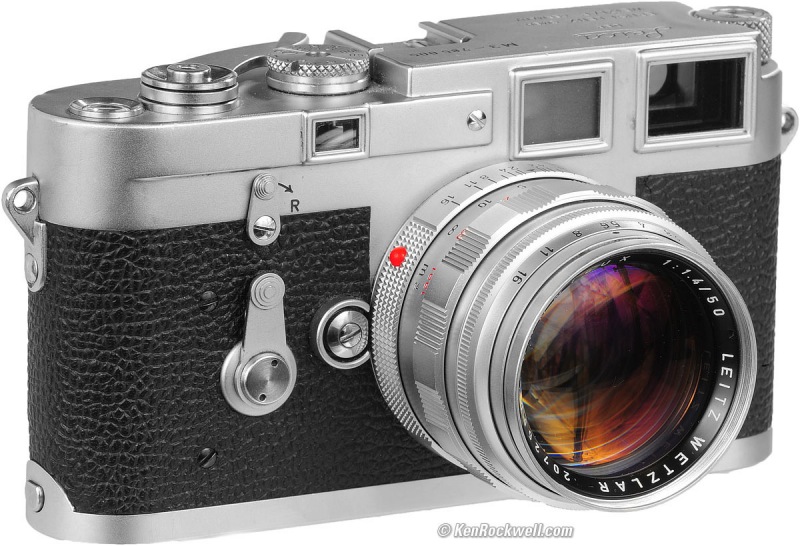
The M3.
But put me in the F12 and two tragedies would result. My son an orphan and the Maranello masterpiece stuffed in the local redwood on Skyline Drive.
But I have only pleasant memories of the Leica and vicarious ones of the Ferrari.
Don’t take my word for it. Go to the medieval armor room in NY’s Met and you will see how nations think. German – lugubrious, heavy, brutal. English – practical, workmanlike, functional. Italian – beauty, subtlety, art.