Ooops!
Google famously continues to waste its shareholders’ funds on quixotic efforts like YouTube and Google Glass. The last takes some beating. Maybe its key supporter, Mr. Brin, spent too much time in Russia as a youth, but a moment’s thought might have convinced him that the Average Joe did not want to walk around with a camera stuck to his glasses, looking like nothing so much as Homo sapiens cyborg. At least not in the free West. The wearer of Glass made the paparazzo with his 1,000mm spy lens look a positive model of integrity by comparison.
And speaking of homo, Apple has decided to mirror Google’s failure with one of its own, the Apple Watch.
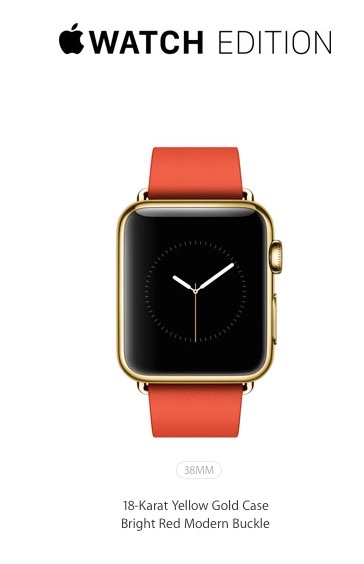
The $10,000 version.
While none other than Tim Cook has pointed out the failures of Glass, he has failed to realize that like accusations are equally valid when it comes to the Apple Watch (no, I will not drop the preposition – the Queen’s English is spoken here). The very idea of speaking into your wrist suggests the speaker is connected with some nefarious organization, be it CIA, FBI, NSA, Secret Service or private dick. All that’s missing is one of those silly coiled cords from ear to shirt collar to complete the picture.
But, OK, you say, I’m not going to talk into my watch. I want fast access to things on my iPhone. Well, let me assure you, access will not be fast. There is no pinch-to-zoom function on the watch so you resort to the crown and buttons. The screen is tiny, and navigation will be slow. And the functionality Apple displayed at its recent hypefest? Why hailing Uber cabs and tracking your heart beat. These are things only nerds do, and the Apple Watch reminds me of nothing so much as this:

Nerd Special – the Casio Calculator watch.
Apple has managed to upgrade the Nerd Special to the touch screen age. I mean, have you ever seen a person using one of those Casios? Trust me, it’s not pretty.
But there are tons of other reasons the Apple Watch will fail. This is not the iPod (“A thousand tunes in your pocket” – Jobs’s genius at its best) or the iPhone (“An iPod, a Phone and an Internet Commmunicator” in the great man’s words). Simply stated, it’s a solution looking for a problem. Let me list the reasons it will fail:
- A minimum of $350 for a gadget which will be obsolete one year hence.
- You want Mickey Mouse you can get a Timex for $20, every bit as accurate (What was Cook thinking of boasting of the watch’s accuracy? Doesn’t everyone – other than a Patek Philippe owner – assume that to be the case for the last half century?)
- You already carry your iPhone with you at all times. Is it that much harder to remove it from your pocket than to glance at your wrist, only to have to futz with small buttons and a knob?
- You want to talk into your Apple Watch and look like a jerk, or do you want to talk into your iPhone and pass unnoticed?
- One more gadget to recharge daily with minimal value added. No way on earth that this thing will run 10 hours with any serious use. On the road? Oops, too bad you left the charger at home.
- Needs lots of iPhone programming to make operation as simple as in the hypefest.
- Remote garage door opening because the little one has lost her key and you are in Namibia at the time? Fughedaboutit. Your home will be hacked and burglarized by your local Russkie before you know it and Namibian wifi will be down in any case. No need for an Apple Watch to help with that.
- Oh, but it’s such a great fashion accessory! Rot. It’s thick and ugly. Get a Patek if you are into fashion, or a Rolex if you want to emulate Apple’s poor taste in watches. (“Rolex. The watch for fat people” has a certain ring to it).
- The $10,000 option in Real Gold? So now a company which has famously eschewed elitism – an iPhone is an iPhone is an iPhone – has decided to sell the same innards for $9,650 more than you paid? Eh? Come again?
- Cheap or gold version, it’s so gauche.
- An on and on.
One sign of Apple’s desperation was the inclusion of a famous model – Christy Turlington – in this week’s roll out. (“See, even a woman can use it”). Putting aside how much she was paid to hug Cook not once but twice, it remains unclear what her use of the watch in her recent half marathon in some African hell hole actually did for her. This was not disclosed. She did look great, though.
Apple is a one product company if your focus is the bottom line – it’s called the iPhone. The concentration of profit from this one device has gone up steeply under Cook’s leadership and while I have no issue with them milking it for all it’s worth, sooner or later they will stub their toe and come out with a stinker. Or some Chinese fellow will make something as good for 90% less. The Apple Watch is not the diversification savior they are searching for and Cook is a stranger to innovation.
The Apple Watch will sell a few million to more breathless hype from Apple (“Our biggest new product launch ever. Even Putin the Impaler has one!”) but once every nerd has one sales will cease and the product will be quietly removed from the product line.
Want a watch? Get something to aspire to that makes you feel good every time you check the time. And that’s all you can or should check on your wrist. OK, that and the date.
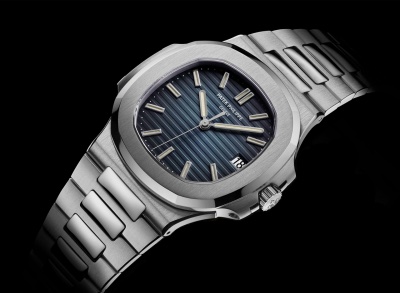
Neither ugly or nerdy.
So what if it’s off a minute or two?