The Computer History Museum – Part I

Outstanding in every way.

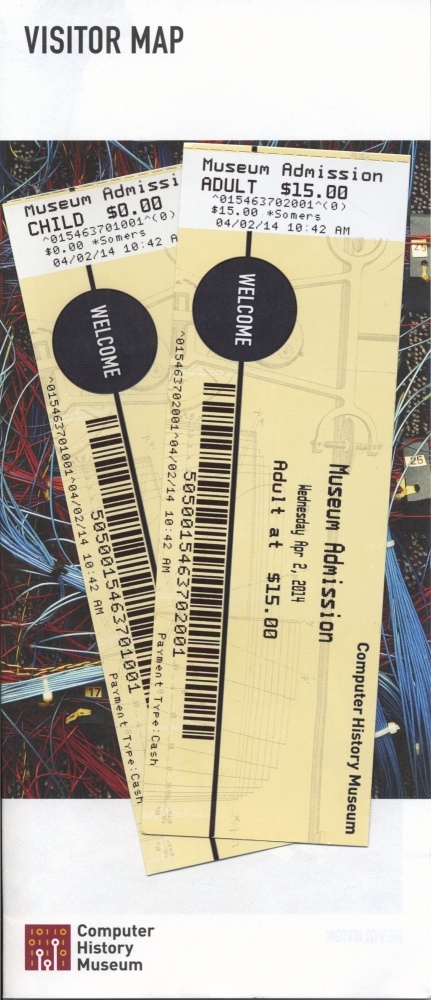
The Computer History Museum is a stone’s throw from the Googleplex, the center of the world as we know it. The Museum is open Wednesday through Sunday. Kids 12 or under enter free, so my son Winston just scraped in.

We had an absolute blast. The quality of everything here – the building, the displays, the docents, the art work – is top notch and could not be improved on.


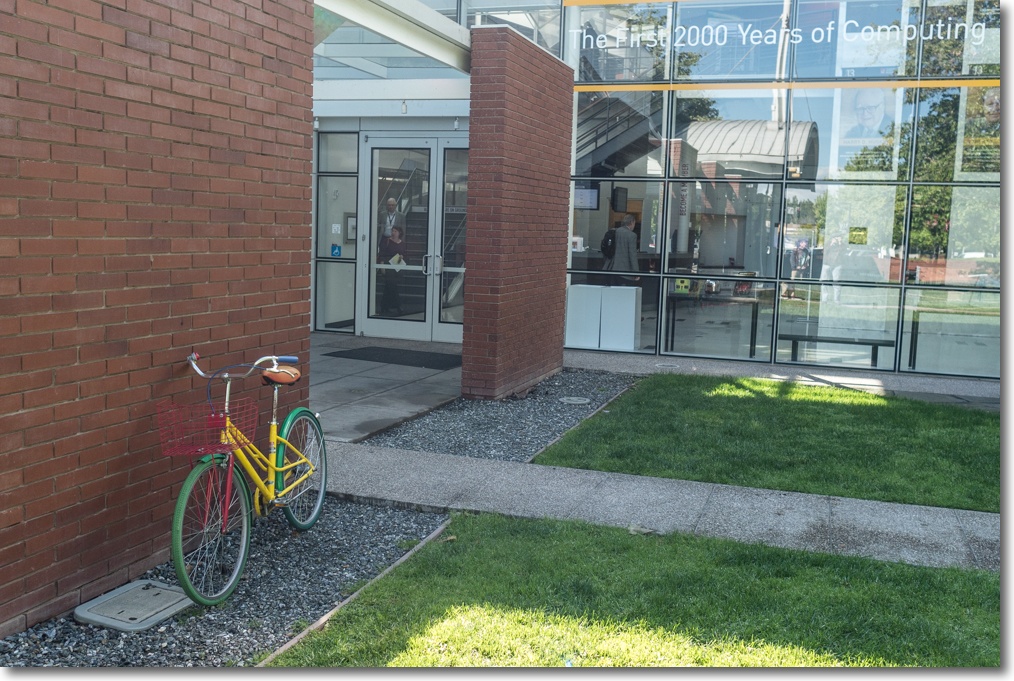
Obligatory Google bicycle at the front entrance.

As an engineer of the mechanical persuasion, my eye is naturally drawn to objects of mechanical beauty and none could be more alluring than Babbage’s Difference Engine, built by London’s Science Museum (a favorite childhood haunt) over 150 years after Charles Babbage made the technical drawings. That one is in the Science Museum and the one here is the second they built, commissioned by Nathan Myhrvold of Microsoft fame. Words cannot do this magnificent machine justice, the very peak of British mechanical engineering design and execution. You simply have to see it for yourself.


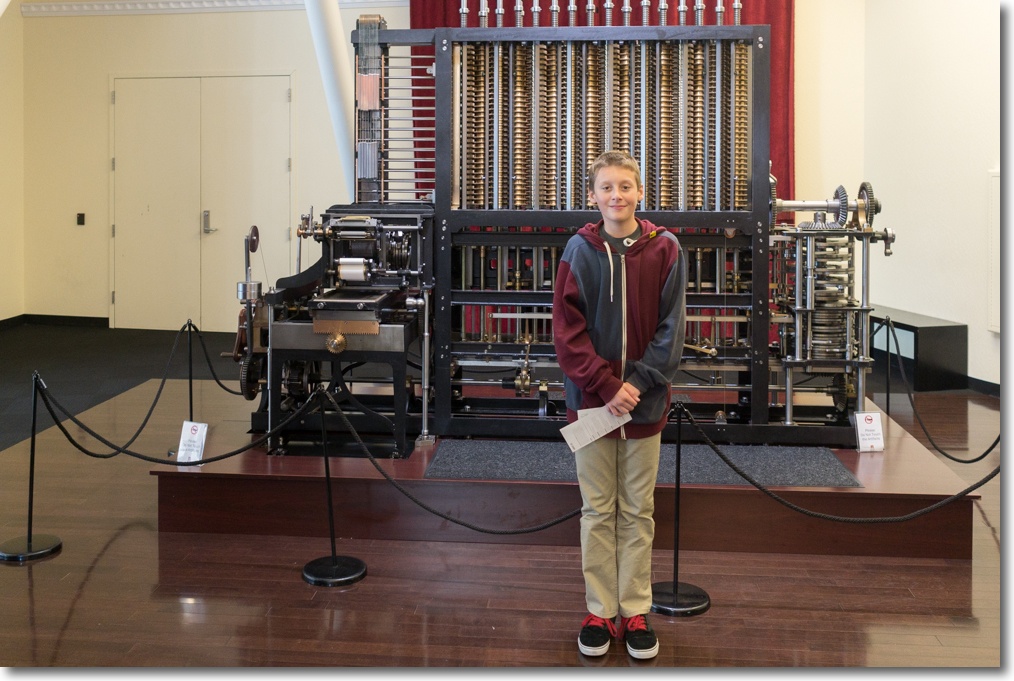
10,000 lbs, 8,000 parts and 11 feet long. Winston provides some scale at 5′ 4″ and 100 lbs.


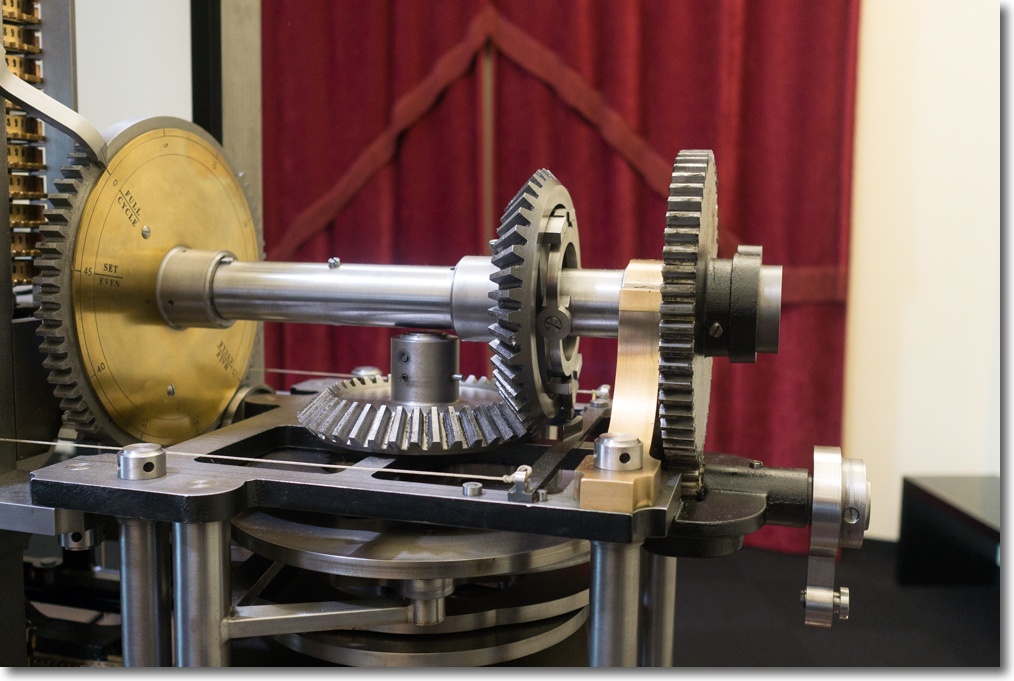
Exquisitely machined right-angle gears.

There’s a daily live demonstration and for those who do not time it right there’s a fascinating video. And yes, when no one is looking, you can touch it and it is a sensuous delight.


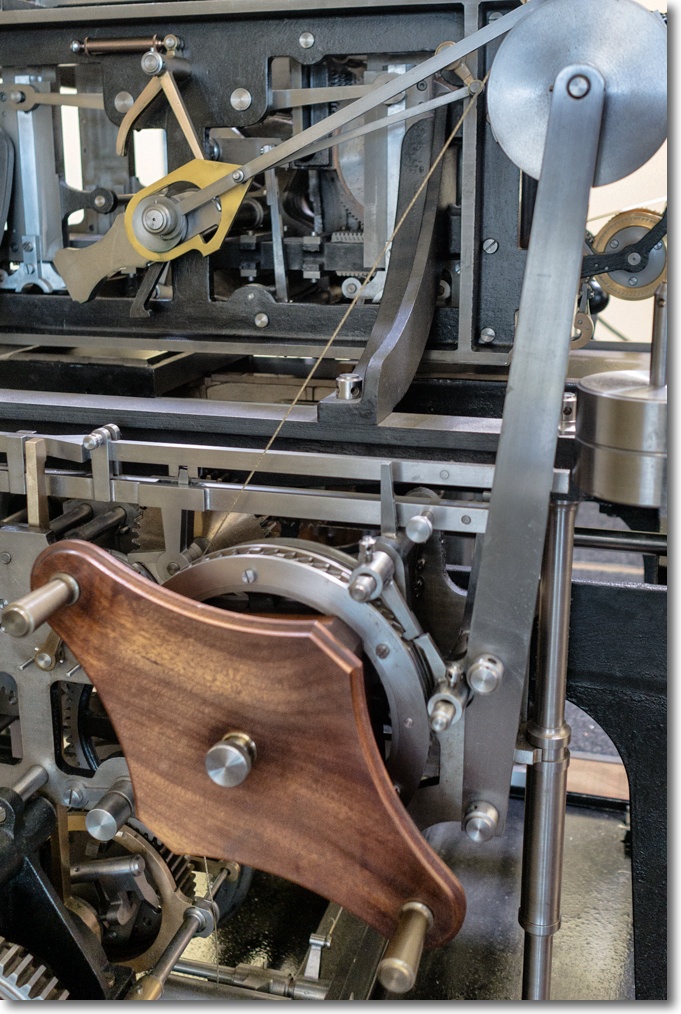
Brass, steel and wood in Babbage’s machine.

More brass and steel in this lovely Morse Ericsson pen register of 1890:


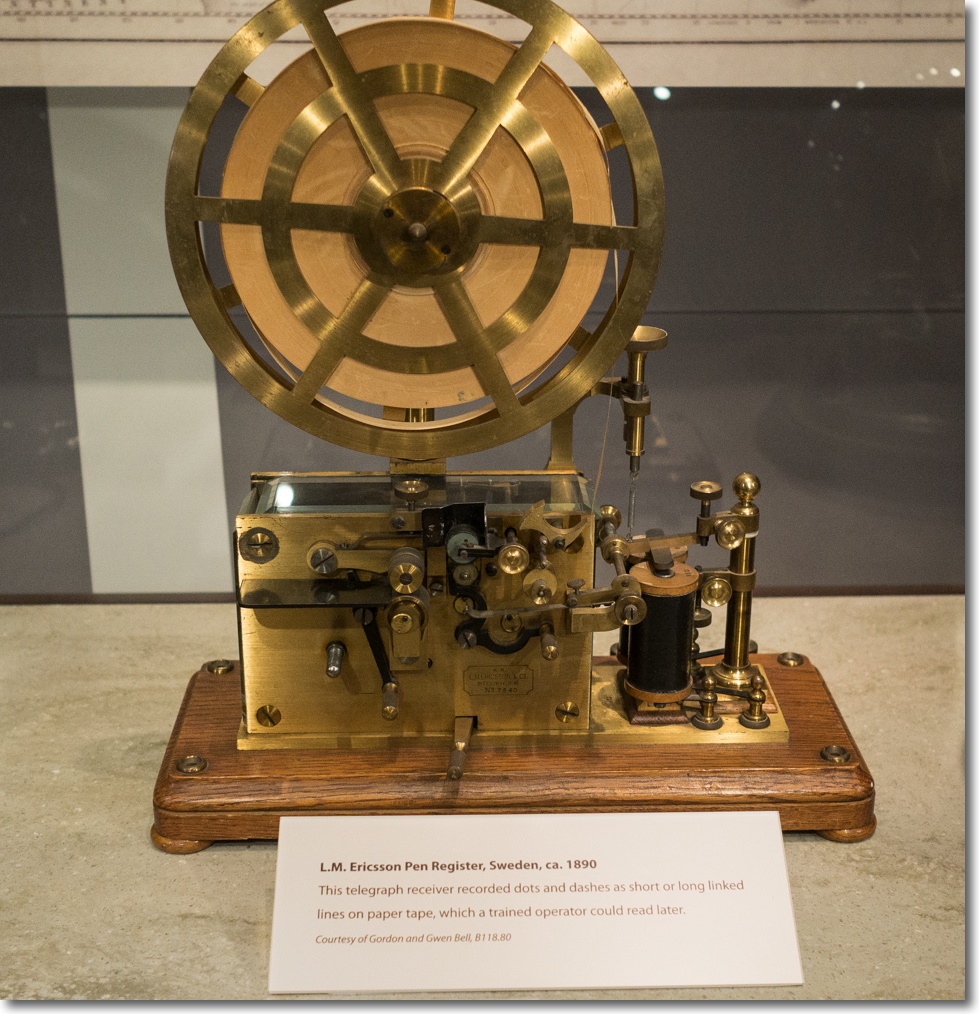
From the golden age of mechanical engineering, with
an absolute minimum of magic (aka ‘electricity’).

And there’s little wrong with this Western Union ticker tape machine from 1895:


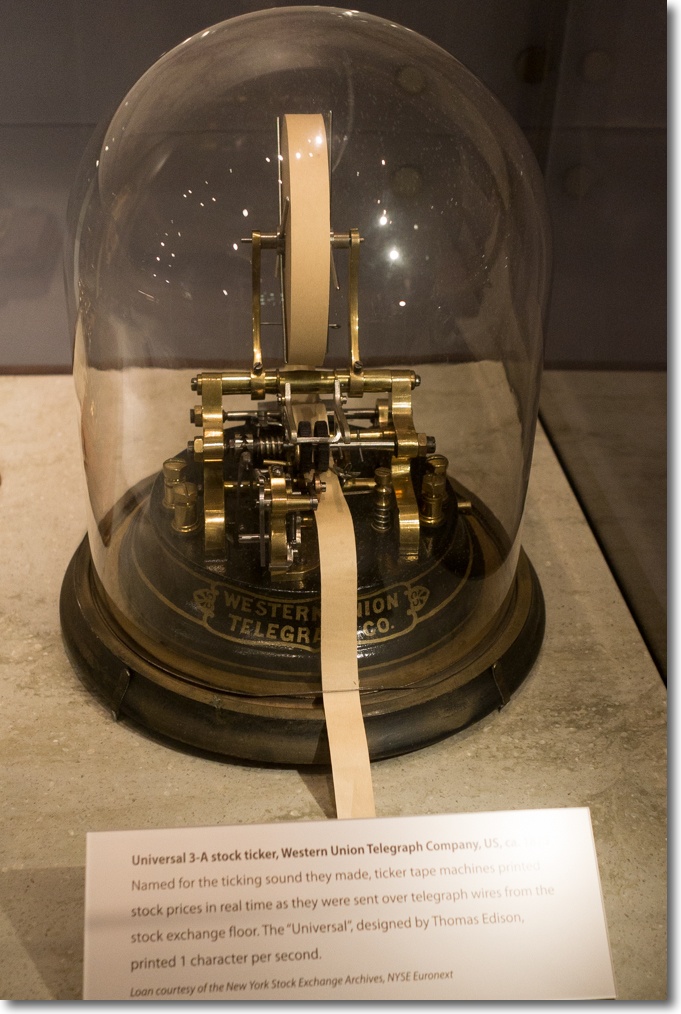
A favorite of the Boy Plunger, early speculator Jesse Livermore (1877-1940),
whose last bet failed and ended in suicide …. The market is a cruel mistress.

Punched cards hold a warm place in my heart for, when a mechanical engineering student at University College, London (1970-1973) I would walk my deck (in a plastic bag as often as not, given the usually foul weather) down the road from Torrington Place to the computer room housing the gigantic IBM 360 computer, returning the next day for the results!


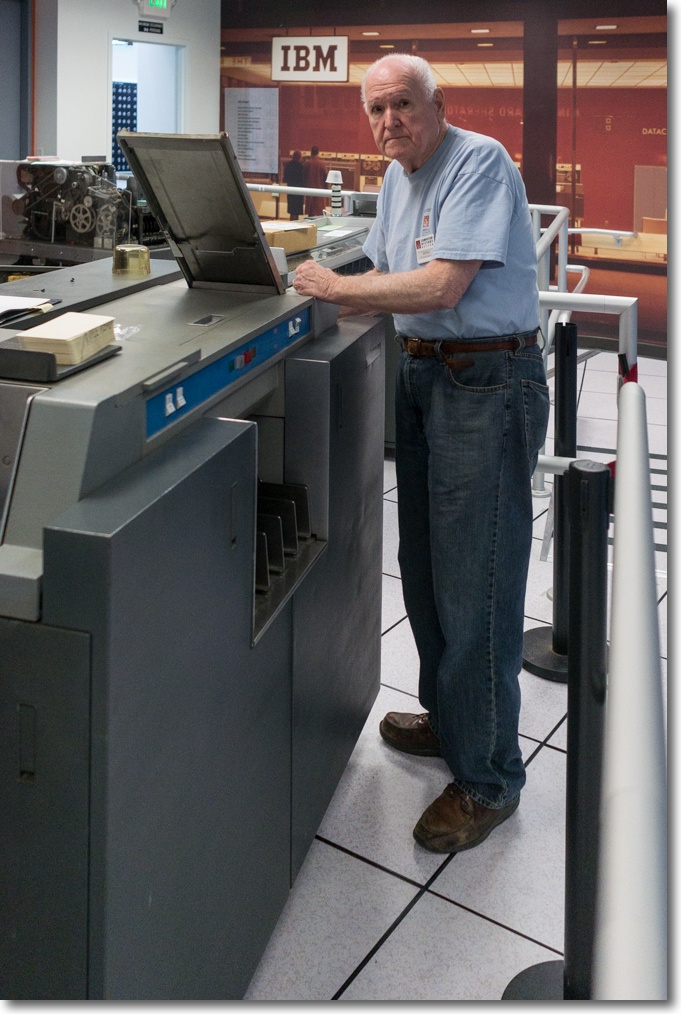
Bill operates the IBM 1401 punched card machine. A 1961 model, the 1401
held over 80% of the computer market.

The clatter of the Hollerith card reader (after the, ahem, American inventor Herman Hollerith – 1860-1929) and the smell of machine oil in the large room housing the hardware was nothing less than Proust’s Madeleine dipped in tea for this visitor. Instant flashback to London, 1970. Well before Thomas Watson and IBM hit the scene, Hollerith’s punched card machines were used to tabulate the 1890 US census, in record time needless to add.


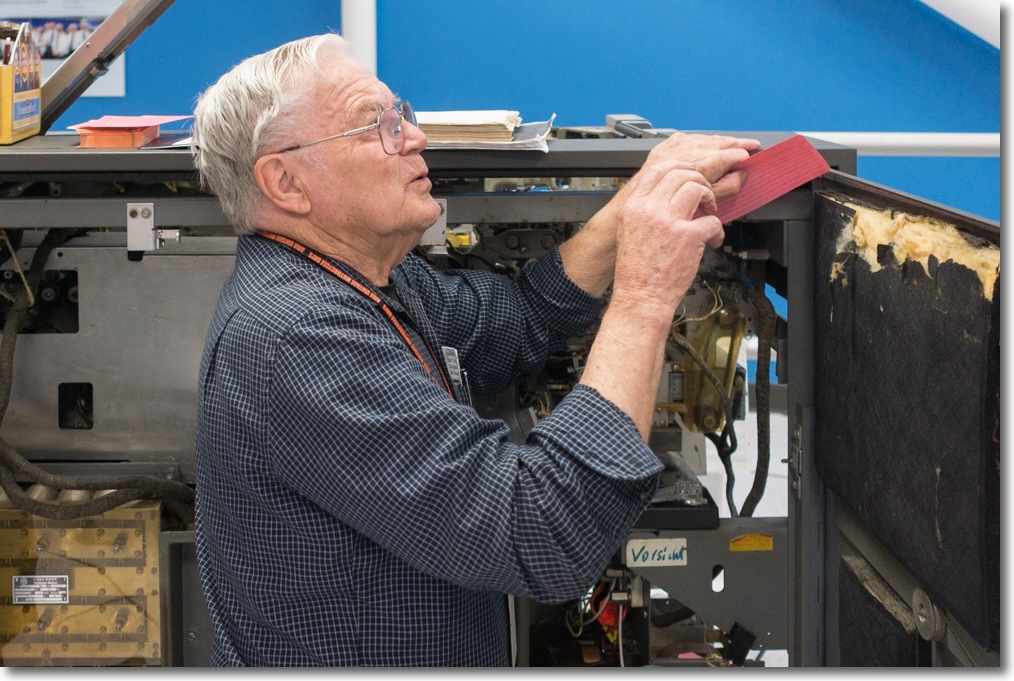
Fixing one of the card readers in the Big Blue room. ‘Vorsicht’ means ‘Caution’ in German.
You really want to know what you are doing here.

It’s hard to appreciate how dominant punched card input was before tape and disk superseded it. The Museum rightly devotes a whole room to the technology.


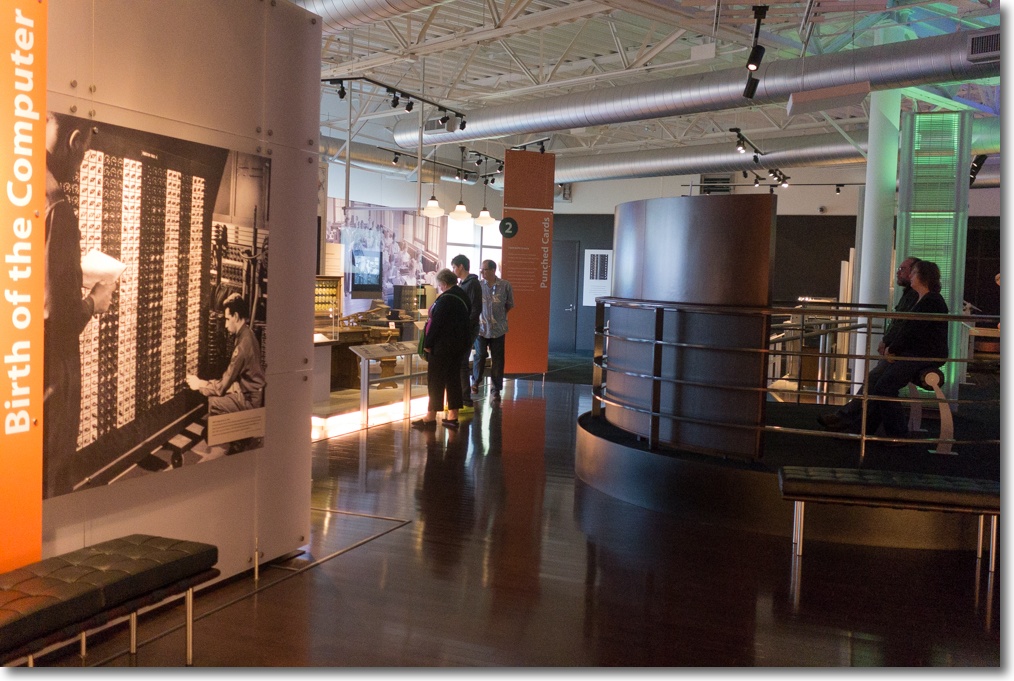
The punched card room.

Tomorrow I’ll take a look at some of the newer displays.

All snaps on the Panny GX7 with the 17mm Zuiko.

Sequence

Serra’s masterpiece at Stanford University.

More here.

My son and I walked through it – a dizzying experience and lots of fun.

We figured the weight of the steel, 2″ thick, 14′ tall, 180 x 2 feet long (2 infinity shapes) x 0.283 lb/cubic inch, which computes to 20.5 tons. In other words, no one is about to pinch this. My first wild guess was 10 cars, or 20 tons. Not half bad. (US tons of 2,000lbs per, for the Englishmen reading this).

Panny GX7, 17mm Zuiko.

4K displays – latest thoughts

Getting there.


Click the picture for the Seiki site.

A better graphics card:

In anticipation of eventually adding a 4K display, I have upgraded one of my Mac Pros, with an EVGA nVidia GTX680 2GB PC graphics card. The card fits in the #1 PCIe expansion slot, where its double width does not block any of the three other slots. This machine currently uses a $220 Seiki 32″ 1080p TV set as a display, running at 60Hz over HDMI. The ROM in the GTX680 has been flashed by the seller to allow display of the opening splash screen with the Apple logo and cog wheel on start/restart. This is not essential, but nice to have when doing an Option-Restart which will display all bootable drives on the screen. If you don’t miss the splash screen, buy a used PC GTX680, for under $300. It will work fine. You can flash this yourself if you are running Windows in BootCamp – I cannot as Windows is not permitted chez Pindelski, sanity trumping choice. I bought the flashed card used on eBay for $400, compared with $670 for a new ‘Made For Mac’ GTX680.


The EVGA GTX680 in the Mac Pro. The two six pin auxiliary
power cables attach to sockets on the backplane board.

The former GT430 compared with the GTX680:


A significant increase in performance. Call it five times as fast.


The new card reported in System Information.
Link speed is 5GT/s.

Don’t overdo it!

Along with the ATI Radeon 7950 (200 watts maximum), also available in a ‘Made For Mac’ variant, the GTX680 is the most powerful card available for the Mac Pro which does not risk overpowering the power feeds. The maximum power available to the card is 225 watts (75 watts on each of the two PCI cables and a further 75 watts from the PCIe slot), which compares with the maximum draw of 195 watts for the card. Cards which can draw more than the 225 watts available, and thus risk damage to the Mac Pro include (but are not limited to) the Radeon 7970, 7990, R9 280, R9 290, GTX580, GTX590, GTX690, GTX770, GTX780, GTX780 TI, and GTX Titan. If you propose using any of these hard, a separate power supply is indicated.

Sound over HDMI:

Additionally, OS X 10.9.2 broke sound over HDMI (thank you Mr. Cook – Apple’s Ballmer) but a smart person has posted the fix at MacRumors and you can find it here. Be sure to check my message (#68) in that thread if you run into problems. The kext (driver) provided by the original poster works fine and HDMI once again shows as a working choice in System Preferences->Sound, delivering sound over the HDMI cable to the TV’s built-in speakers.

The state of 4K displays:

Nine months ago I wrote about the early state of play regarding 4K displays, which offer 3840 x 2160 pixel definition. Until now, the highest pixel density available has generally been the 2560 x 1600 available in 30″ Dell Ultrasharps and in the discontinued 30″ Apple Cinema Display.

Things have moved along and there are now several choices of 4K display for the Mac Pro (2009/4,1 or 5,1 and later, and new Mac Pro) user:

  • Dell P2815Q 28″ using twisted nematic display technology – $700
  • Dell UP3214Q 32″ – LED – $2,500
  • Dell UP2414Q 24″ – LED(?) – $1,200
  • Sharp PN-K321 32″- LED – $3,100 or $3,500 from Apple for the foolish
  • Seiki SE39UY04 39″ – LED TV set – $500

For reasons attributable to the genius in charge at Apple, none of these will run OS X at the usual 60Hz which delivers smooth cursor motion. All run at 30Hz in OS X, whereas the first four will run Windows in BootCamp at a full 60Hz. Way to go, Timmy! Your OS runs Windows better than it does its own native apps while Apple touts the 4K capabilities of the new Mac Pro ….

The fifth, the 39″ Seiki TV, runs at 30Hz only in either OS X or Windows, owing to hardware limitations in the TV set.

So my Mac Pro is ready for 4K but which display to use? I’m not about to pay $2-3,000 for a display and the latest rumor has it that Seiki will be selling a revised version of their 39″ TV set in Q2/2014 for maybe $800, sporting 60Hz screen refresh rates. 39″ is huge – 2.1 times the display area of a 27″ display and at twice the definition, and 3.6 times the area of a 20.5″ display. If that happens, I should be seeing 4K here soon. 10.9.3 will be required to support 60Hz and it is in advanced beta test as I write.

There are issues with 4K implementation in OS X Mavericks, not least being very small font display at 4K definition. My proposed use is simply to display large realtime charts of stock market data (my day job) during working hours, so text size is not a key driver for my purpose. However, I will be testing the display with Lightroom and Photoshop and reporting my findings in due course. Color calibration with a colorimeter should not be an issue as the Seiki TV has extensive color adjustments built in, with more secret stuff in the Service Menu, which you can access by hitting Menu->0000 on any Seiki TV’s remote.