The good, the bad and the ugly.
There are few meals whose preparation excludes cutting, slicing or grating.
Surveying the relevant tools in my kitchen there are some which are exceptional for these tasks, some which are mediocre and others which are downright dangerous. Here they are in no particular order.
Box grater:
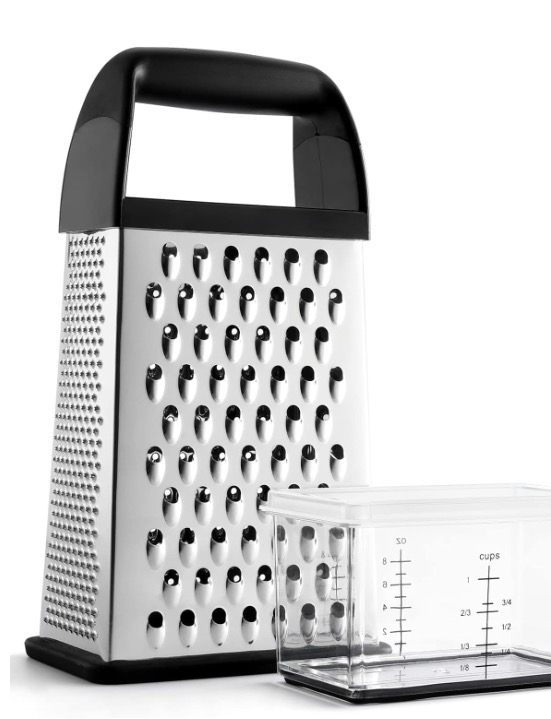
Box grater.
Ergonomics: Awful. You have to bear down with one hand and exercise a death grip on the workpiece, which promptly leaves most of the sliced/grated results stuck to the inside of the box.
Danger: High. If it does not tip on you watch out for shredded knuckles.
Clean-up: Awful. You have to work a sponge on a wand inside to do a proper job, which still leaves food stuck in the inside corners.
Status: Recycled.
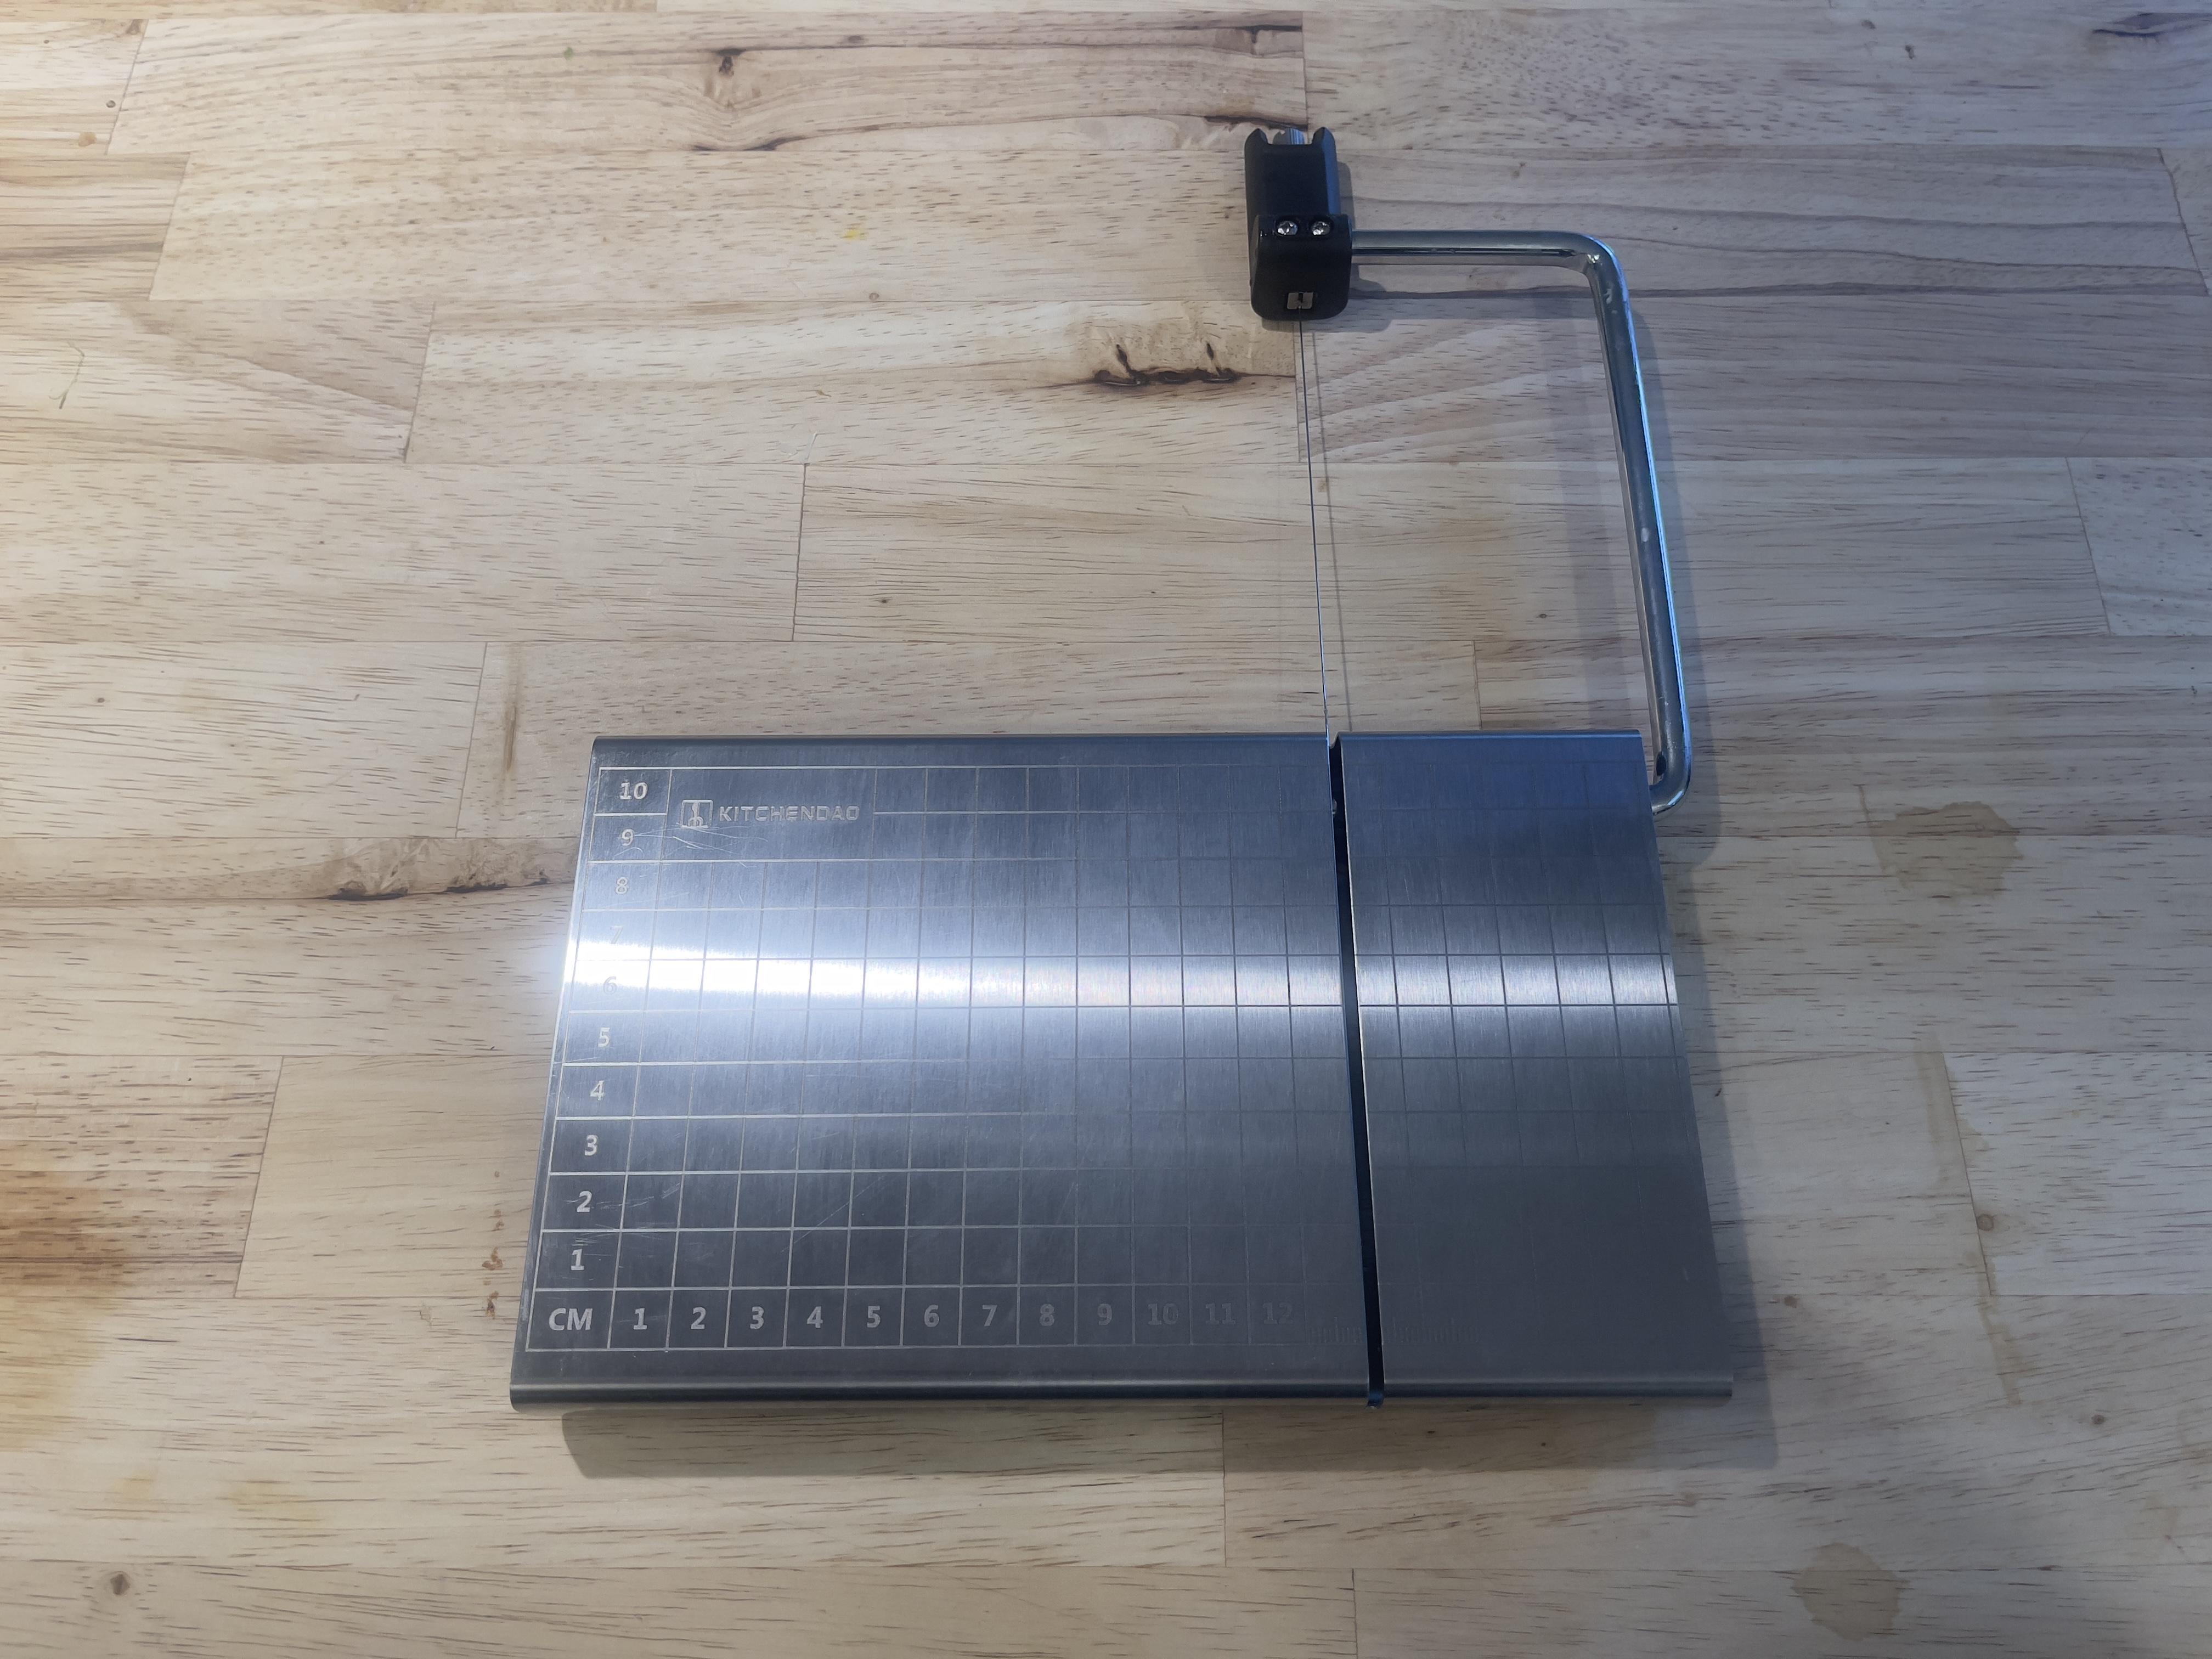
Cheese slicer.
Ergonomics: Decent. Works well on both hard and soft cheeses. The rubber feet prevent slipping and the design is robust with the wire correctly centered. Comes with two spare wires. Does not get blunt with age.
Danger: Low. Just don’t place a finger where you are cutting.
Clean-up: Easy.
Status: In daily use.
Chef’s knife:
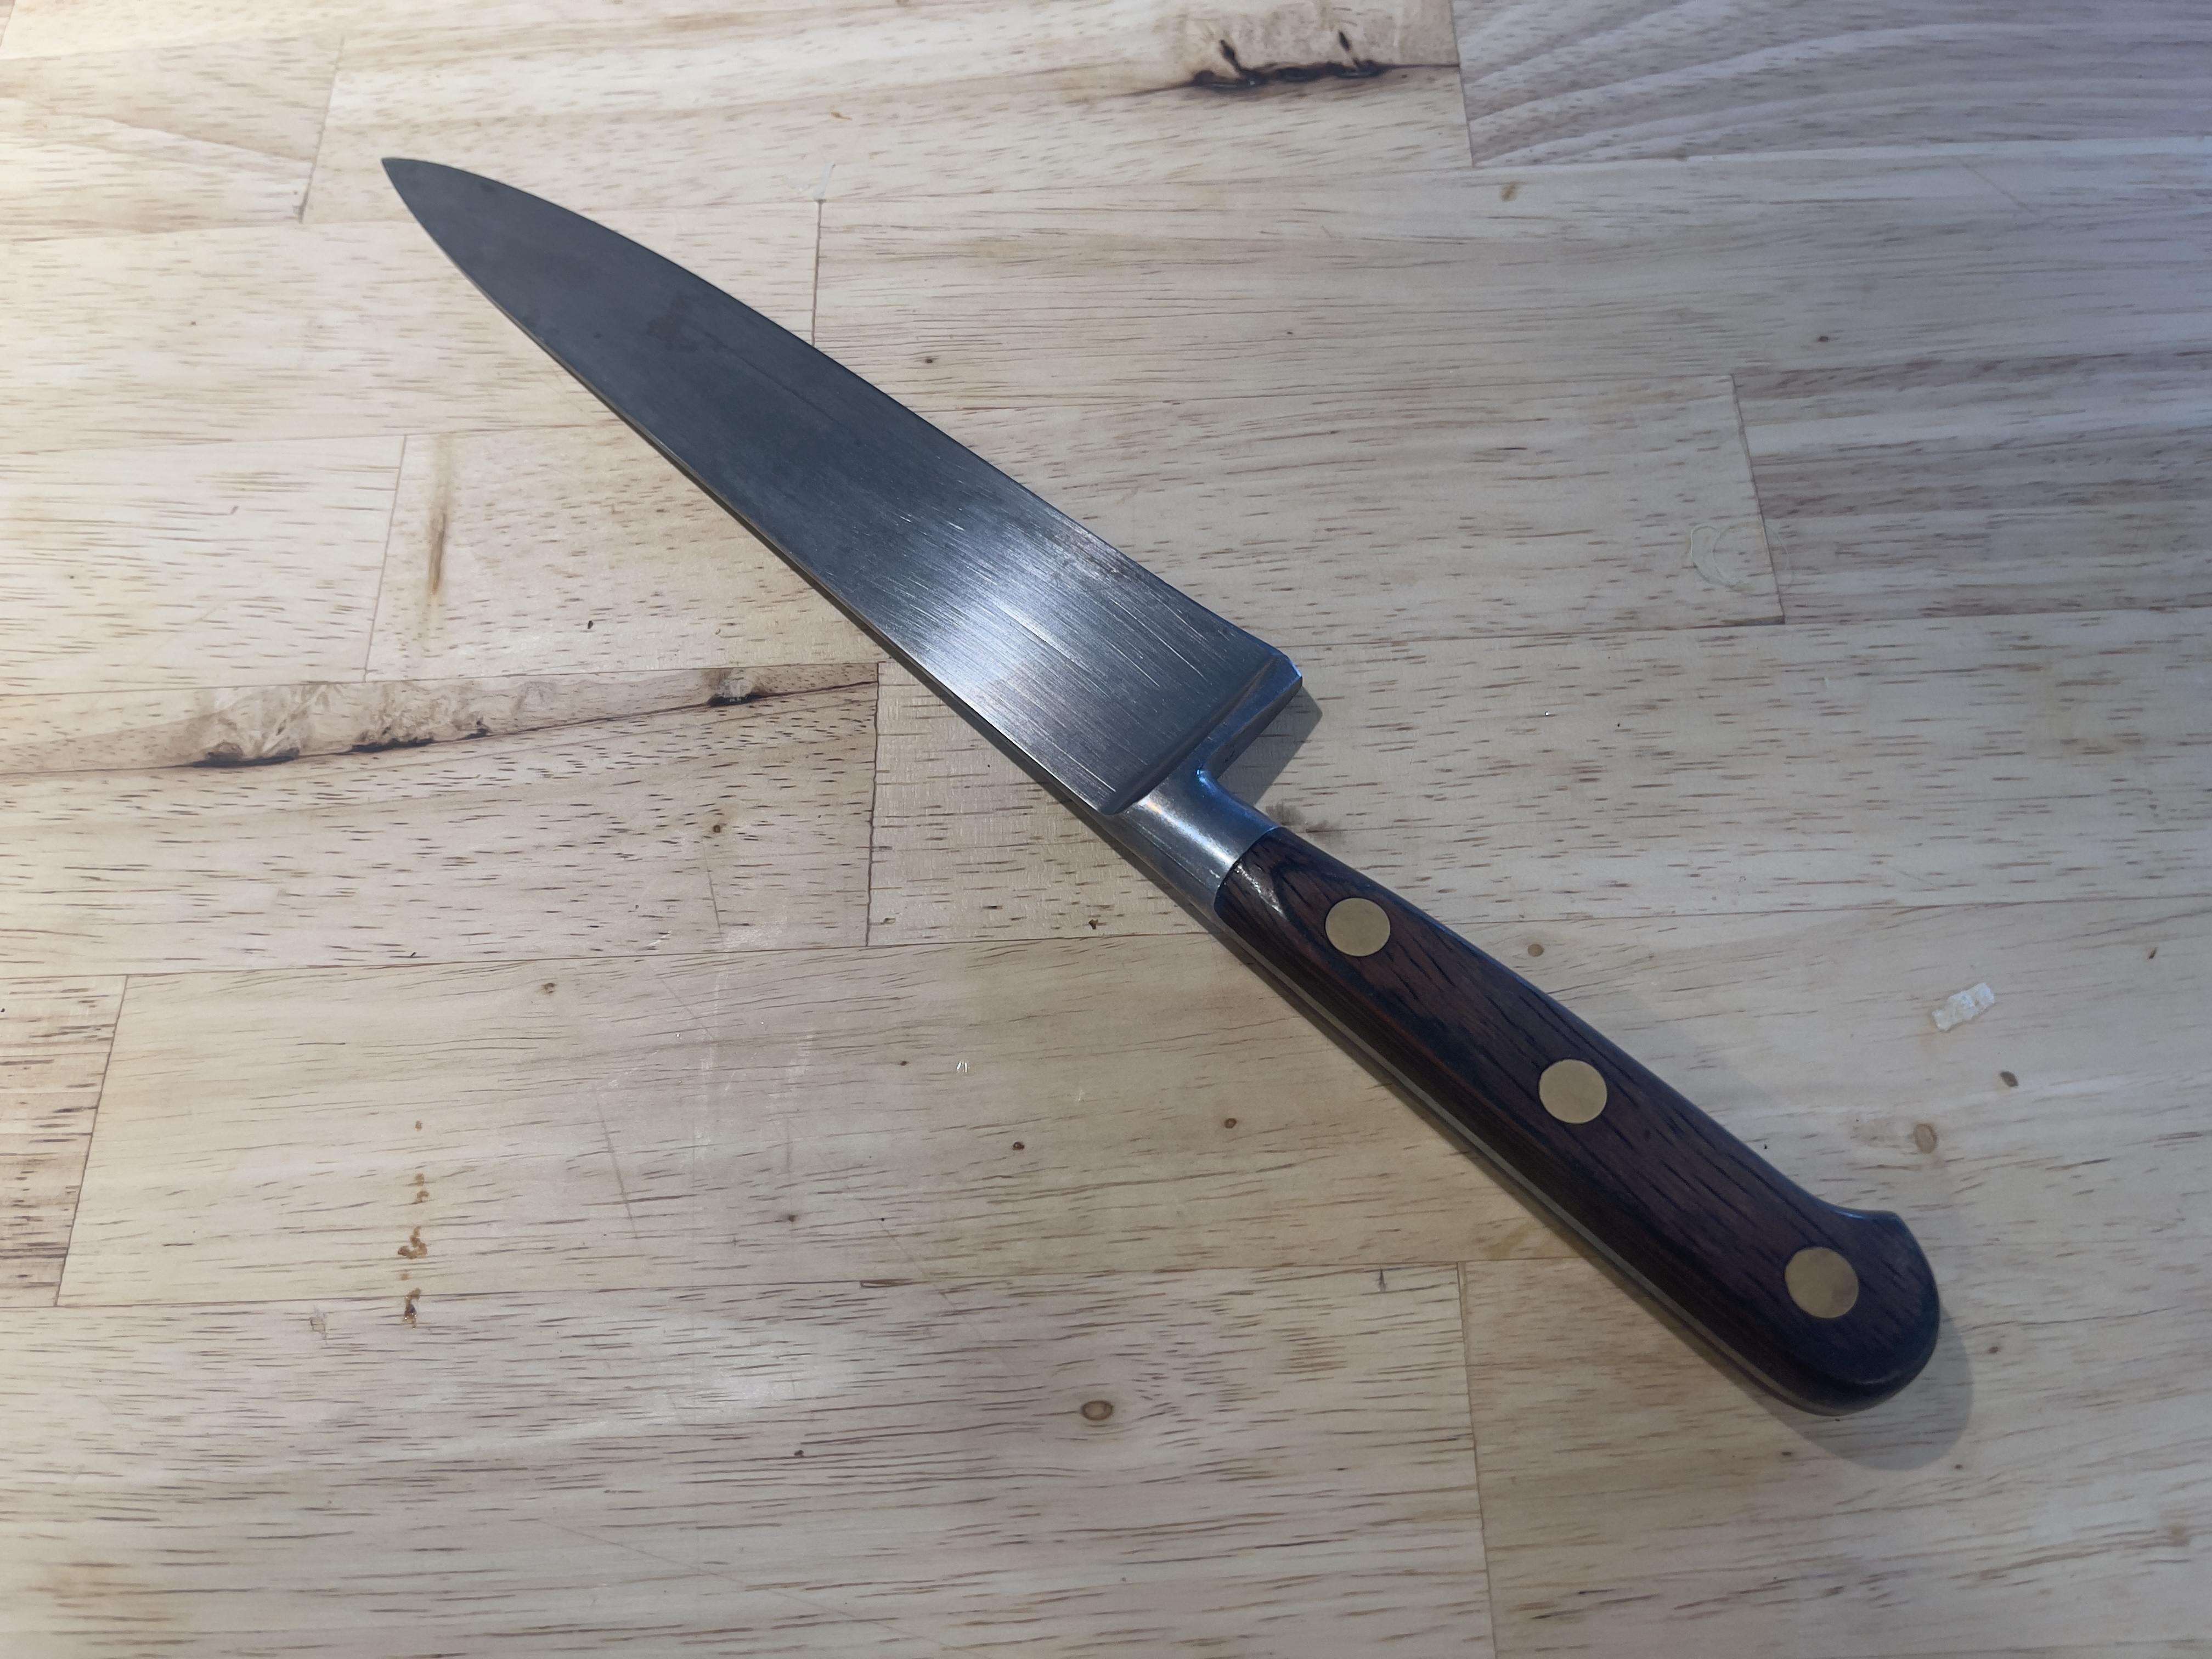
Chef’s knife.
Ergonomics: Poor. The most overrated kitchen tool, the one ‘expert’ cooks say is the most important. It’s poor at scooping. The balance is mediocre at best. More here. I have not used mine in over half a decade.
Danger: High. Your hands are too close to the cutting edge.
Clean-up: Easy.
Status: Unused. Have not the heart to throw it out as it’s a nice non-stainless Sabattier.
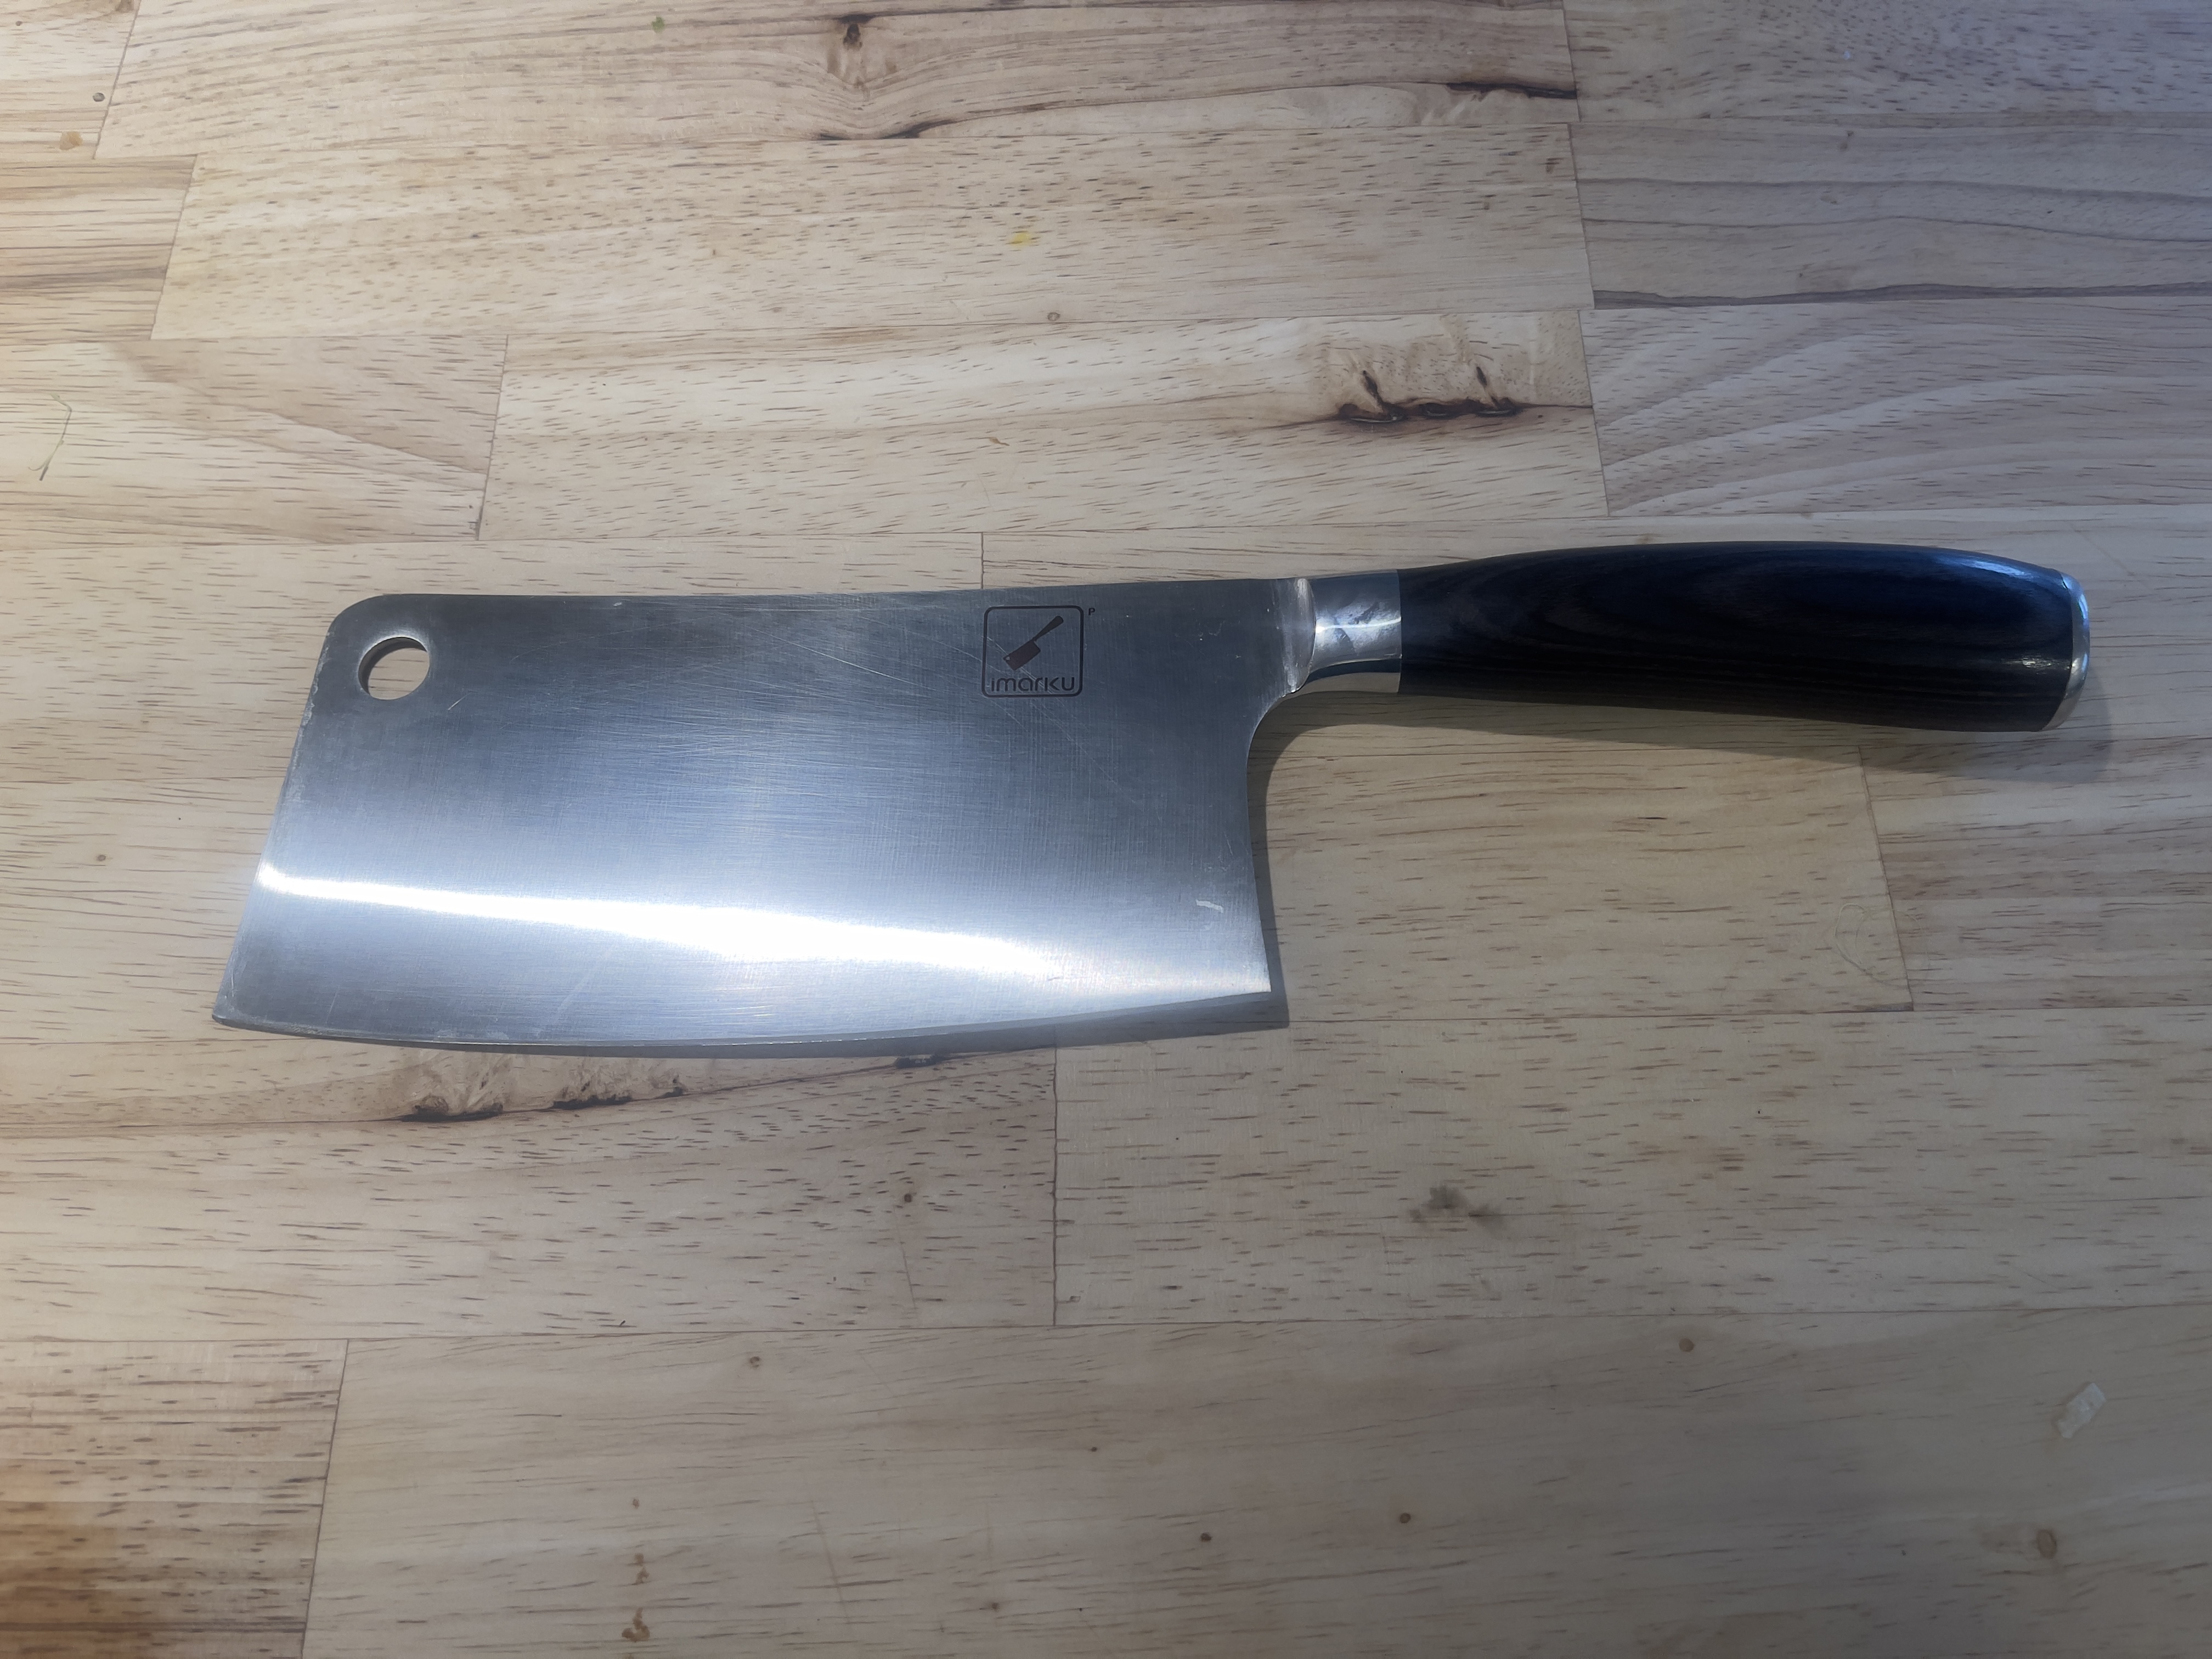
Cleaver.
Ergonomics: Outstanding, if you get one that balances well in the hand. It pays to shop in person, not by mail order. Superior in every way to the chef’s knife. Superb at scooping. The weight and long handle confer tremendous cutting power, but don’t use it on hard beef bones as the metal is relatively soft. This tool allows you to safely cut up an onion in a few seconds.
Clean-up: Trivial.
Safety: Good. Your fingers are remote from the cutting edge.
Status: Used daily.
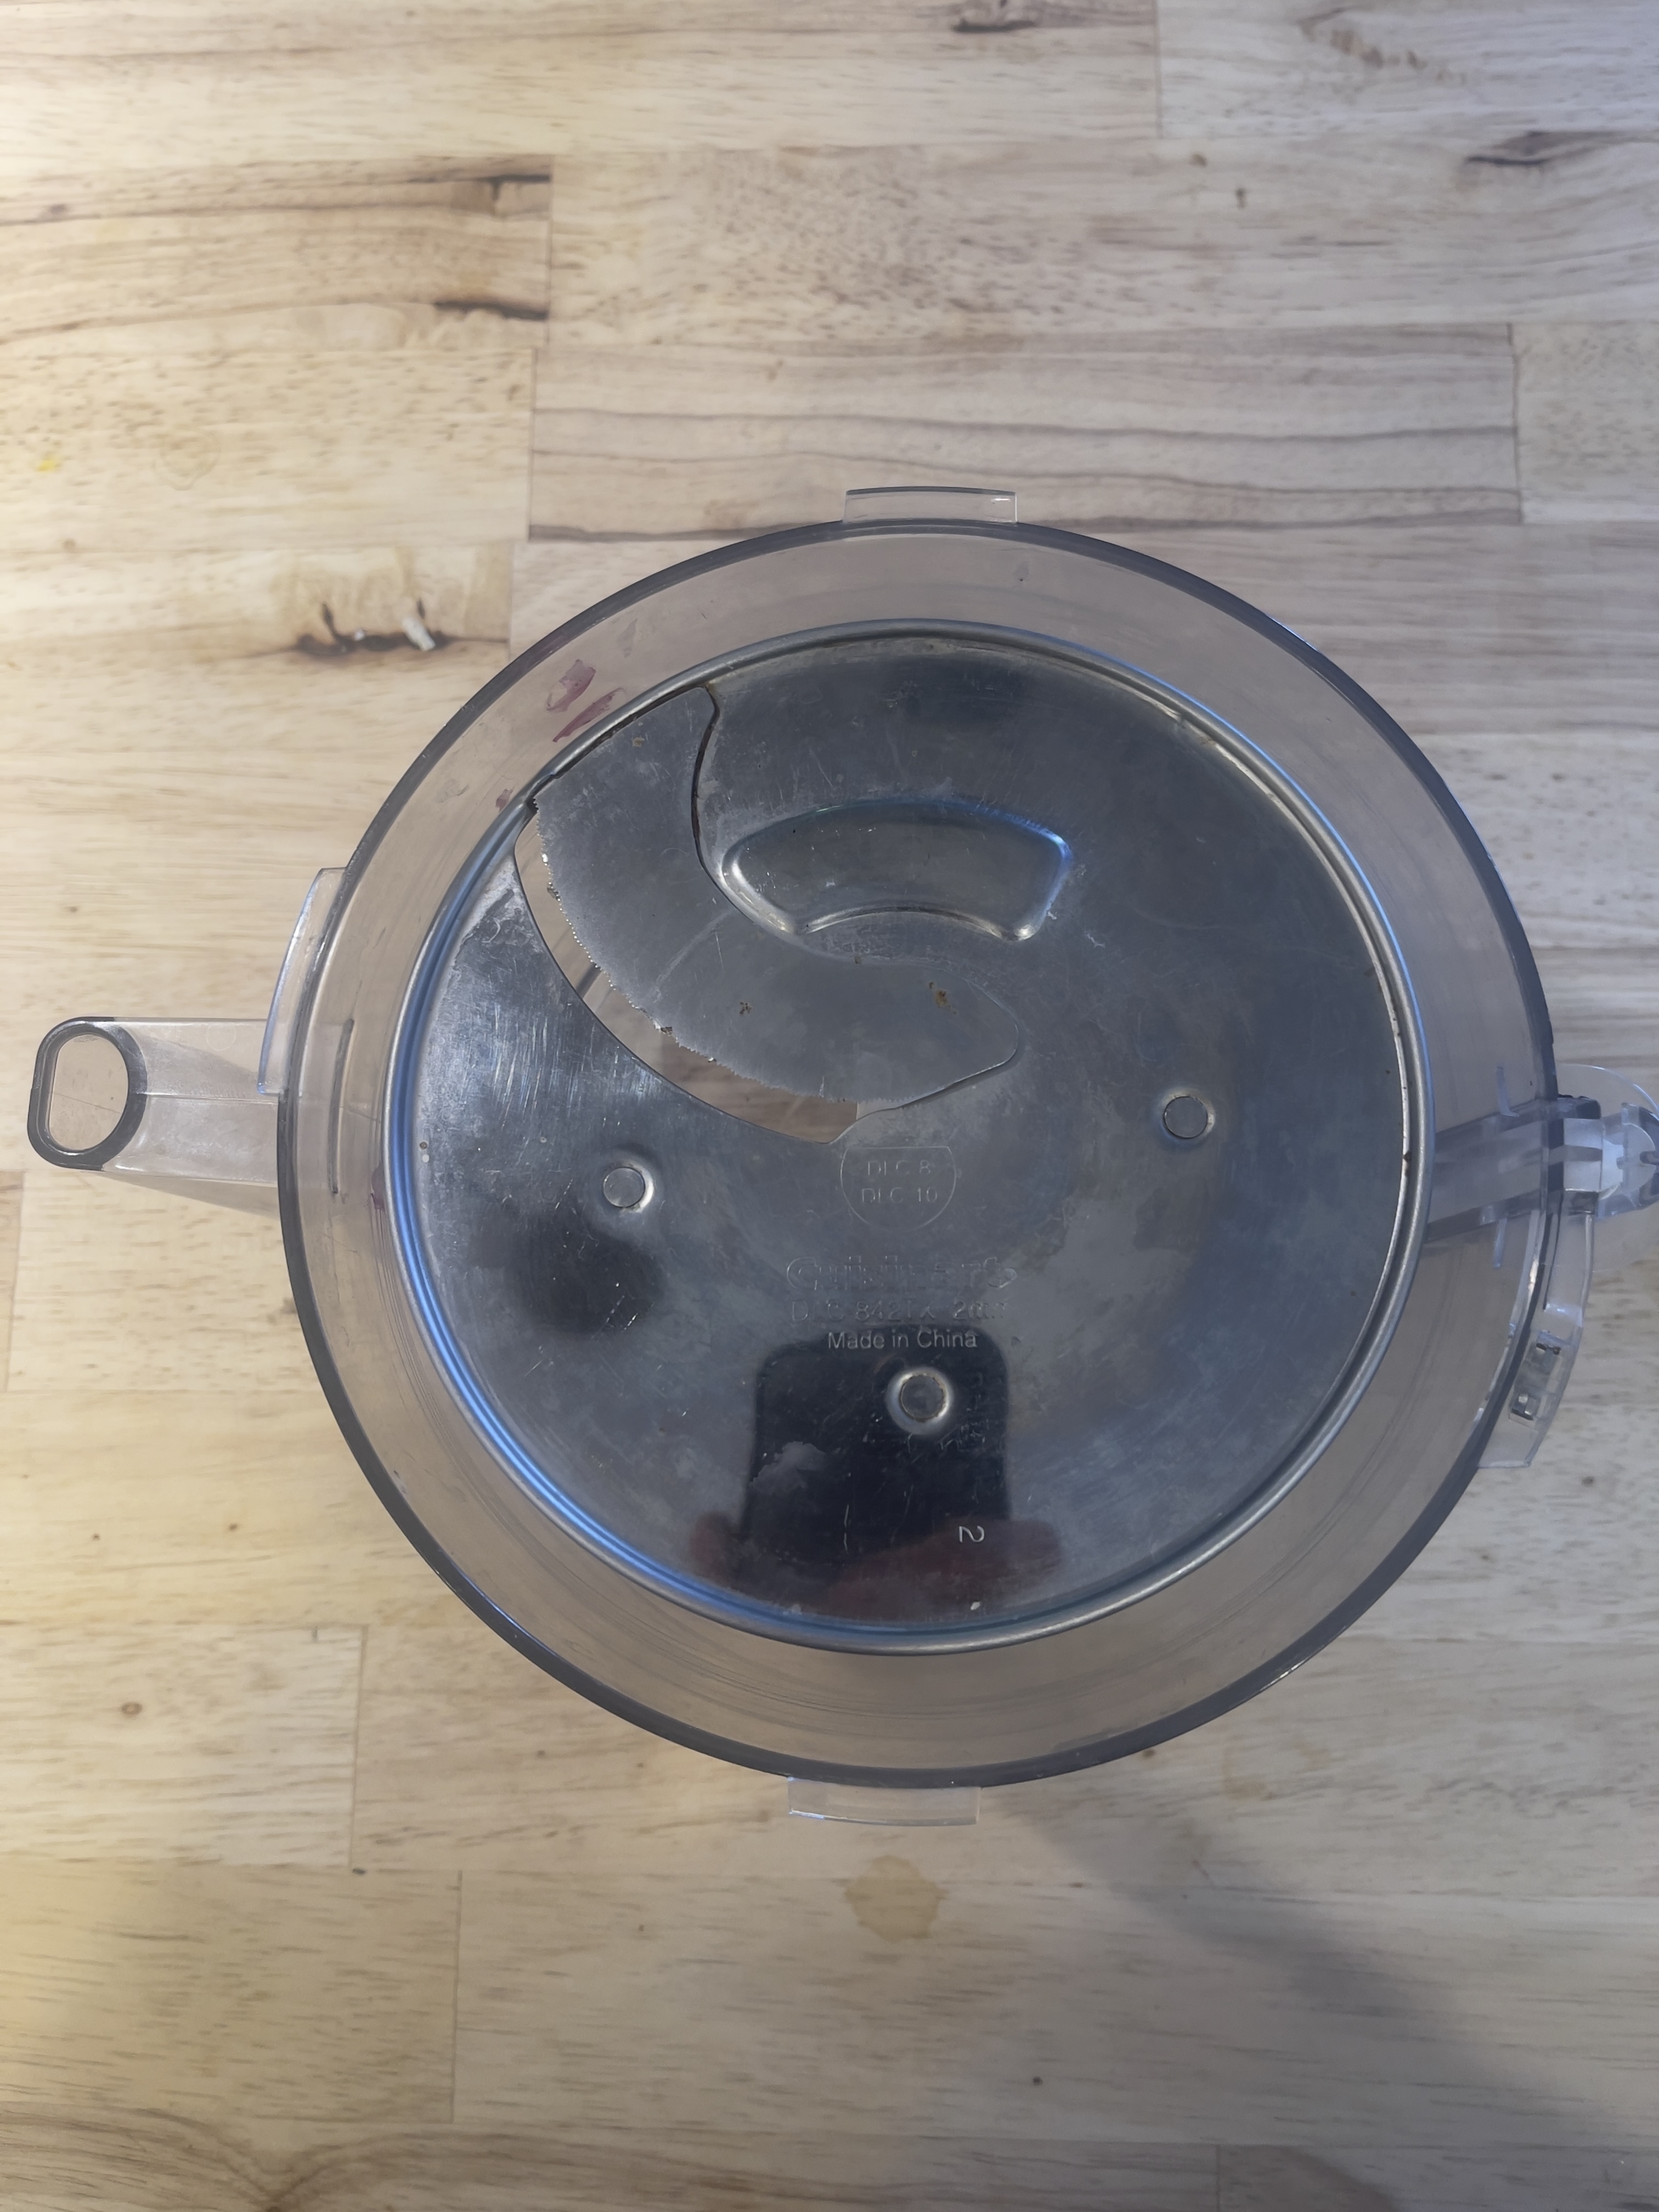
Food processor.
Ergonomics: Very good. Lots of safety interlocks and large capacity. Very powerful motor and the tool for puréeing. Takes up significant countertop space. Different disks allow for varied slice thicknesses. Not cheap.
Clean-up: So-so. Lots of parts.
Safety: Very high. It’s impossible to get your fingers close to the whirling blades.
Status: Used for big batch jobs like soups.
Hand graters:
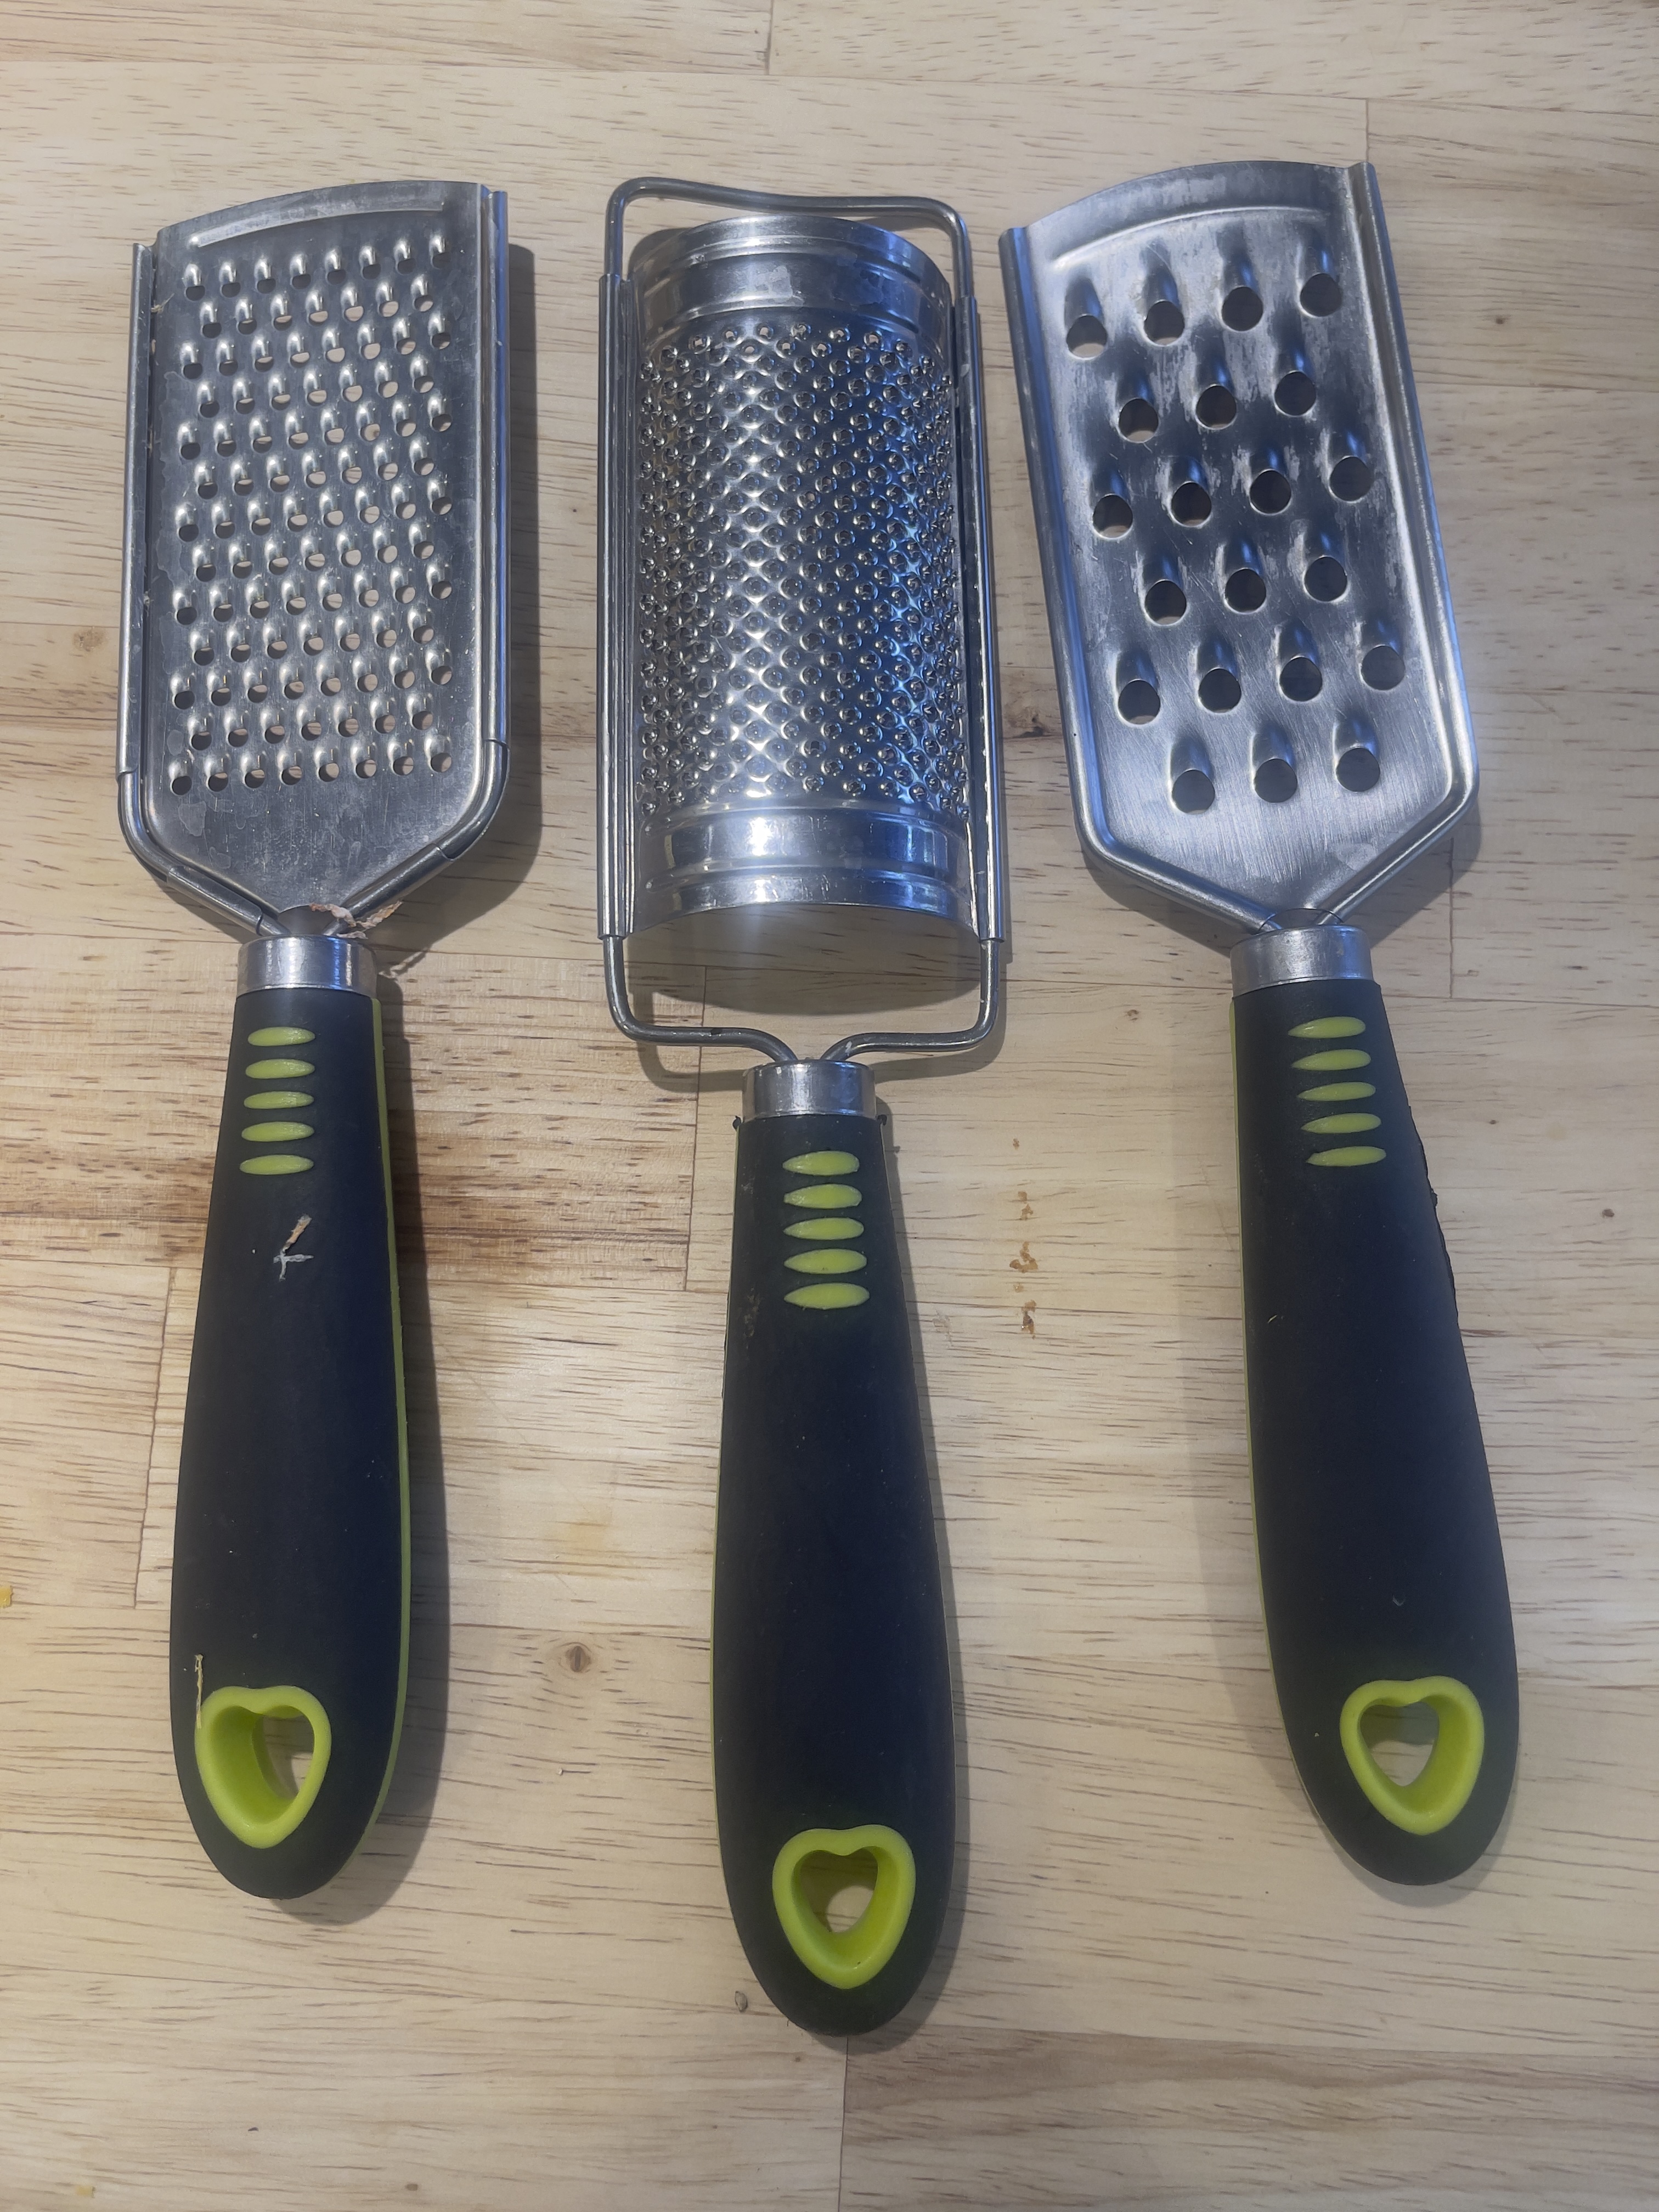
Hand graters.
Ergonomics: Marginally better than the box grater, above, but requires significant hand strength to use, easily fatiguing the operator.
Clean-up: Hard.
Safety: Poor. Use a protective, metallized glove.
Status: Recycled.
Mandoline:
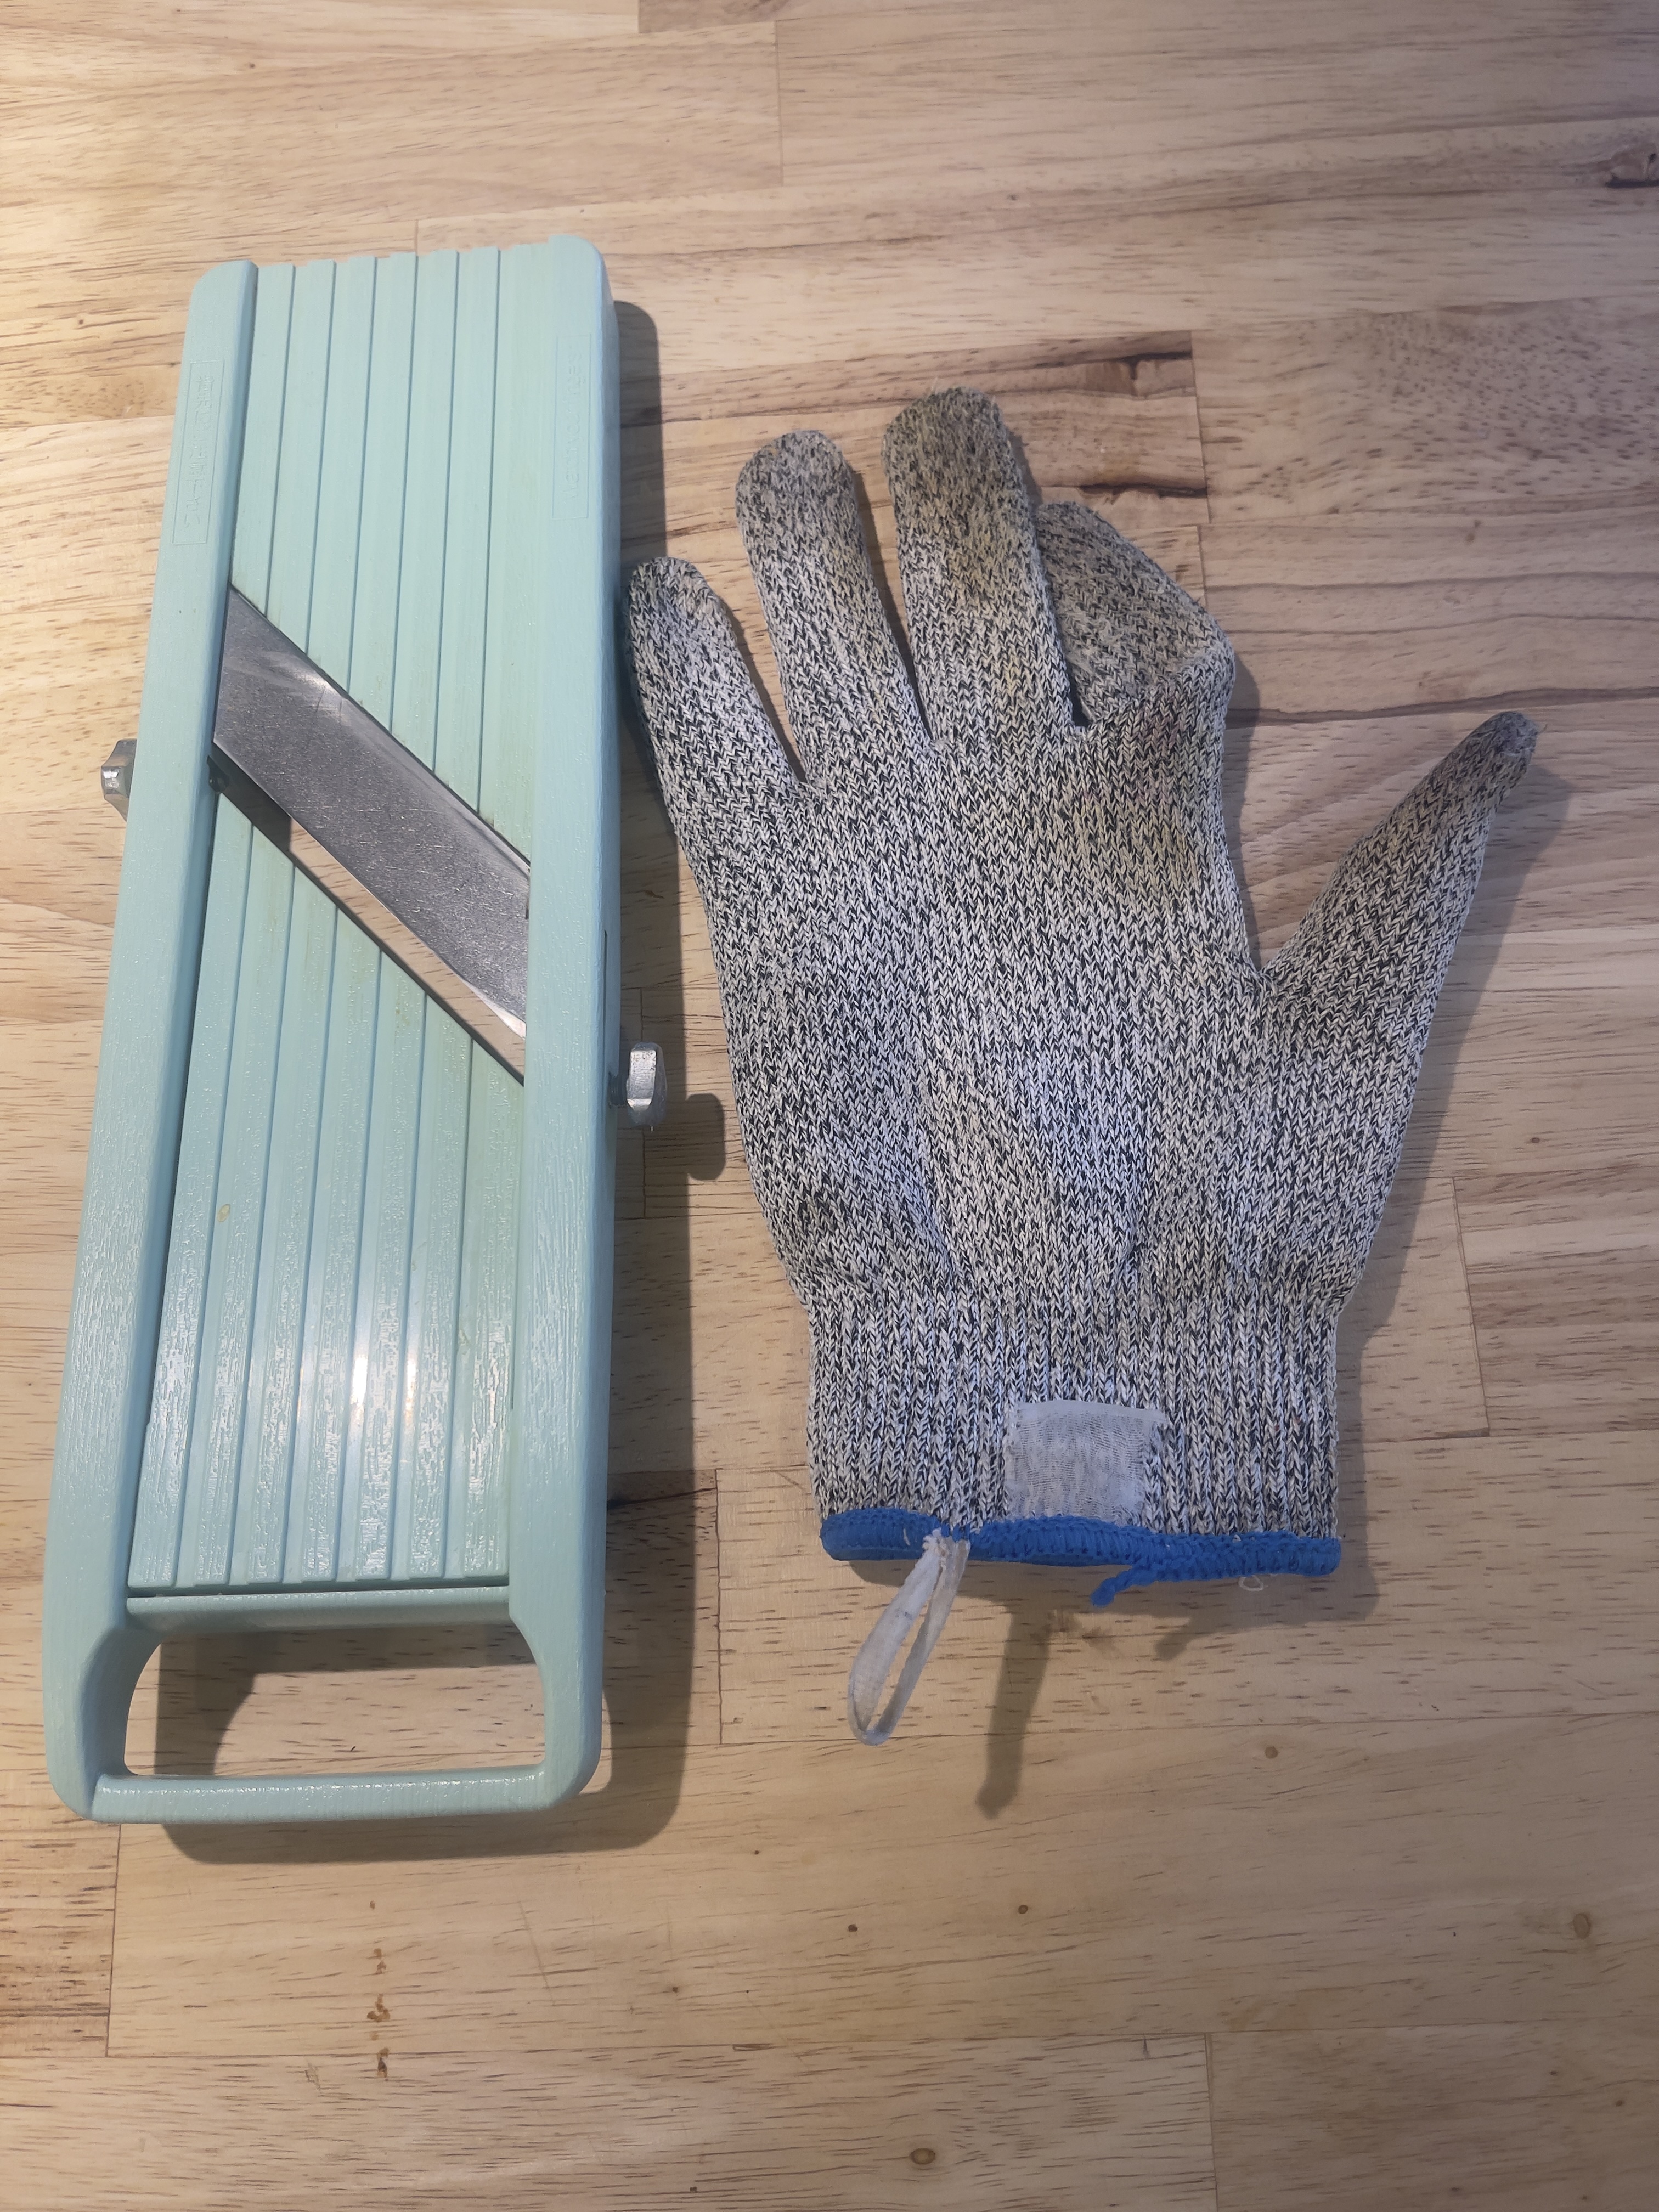
Mandoline.
Ergonomics: So-so. You place it over a bowl hoping it does not slip-off. And of course it does.
Clean-up: So-so. Lots of crevices to trap food.
Safety: Arguably the most dangerous kitchen tool. It’s easy to slice off a fingertip. A metallized glove is essential with this killer and, yes, it will get disgustingly dirty with every use. Easily adjustable slice thickness.
Status: Recycled.
Parmesan grater:
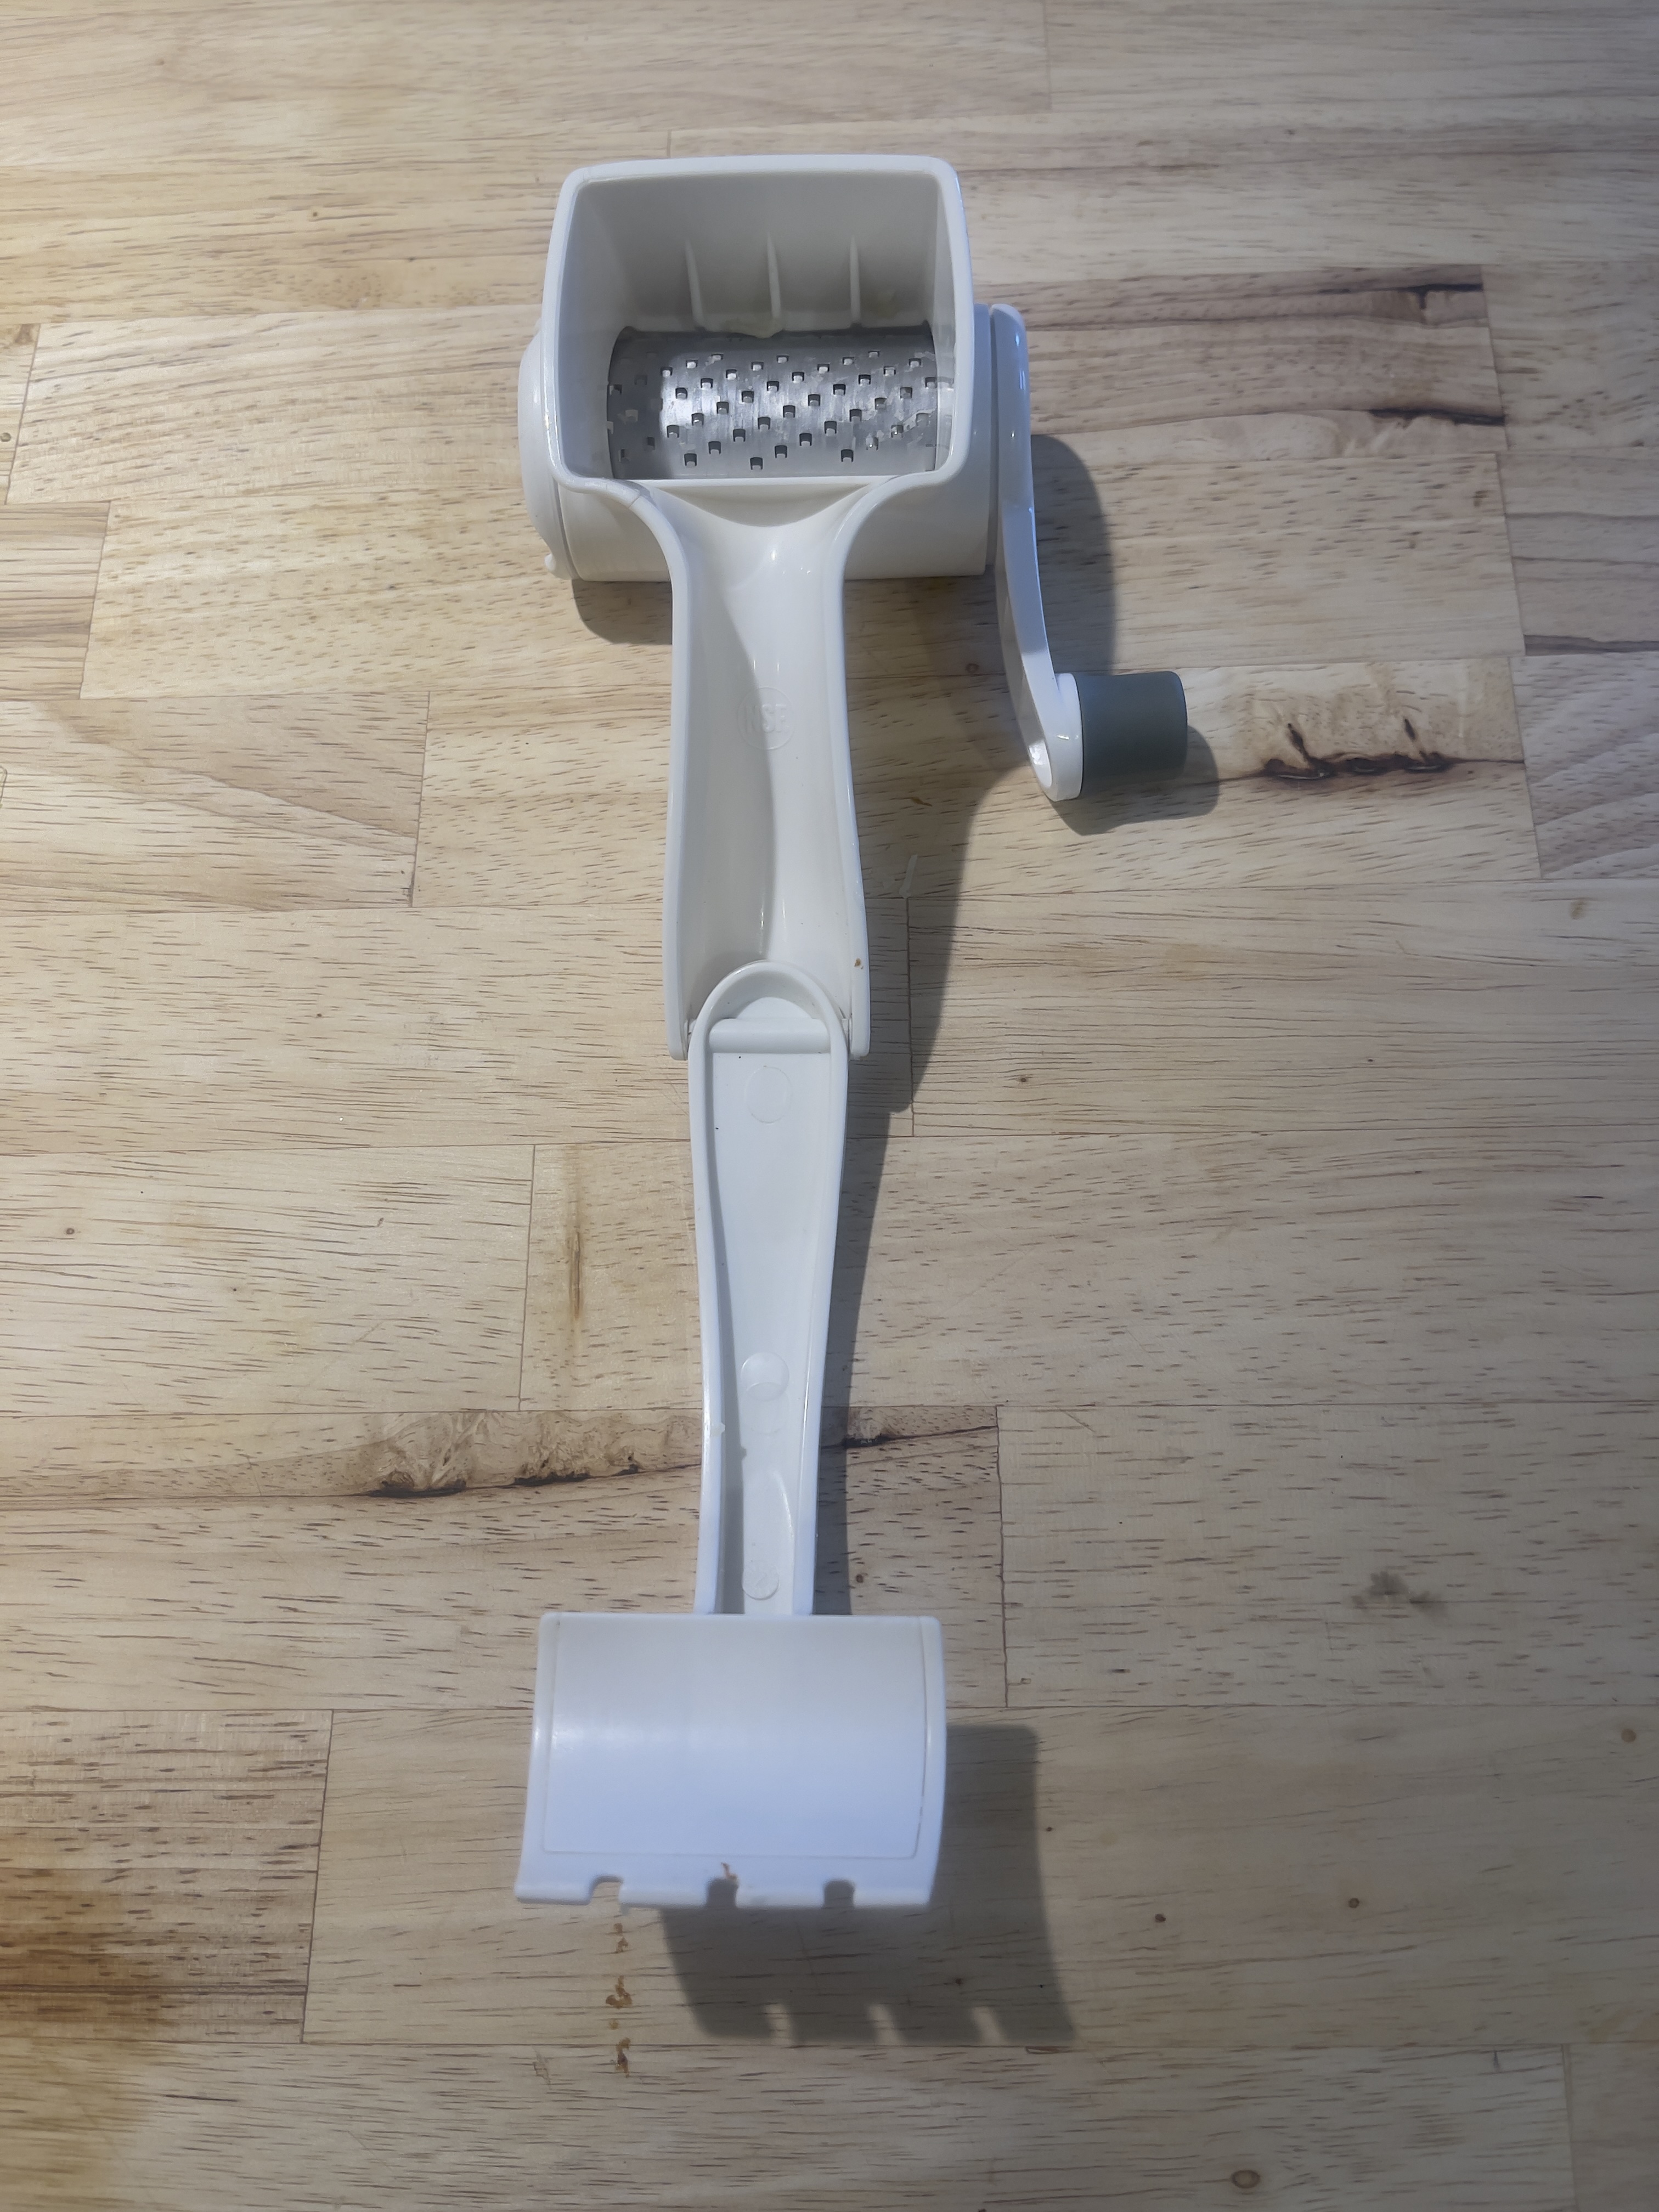
Parmesan grater.
Ergonomics: Could scarcely be worse. The hopper is too small. The handle is too short requiring high effort from the operator using both hands – the one depressing the cantilever, the other struggling with the handle. And that handle is very hard to remove for cleaning. The grey rubber handle cover falls off with use, compromising grip when it is inevitably lost. Restaurants love to use these, but check your waiter’s biceps.
Clean-up: Simply awful. Lots of interstices inside to trap food after you have struggled to dismantle this horror story.
Safety: High, if this is your idea of a work-out.
Status: Recycled.
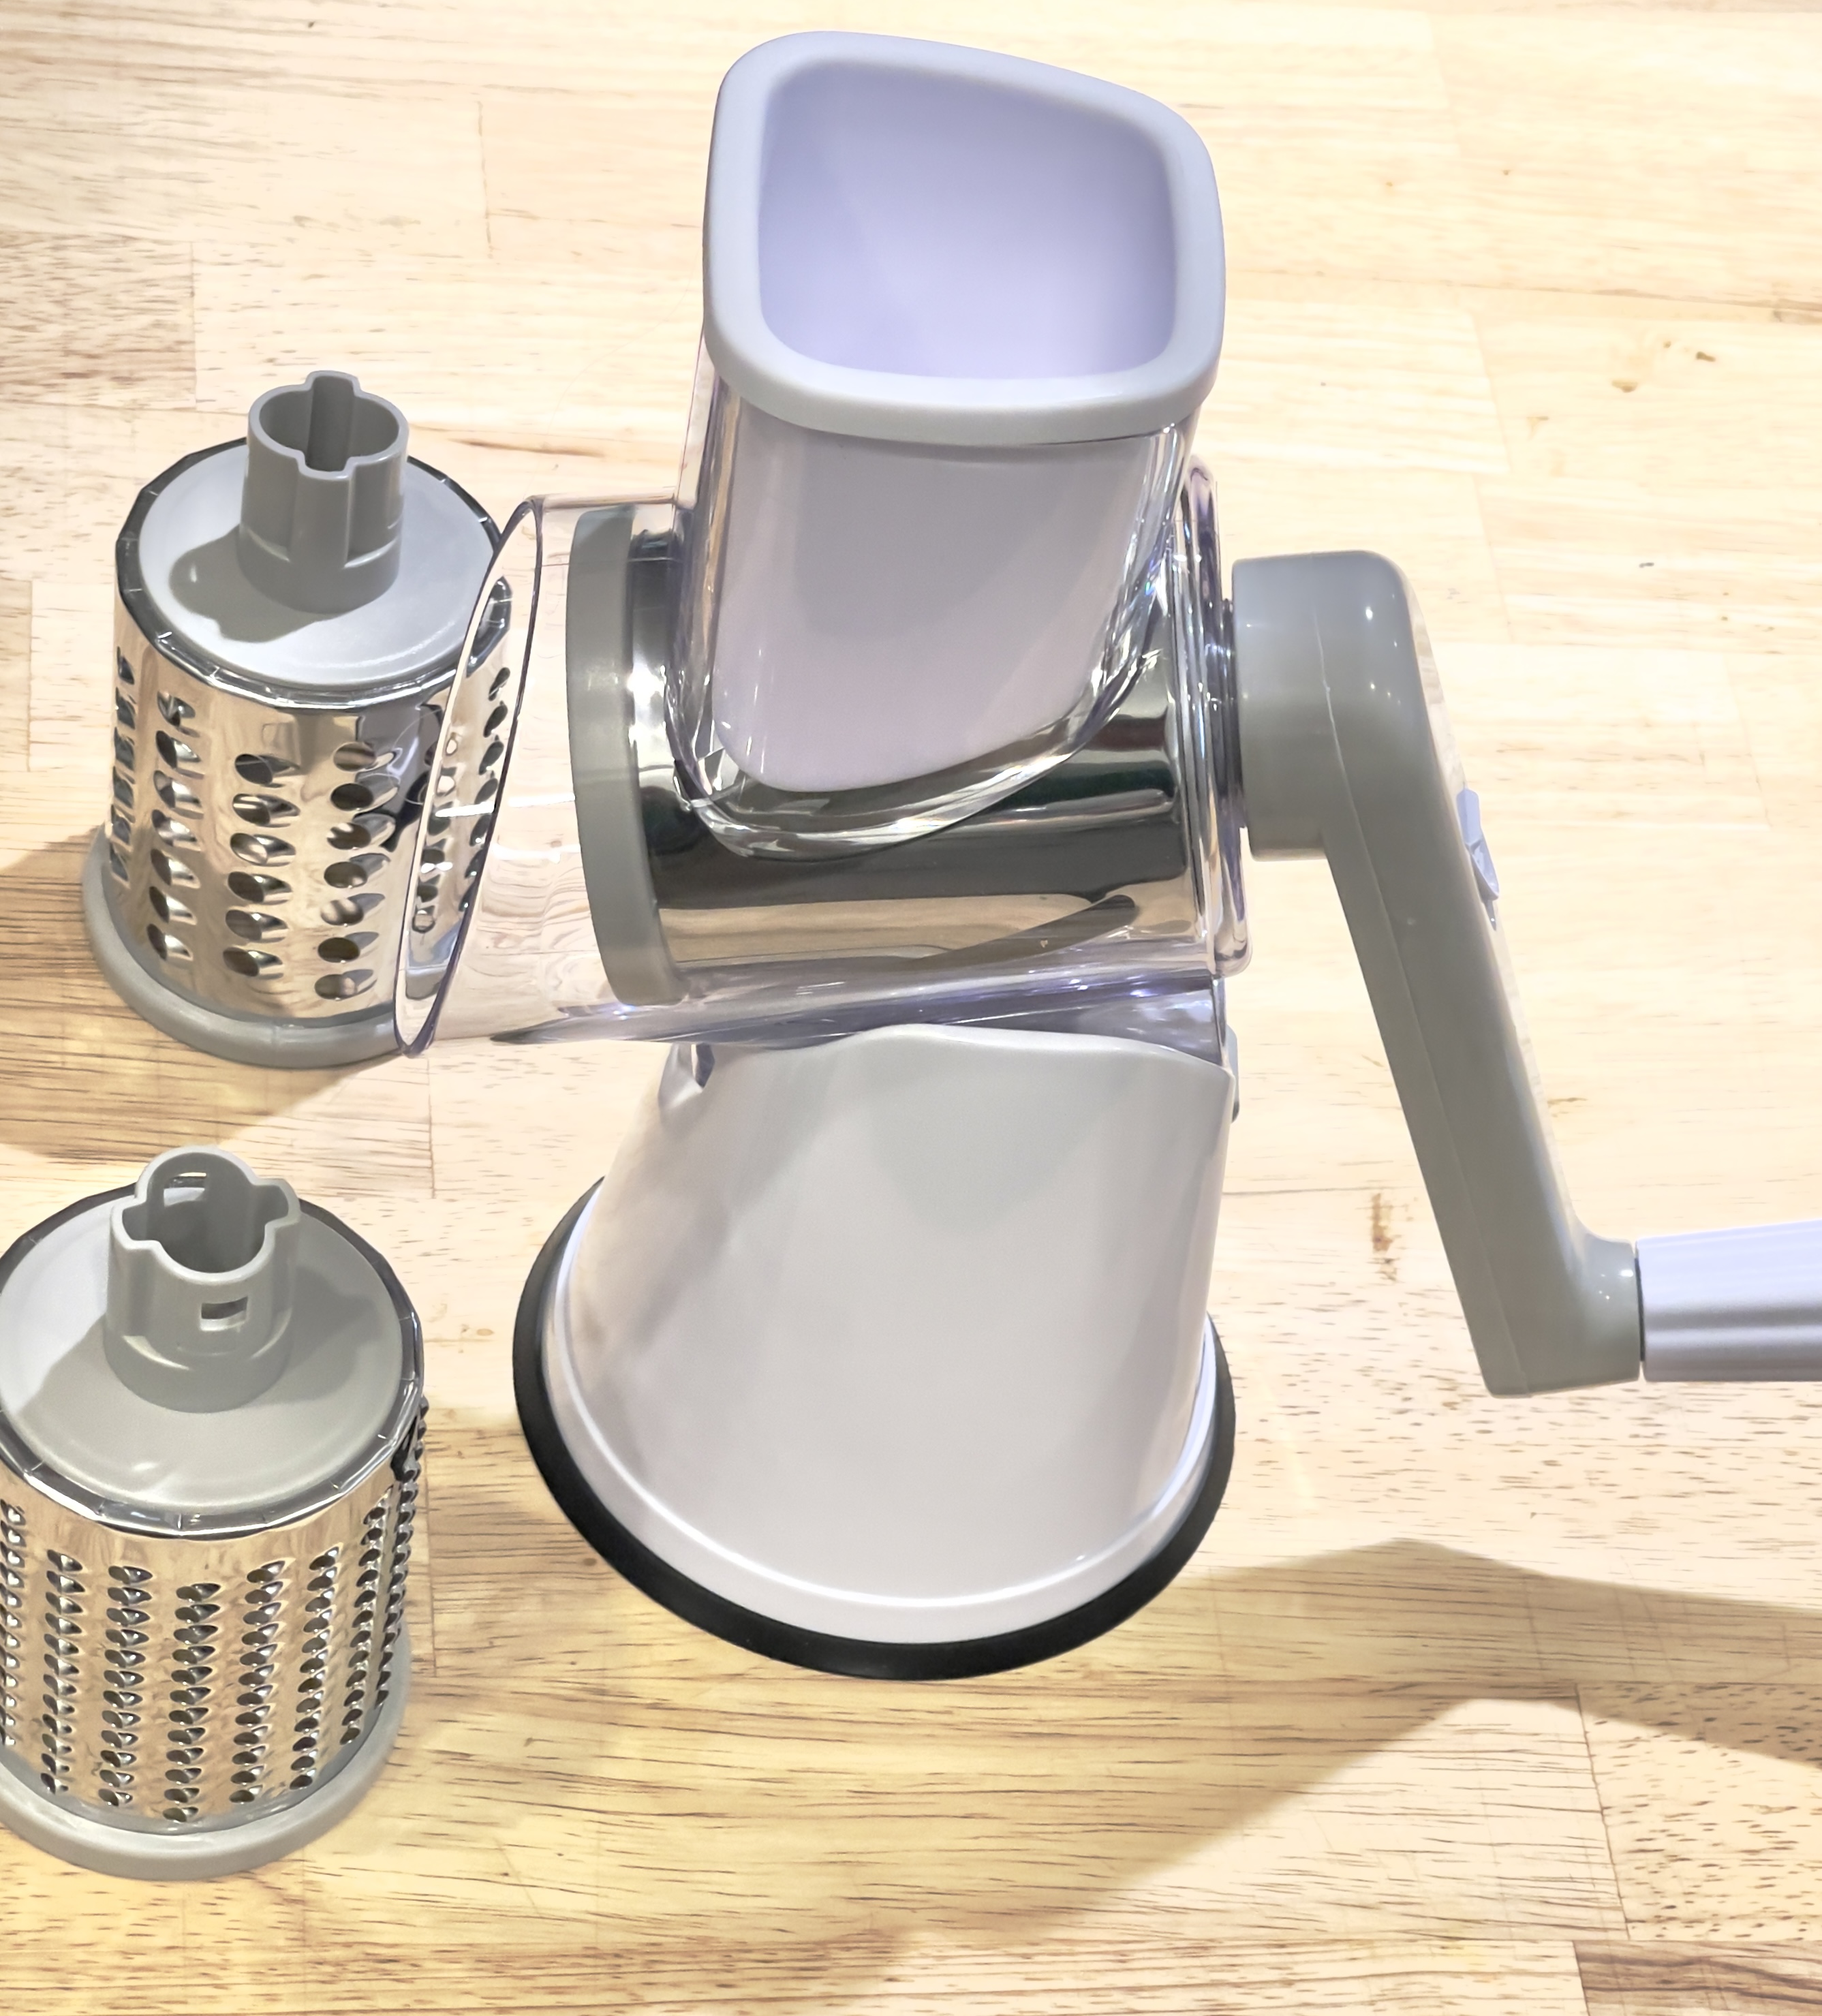
Rotary grater/slicer.
Ergonomics: Excellent. Easy to assemble and disassemble. Very long handle makes use effortless. Suction base requires a smooth surface like a granite countertop to adhere properly. Wood cutting boards do not work. Slicing blade is one thickness only. When shredding soft cheeses, pre-cut and freeze for 30 minutes ahead, for a better cut. You can shred or grate a pound of cheese in under one minute with minimal physical effort. Comes with three blades – slicing, shredding and grating.
Clean-up: Easy.
Safety: Excellent. As the workpiece shortens use the provided pusher to machine the last inch or two of the workpiece.
Status: Used daily.
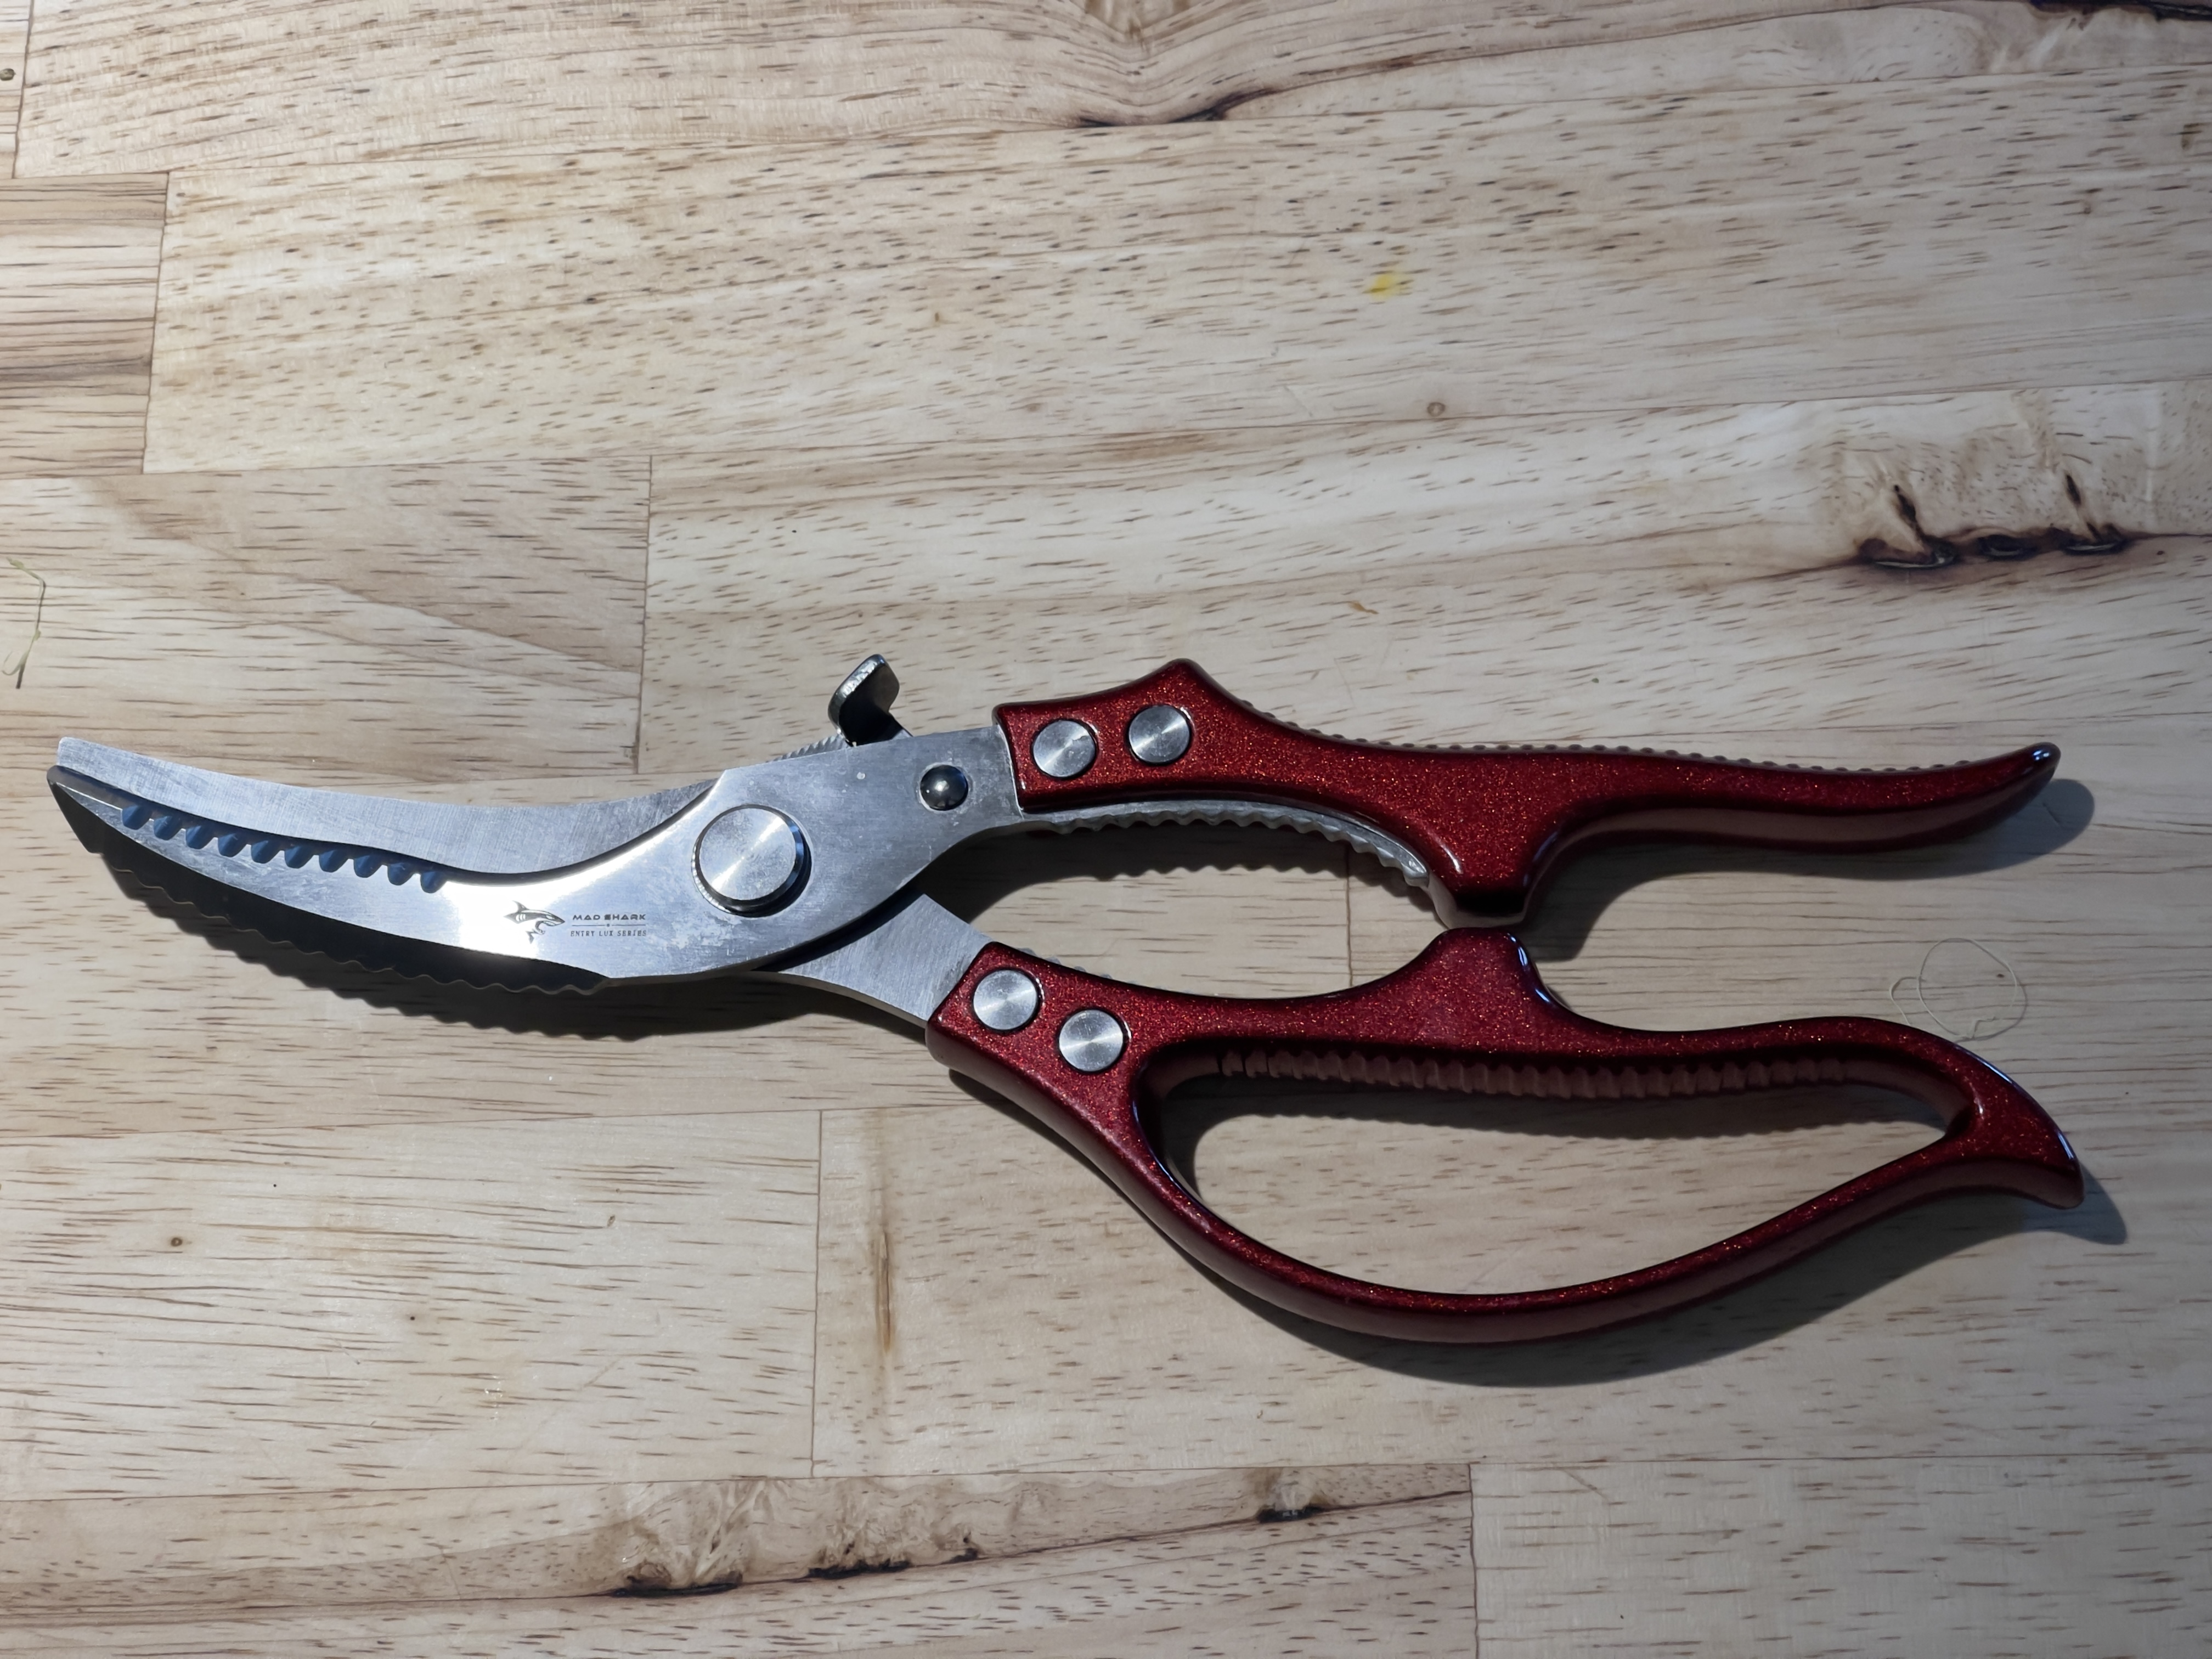
Poultry shears.
Ergonomics: There are many on the market. Just make sure that yours has the loop in the lower handle. Your hands will be greasy when cutting up a chicken and this loop ensures the tool will not escape your grasp. Don’t chintz with a lightweight design – this is a tool Henry VIII’s Chief Torturer would relish.
Safety: High, if there’s a loop in the lower handle.
Clean-up: Easy
Status: Used whenever I cut up a whole chicken into eight serving pieces plus the backbone for stock.
A note on cleaning-up:
Many kitchen tools have hard to access nooks and crannies. I recommend replacing your faucet’s spray head with one of these. It replaces the poncy stock sprayer on your tap with a head which not only includes an equally poncy stream/spray toggle, but also has a button for a turbo spray so powerful that you will experience Newton’s Third Law of Motion when you depress it. And your tool will be cleaned fast. A wonderful investment for an efficient and clean kitchen. It comes with a raft of adapters for common taps and several choices of finish.
Sharpening knives:
Forget abrasive stones. Your chances of getting the right angle on the blade are zero unless you want to invest in additional gadgetry which will only make sure that you will not use it as often as you should.
Further, I have found that manual, unpowered ‘pull through’ sharpeners are worthless, doing a very poor job.
For the past 18 years I have had nothing but success with the powered Chef’s Choice 130 sharpening station. The motor runs as well as it did when I purchased the tool new, and it’s used weekly. The device sets a perfect 20 degree angle on your blade(s) and has two powered abrasive wheels, coarse and fine. The center location holds a hard steel serrated strop which puts a tremendous toothed edge on any blade. Cutting tomatoes with a knife thus sharpened is a sublime pleasure.
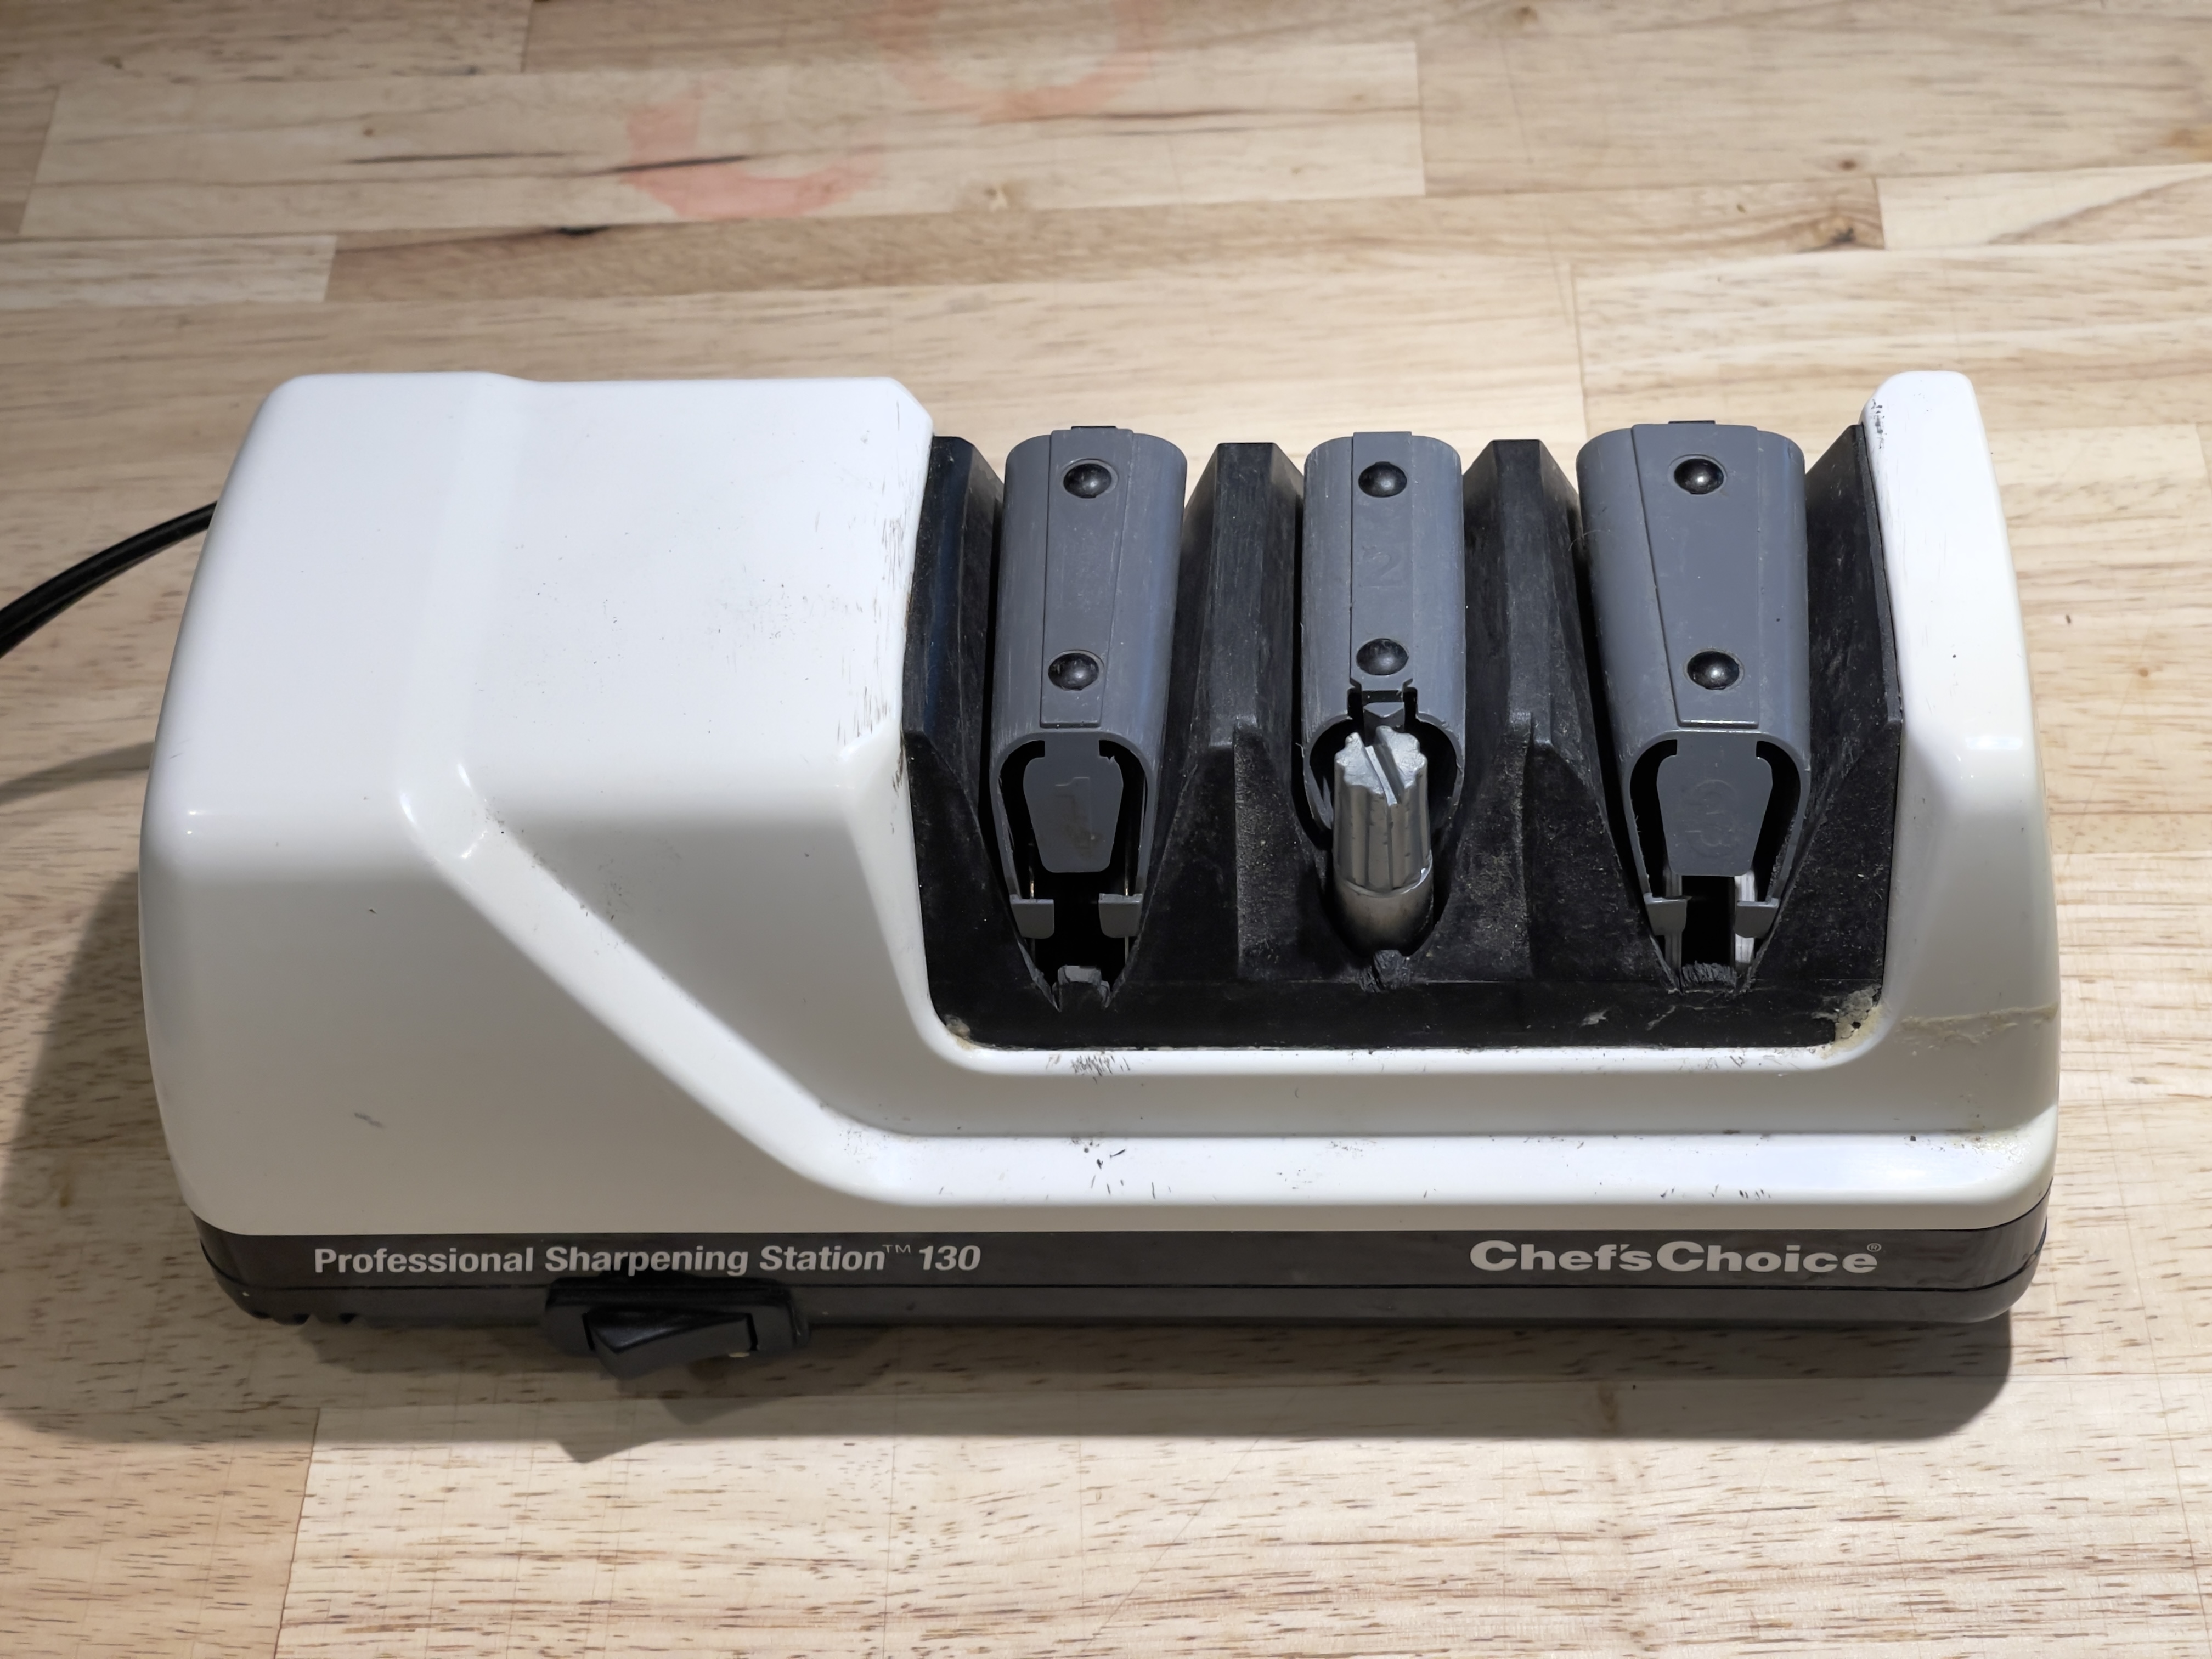
Chef’s choice 130 sharpening station.
Sadly this model has been discontinued, replaced by one with three powered wheels …. but no strop. However, the 130 model is abundantly listed, used, on eBay for as little at $30, a fraction of the price of the latest new machine. Not a big risk – if you have to buy three to get a good one you are still far ahead economically.