Incredibly so!
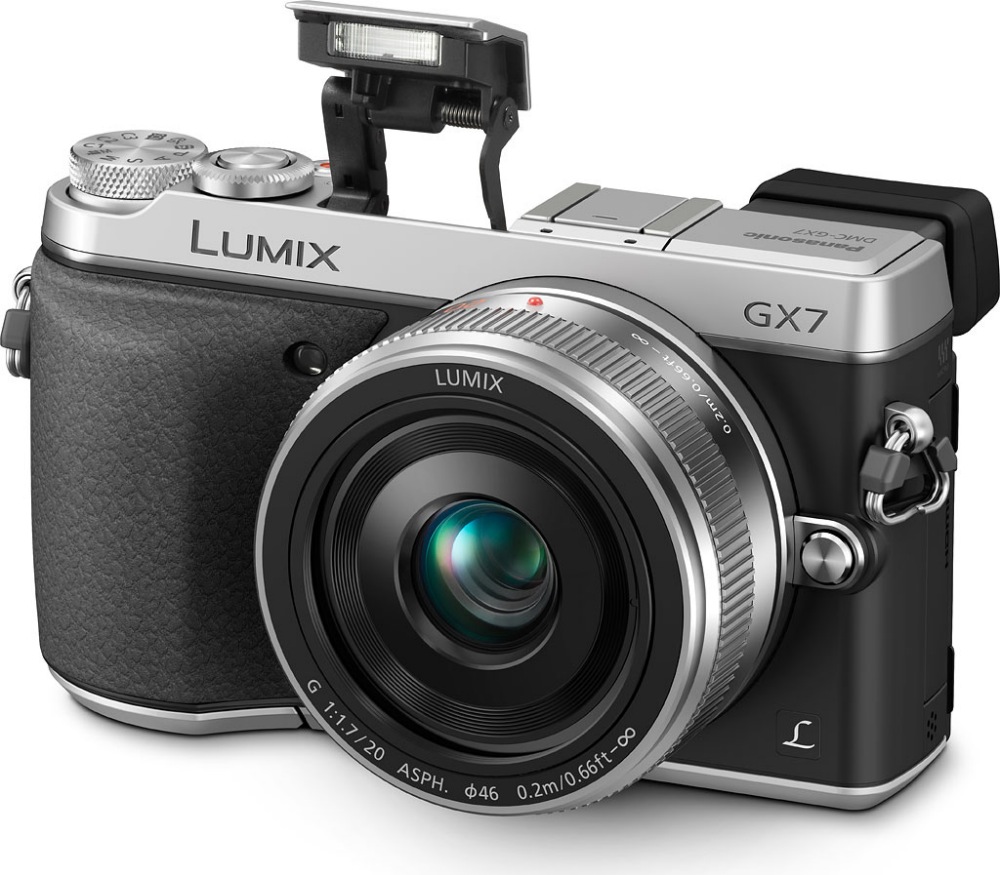
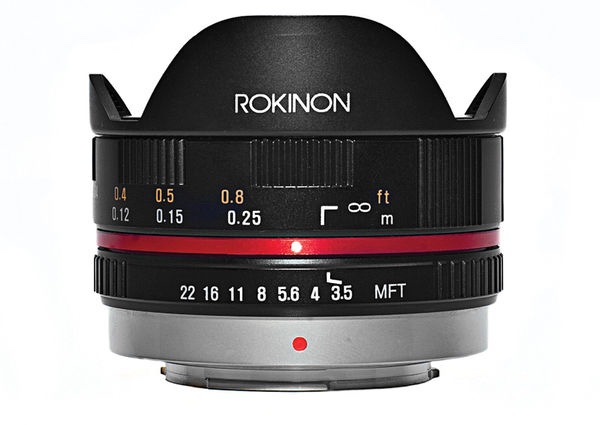
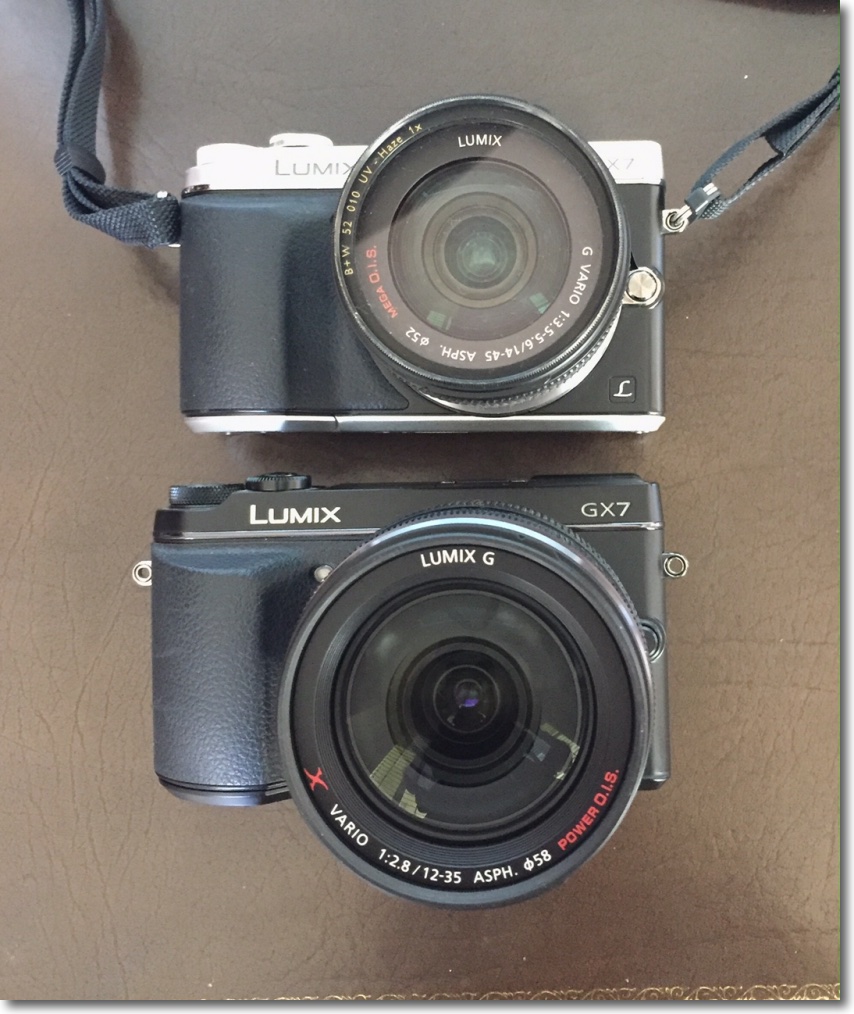
It’s not easy to convey just how wide the UWA in the iPhone 11 is. Apple states it’s 13mm FFE, so I decided to compare results with those from my Panasonic GX7 MFT body fitted with the 7.5mm MFT Rokinon fisheye (both now sold). As I have little interest in heavy spherical distortion (iPhone 11 UWA) or in the tedious fisheye effect (Rokinon), both images were corrected for linear projection, using my lens correction profile for the iPhone 11 (which reduces the FFE to some 14mm) and Fisheye Hemi for the Rokinon image. The defished Rokinon field of view computes to 12mm FFE.
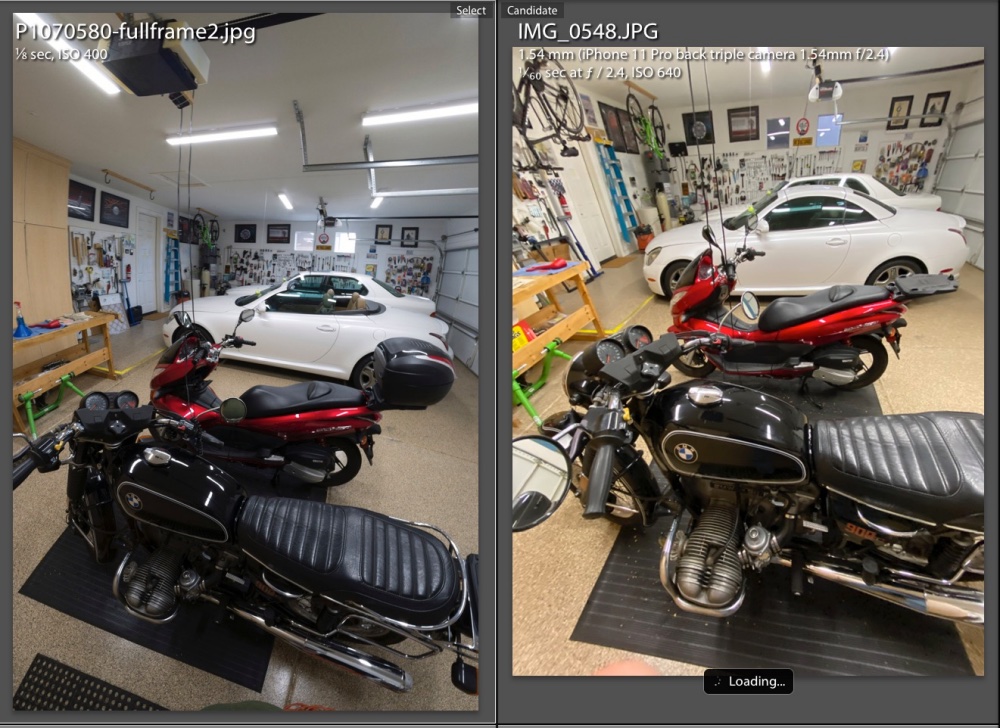
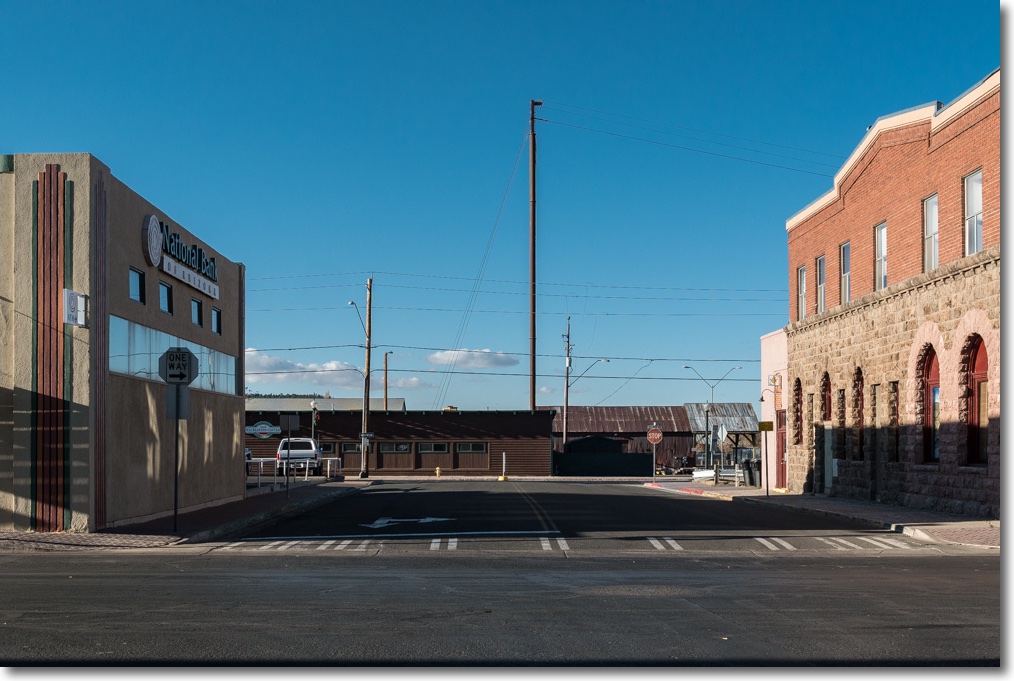
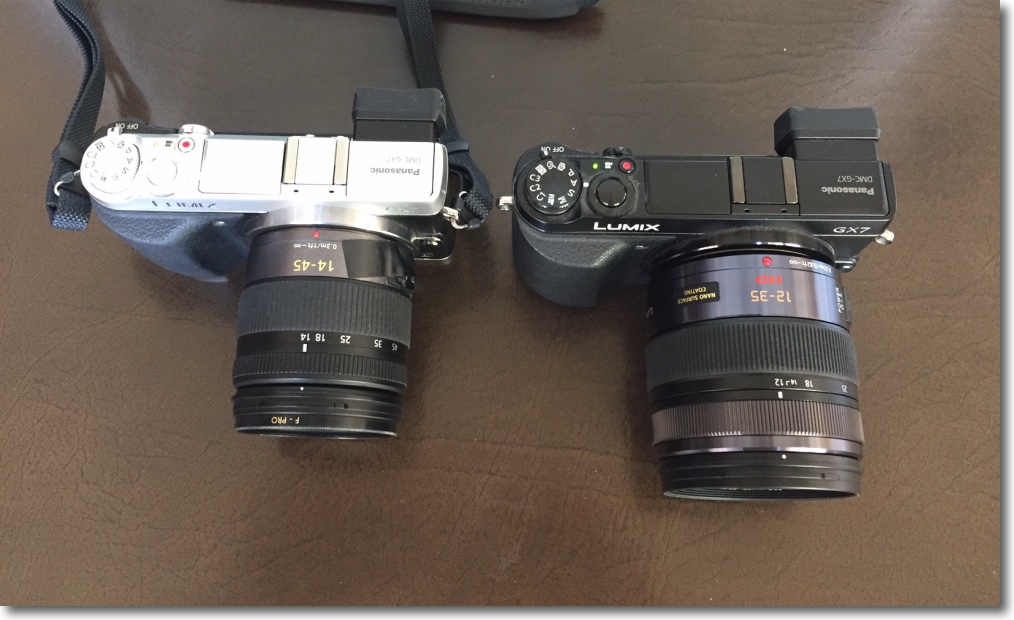
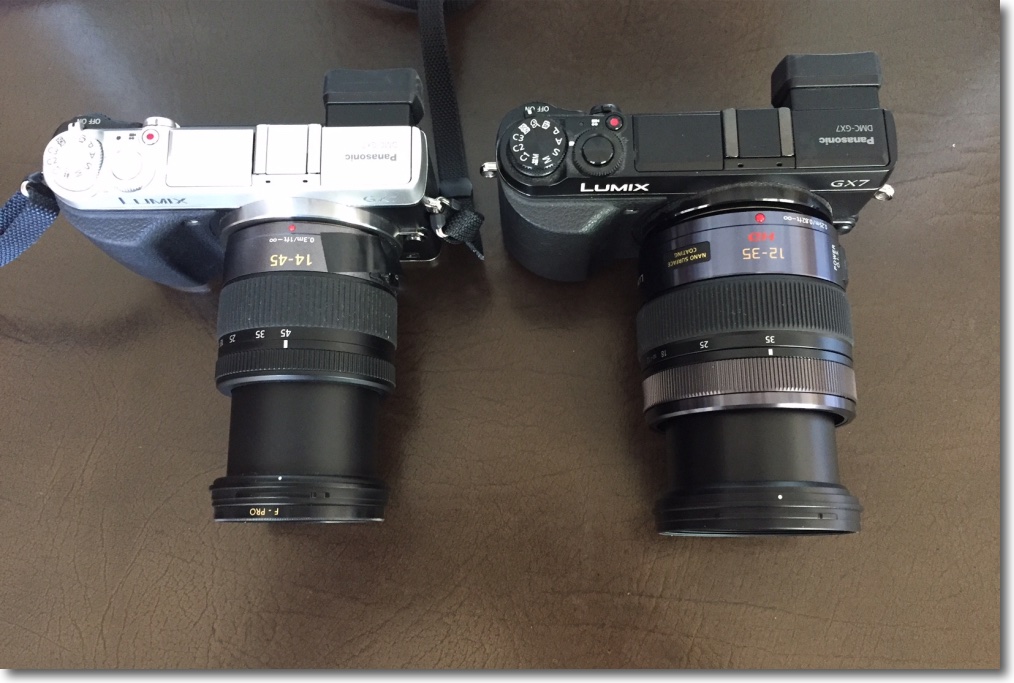
GX7/Rokinon at left.
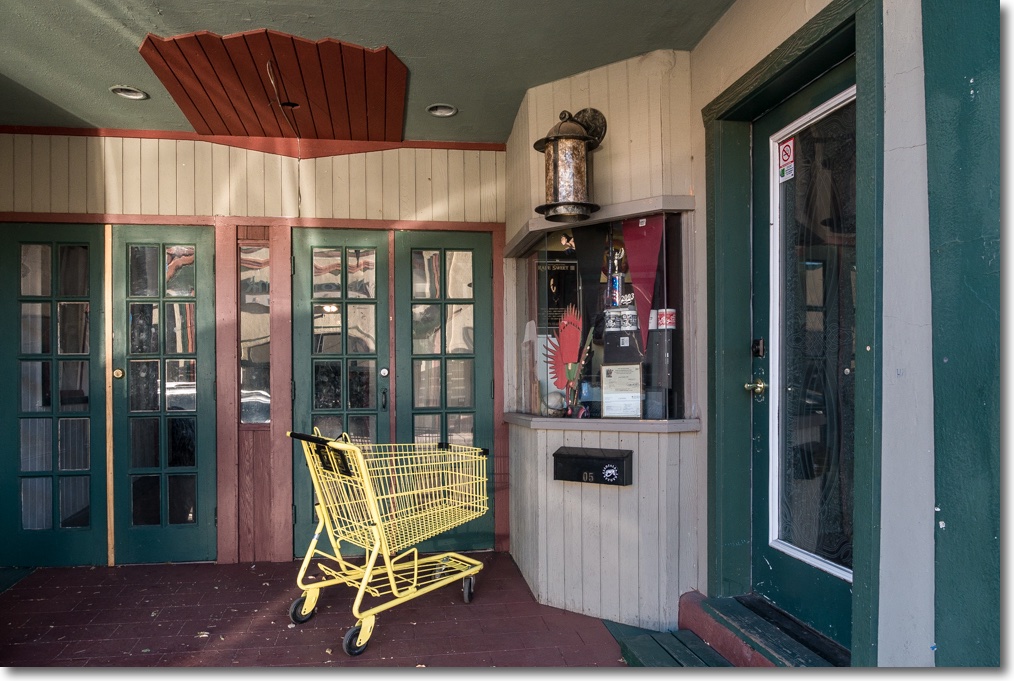
There’s much to be learned here. Both images were taken under identical fluorescent lighting with the cameras set to Auto White Balance. The Rokinon image is certainly 2mm or so wider, but there the Rokinon’s advantage ends. The iPhone does a superb job of auto white balance, rendering realistic daylight tones but, more importantly, take a look at the near cylinder on my classic BMW motorcycle. The dynamic range correction from the iPhone is superb. The MFT would need significant post processing to recover the shadows.
Except for distortion correction, both images are SOOC.
So yes, the UWA’s image is not quite as wide as that from a de-fished fisheye. But the advantage of the computational photography applied within the iPhone, which greatly enhances dynamic range, considerably outweighs the slight loss of width.