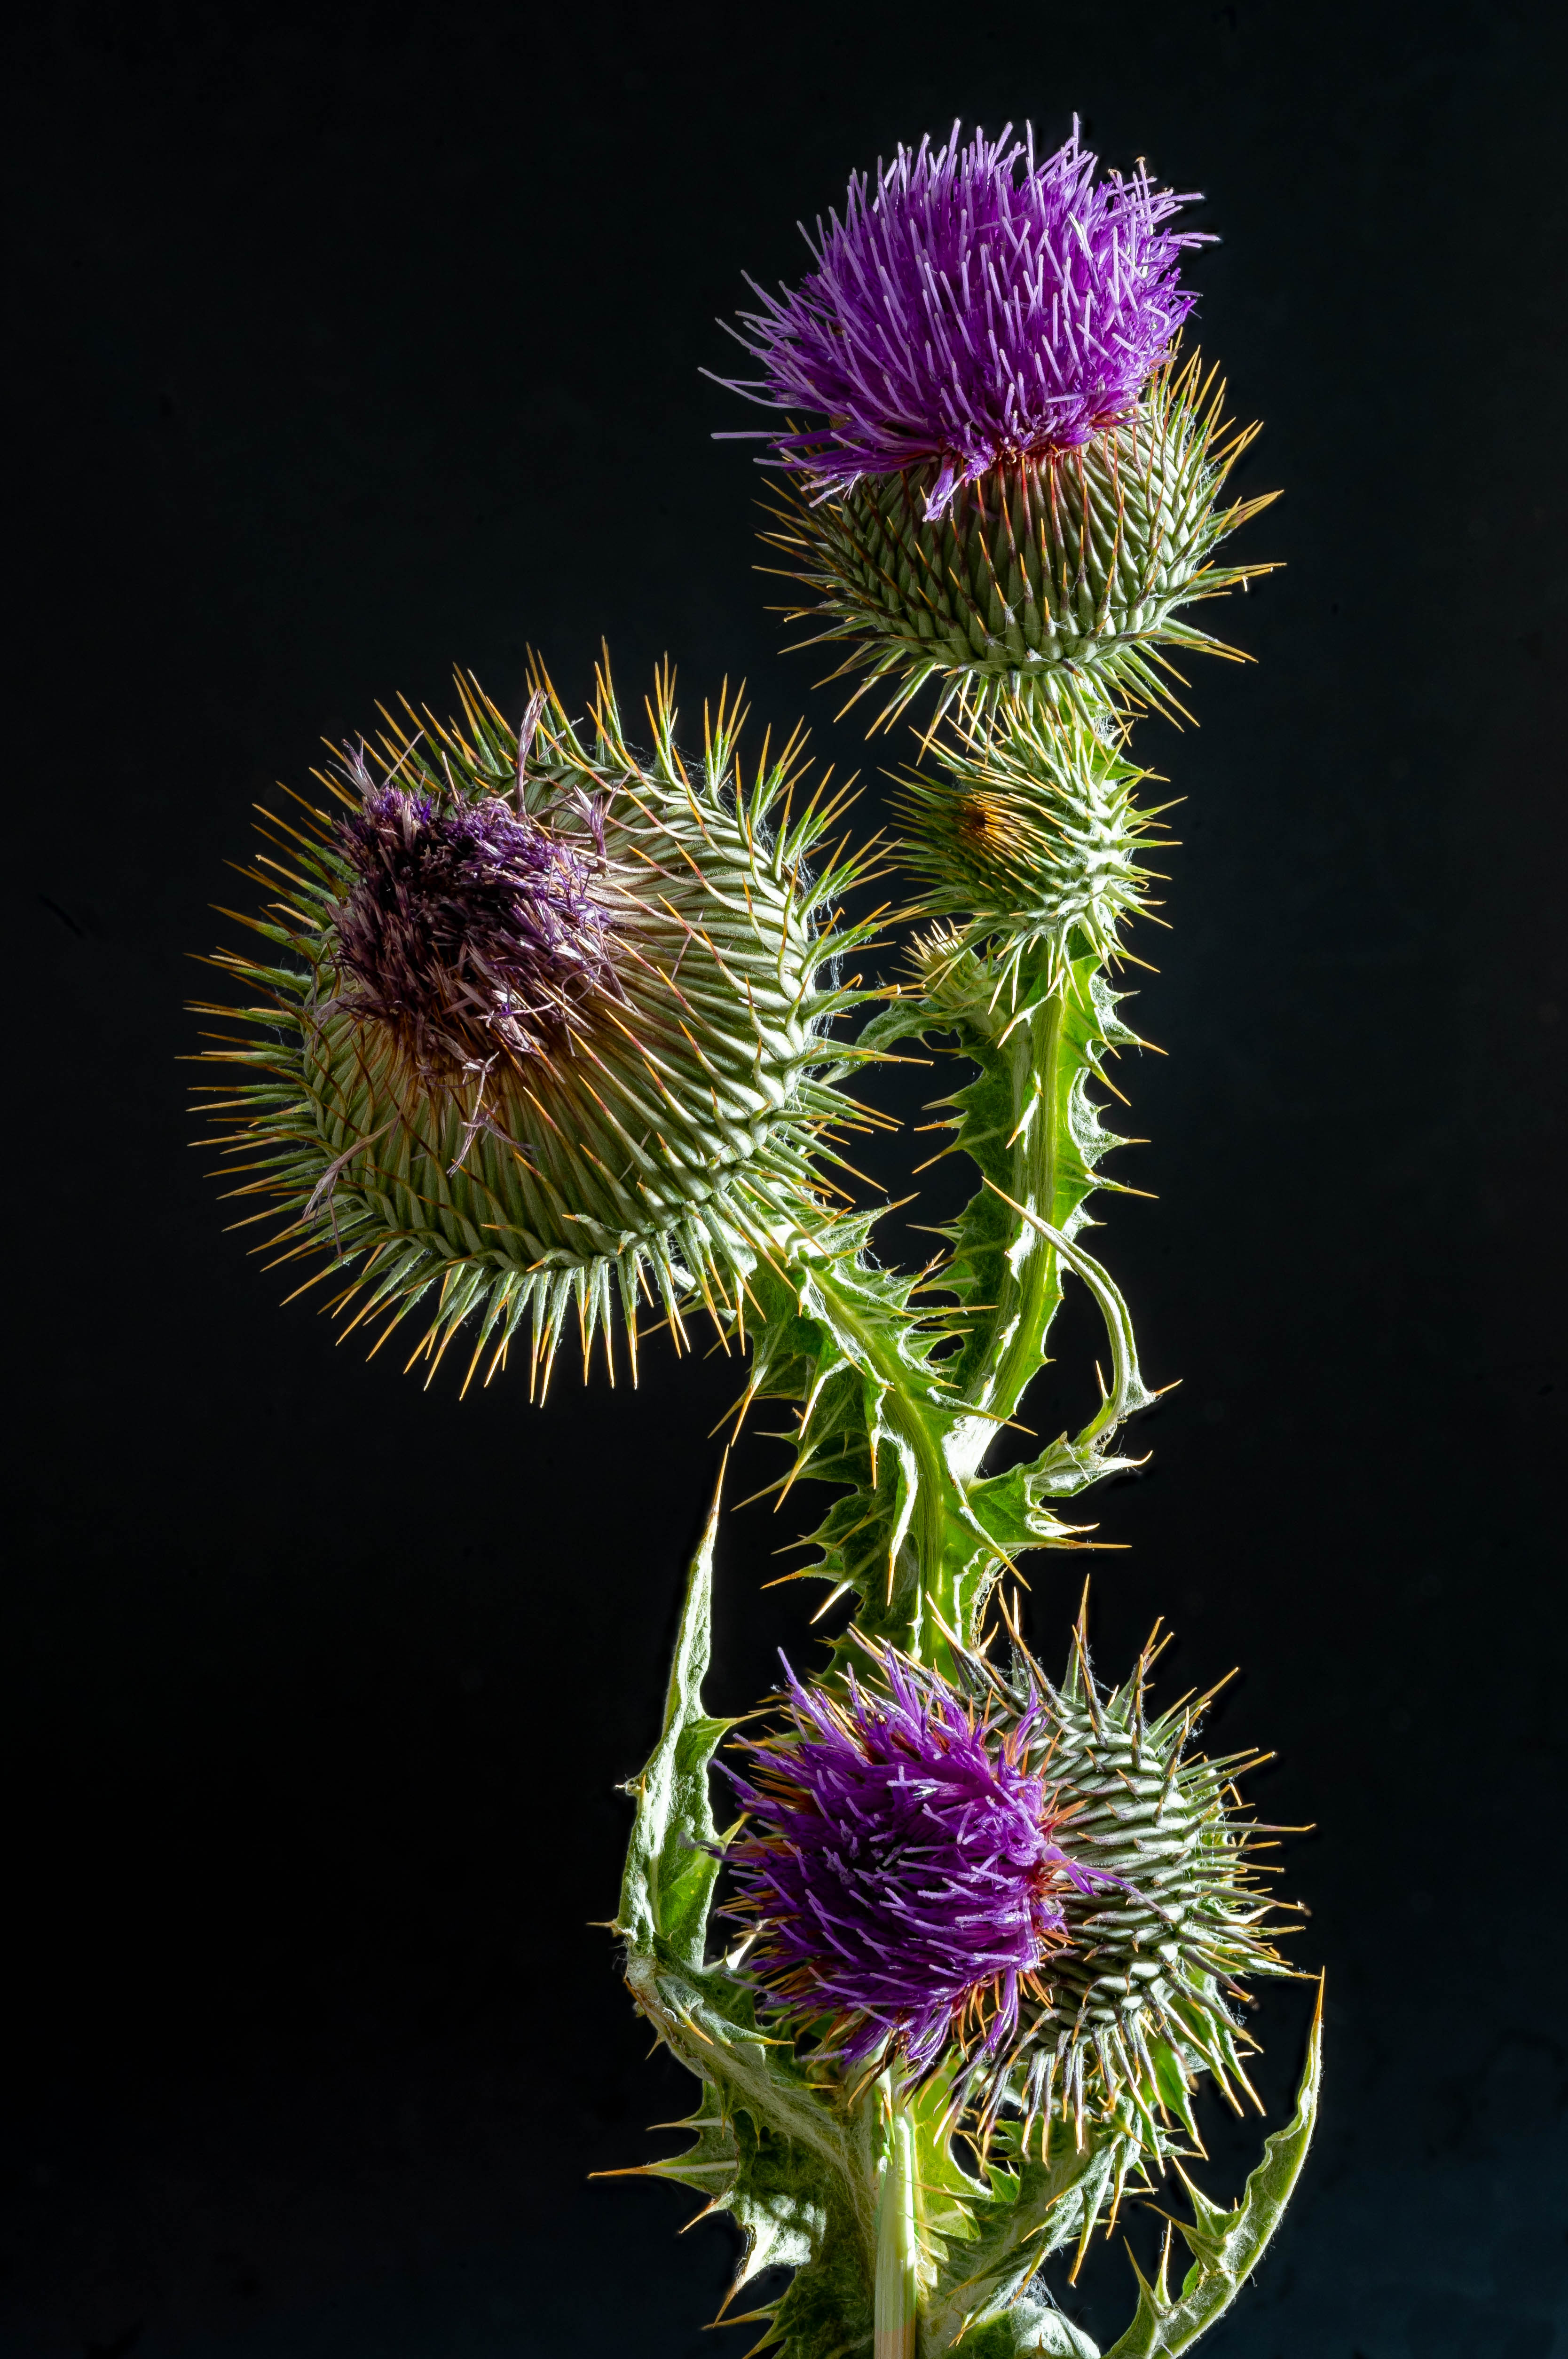
Prickly Customer.
Click the image for a larger version.
I took heavy leather gloves and Felco pruning shears to cut this puppy down and still managed to get injured by the finer-than-hypodermic thorns. The stalk is woody and very hard, precluding my usual technique of inserting a bamboo skewer for mounting in the home studio. I had to resort to a couple of cable ties instead. You can just see the skewer at the base of the stalk.
Talk of a passive defense mechanism. Thorns everywhere. Whoever named this the ‘Cotton’ Thistle had a pretty warped sense of humor.
Here is the plant in its natural habitat, already some 6 feet tall:
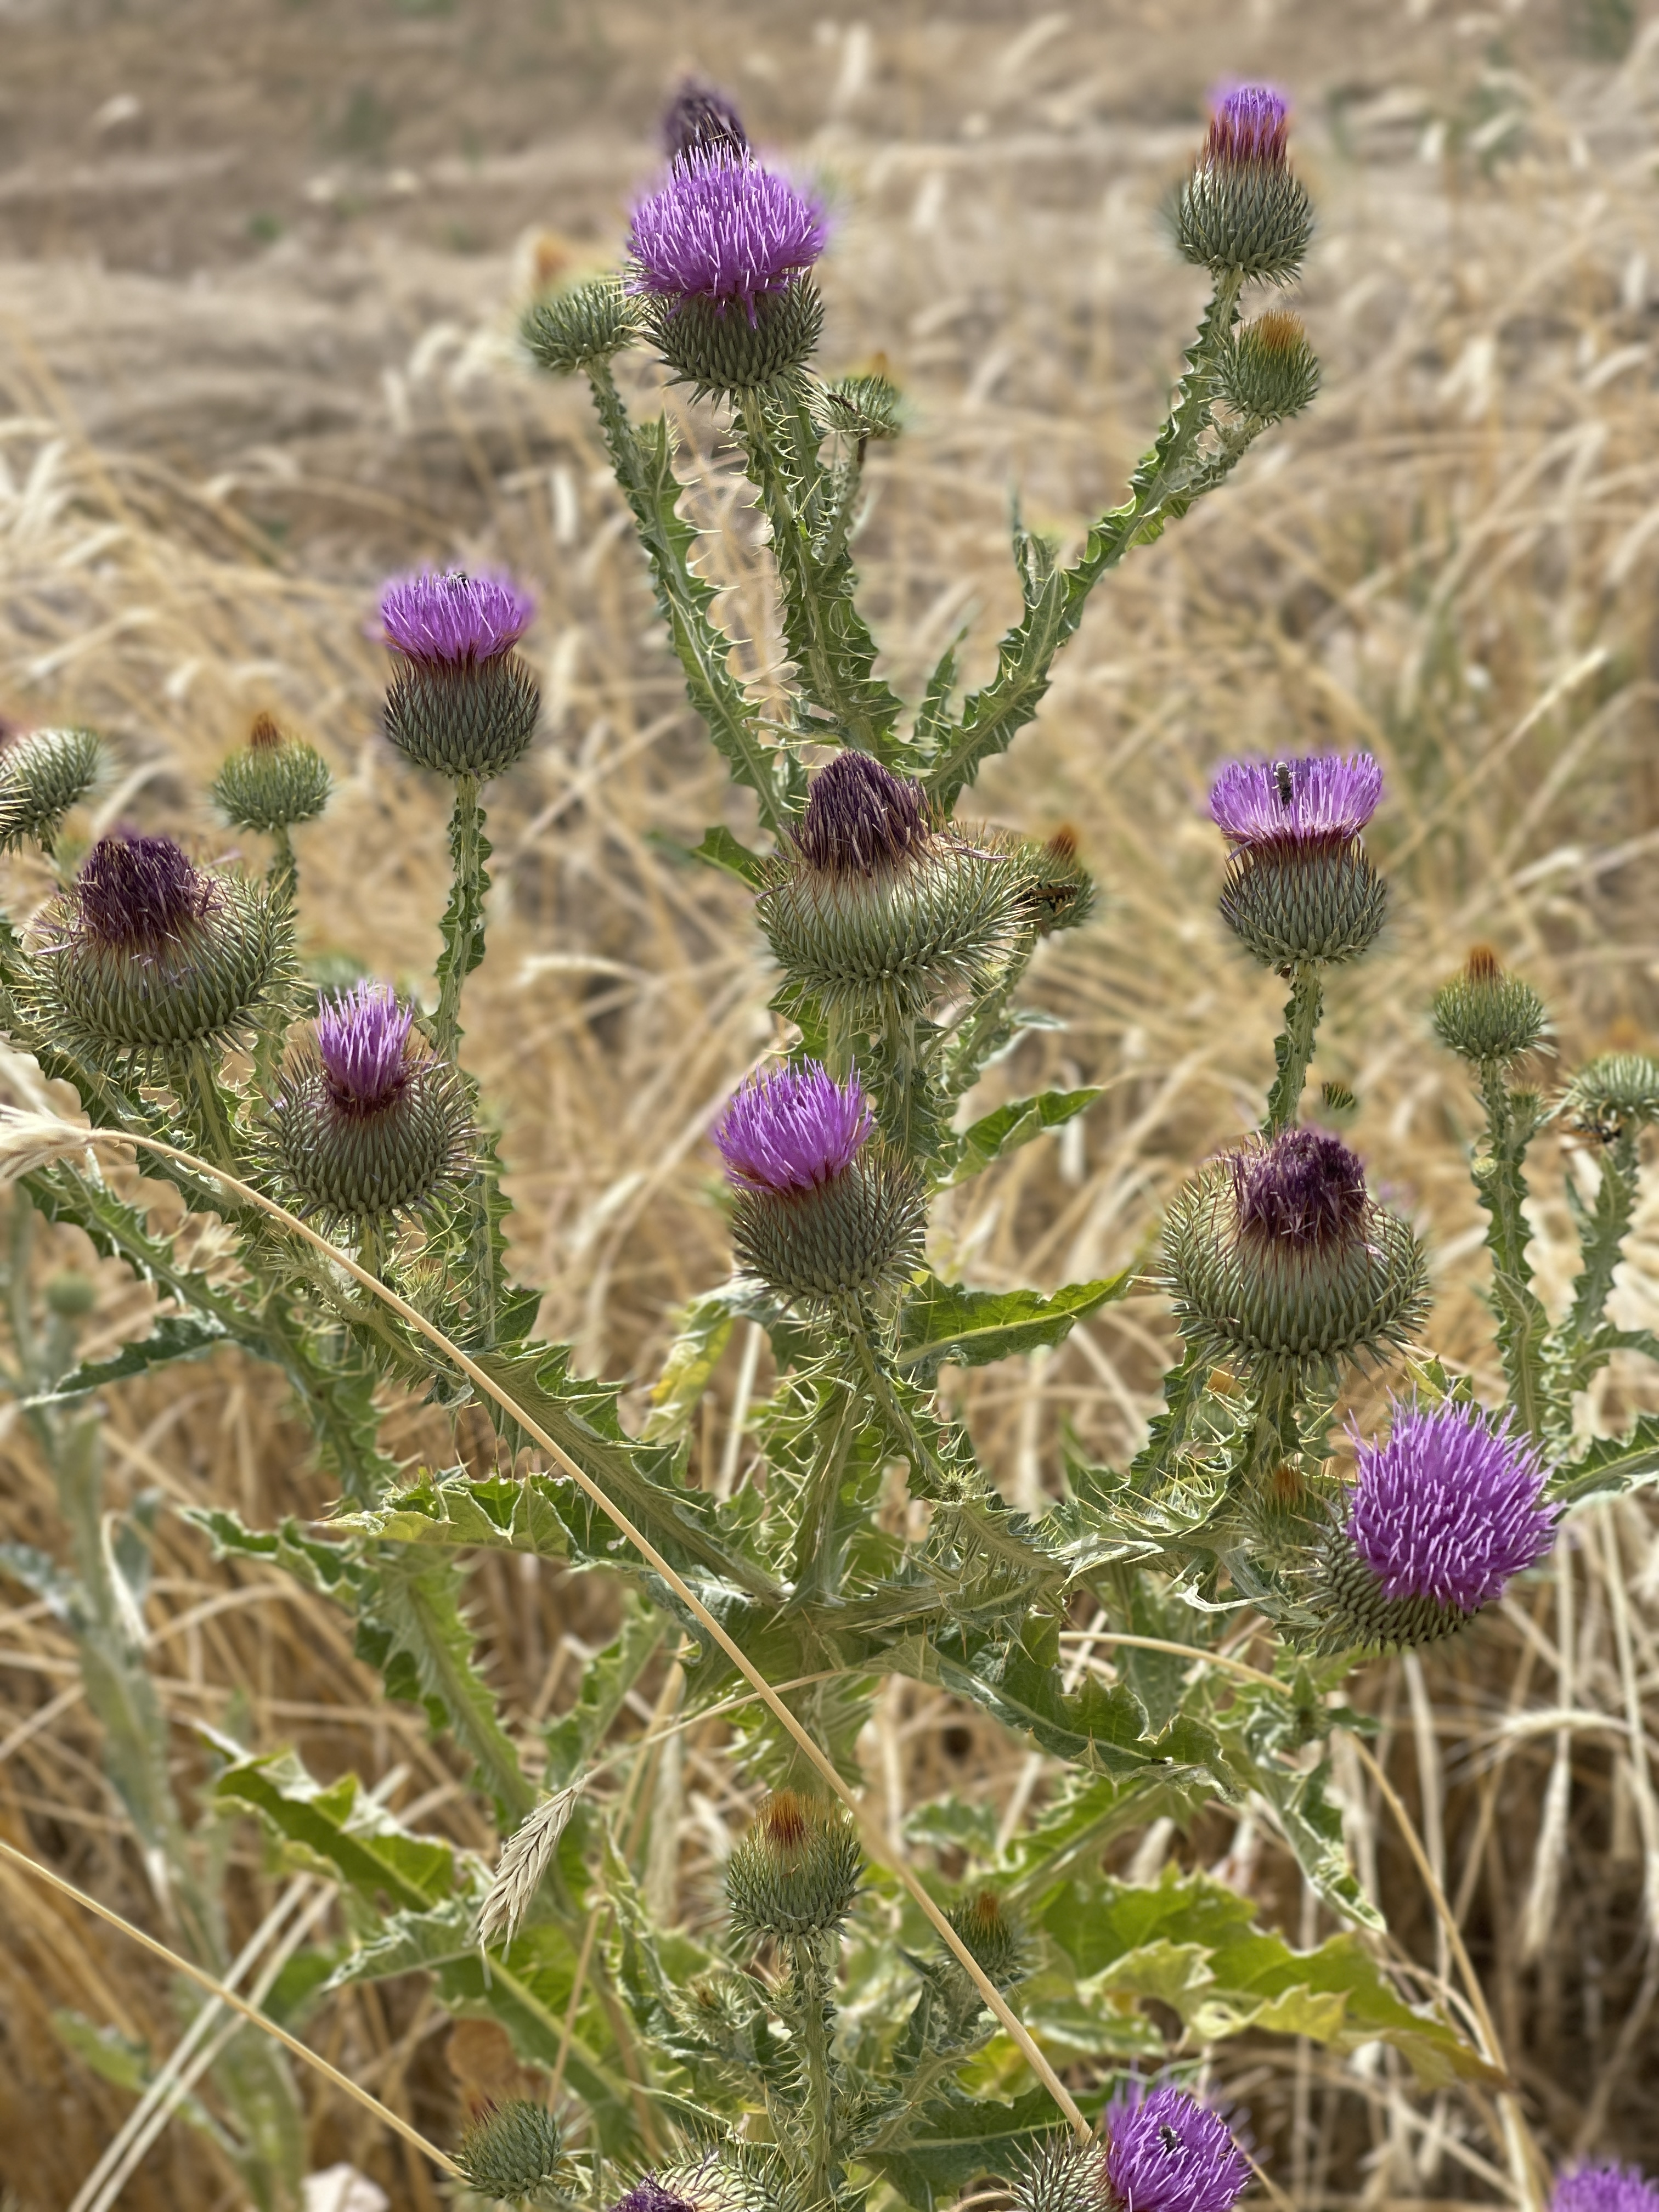
As found.
Owing to the considerable depth of the plant I had to expose no fewer than 113 images for focus stacking, spanning the complete 6″ range of movement of the lower rack of the Nikon PB4 bellows.
A remarkable – and dangerous – plant.
Macro – Leica SL2S, 135mm El Nikkor, Nikon PB4 bellows, three strobes, ISO 100 at F/22. 113 images focus stacked in Helicon Focus. Habitat – iPhone 12 Pro Max.