Calibration for Quicktime 180×360 panoramas.
Having got the panorama bug a while back, I finally took delivery of the King Pano head yesterday. Orders are currently backlogged three weeks, testifying to the popularity of the product.
The King Pano camera base is screwed to the camera with the provided 1/4″ slotted screw and a screwdriver. Not good, as I want to keep the Manfrotto QR plate on the camera at all times, and the thought of messing about with a screwdriver in the woods is not something I wish to contemplate. So I left the QR plate on the Canon 5D and fitted a QR tripod base to the King Pano camera baseplate, which now looks like this:
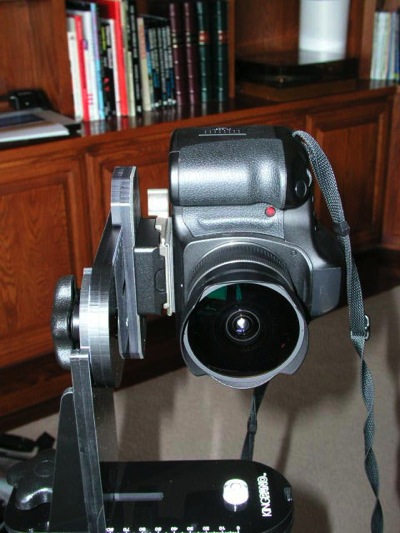
The Manfrotto QR tripod base fitted to the King Pano camera baseplate
A camera QR plate is then fitted to the base of the King Pano. This combination allows the camera to be fitted and removed to the King Pano in a second or two and the King Pano to likewise be attached or detached speedily to or from the tripod. In this way the King Pano can remain undisturbed between panorama projects.
When it came to centering the camera vertically over the bubble level, I had to rack the vertical plate all the way to the back to properly center the camera over the built-in bubble level; had I not used the QR plate the setting would have fallen nearer the center of the range of movement. As it is I just squeaked in!

The plate is racked as far to the left as it will go
The next step is to set the nodal point – I only need to do this once and as my camera/lens combination will be the 5D/Canon 15mm fisheye. Different lenses have different nodal points. The idea is that, as the camera is rotated, the relative spacing of near and distant objects remains constant. This means the camera/lens combination is now rotating about the nodal point of the lens (the point where light rays invert en route to the film/sensor), thus eliminating parallax which plays havoc with subsequent image stitching attempts.
Here’s the correct setting for the 5D/15mm Fisheye:
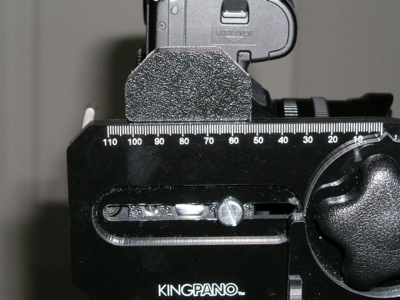
The left scale shows 102mm at the upright, the right 52 with the King Pano attached through the right hand threaded hole.
I set the camera on a tripod with the edge of the office door some three feet away. The ceiling lamp is 12 feet distant with the window some 75 feet away. Here are the results with the camera rotated to place the window edge to edge:
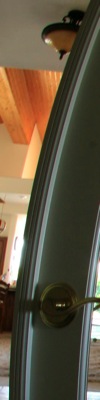
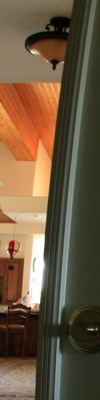
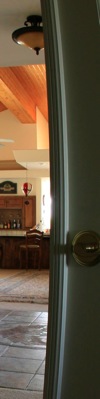
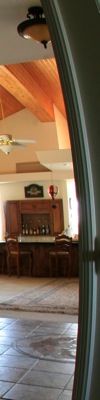
Four sections of pictures with the lamp at right and moving progressively left across the frame
Note the constant spacing between lamp and door edge and between the window and door edge. The nodal point is correctly set.
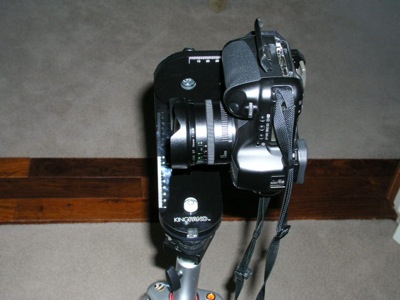
Here’s how it looks on the tripod – the nodal point with the fisheye is very close to the front of the lens; for more normal lenses you would expect the nodal point to be well within the body of the lens dictating that the lens be further forward.
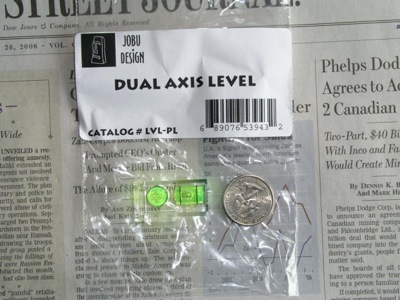
Finally, when it comes to levelling I consider the built in bubble level to be the wrong way to go. You want the camera aligned to the ground, not the King Pano. The relatively heavy (compared with cropped sensor cameras) 5d causes the King Pano to flex a tad, meaning that the bubble level no longer reflects the alignment of the camera, and as I tend to believe that Canon’s hot shoe is exacty parallel to the base of the camera body, I bought a neat little double bubble level which can be shoe mounted. It comes from B&H for a few dollars:

Bubble level ensures the camera is dead level. That’s what you want.
Here’s the part number:
Lighter cameras probably do not need this as they will distort the King Pano far less than the heavy 5D.
By the way, the King Pano will not work with the big Canon DSLRs with the battery grip – the body is simply too tall to permit centering of the lens over the bubble level. To accomplish that the vertical plate would have to be quite a bit taller which would probably compromise stability too much in any case.
So now that things are set just so, Part II will address lens calibration for use with the PTMac software used to create QuickTime panoramas.