Monthly Archives: August 2006

Change or die

It has long been my motto, or mantra now that I’m a Californian, that you either ‘Change or Die’. It is instructive to consider this in the light of the equipment change my landscape photography has undergone during the past year:

Before:

Rollei 6003 + 45 degree prism
40mm, 80mm and 150mm Rollei lenses
Rolls of 120 Kodak Portra VC160 film
A Crown Graphic 4″ x 5″ camera with 90mm, 135mm and 210mm lenses
Several film holders for the above
A dark cloth and loupe to focus the bloody thing
A cable release
My old Linhof tripod
My even older Weston Master V exposure meter
A bad back from carrying all that stuff

After:

Canon EOS 5D
Canon 15mm fisheye lens
King Pano panoramic head
A two axis bubble level
A spare 1 gB CF card
An overpriced Canon ‘cable’ release
My old Linhof tripod
A headache from trying to remember to do everything right (strictly a hardware problem, I assure you)
And, shortly, an iPod-sized digital sound recorder

The software change has been no less dramatic.

Before:

Silverfast Ai for scanning the negatives
Photoshop CS2

After:

Aperture
Photoshop CS2
Photmatix Pro (for HDR rendition)
Photomatix Photoshop plug-in
Panagea Photoshop plug-in
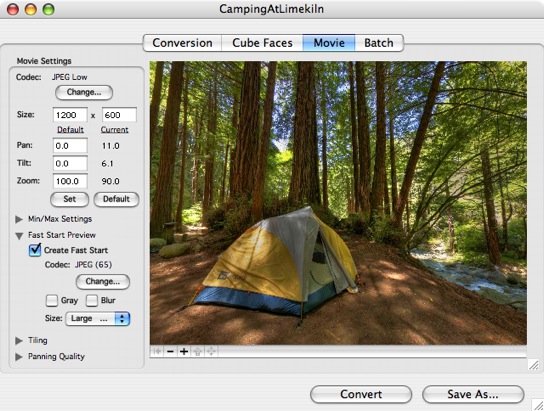
PT Mac (to stitch panoramas)
ImageAlign Photoshop plug-in (to defish zenith and nadir images)
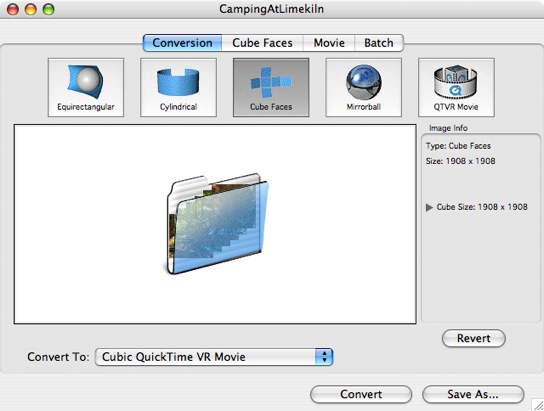
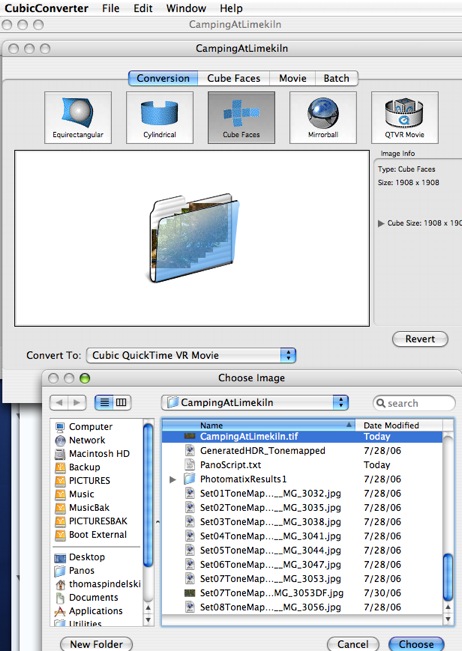
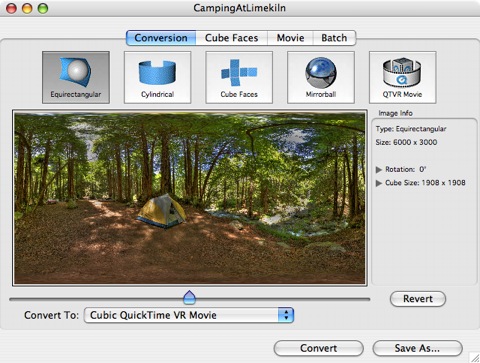
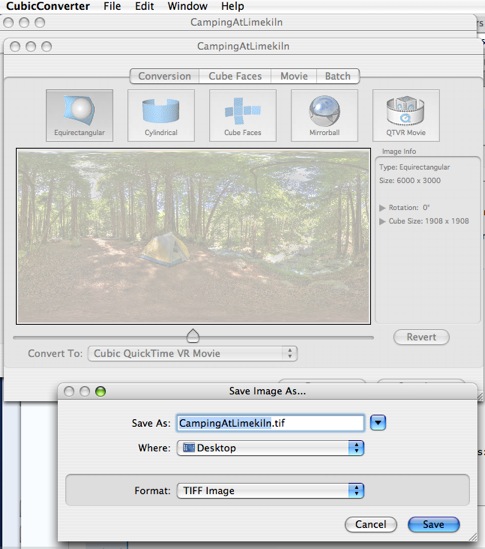
Cubic Converter (to adjust QT defaults)
Cubic Connector (to add sound)
QuickTime (free from Apple for Macs or PCs)
And probably some other things I cannot recall

I don’t think my mantra would be disappointed.

Back-end hardware remains unchanged – the superb Apple iMac G5

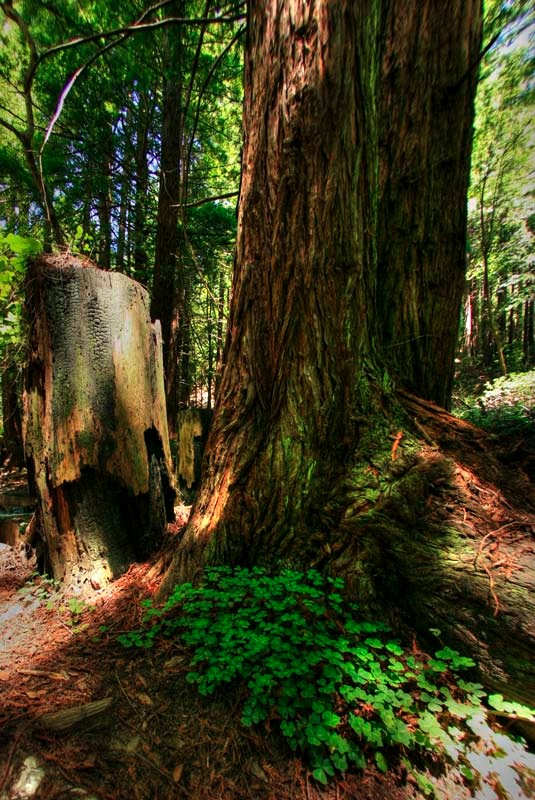
And, yes, you can do QTVR panoramas with film gear, but that’s about as sane as driving a Hummer with $4 gas on the horizon.

Adding sound to QTVR panoramas – Part I

The penultimate enhancement.

Well, over the past few days my feet and the tripod’s have been buried in sand and in running water. Five wet feet….

The QTVR + HDR accompanying this column, from Limekiln State Park in central California, despite using three pictures for each of the eight components of the panorama, renders the running water quite nicely. Note also the great shadow detail in the trunks of the massive redwoods thanks to the HDR process – no way that I can see conventional single shot exposures capable of this.

But the picture alone is not enough.

After asking around a bit and being met with stone cold silence, I spent the morning searching the web for some way of adding sound to my QTVR panoramas. QuickTime, even in its upgraded ‘Pro’ version, does not let you do this with VR movies, only with regular movies. Shame.

Well, after much searching the answer lay no further than the boys at ClickHere Design, the good folks in Australia who make CubicConverter to allow adjustment of default settings on QTVR movies. In addition to being great cricketers, the Aussies make great software and Foster’s beer – a fine race. The application is named Cubic Connector.

CubicConnector does far more than add sound. It permits creation of an interactive web design with clickable hot spots. When clicked, these hot spots, which can be superimposed on a map, take the user to a VR movie of the location selected. That’s the ultimate and it will take a few more trips to Limekiln for me to complete a comprehensive, QTVR, map and panorama web page which will give the viewer an experience close to being there. Sorry, no way I know of adding the fabulous aroma of a redwood forest. Maybe Apple will do that in the next version of QuickTime?!

CubicConnector also allows presetting of panning actions and speeds, which I have used here; you can override it and pan in any direction, including up and down, by using the mouse. The file is 7mB so it will take a few moments to load – 25 secconds on my broadband connection. Enjoy!

Limekiln State Park, CA in sight and sound – click here

If you want to add sound to your QTVRs, buy Cubic Converter and CubicConnector together at $99, not like I did at $79 each.

I will look at recording your own sound track in Part II.

Be skeptical

It’s the only way to be sure.

Long time readers will know of my extreme scepticism when it comes to the press, be it photography related or general news. Now Reuters has ‘fessed up that one of its photographers in Lebanon was doctoring pictures to make palls of smoke over Beirut larger. As the examples below show it is Photoshop stamp-and-clone work of the crudest possible kind.

Subsequent investigation by Reuters disclosed that this photographer had done this before, Photoshopping Israeli jets firing flares to look as if they were firing multiple rockets.

Photoshop has its uses in the artistic photography world – I do not hesitate to use it to clean things up – but has no place in objective news reporting. Ansel Adams would never pass for a press photographer, most of his images having been heavily doctored in the darkroom. Nothing wrong with that. Doctoring has its place, just not in news photography.

When I was a boy one tended to trust two or three news sources – the BBC, Time and CBS. No more. The BBC has acquired the default left wing bias of most news services, Time famously demonized the police mug shot of O. J. Simpson on its cover before the case even came to trial (another Photoshop session, albeit more skilful than the Reuters one) and CBS, well, everyone knows about Dan Rather.

So when you next see a picture or a purportedly ‘independent’ review of a piece of photo gear, play it safe. Assume everything you read is doctored and take it from there. That way your chances of being misled are lower. And when it comes to Wall Street, redouble your scepticism.

Reuters fired the photographer, by the way. Had he worked for the New York Times he would even now be proclaiming his First Amendment rights.

Single image tone mapping

The Photomatix plug-in does a great job.

While the few QTVR HDR panoramas I have published here over the past few days have used three images per constituent shot, melded in PhotomatixPro, the related Photomatix plug-in for Photoshop also does a very decent job of restoring highlight and shadow detail using but a single image.

It only works on 16 bit images, so you may first have to go to the Image->Mode menu to convert the image to 16 bit (the size doubles but no quality gain results) before running the plug-in. Remember to revert to 8-bit when done or waste storage space on your hard disc.

Here are two fisheye shots, straightened in ImageAlign, one reproduced without and the other with single image tone mapping. The effect is superior to the Shadow and Highlight slider in Photoshop.

The straight shot, exposed for the mid-tones

The same picture after using the Photomatix tone mapping plug-in

As you can see, the recovery of shadow detail is remarkeable.

Adjusting the QTVR image

Here’s an easy way to make sure all the adjustments ‘fit’.

After you have created your QTVR picture panorama you may want to adjust tone values, colors, etc. in Photoshop.

The worst way to do this is to try to adjust cube faces one at a time or to try and change the zenith and nadir images separately from the ‘circle’ image. You will almost certainly end up with tonal differences between imnage components.

The best way to do this in one pass is to use CubicConverter to generate a TIFF file of the whole movie, including the zenith and nadir images. This assures you of constant tones across the panorama.

Here’s how CubicConverter looks right after the movie has been generated and saved:

Now click on the ‘Conversion’ tab:

Now click on ‘Equirectangular’ and load the movie file you saved above:

The panorama loads and includes the heavily distorted zenith and nadir images:

Now click ‘Save As…’ and save the image as a TIFF file.

The resulting TIFF file can now be loaded into Photoshop for tone, contrast, color, etc. manipulation then resaved in TIFF format. Reimport the revised TIFF file into CubicConverter, regenerate and save the movie and you are done, with all image adjustments applied equally across the full 360 x 180 panorama.

This is what I did with the above camping picture – the original movie was a tad blah as regards contrast and also needed a bit of saturation boost. Not surprising, as the original was done in HDR (3 images per cube face, melded in Photomatix) and I like to go easy on the Photomatix tone mapping settings to avoid the garish ‘chocolate box decoration’ which is so easy to do with HDR. A little goes a long way and the final Photoshop tweak makes things just right. I always find it easier to juice up a flat image rather than try to tone down a too aggressive one. Here is the result:

Click here

HDR does a fine job of controlling the enormous dynamic range in this picture. Even the correctly exposed (for mid tones) original JPGs were not pretty to look at!

If you simply want a flat panorama with no zenith and nadir, you can use the crop tool in Photoshop to cut out the top and bottom as has been done here. Useful if you want to print the panorama, if nowhere near as effective as the QTVR version.