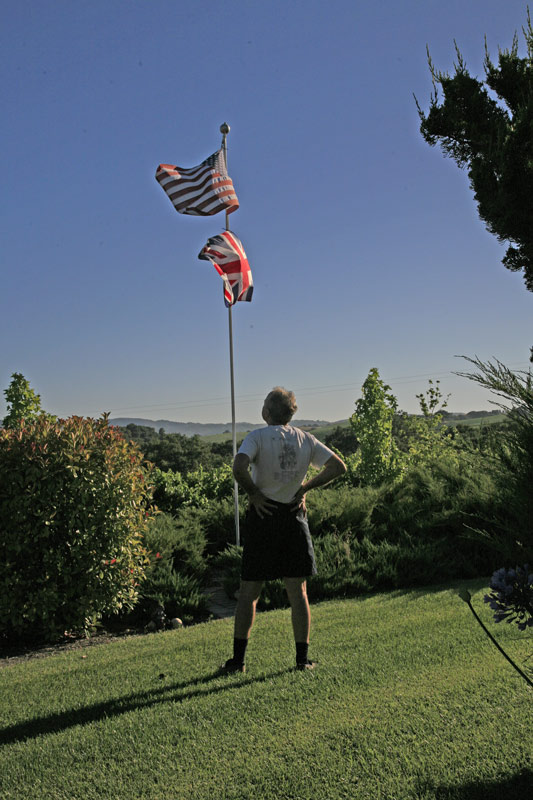
It looks like a steady tripod is essential to do things right.
As regards image quality my invariable goal is to secure a level that permits the making of Really Large Prints so with this goal in mind I took the Canon 5D to the local Main Street yesterday, seeing as it was Independence Day, to experiment with High Dynamic Range photography with a view to learning what it takes to preserve image quality.
It bears adding that my goal with HDR has nothing to do with some sort of distorted presentation of reality, with exaggerated colors and tonal ranges. Far from it. Simply stated, all I wish to accomplish is good scene details, from shadow to highlight, where ordinary one shot photography will not do. Typically, this means the use of HDR is germane to high contrast scenes. If you want truly garish HDR results you need go no further than Google. Some of these efforts make Thomas Kincade’s genuinely foul painting look tasteful by comparison.
To try to see if this sort of thing could be done with a hand-held camera I set the 5D to take three exposures, each 2 stops apart, with the camera set on multiple exposure motor drive. Then all it takes is to take a manual reading of a mid-tone area, focus and keep the shutter button depressed. The 5D bangs off three exposures in one second, one correctly exposed, and one each 2 stops over and under. You can do less than 2 stop steps, but 2 seems to be the done thing in the HDR world.
When I got home I had 36 pictures on the CF card, meaning 12 sets of three each. Because of Aperture’s superb engineering, I dropped these RAW files into Apple’s application and seconds later all 36 snaps were on the screen. Then, dialing in Stack->Auto stack, I told the program to stack all images three or fewer seconds apart and, hey presto!, I had 12 stacks with three images each. Seconds later I had exported one of the stacks as high quality JPGs (12 mB each) to a new folder on the hard disk. Opening up Photomatix’s stand alone progam I executed Automate->Batch Process and told the application to ‘Align Images’ before processing, which took some 2 minutes. Photomatix exports the HDR JPG in a new sub-folder where the images reside, and the JPG can then be dropped on Photoshop for final adjustments – meaning the highlight slider in Levels is moved to the left, Smart Sharpen is applied (300/1/0 for the 5D is what Canon redommends) and the file is saved.
Back into Aperture, import the result and add it to your stack as the first image and you are done. It’s nice to keep the original RAW files as doubtless some day a better HDR application will become available, thoguh I find it hard to criticize Photomatix.
Here’s how it looks:

The Aperture screen with the HDR image on left with source images.
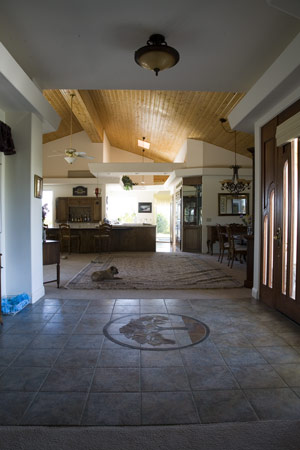
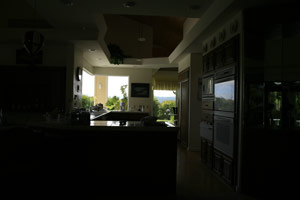
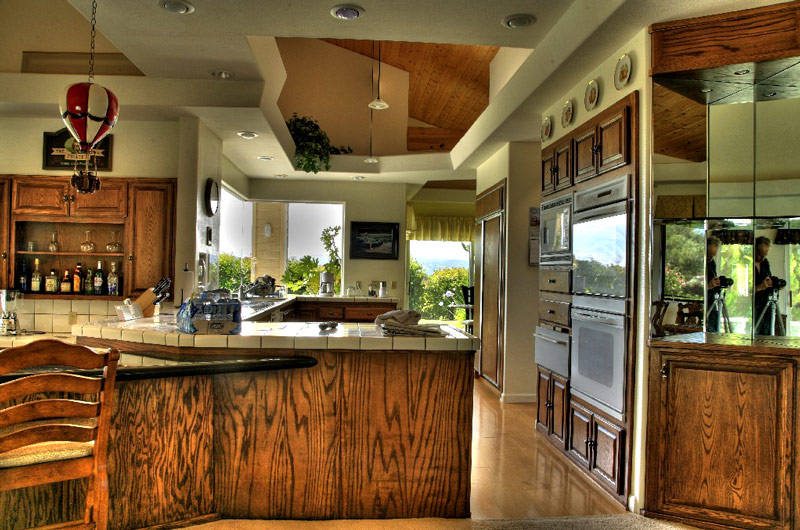
And here is a larger view of the result:
The HDR processed result.
As you can see, the very natural looking result preserves a full tonal range despite the extremely harsh midday sunlight. But there is a snag. Look at the car’s wheel rim and you will see that the images are misaligned. I didn’t get this problem when doing indoor tests on a tripod (see the previous columns) and examination of the other HDRs from this outing disclosed the problem in varying degrees in each picture. What appears to be happenning is that I am slightly twisting the camera between pictures, probably reacting to the noise of the motor drive. As a result, whereas the centers of all images are sharp, the peripheries show clearly overlapping images. So for this photographer, at least, it seems a tripod is de rigeur for mulit-image HDR pictures. The indoor shots taken with a tripod disclose no image degredation when compared with the originals.
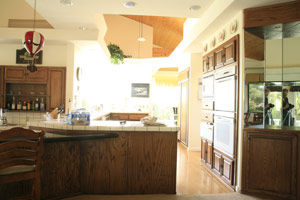
Here’s one more example of what HDR can do for tonal range:
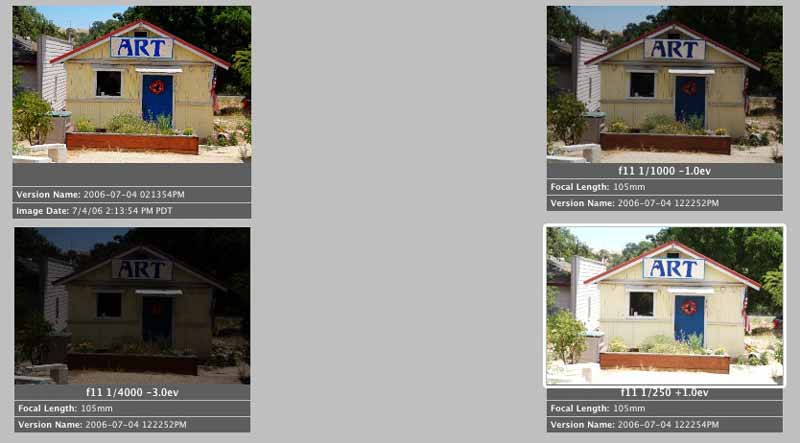
The Aperture screen with the HDR image top left, with source images.
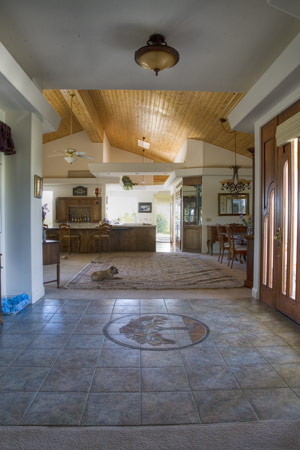
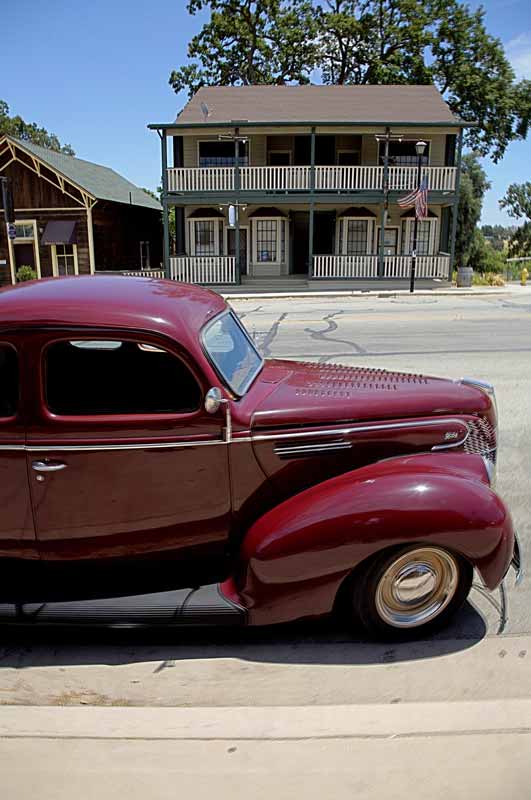
And here is a larger view of the result:
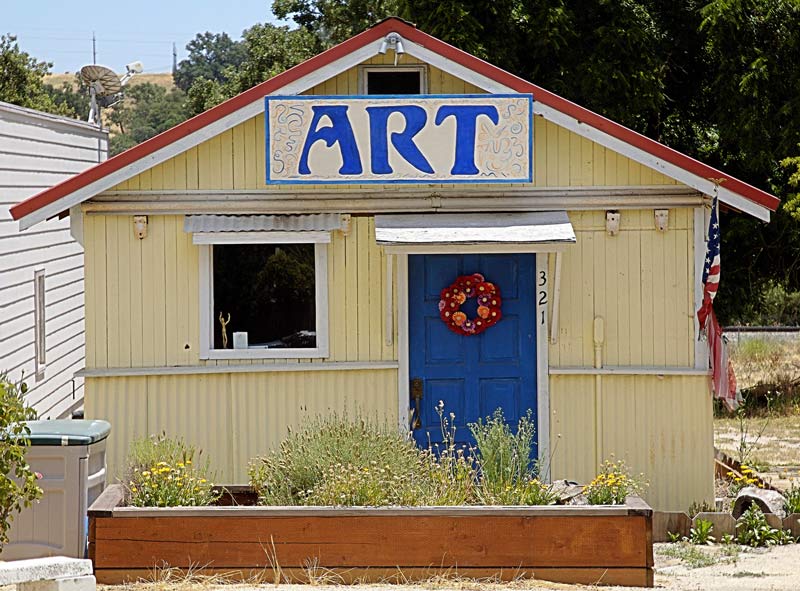
The HDR processed result.
There’s less edge blurring in this one – I must have been steadier – but when you enlarge the result it’s still there.
It’s no great secret that I think Ansel Adams was a mediocre photographer, at best. What made his pictures jump out at you is his superb darkroom technique. He would think nothing of spending days over a print, messing with chemicals, paper grades and manual dodging and burning. If the poor sap had only waited, he could have snapped up a copy of Photomatix and saved himself a lot of trouble. His example is instructive, though. Good technique cannot make a great print from a poor original.
After these few experiments with HDR I think I understand what good technique means. Now I have to take some good originals!