Not only wider than the 14mm, it more than holds its own
I dropped by Hearst Castle again today to put the Canon Fisheye lens through its paces. The ultra wide angle of view, equivalent to a 12mm full frame lens using ImageAlign – see Part I – is ideal for interiors of the magnificent rooms, aided by the noise free sensor in the EOS 5D which allows ISO to be cranked up to 800 with impugnity. Something that is required as the Castle prohibits the use of flash and tripods.
I took Tour 3 this time, which visits the bedrooms used by Hearst and his many guests – the likes of Cary Grant, Clark Gable, Errol Flynn and David Niven. On the way we stopped by the large outdoor pool only to find, to my amazement, that it had been drained! Actually no bad thing as you could see the beautiful Carrara marble floor in broad sunlight. Evidently the pool had sprung a leak and workers were busy patching it up for the Hearst family’s annual summer visit, something they negotiated with the State of California when they donated the property years ago.
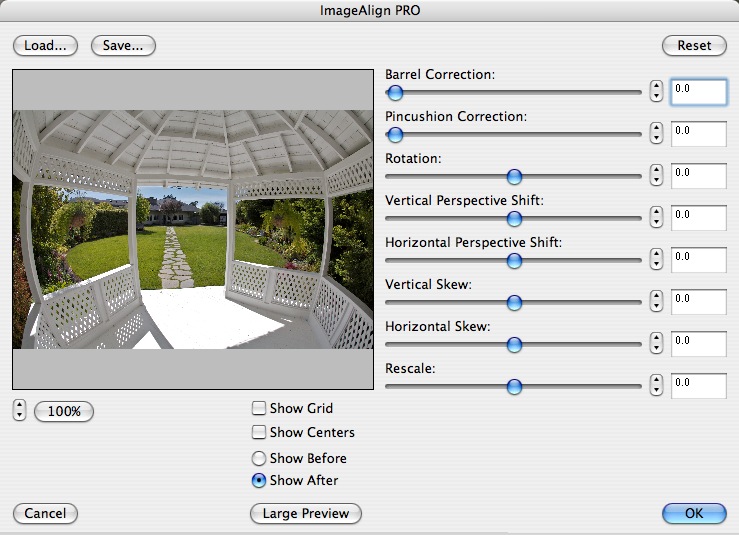
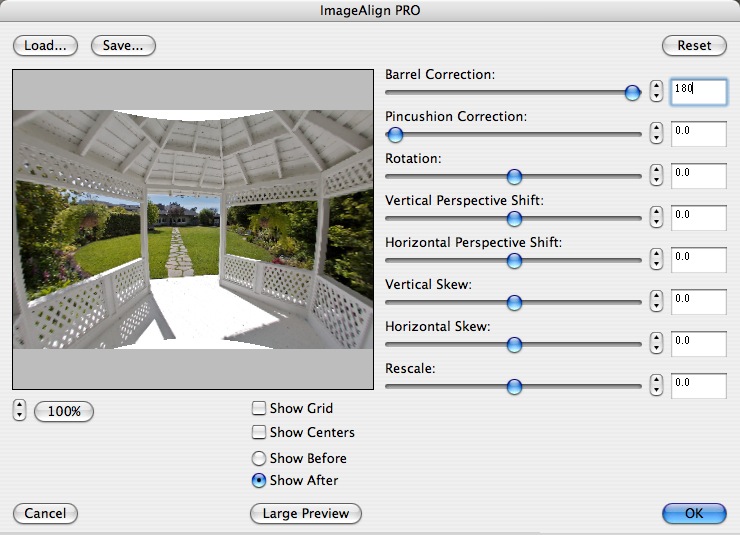
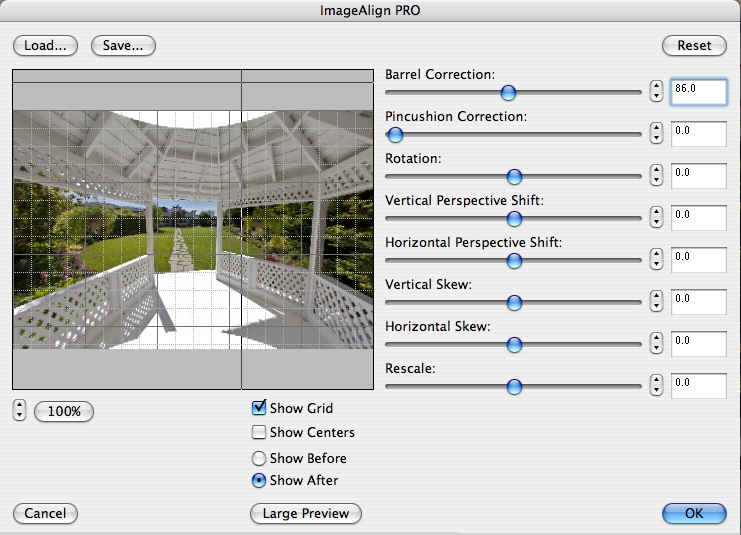
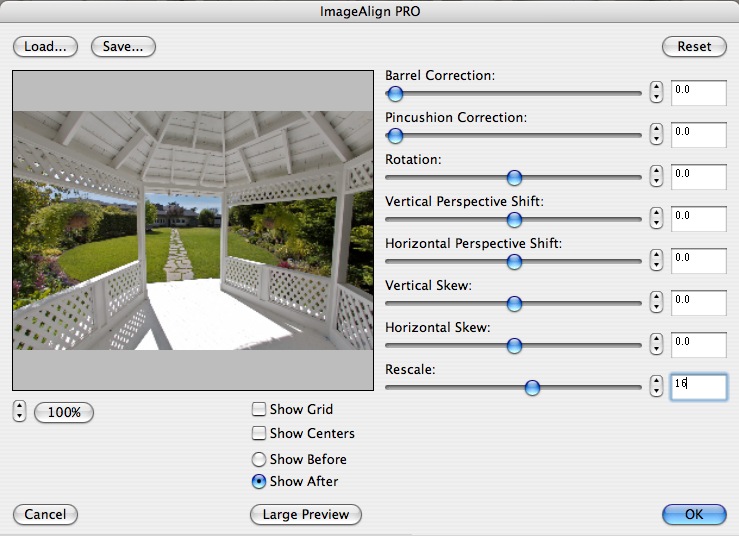
Well, it was a moment’s work to take a snap from the exact same vantage point I had used a few weeks ago when a fellow photographer had allowed me to try his very costly 14mm Canon ‘L’ ultra-wide lens. In the pictures below, you can see just how much wider the fisheye is after correcting for barrel distortion with the ImageAlign plug-in in Photoshop.
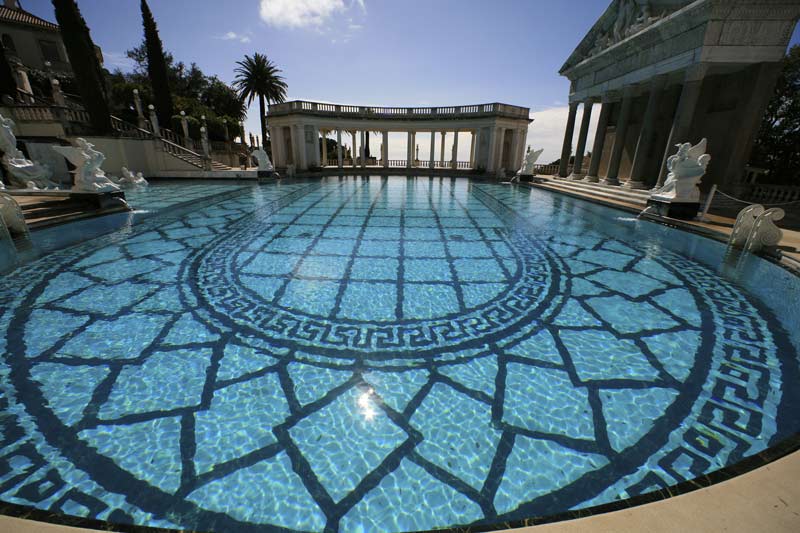
Canon EOS 5D, 14mm Canon ‘L’
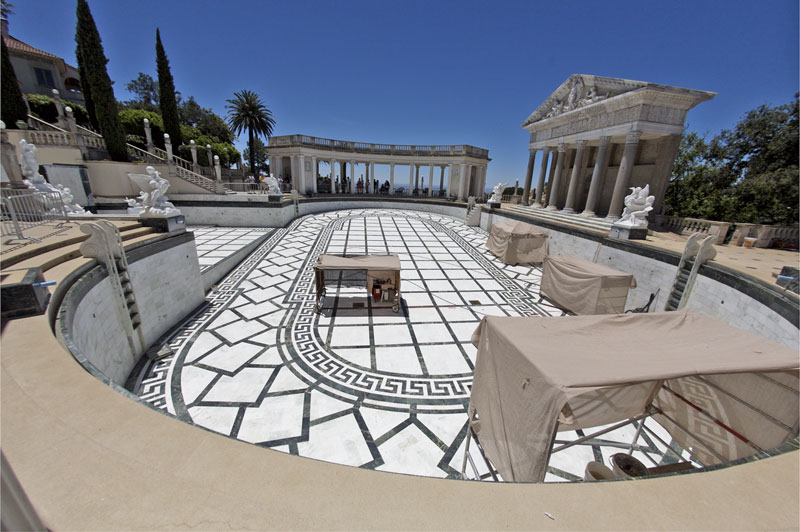
Canon EOS 5D, 15mm Canon fisheye, Image Align
Chromatic aberration had been minimized in both images using the lens correction filter in Photoshop CS2.
While I was processing these, I thought it might be instructive to compare actual pixel-sized extracts of each image. Granted, the lighting conditions varied slightly, but here are screen shots of the white marble statue at center left – the print size would be over 40″ wide:
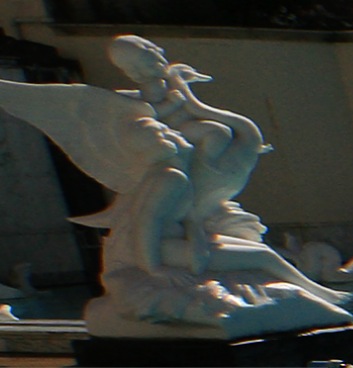
Canon EOS 5D, 14mm Canon ‘L’, actual pixels
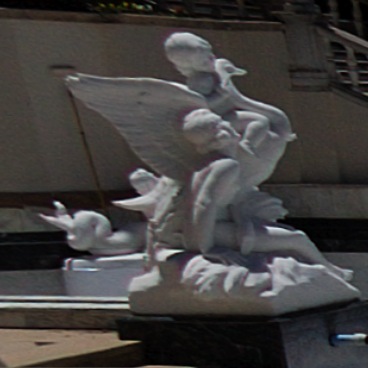
Canon EOS 5D, 15mm Canon fisheye, Image Align, actual pixels
Fairly compelling evidence that the Fisheye + ImageAlign more than holds its own. The smaller size of the statue in the second picture is accounted for by the wider field of view of the fisheye lens.
How do the lenses compare directly into the sun? Both are simply outstanding. The original of the 14mm image had one internal reflection at the top, which I removed in processing. In the following fisheye image, the sun is in the frame of the original, disappearing after use of ImageAlign. You can see one internal reflection artifact above and to the right of the statue’s head.
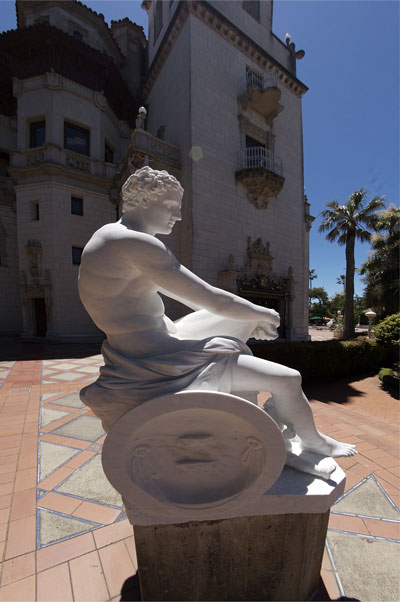
The god Mars. Carrara marble. Canon EOS 5D, 15mm Canon fisheye, Image Align.
Indoors? No problem. Both lenses are bright at f/2.8, making composition easy.
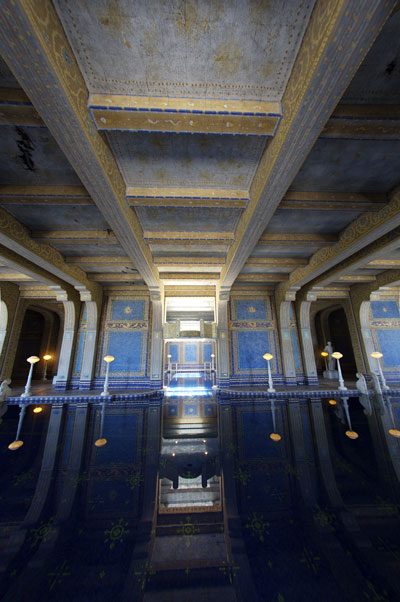
Hearst Castle. The indoor pool. Canon EOS 5D, 15mm Canon fisheye, Image Align. ISO 1600
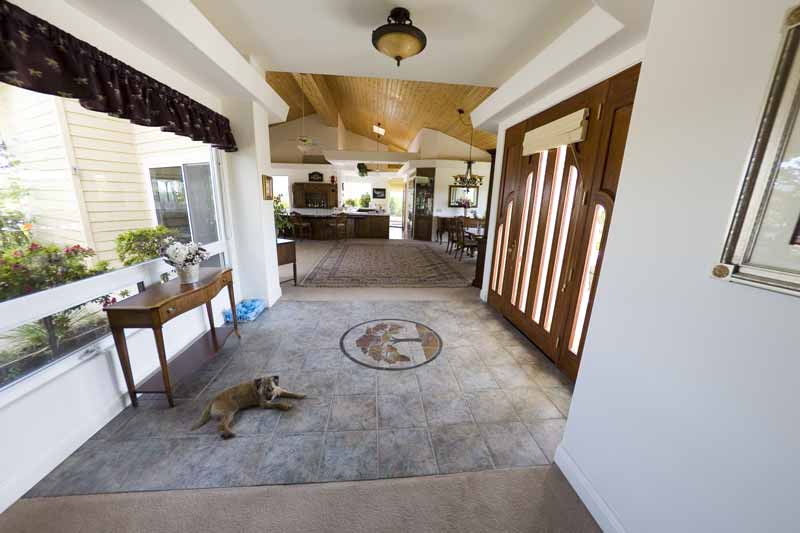
Hearst grew up in a time when the incandescent light bulb was just coming to market and never got over his wonder at the magic of electricity. This fascination translated into a near total absence of lampshades in the Castle’s guest rooms. That is as Hearst wanted it. Opportunity enough to try the fisheye’s handling of light sources in the frame at full aperture.
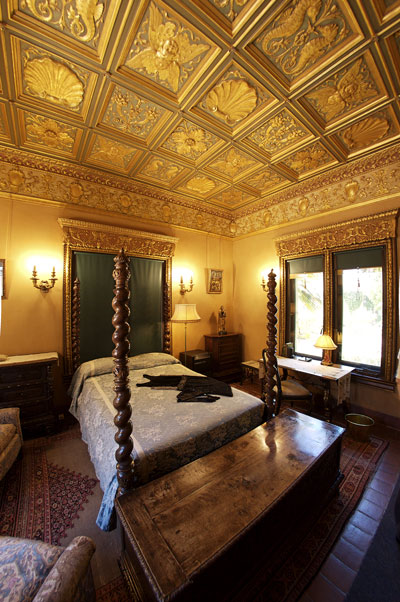
Guest room at Hearst Castle. Canon EOS 5D, 15mm Canon fisheye, Image Align. f/2.8. ISO 800
The bare bulbs are rendered with a gentle glow – not perfect, but more than acceptable in the circumstances – this room is very dark as are most, by design. There is no air conditioning in Hearst Castle.
For Part III of this review, click here.