Monthly Archives: June 2010

The iPad as a second or third display

A neat app.

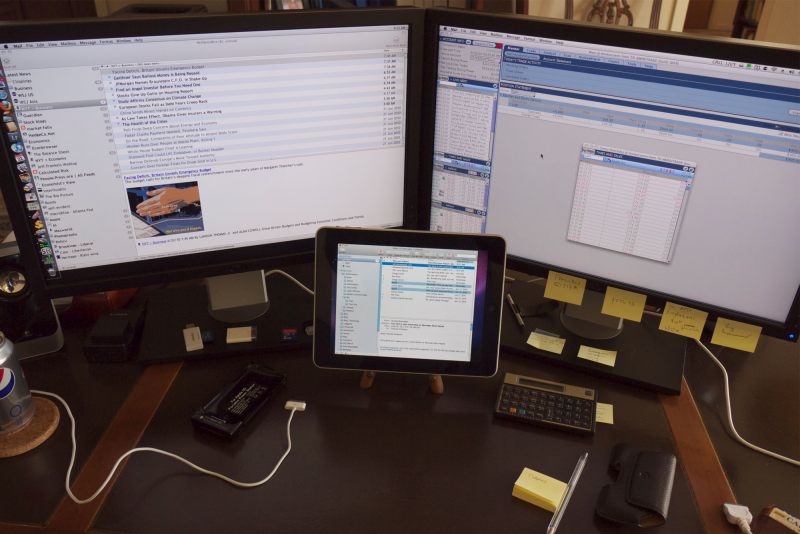
Air Display is a $10 app for your iPad which allows it to act as a second or third display using wifi to route the signal.

Air Display with my two Dell 2209WA monitors. Can’t seem to get rid of those yellow stickies ….

As its response is a tad jerky it is not much use for moving objects but ideal for something like email or a preview screen for Lightroom 2 or 3 where the contents are stationary.

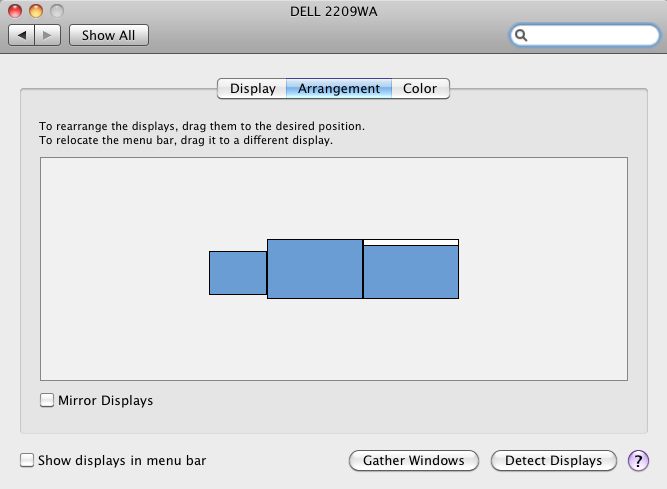
System Preferences for Displays under OS X Snow Leopard is properly supported as the following shows, allowing you to set the display’s positioning for mouse cursor movement as you please:


This layout dictates that the mouse is moved left to access the iPad’s display

You have to install a small utility on your desktop (or laptop) Mac to get things working and I had a few issues where the system was unresponsive when trying to toggle on the iPad from the Mac’s menu bar, but after a couple of tries all was well. This might prove handy in the field where you want to share displays with a broader audience by switching on mirroring in Sys Prefs->Displays, or switching it off and using disparate LR views between your laptop and iPad.

Don’t expect miraculous responsiveness if you are using poky wifi speeds; my system is running at 10mb/s download and 1.4 mb/s upload speed and is usable, if not stellar. I simply use the iPad to take the email inbox off the two big screens freeing up screen real estate for other things. You must be running Leopard 10.5.8 or higher for this to work and older PPC Macs are not supported – Intel only.

Five years old today

This blog, that is.

Daniel Boorstin, Librarian of Congress, said “I write to find out what I think.” I find I am like minded. Setting down ideas each day is a helpful process which, I suppose, is why I write this blog.

So it comes as a signal pleasure to relate that this journal is five years old today.

First post date …. for UK readers, at least.

Those five years have seen a revolution in the technology of photography, exemplified by my own experience. This photographer was a Leica devotee of some 35 years’ happy use back on June 15, 2005, with some serious Rollei medium format gear on the side. Today the hardware consists of a Canon 5D when the very highest quality ‘medium format’ quality is called for and a Panasonic G1 for street happy snapping, with the diminutive Panasonic LX1 in the glove compartment. Not a film camera in sight, these all having moved to collectors’ closets over the past five years, neatly paying for most of the digital gear in the process. Now while digital gear has all the charisma and charm of a cold war era Soviet politician, unlike that bear of old it does produce consistently, at a quality level superior in every way to film and getting better daily. What’s not to like? OK, so you no longer regard it as an heirloom to pass down to your nearest and dearest, as it will be unrepairable electronic detritus five years hence, but it is so cheap and so competent that the result is a win for the user and the maker. Confirming what I wrote, to much opprobium, on July 5, 2005, Film is dead. And so is Kodak.

The software front here has enjoyed a rock stable combination of OS X on various Macs accompanied by Lightroom which is now in its third iteration, though the changes at the margin are becoming …. marginal. A robust pair that never lock up and continue to make me wonder, as I have for the past decade, why anyone valuing his time would use the fraud that is Windows.

Processing hardware has been less of a joy, not helped by a litany of failures from Apple’s awful hardware, with only the iPhone being distinguished by its reliability, likely accompanied by the too-new-to-say iPad. Mercifully, I saw the light a while back and built my own HackPro from inexpensive PC parts and it has been running totally glitch-free 24 by 7 since put into service. It’s as fast as just about any overpriced MacPro on the planet and a fraction of the cost, not to mention infinitely upgradeable for low outlay. The advent of OS X for Intel CPUs made this possible so it was not a practical proposition until fairly recently. Every self-respecting photographer who demands the very best in performance from his processing hardware should consider building one of these, avoiding Apple’s overpriced, short lived desktop and laptop jewelry like the plague.

Mention of the iPad does not require much of a stretch to pronounce that the PC is Dead. The form factor and user interface of this device will come to dominate content consumption and creation over the next five years in much the same way digital imaging has come to dominate photography over the past five. Our children will ask why anyone in their right mind ever used a keyboard, one of the few remnants of antiquity in modern societies. Get ready to say goodbye first to your clunky, overheating laptop and, eventually, to your desktop gear.

No mention of hardware can be complete without lauding HP’s now discontinued DesignJet 90 wide format printer, which makes fade free prints in sizes up to 18″ x 24″ without complaining and does so at very modest cost. It made possible my one man show a while back and I bless it daily. A tool which does exactly what the maker claims – makes superb prints. It remains a great value on the used market though I suppose that, with the advent of cheap large screen TVs, I ought to add the the Print is Dead and the ecosystem of the world can only benefit.

On the personal fulfillment front, or whatever the current psychobabble calls it, photographic life has been eminently satisfying, seeing the production of two books of photographs and a one man show in April 2007. Lots of hard work and lots of fun.

This journal has also been lucky in featuring the work of many outstanding current and past photographers, and you need only click the drop-down menus above (‘Photographers’) to see their work. If I were forced to name five who have most affected me and my work they would be Cartier-Bresson, Doisneau, Penn, Porter and Horst. All are profiled on this site.

And finally, there’s the list of stinkers which you can see by clicking here. These range from jerks like ‘Anonymous’ who posts idiotic comments here, to unscrupulous photographers who think nothing of turning tragedy to profit by false means, conflicted ‘journalists’ who laud gear after first making sure future free loaners are guaranteed, and modern day crooks like Google who are robbing us of our privacy while jealously safeguarding their own. This will not change, for there are fortunes to be made, as these miscreants have learned, from human gullibility. This blog remains totally revenue free (meaning I make nothing, zilch, nada from it – even my modest book sale profits go to charity) with no click-through earnings of any sort, so you can expect it will remain outspoken, skeptical and fearless over the next five years.

Celebrating five great years.

Thanks for stopping by this last half-decade and I hope we are both around five years’ hence.

PDF camera manuals on the iPad

A great use for the device.

It’s debatable which is more obscure – the US tax laws and regulations (appropriately known as the Internal Revenue Code) or the printed manual for the Panasonic G1 camera, a piece of hardware I like to think I know and definitely know I love. Try to find anything in that manual’s execrable printed booklet which comes in the box, 168 pages of poorly organized materials with a genuinely worthless index, and you will redefine the meaning of frustration.

Well, GoodReader and the iPad to the rescue.

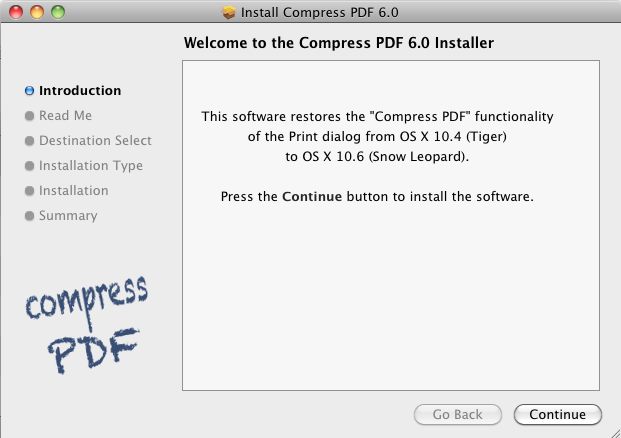
Simply download a PDF of the manual from Panasonic then upload it to the iPad – I have done this for my Canon 5D and both Panasonics I own – the LX1 and the G1. Handy for those occasions when you forget how some rarely used setting works in the myriad of screens, dials and buttons which typifes modern gear. The 5D and LX1 come in at 5-6mB each but, for reasons only know to the twit who assembled the like-length one for the G1, that one comes in at a whopping 50.7mB! To compress this file before uploading it to the precious free space on your iPad, if you are using Snow Leopard on your Mac, download and install Apple’s Compress PDF Workflow utility to restore the PDF Compress option in the Print dialog which pops up when you load a PDF using Preview (not Adobe Reader) and hit Print – for some reason this option went missing from Snow Leopard.

Here’s the files sizes after and before – duh!:

I’ll leave it to you to figure out which one to upload to your iPad. The smaller one shows no quality deterioration and a keyword search is many times faster.

The beauty of the GoodReader app is that it has a search function, far more powerful than the miserable table of contents provided by camera makers.

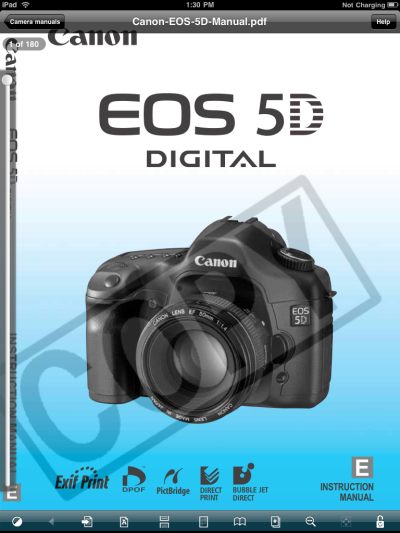
Here’s the title page of the 5D’s manual:

The Canon 5D’s 180 page manual on the iPad, viewed in GoodReader.

Goodness knows why Canon decided to label this ‘Copy’ – it’s not like it’s a Leonardo, after all, but whatever. The vertical scroll bar at left permits you to zip through the manual in GoodReader whereas the magnifying glass at the base permits word search.

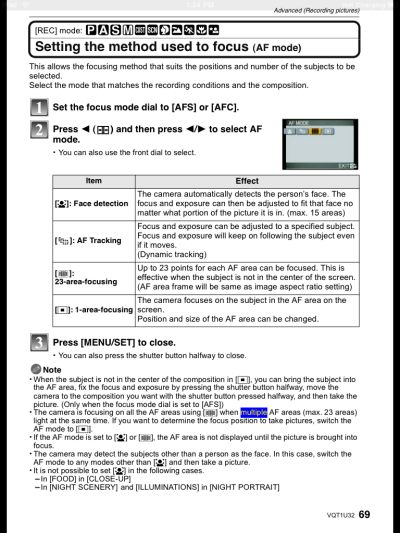
Here’s a page search result in the G1’s manual where I searched for the word ‘Multiple’, highlighted in blue:

A keyword search in the G1’s manual.

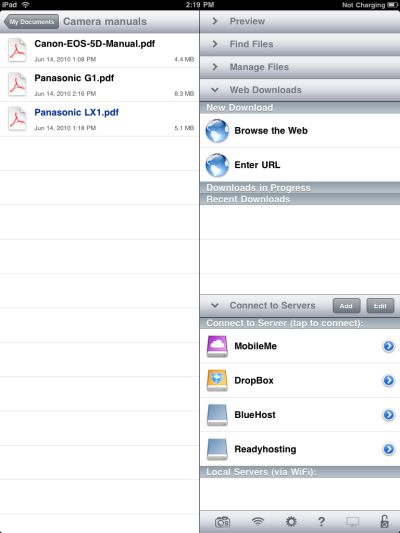
Here are all three manuals uploaded to GoodReader on my iPad. I keep them in a separate sub-folder to clean up the clutter:

Not, you understand, that I would ever forget how my camera works ….

A moment’s thought suggests the infinite number of uses this could be put to – machine repair manuals for field technicians, heart transplant manuals for doctors, legal tracts for scumbag lawyers, and so on. Heck, I may even keep my tax returns on mine when I want some really depressing reading.

Lightroom 3 grain

A useful addition.

One of the new features in LR3 is a set of sliders to add and manipulate the traditional effect of grain from film days of yore.

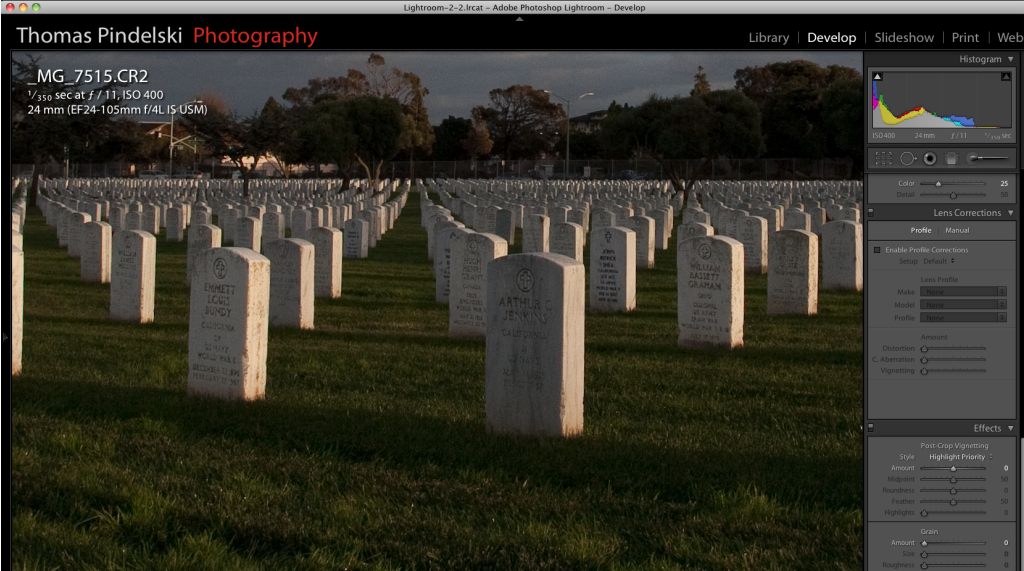
Here’s a straight, unprocessed snap:

Plane, graves and flowers. 5D, 1/350, f/11, 24-105mm at 24mm.

Here’s an enlarged section of the above – note the grain sliders at lower right:

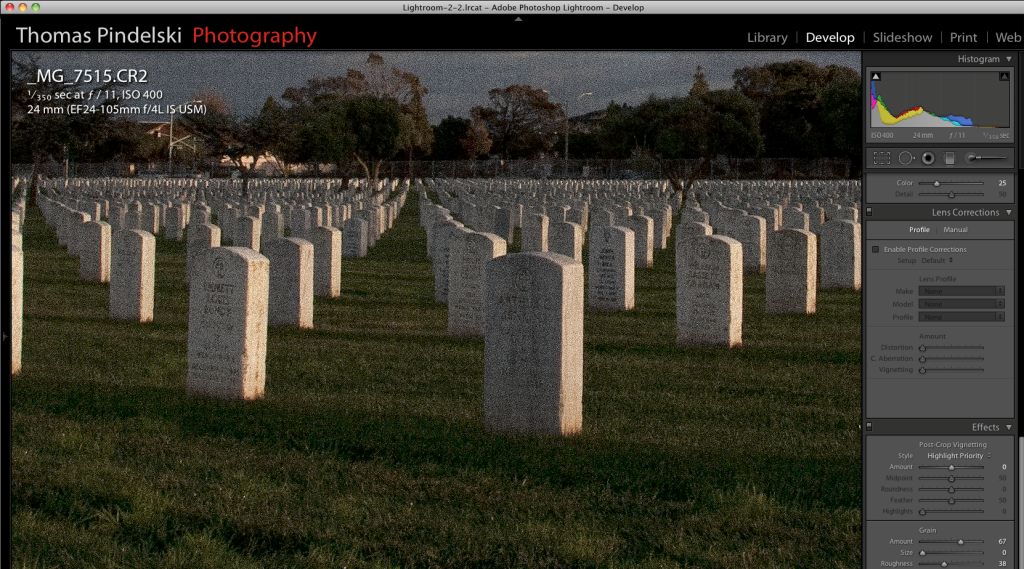
And here it is with the grain sliders adjusted to emulate high speed color film grain – I have to use enlargements to show grain owing to the grain free nature of the 5D’s sensor:

The Roughness setting, here at 38, is a nice compromise. Too small and the effect is too artificial. Too high and it’s overdone. Much the same goes for the Size slider, which I prefer to keep low.

It’s a useful tool, especially if you hit one of those Sarah Moon faux impressionism periods.

To reset to default adjustments simply double click the ‘Amount’ slider.

Lightroom 3

Some outstanding improvements.

Lightroom 3 has exited the Beta test stage and is now available as a $99 upgrade to Lightroom 2 users. I tried the Beta version but when it choked converting my previews to the new version after an hour of grinding away I decided someone else could do the testing and spent my valuable time elsewhere. Clearly something was wrong as my catalog contains a modest 6,000 pictures. Well, the final version appears to have fixed the issue because after download, a meaty 75 gB, I fired it up and it converted the 1:1 preview files in 3 minutes.

Technical background:

The LR3 preview file is given the 2-2 name by default; change it at will.

The catalog of pictures is not changed in any way.

The hardware I am running this on is my HackPro with OS Snow Leopard 10.6.3, 2.83gHz Intel Core 2 Quad CPU, 8gB of 800 mHz DDR2 RAM and an Nvidia 9800GTX+ video card driving two Dell 2209 21.5″ monitors, so it’s a very fast setup, designed for photo processing. CPU and memory use is modest and I would guess that 4gB would be just fine – Lightroom has always been good in this regard, unlike Aperture.
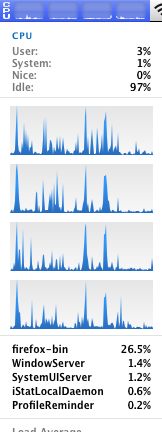
CPU use for all four cores. I show the effect of paging through several full screen previews here.
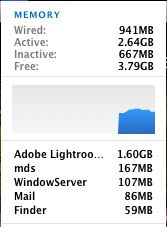
Memory use with LR3, NetNewsWire, Mail, iStumbler and SpamSieve running

LR3 runs natively in 64-bit mode.

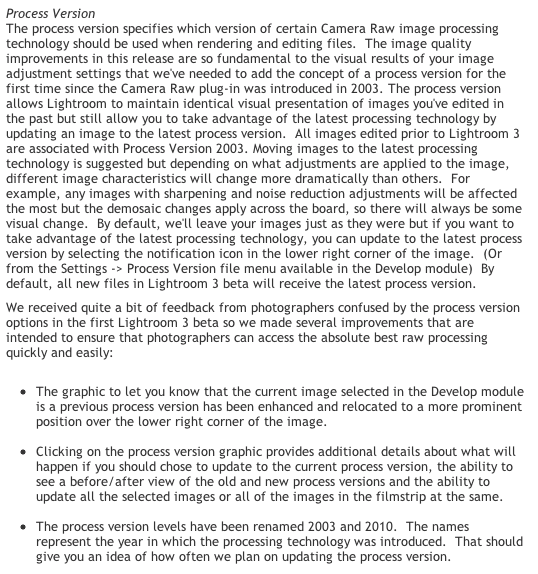
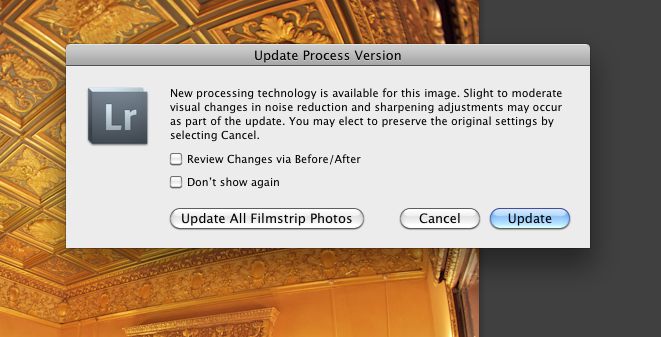
LR3 allows you to change to what Adobe calls the ‘2010 Process’ for your pictures; I avoided this in light of the warning, below, but LR3 will adopt this process for all future imports, which is fine with me. I don’t want to have to reprocess a lot of older snaps which I am happy with:
LR3 ‘2010 Process’ warning.

Click the ‘!’ logo on any picture in the Develop module and you get this message, meaning you can selectively update to the new process:
Perspective correction:

One of the biggest surprises for me is that LR3 has added perspective correction; I don’t recall seeing that in LR3 Beta. The application can automatically sense the lens used for a limited range of camera manufacturers:
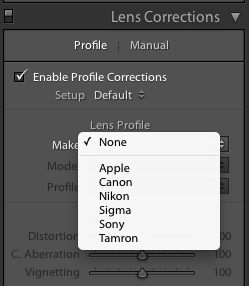
Only a few cameras are supported

Loading up a Canon Fisheye snap from the 5D I see this:
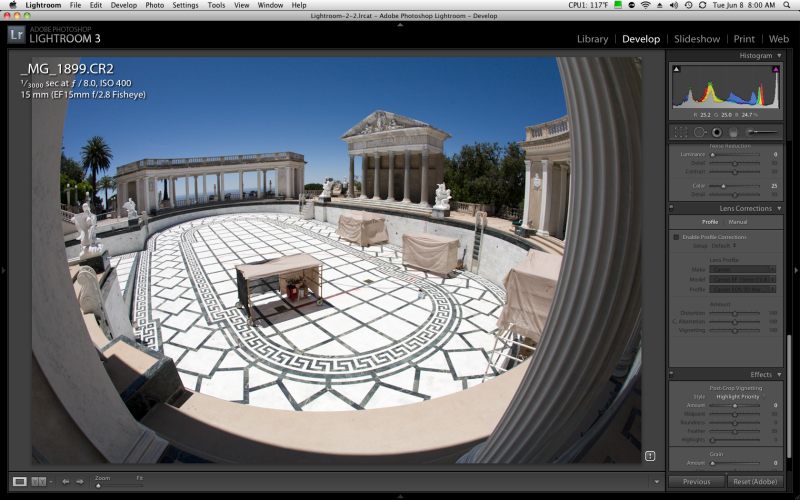
Hearst Castle pool drained for maintenance. 5D. 15mm Fisheye.

Click the ‘Enable Perspective Correction’ box and you immediately get a perfectly corrected picture:
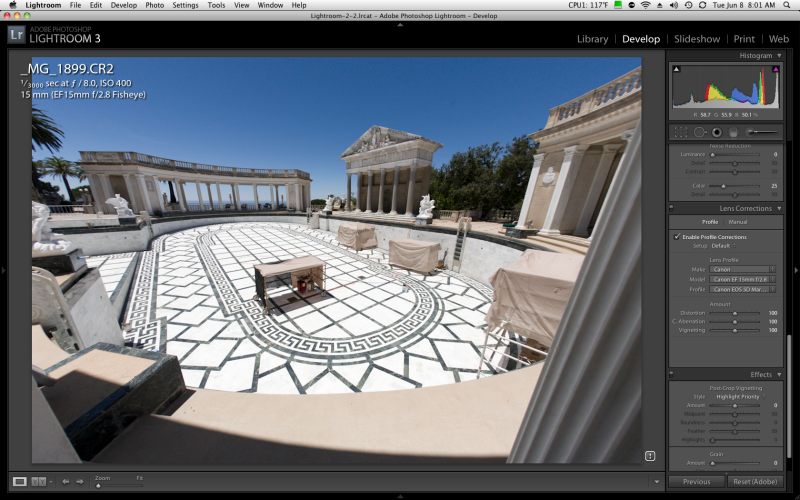
Hearst Castle pool straightened out.

You can make horizontal and vertical corrections but the ‘distort’ feature available in Photoshop is missing. Still, this adds a key tool to the LR application which removes one of the last few uses I have for Photoshop. In LR3 it is fast and perfectly implemented, right down to the remasking of the image to fill the frame after correction.

What if your camera is not listed? Simply click on ‘Manual’ and have at it – an approach which allows both lens distortion correction and correction of leaning verticals.

Here’s an uncorrected image from my Panasonic LX1 with leaning verticals (and leaning everything else owing to earthquake damage!):
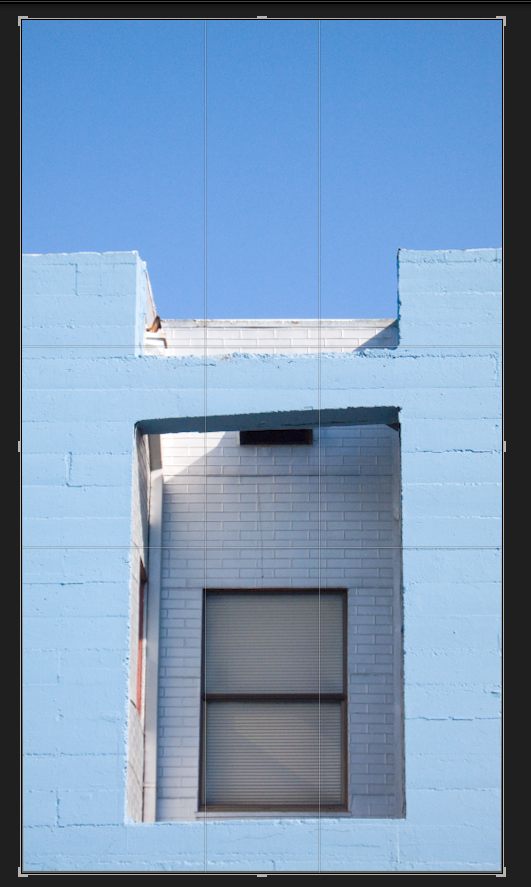
Here it is after messing with the slider:
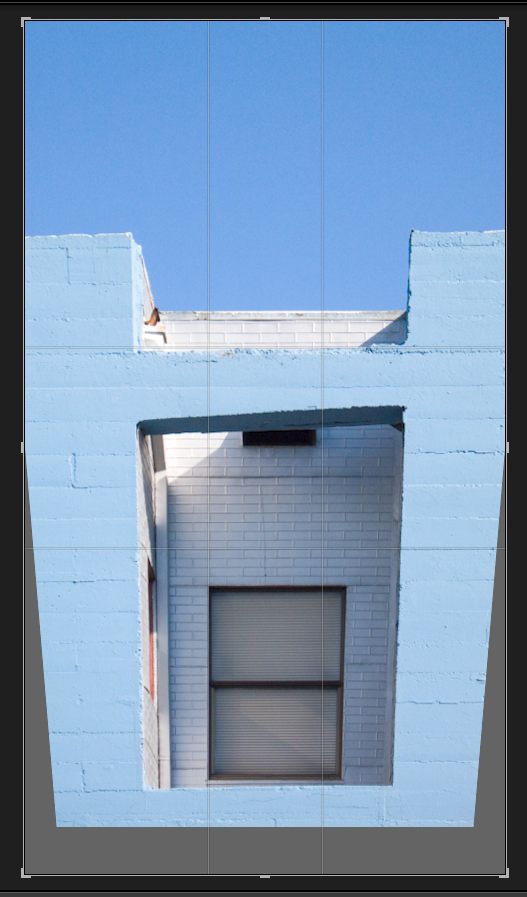
Next you use the Resize slider to fill the frame:
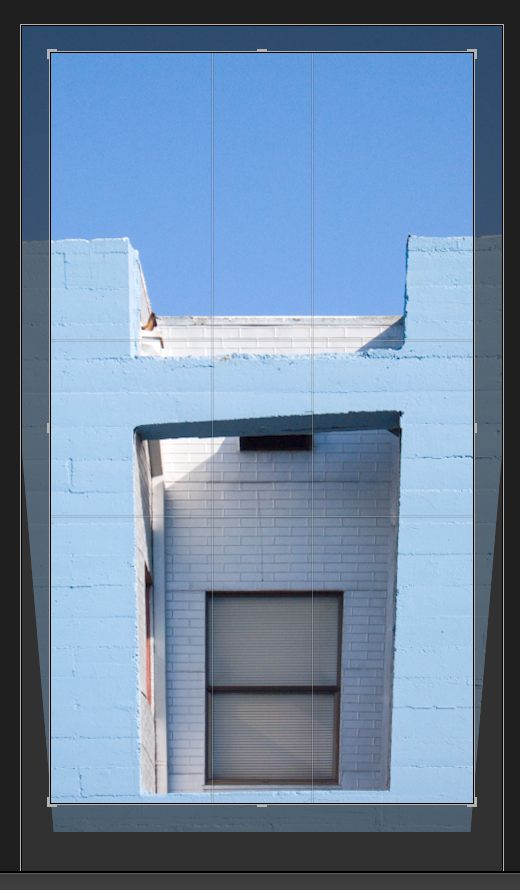
Then hit Enter and you are done:
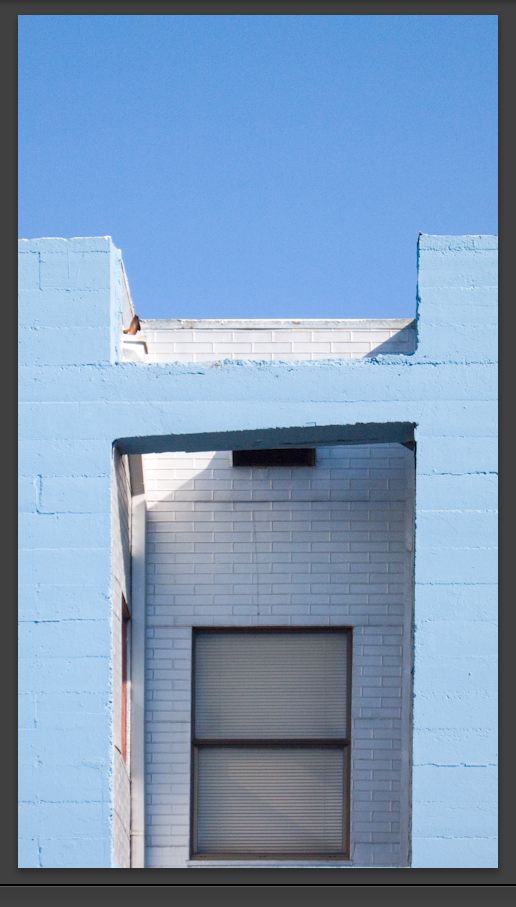
Until now I have been using the excellent PTLens and round tripping images from LR2. Unless your lens cannot be corrected in LR3, PTLens seems obsolete, though it does boast a huge lens database so is worth keeping, just in case.

If you want to add an unlisted lens to Lightroom 3 rather than using the manual method, simply download Adobe Lens Profile Creator and follow the instructions.

LR3 does not include the useful ‘Distort’ function for dramatic corrections, so it still means round-tripping to Photoshop if that is needed, which is rarely in my case.

Tethered shooting:

I have addressed tethered shooting here on occasion and, frankly, it has been a pain to get it working correctly, what with the need to set up capture folders, tune LR2 just so, etc. That is all in the past. Tethered shooting is now beautifully integrated into LR3 and the following cameras are supported:
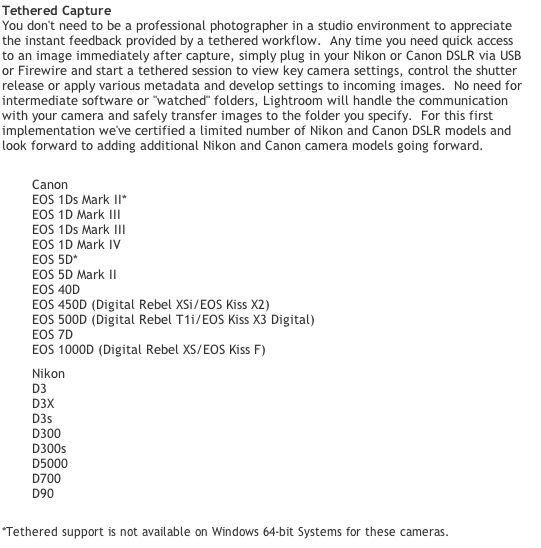
I plugged in my Canon 5D to a USB port on one of my Dell monitors and set up LR3 for tethered shooting thus, after which I named the capture folder:
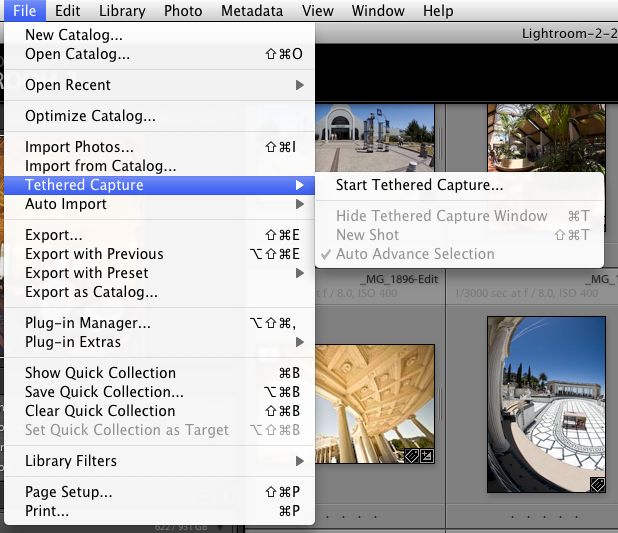
LR3 displays the tethered shooting menu thus:

The big button on the right (it really should be colored red) is the shutter release, or you can use the one on the camera.

Snap, and the picture appears in LR3:

Click on ‘Develop Settings’ and you get the usual choice, together with any you may have saved:
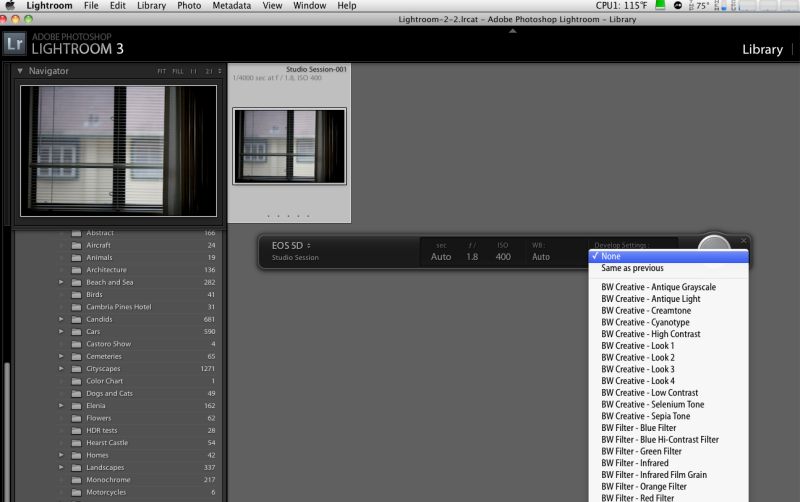
This is a plug-and-play implementation, perfectly executed. Bravo Adobe! The sort of thing you expect from Apple ….

P.S. Adobe – you need to make your LR3 demo videos run on the iPad – face reality and get with the program.

There are lots of other improvements in LR3, including movie processing (not for me), allegedly better noise reduction (not needed with the Canon 5D or Panasonic G1 which are my daily snappers), but the two detailed above alone make the $99 upgrade worthwhile for this photographer. Speed has not been compromised, the interface remains as nice as can be and the improvements need no instruction book to learn.

Recommended. I just paid Adobe for mine!