Yearly Archives: 2012

A cheap wireless remote

RF is the way to go.

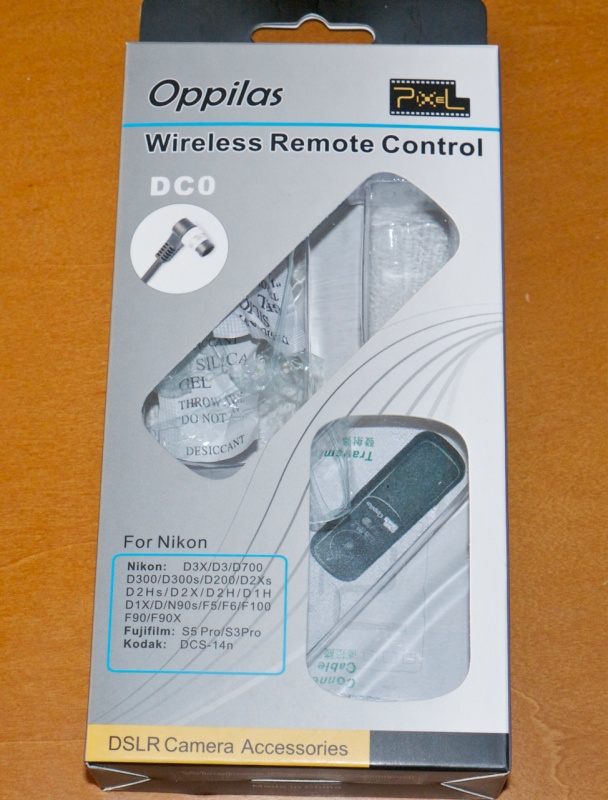
The Oppilas wireless remote uses radio waves at 2.4gHz, in preferences to Infra Red beams. This means line-of-sight between trigger and camera is not required and also results in an enormous range. I gave up counting at 50 feet and 100 feet is claimed. The camera end goes in the hot shoe, where it can be locked down, and the Nikon bodies using the provided ten pin connector are listed above.

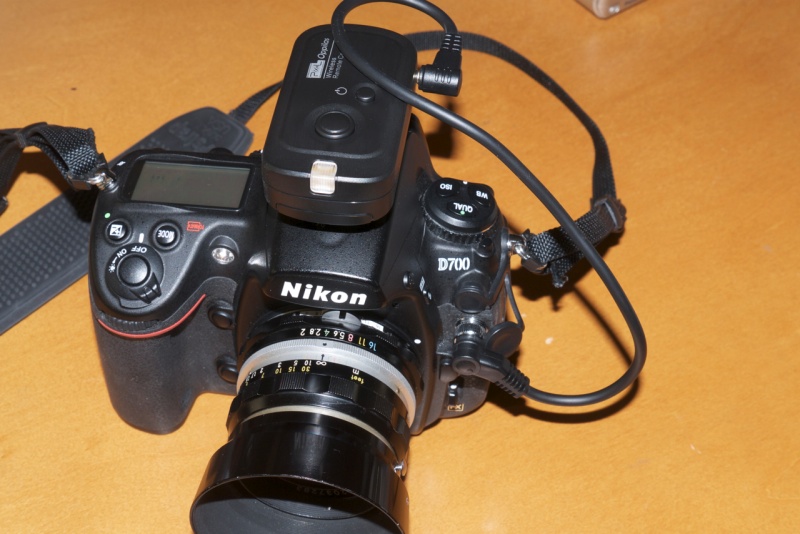
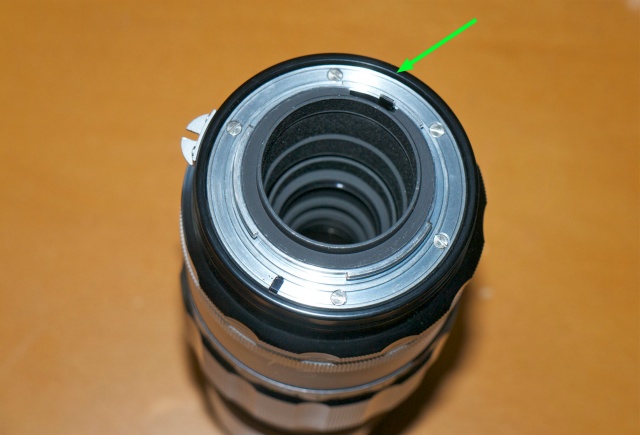
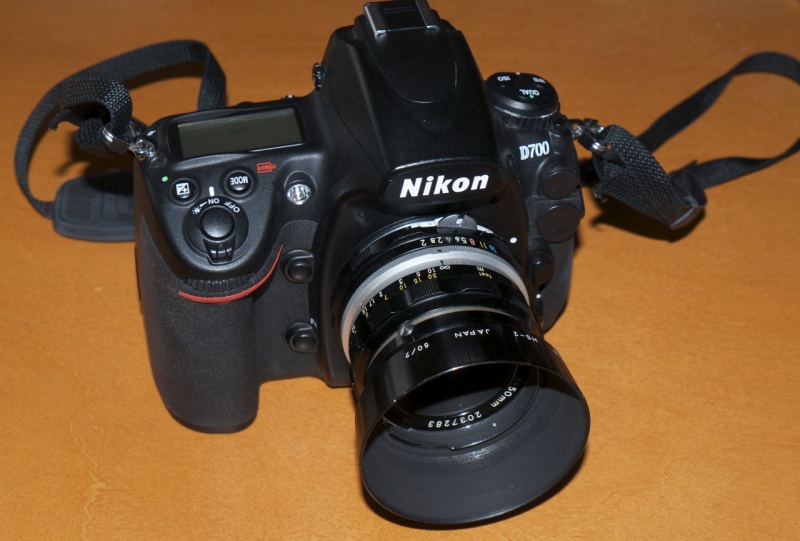
On the D700. The ten pin connector can also be secured using the chrome ring.

The trigger, just under four inches long and very lightweight, has four settings in addition to the on-off and firing buttons. They are single frame, continuous, Bulb and a very handy self-timer. To get Bulb to work the camera’s Mode has to be on ‘M’ and the shutter speed set to ‘Bulb’. Thereafter a first pressure on the remote’s button opens the shutter, a second one closes it. The self timer delay is some 5 seconds. Its use is not so much to allow you to rush into the picture – with a 100 foot trigger range you just take the transmitter with you, of course – but to let vibrations die down in the camera when on a tripod. Use the mirror lock-up feature to further help things and you can get away with shutter speeds in the critical 1/15-1/60th range where mirror slap tends to make for a significant definition robbing effect.
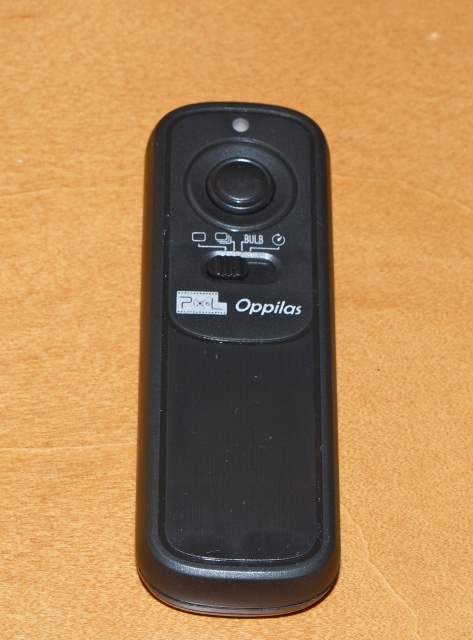
The trigger.

I bought mine from eFraud in the US for all of $22.90 shipped. One of the best features, in contrast to similar remotes I have bought for my 5D and G1/G3, is that neither receiver or transmitter uses exotic, costly batteries. Each makes do with two AAA cells, and four such batteries are provided with the device, along with the usual comical Chinglish instructions. The maker claims a 300 hour standy-by life for the receiver batteries, and 3 years for those in the transmitter! In practice, the receiver is switched off when not in use, and it’s hard to forget as it blinks a red diode when on, so the practical receiver battery life is likely many times that stated.

The only anomaly I have encountered so far is that when the receiver is plugged in to the D700’s ten pin socket, the LCD on the rear of the camera goes dead. Neither menus nor image preview can be invoked. You can fix this by using the receiver with a 2.5mm cable connected to a GPS receiver inserted in the nine pin socket – see the Comments below for details.

A friend in the UK bought one from eFraudUK for a Canon 40D – only the connecting cable differs, and has had like success with it. This device is highly recommended.

I cannot find a Nikon branded device with like specs, but if it exists prepare to have your wallet emptied.

Converting old MF Nikkors

Bringing classics back to life.

Nikon’s Nikkor lenses, made through the early 1970s, were strangers to plastic. Brass and alloys were the order of the day, right down to that gorgeous scalloped metal focusing collar. These come with the meter coupling prong used on the old Photomic metering heads on the Nikon F and Nikkormat bodies of the era, redundant on modern digital bodies. But, while Nikon made their later lenses ‘AI’ (Auto aperture Indexing), these old masters will not fit a modern DSLR. A sector has to be milled from the rear of the aperture ring to permit fitting and to index the lenses’ maximum aperture if the metering system is to work correctly.

You can get a sense of what I’m talking about by simply feasting your eyes on my latest acquisition, a 200mm f/4 Nikkor-Q lens, made in 1971. Simply gorgeous to handle and behold, with optical quality to match. Markings are engraved and paint-filled, and of very high quality. The whole thing is a beautiful, thoroughly engineered tool.

They simply do not make them like that any more. The lens hood is built-in.

Here’s the rear of a Nikkor of that era before AI conversion:


Arrow denotes lip.

As you can see, the small lip protruding from the rear of the aperture ring does so all the way around. It prevents the lens from mounting on a modern DSLR body.

And here’s a Nikkor which has had the AI conversion done:


The arrows show the limits of the milled arc.

I own two such classic Nikkors, a 50mm f/2 and the 200mm f/4 above, and had both converted to AI specifications by John White of Ann Arbor, Michigan, a highly regarded source for such work.


Click the picture to go to John White’s site.

The turnaround time is about a week, and the cost $33 including shipping. Mr. White is polite, answers emails promptly and is a pleasure to deal with. After conversion, lenses work perfectly on my Nikon D700 body, though you have to remember to dial in the right ‘non-CPU lens’ setting if you want correct EXIF data stored with the image file.

And the cost of that mint 200mm gem? Would you believe $29? Yes, twenty nine dollars. With conversion and shipping the total cost came to $75.

1972 50mm lens on a 2012 body.

It’s not easy to describe the sensual pleasure of using these old lenses. The best I can do by way of analogy is to say that, after using their modern equivalents, it’s comparable to the difference in telling time on a mechanical watch compared to a digital timepiece. Both serve identical purposes but there’s only one you return to with eager anticipation and that silent thrill that has you thinking “Wow! Do I really own this?” Form and function are one.

These classics are abundantly available and, if you can live without VR and autofocus, worthy of serious consideration. You can be sure of two things. They will outlive you and they go for the price of a sushi dinner.

Obligatory snap of the long suffering Bert, at f/5.6.

Some people use a brick wall to test lenses. Chez Pindelski the test chart is none other than Bertram, the Border Terrier.

For more snaps taken with the 50mm Nikkor lens, click here.

For DIY instructions on AI conversion of old Nikkors, click here.

Cheap, not nasty

A few from the 75-150mm Series E lens.

The trade offs with these older, inexpensive Nikon lenses are simple. You give up AF and VR and save on cost, weight and bulk. It means that everything is slower in practice and only the user can decide if that matters.

But the one thing you most certainly do not sacrifice, based on my early experience with the budget 75-150mm Series E Nikon zoom, is definition. It’s superb.

Statuesque. D700, ISO 800.

Nap. Same data.

Cell call. Same data.

Window detail – 1895. Same data.

Burlingame station – 1895. At 150mm. Same data.

Station detail – in heavy shadow. At 100mm. Same data.

Enlarged section of the above. Taken at f/5.6. Definition
is the same across the frame. Flare is handled well.

George Hurrell

Photographer to the Stars.


On the cover – Joan Crawford and Franchot Tone. Click the image.

George Hurrell’s star shone brightest when the Hollywood studio system was in full flow. Stars may not have made the extraordinary compensation packages of today and, indeed, their long term contracts pretty much made them indentured servants to the studio bosses, but they had regular work and who would argue that today’s movies are better?

I was reminded of this splendid book when setting up the lights for our son’s tenth birthday session, and surprised to find I had never mentioned it here. The boom light used on the hair is pure Hurrell, and you will see its effect in almost every picture in the book. I have had this book in my collection for years and it’s still in print, though my Scottish gene reminds me that I almost certainly bought it at a remaindered price.

Highly recommended not just for Hurrell’s tremendous skill with lighting – and we are talking large plate cameras here – but also because of the many memorable images of stars of the golden age of Hollywood. My favourite is Loretta Young – a face of quite exceptional beauty.

The placement of the subject under the boom light is critical with the relatively small light sources used today. Hurrell used enormous light boxes which gave off a broad soft beam, making placement of the subject easier. With small strobes, if your subject is as much as an inch or two too far back the face will wash out into a ghastly death mask. I make things easier for Winston by marking the placement of his toes on the ground with tape, once the right position is determined. The cover photograph, above, interestingly uses the single boom light only, to superb effect.