A closer look at a useful app.
I made mention of the inexpensive Focos app as part of my preliminary look at the new iPhone 11 Pro.
Since then I have done more reading and learning and set forth below how to use manual masking to optimise out of focus areas.
I mistakenly stated that Focos used the depth map which iPhone 11 saves with the image. In fact iPhone 11 only saves such a depth map – a detailed database showing the distance of each pixel in the image from the lens – with images taken using the Portrait mode. In Portrait mode the iPhone 11 switches to the 2x lens and, indeed, the extent of the blurring of out of focus areas can be changed in the iPhone stock Photos app. Go into edit mode, tap the yellow concentric circle at top left and you can adjust the aperture and hence the OOF effect.
Yet Focos allows DOF manipulation even on images taken on pre-iPhone X models, the first iPhone with a depth sensor. That sensor is also used as part of the FaceID security access protection system for the device.
How does Focos do this? It uses Artificial Intelligence to guesstimate the distance of image points from the lens, such AI based on analysis of over one million images, according to the developer. This allows the photographer to not only change the degree of blurring in post processing, but also to change the exact point of sharpest focus, something that cannot be done in iPhone X and 11 Portrait mode images, or in any other image from those iPhones in post-processing.
Mostly, for solid components in the picture, Focos does a good job at establishing its own depth map based on this AI approach. But sometimes it’s not so good.
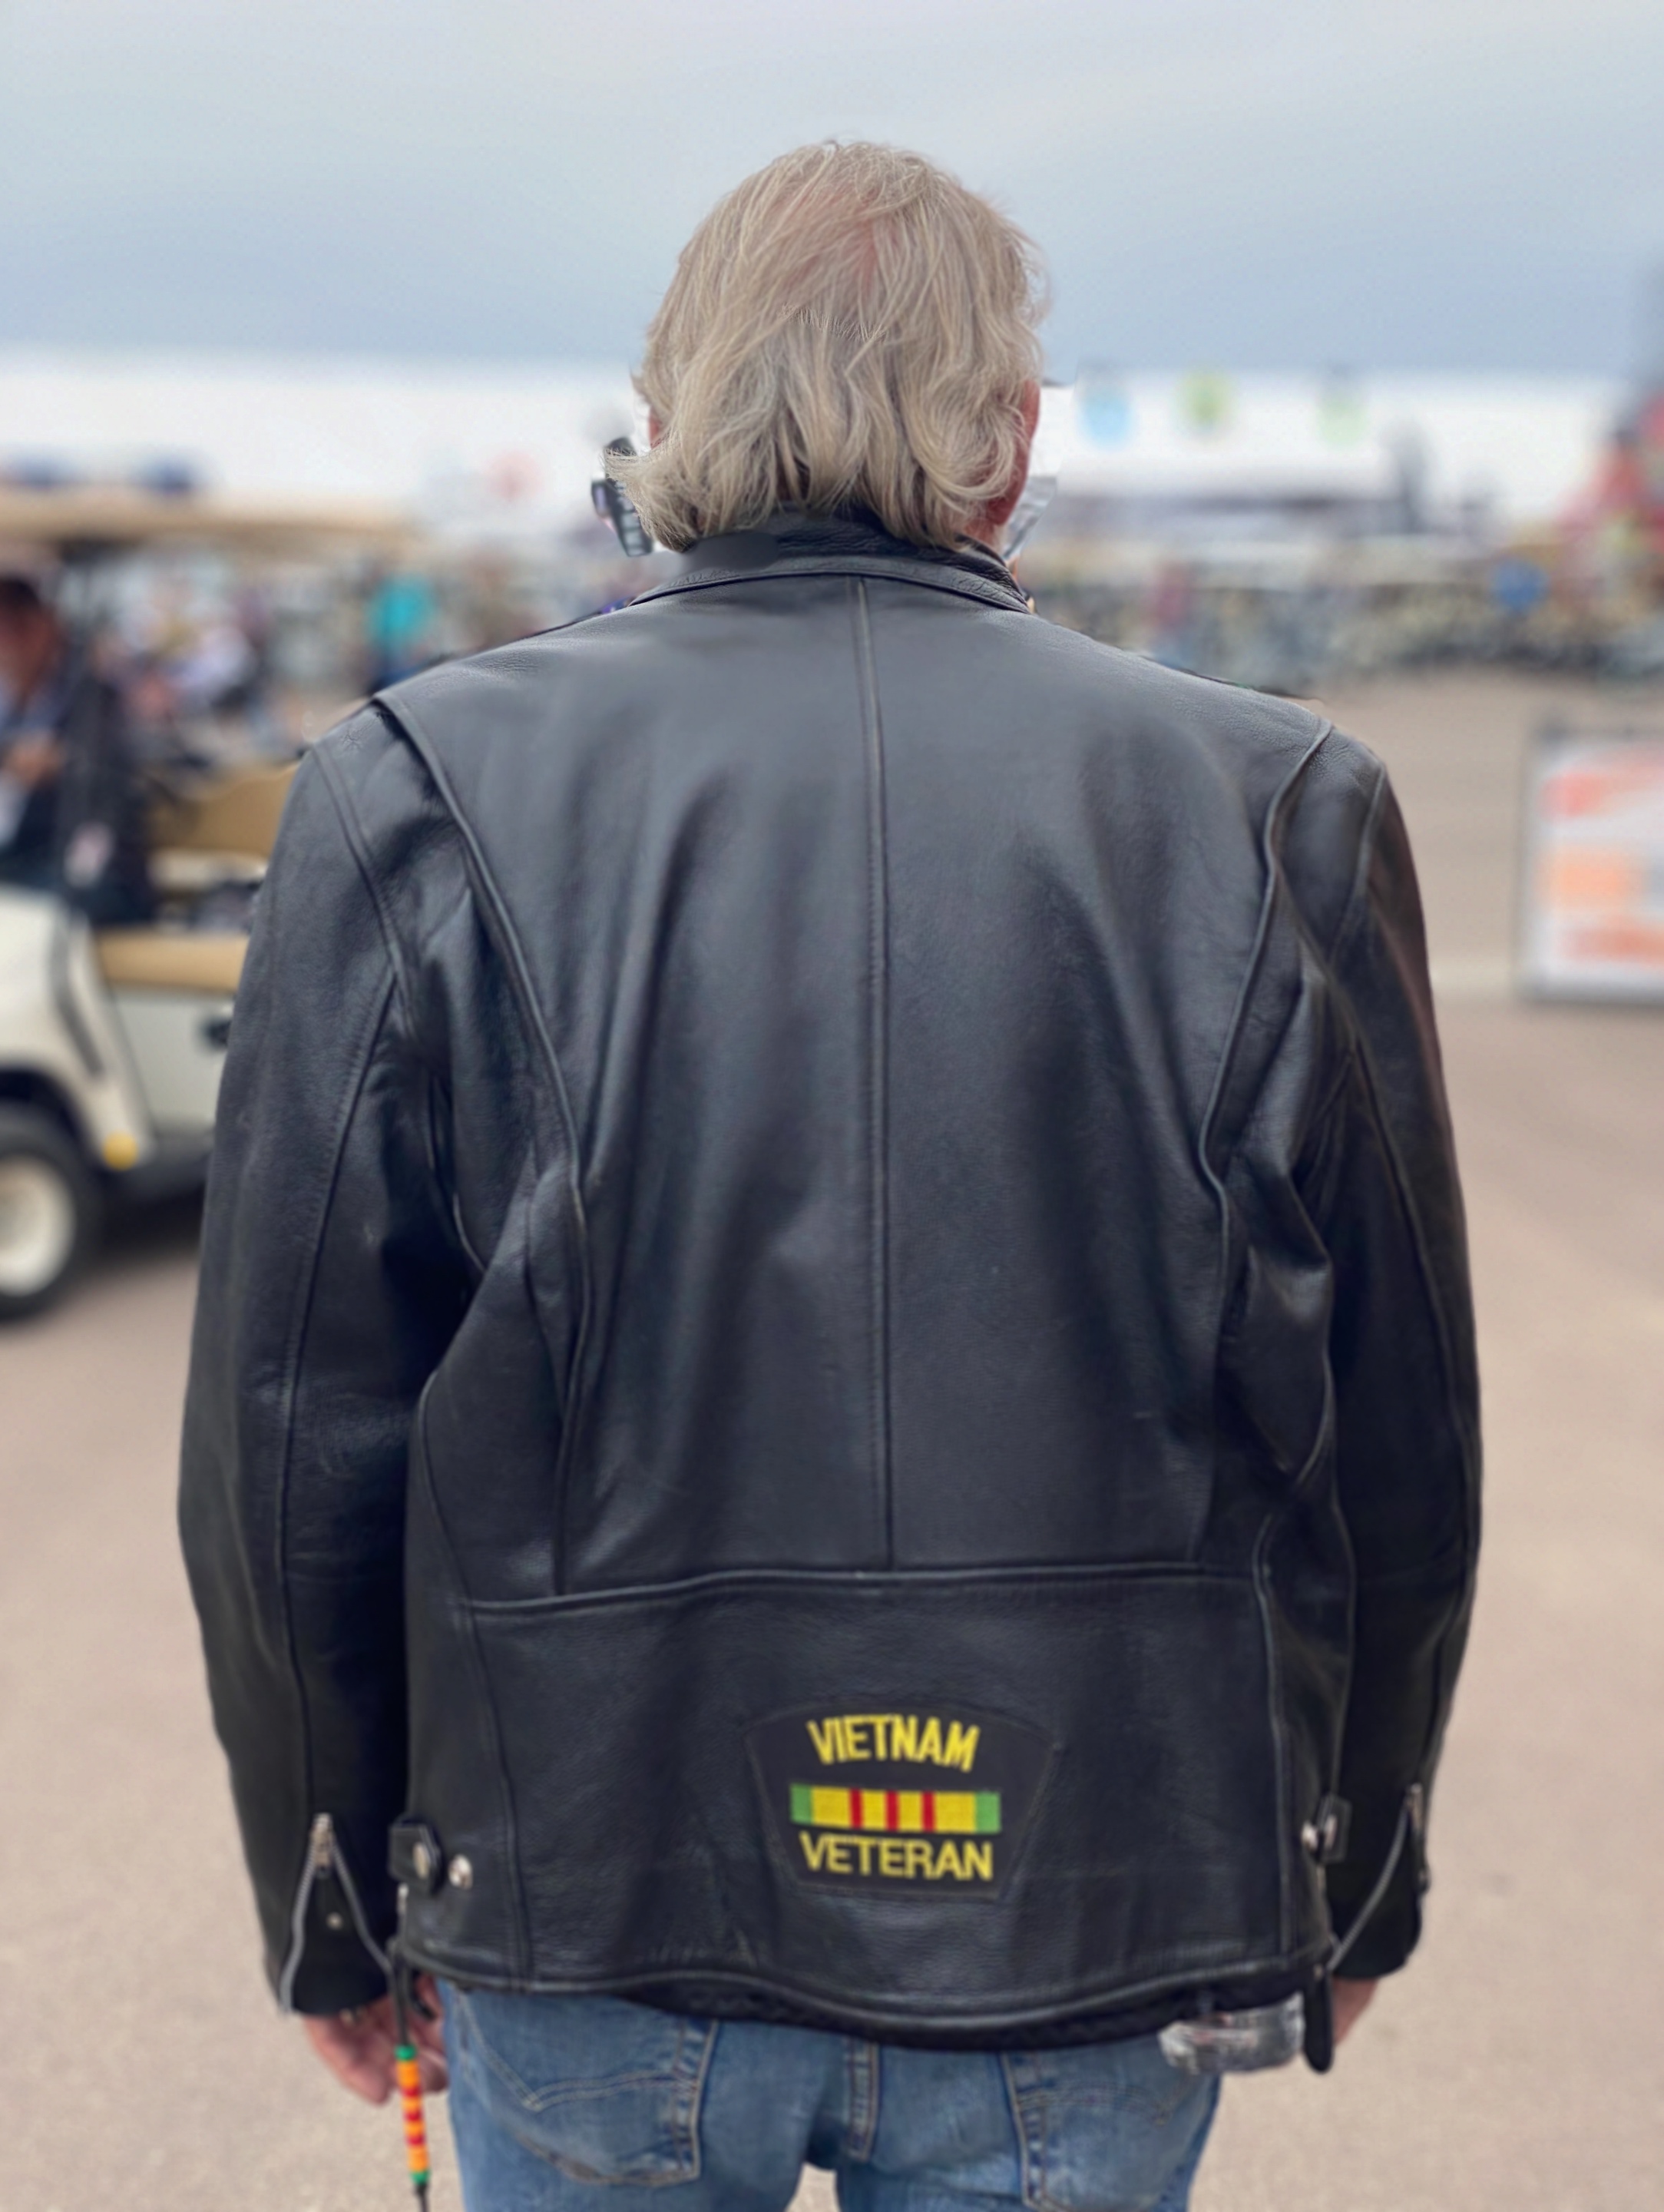
Take this image:

Original iPhone 11 image, no Portrait mode.
Passing this through Focos keeps the jacket and embossed stitching razor sharp, but the hair is not sharply rendered.
In such cases, Focos has a manual facility where the depth map and the sharp area can be changed.
The default depth map (red areas) for this image has been extended to add the back of the veteran’s head, originally not shaded in red:
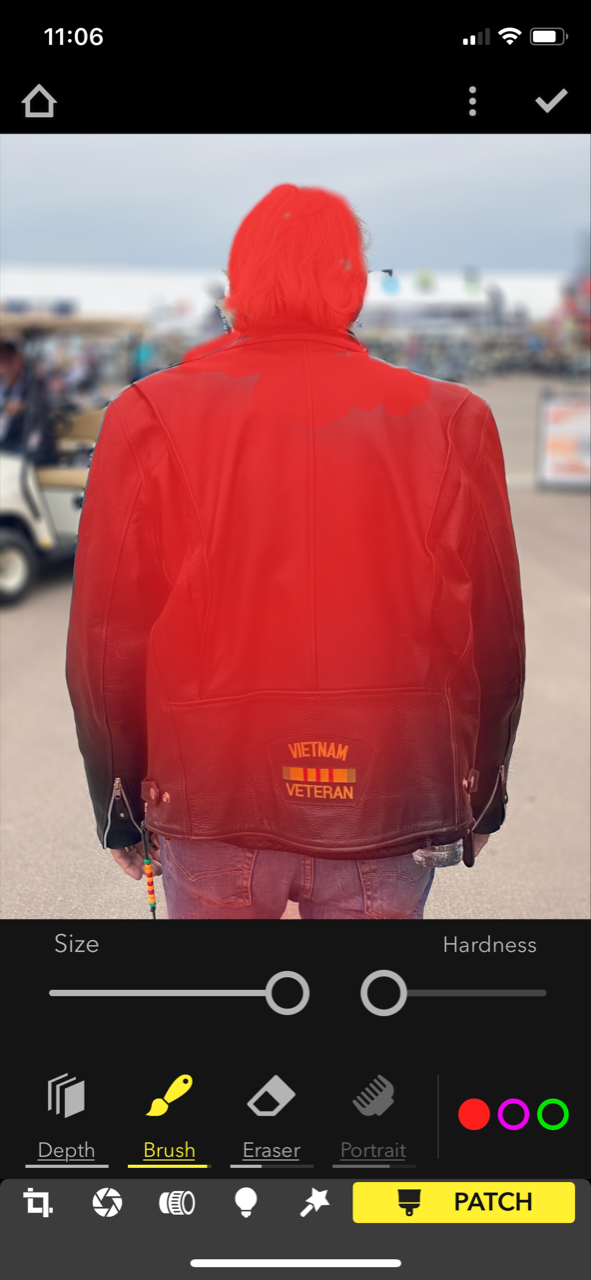
The sharp area mask has been extended in Focos on the iPhone.
Rather than using an imprecise finger to mask the sharp area, I use an inexpensive electrostatic pen, something like this:
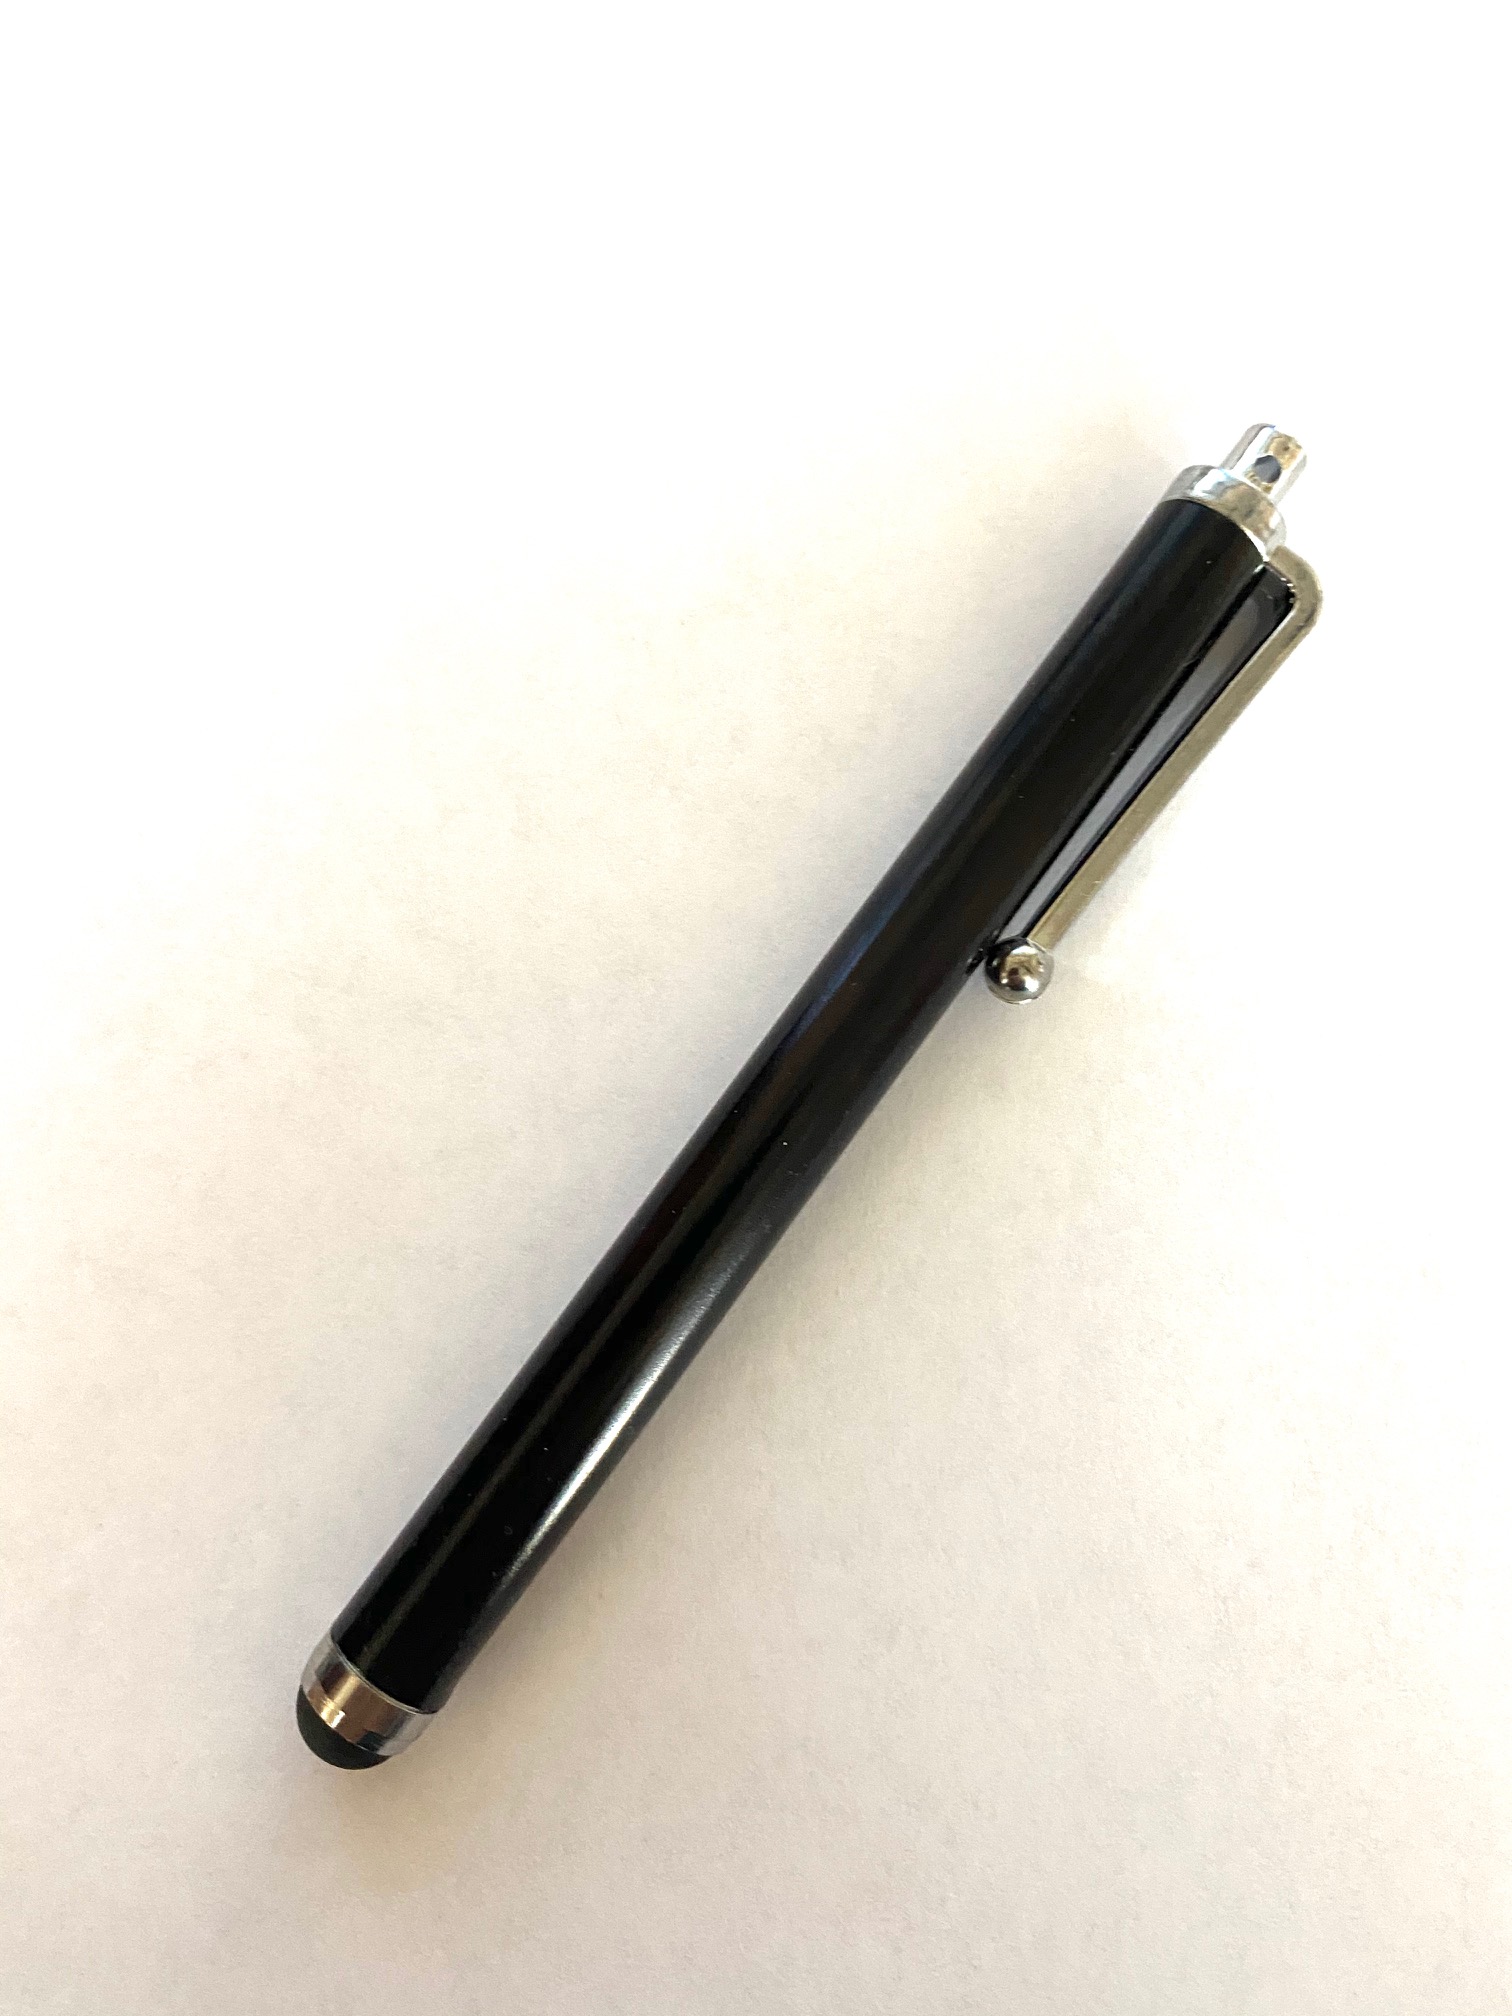
Pen used for masking.
Further, while the image can be enlarged on the iPhone for greater masking precision, it’s far easier to do this on the larger iPad screen, so I use AirDrop to export the image to Photos on the iPad, and have at it there. The aperture/OOF effect are adjusted in this screen:
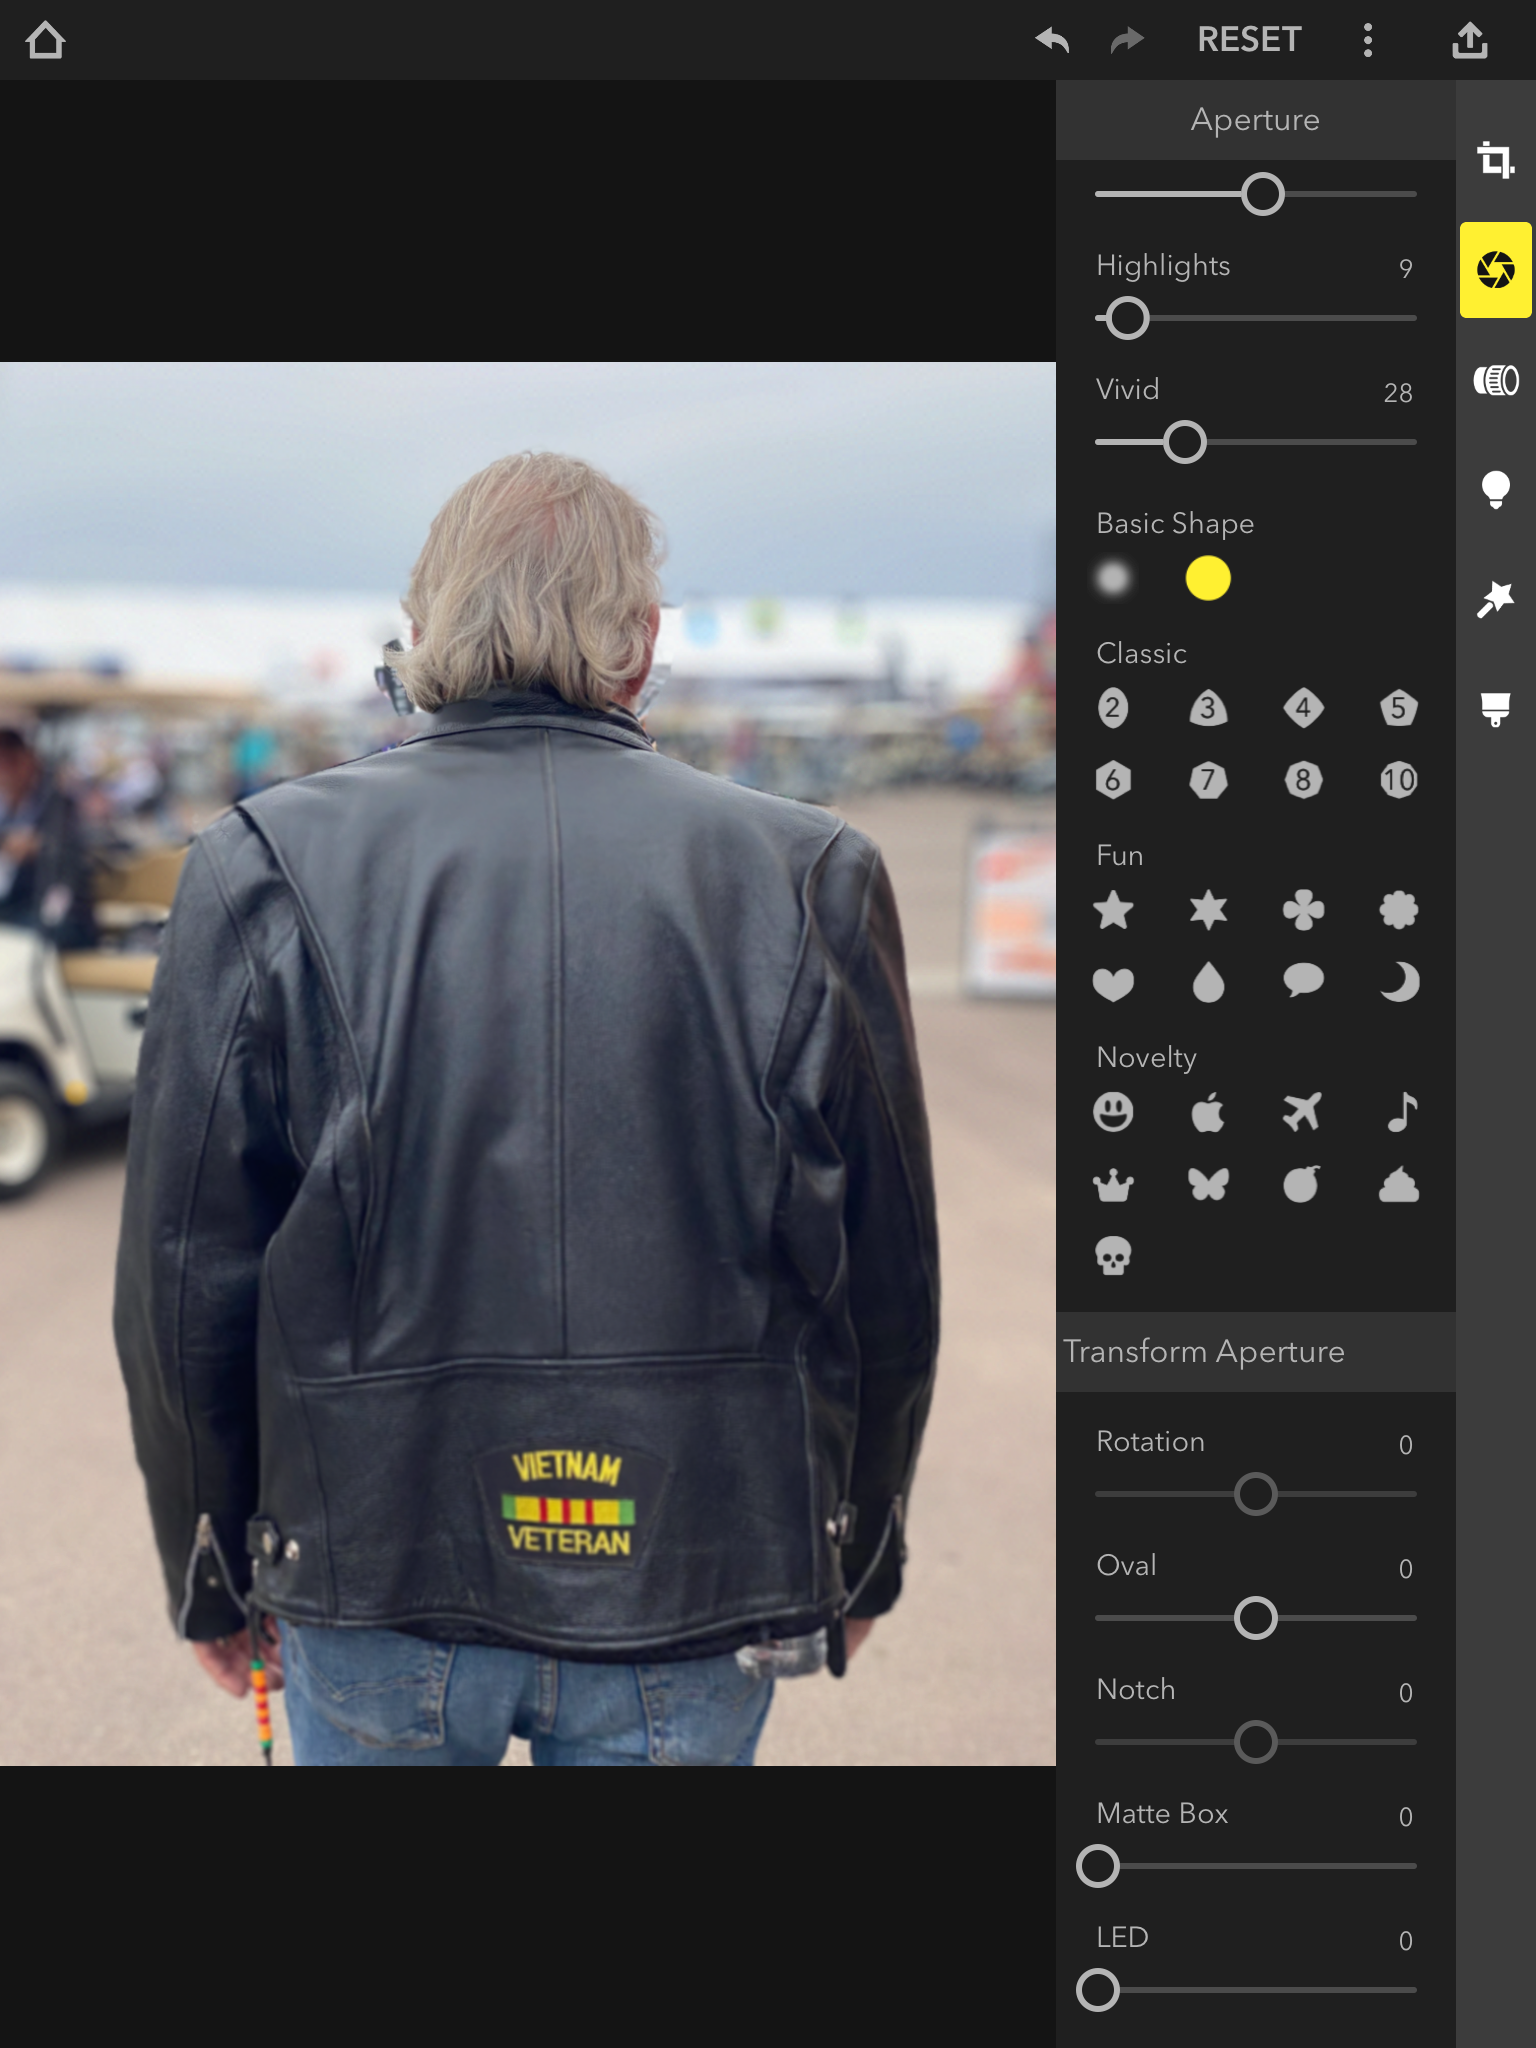
Adjusting the degree of blur on the iPad.
Then the blur appearance is modified using your lens of choice. I invariably use the Leitz 50mm Elmar as I like the benign bokeh it delivers – and because I used one for years:
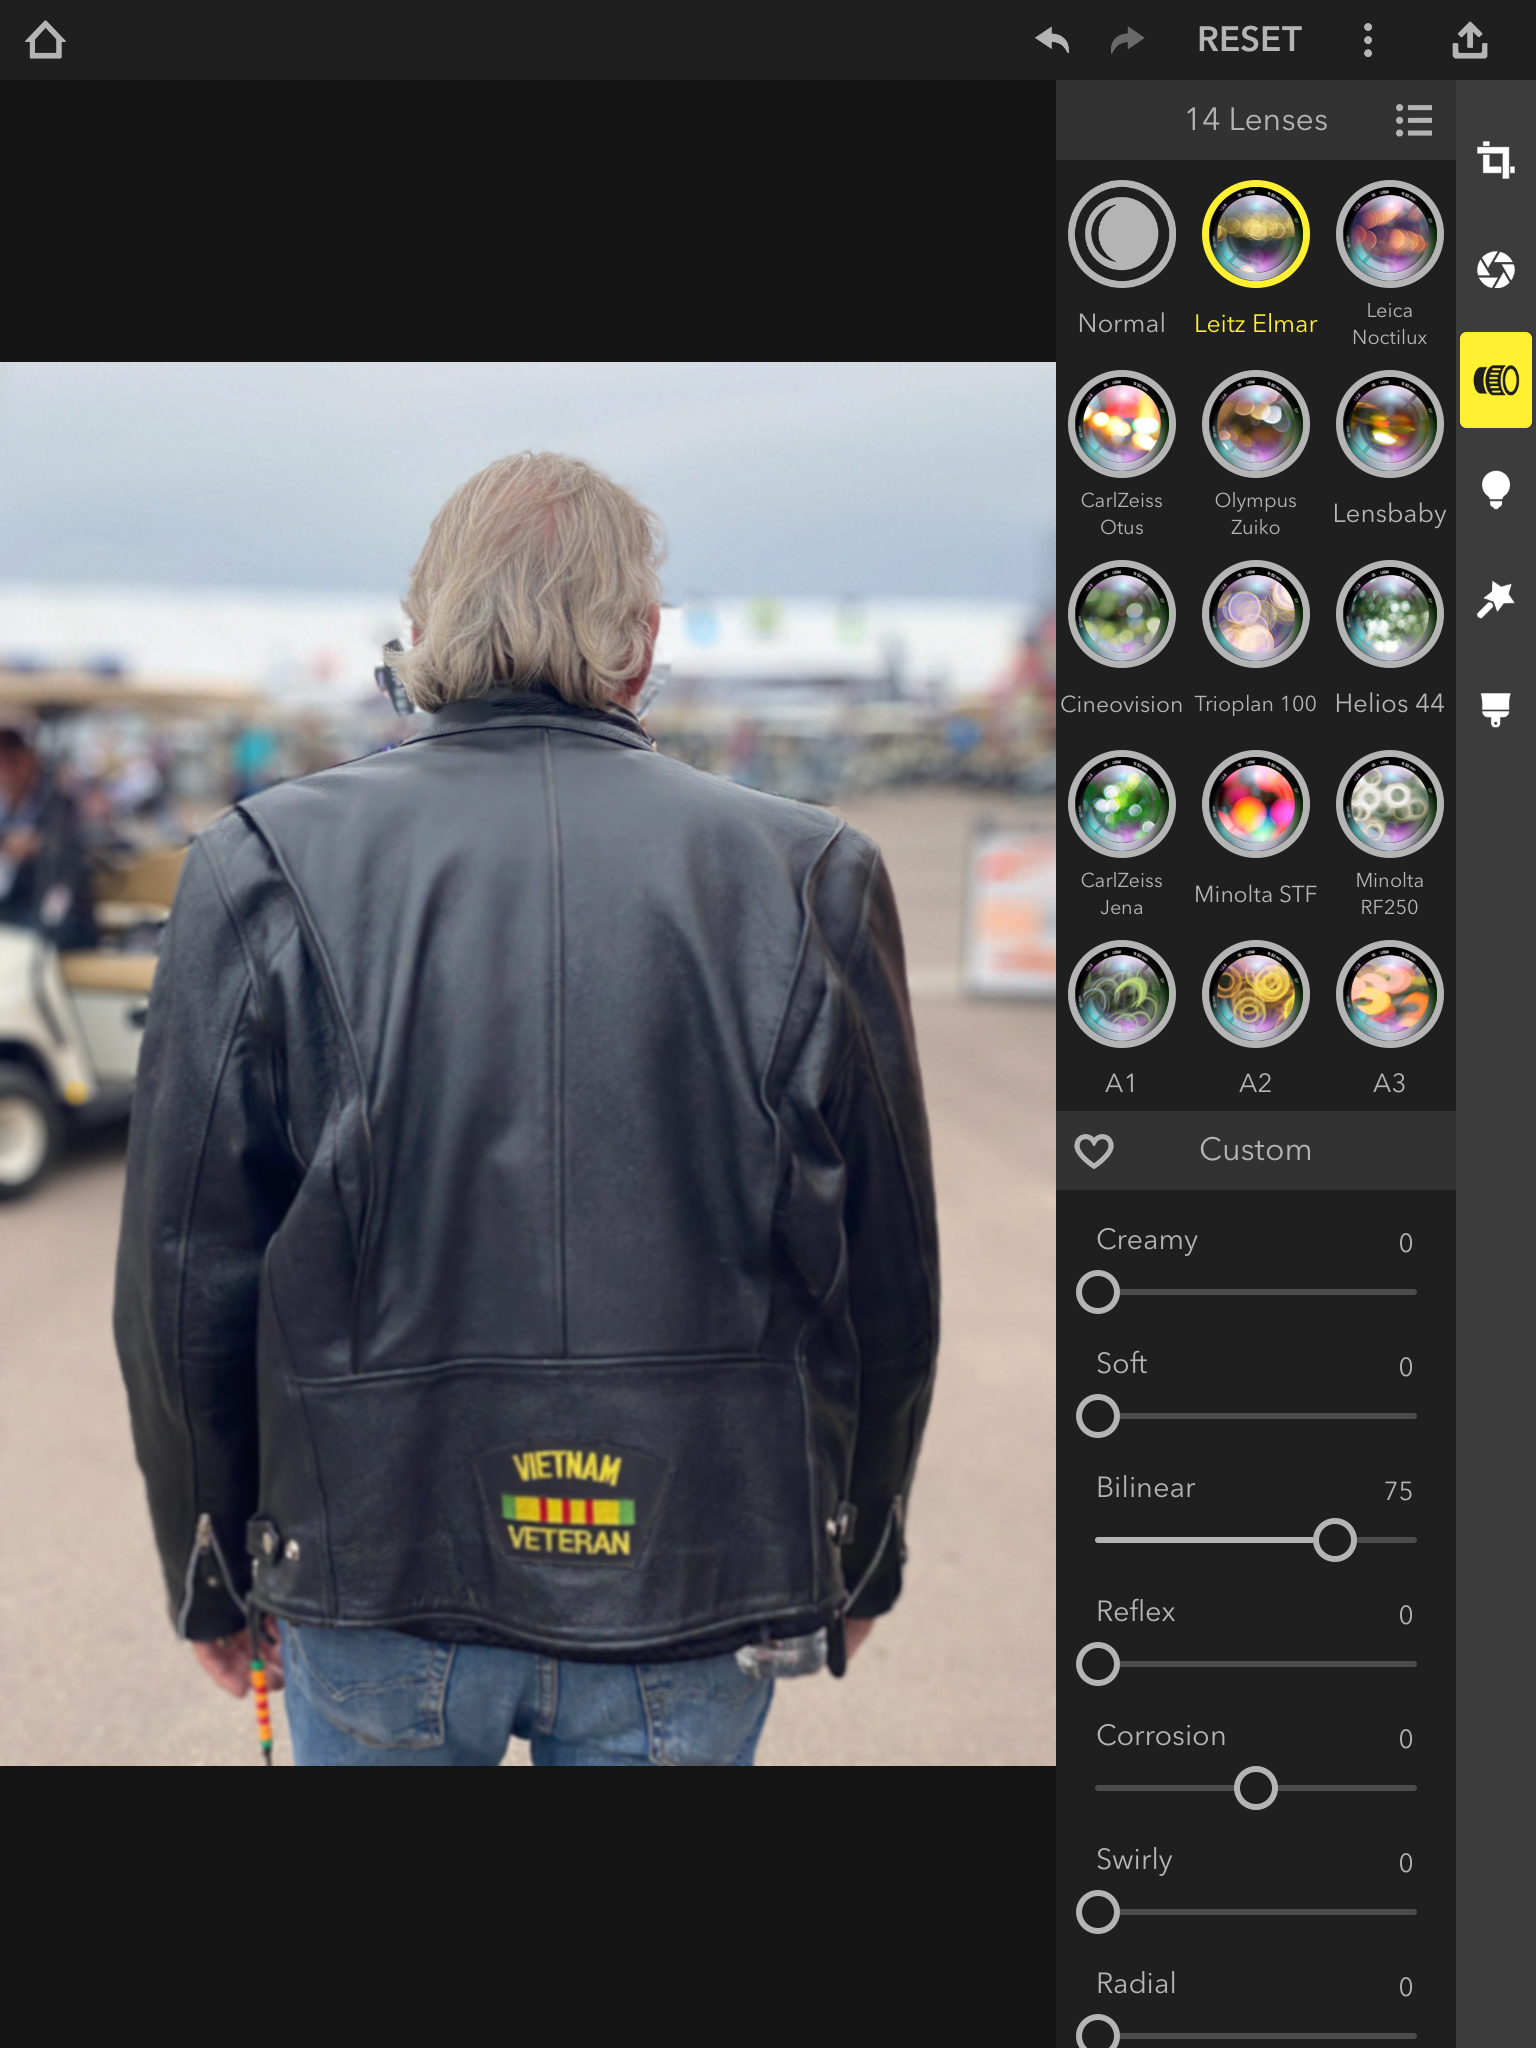
Lens choices, shown on the iPad.
And here is the happy result, which takes less time to do than it does to explain:
The final result.
So for those instances where Focos does a poor auto-masking job, manual masking easily fixes what ails it.
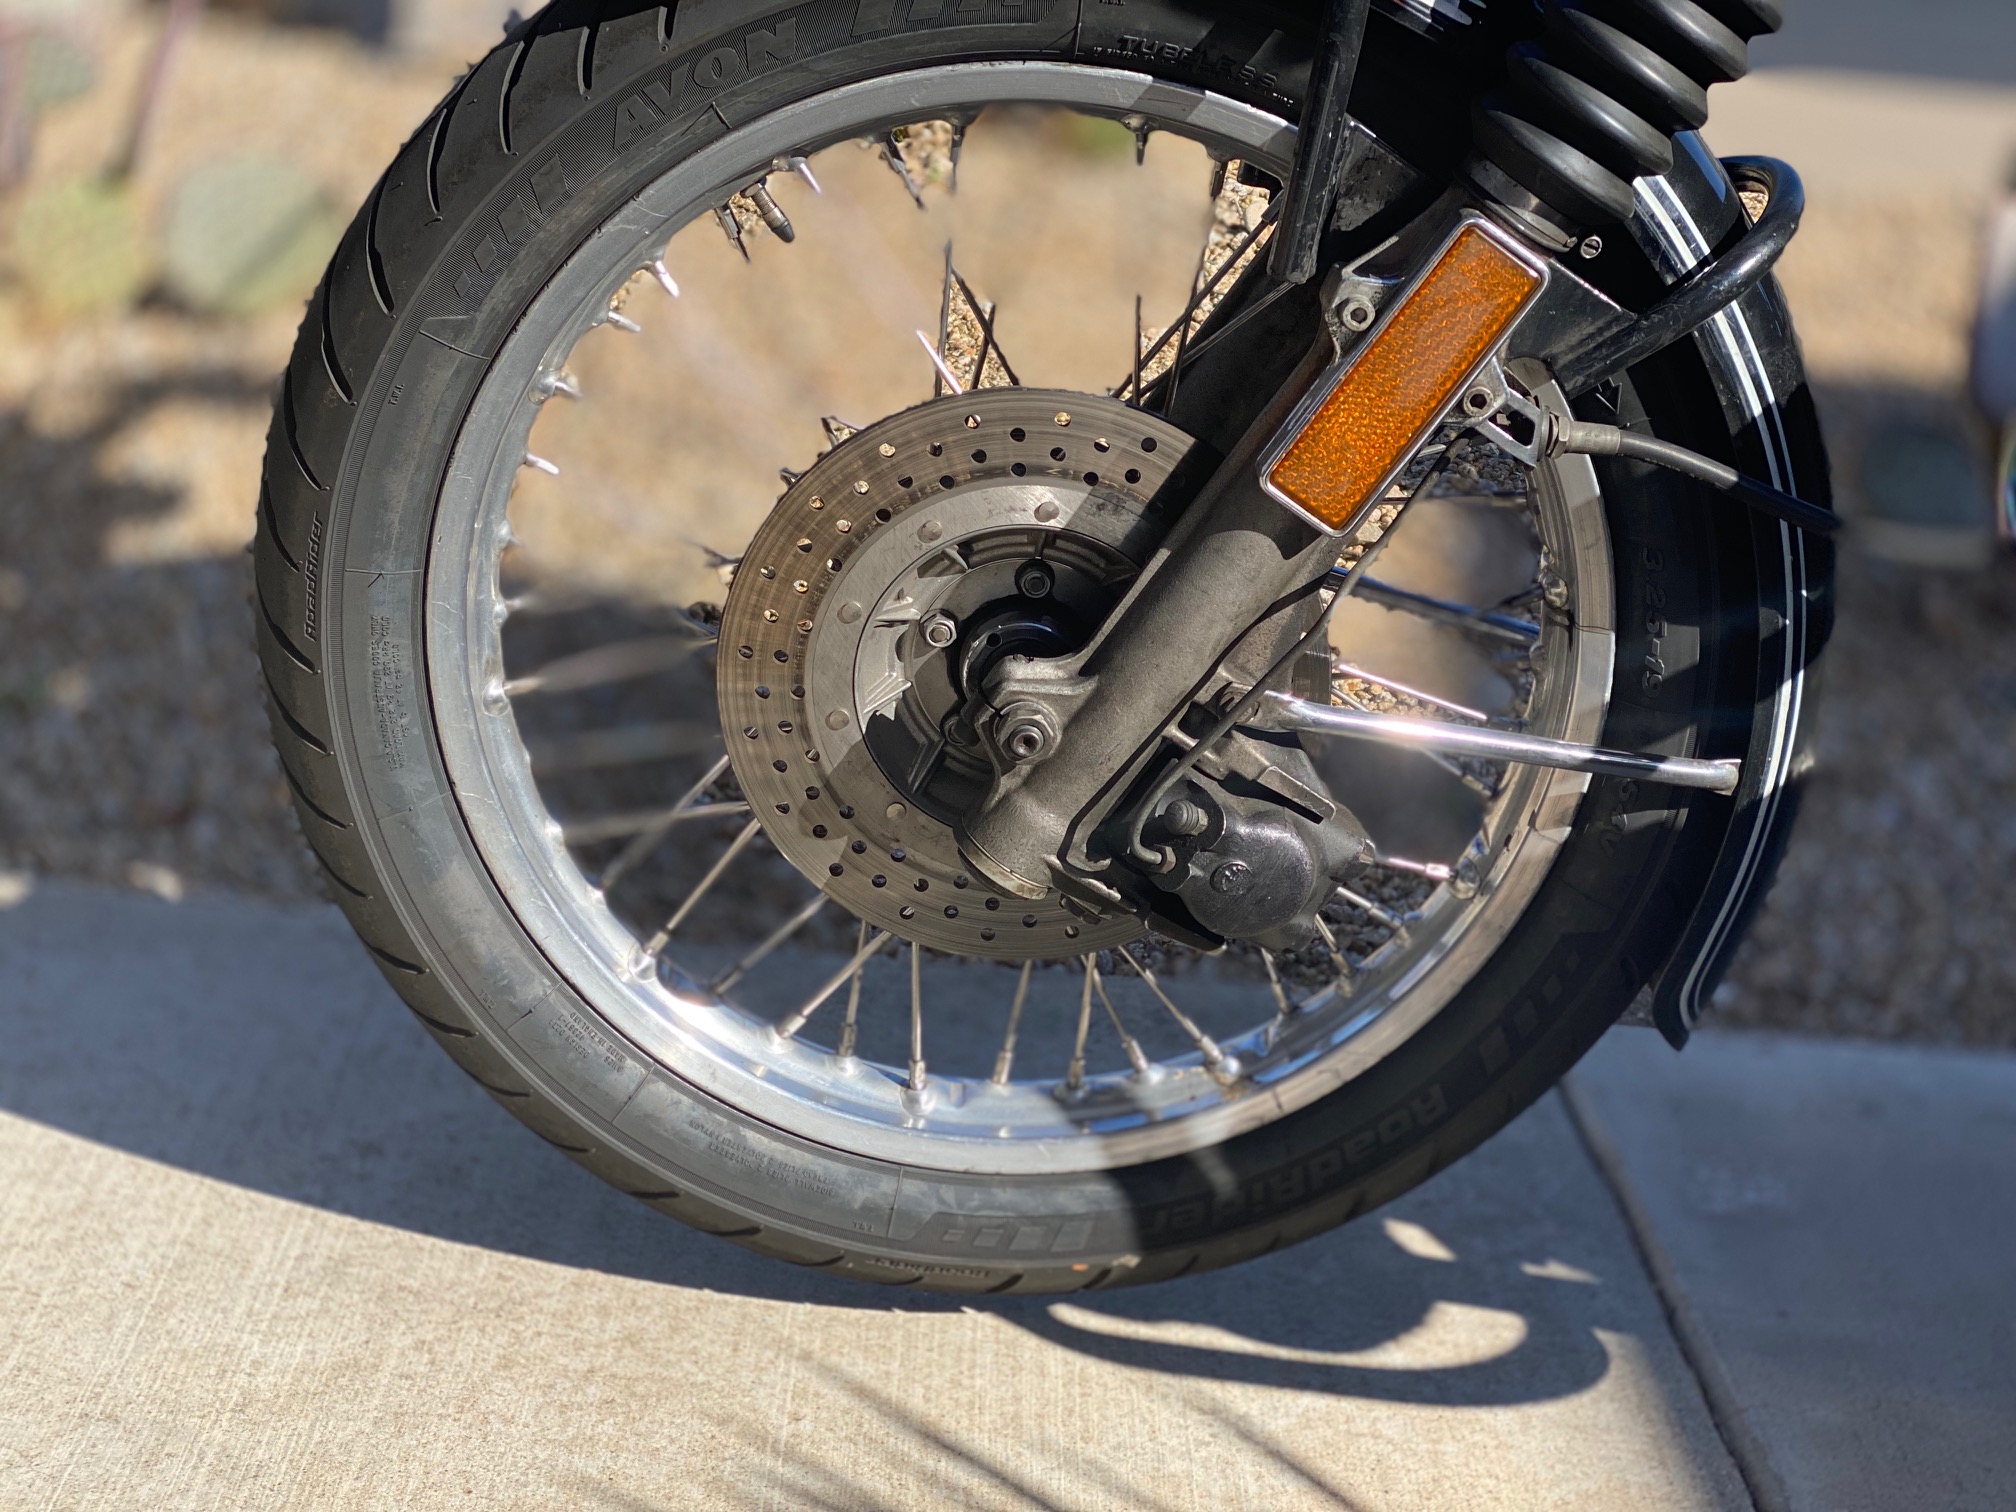
What happens when the going gets tough? This is the sort of image which is a nightmare for computational photography when it’s a case of blurring backgrounds. In Portrait mode the iPhone 11 does a very poor job:

SOOC in Portrait mode.
At f/4.5, the camera’s selected aperture, some of the spokes have gone missing. This is likely because there are simply too few pixels in the depth map sensor to permit creation of a sufficiently detailed enough map. The spokes are small in the image and likely preclude sufficiently accurate depth map recording. As this image was taken using Portrait mode, meaning the iPhone has stored a depth map, how does it look when the aperture is increased to the maximum available, f/1.4 in the Photos app? Even worse:
Aperture changed in iPhone Photos edit mode. At maximum aperture spokes disappear.
How about a regular, non-Portrait mode image snapped on the iPhone 11 Pro and manipulated in Focos for an f/1.4 aperture? Still awful, though better than the iPhone’s Portrait mode + in camera depth map delivers, but some OOF areas are shown sharp:
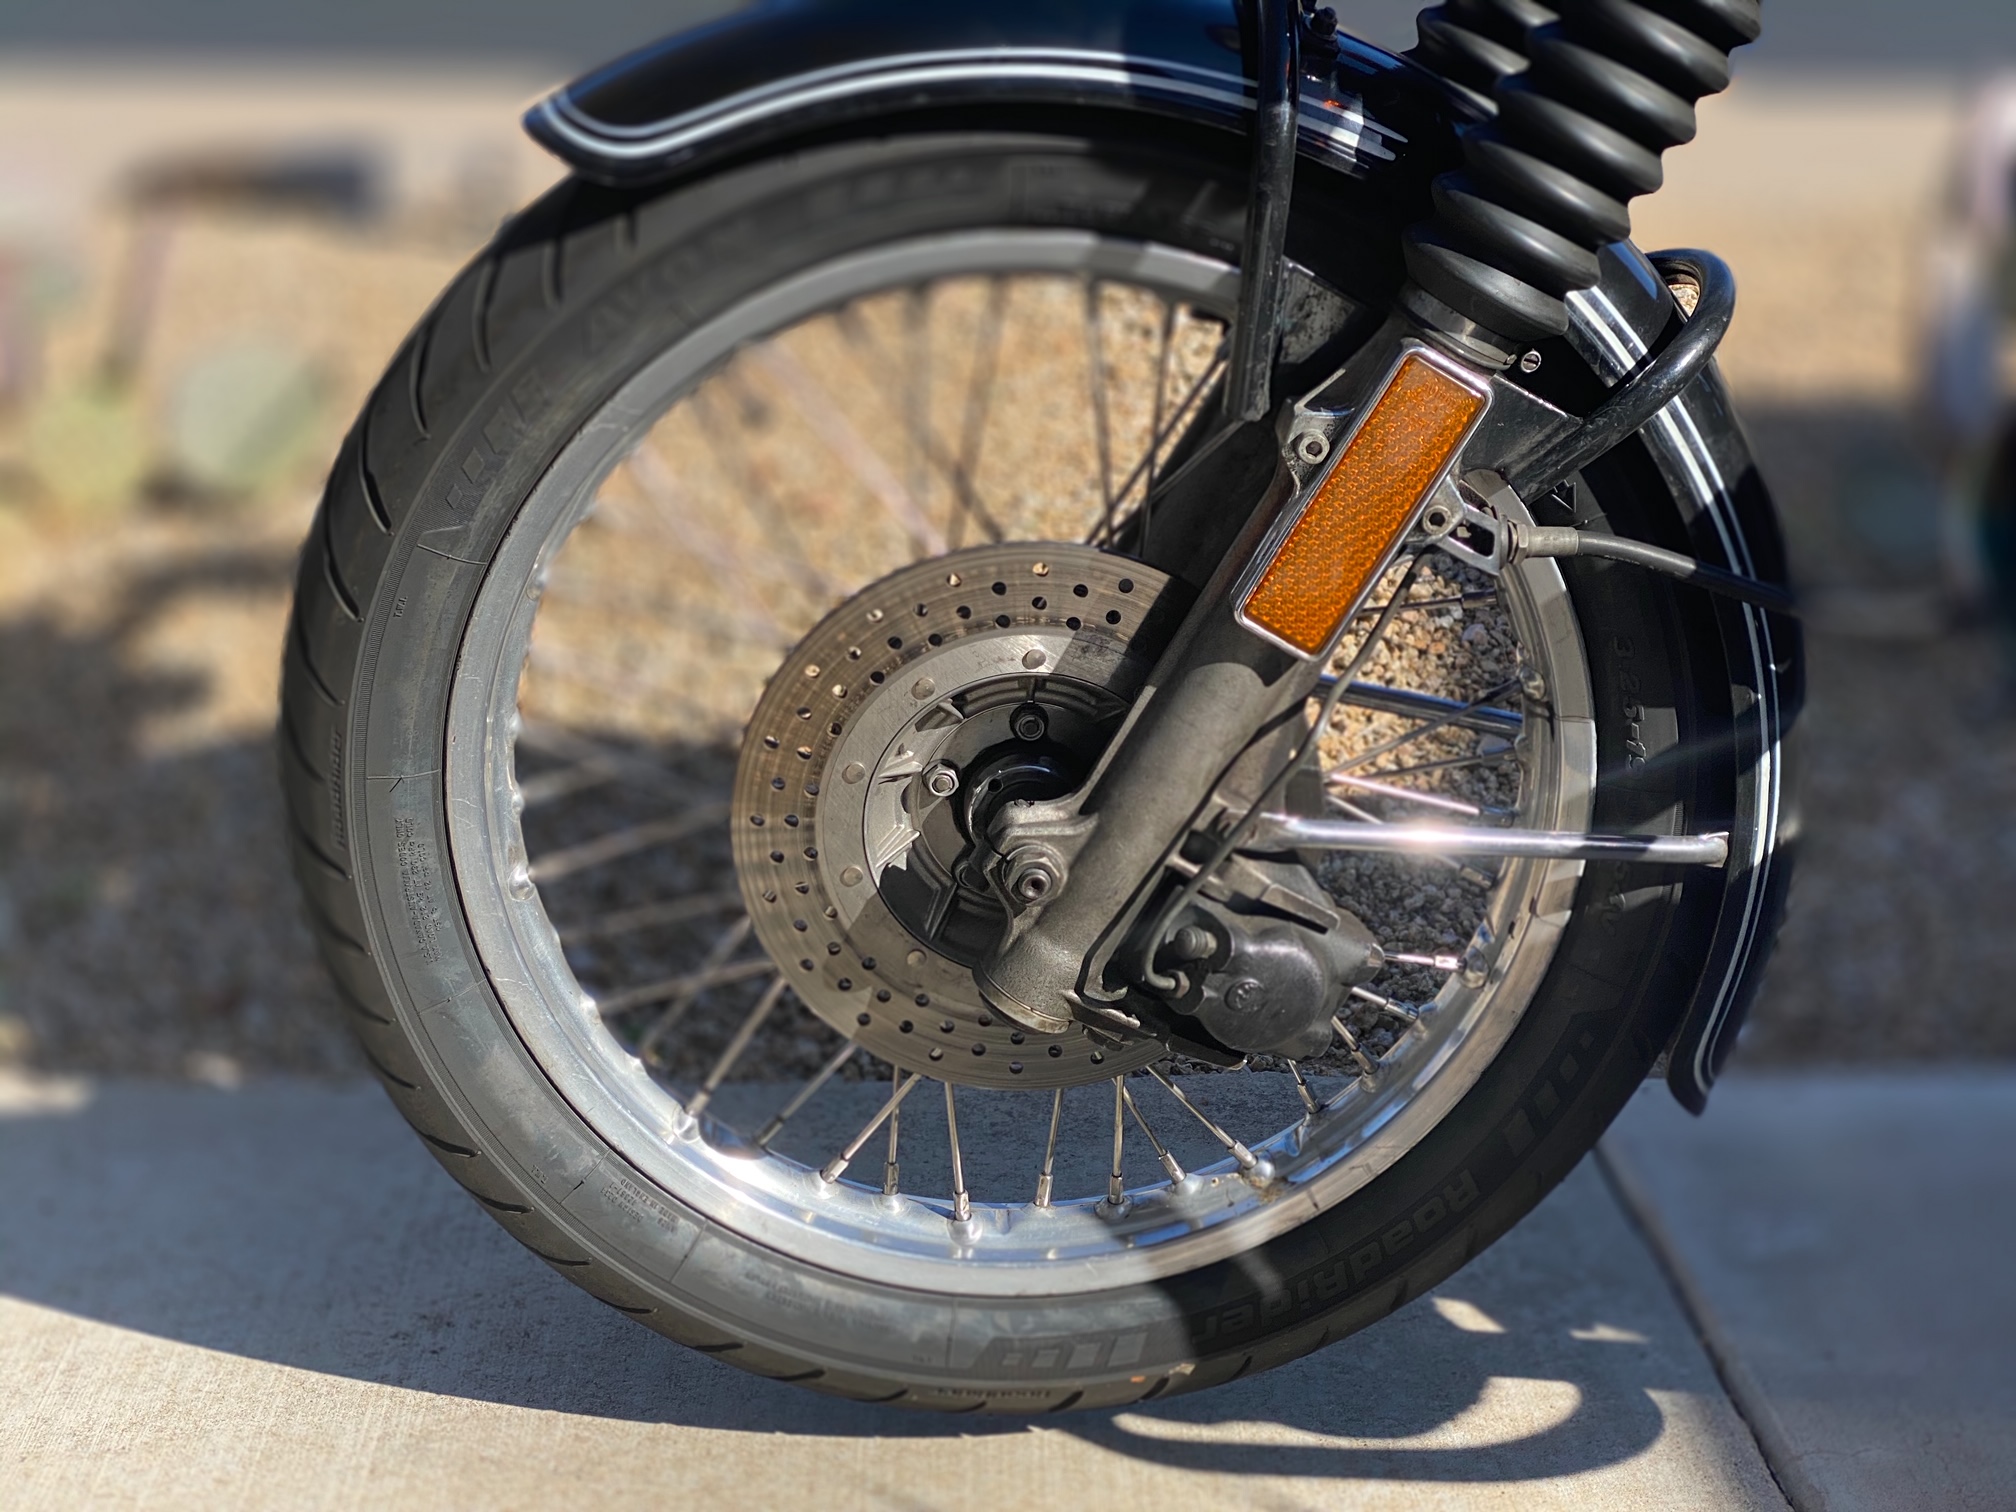
The final result.
So until depth sensors get finer ‘grained’ both the iPhone’s Portrait mode and Focos’s AI approach leave something to be desired. And only a true masochist would seek to edit the spoked wheel image for proper rendering. Simply move the slider to f/16 in either image and all is sharp. Forget about bokeh. That will have to do for now as we await a better iPhone depth sensor – which is likely, given Apple’s increasing focus on 3D rendering in future iPhones.
When should you use Focos in lieu of the iPhone’s portrait mode? If taking bursts, as Portrait mode prohibits those. Or when you need the far greater versatility Focos offers for manipulating OOF areas. Otherwise, the iPhone 11 Pro’s native Portrait mode is perfectly fine, as long as your preferred daily rider and photo subject is not a classic bike with spoked wheels!