The ultimate tool.
Truth be told, the old knees are not what they used to be. A serious session of motorcycle maintenance means a morning after reminiscent of a good beating with a cricket bat. Or baseball bat, if you prefer. (I do not).
After the last such session I decided that I could either delegate maintenance tasks to the local Airhead specialist or get a motorcycle lift. As the average trip to that specialist runs $500 and up, cost recovery would not take long even for a premium priced American product, and I very much wanted to buy American made, not an import from the Far East.
As for paying up for American labor and steel, what’s your life worth? More importantly, what’s your bike worth? And with 30 years on my Airhead you could say we have formed something of an attachment.
Visit any professional bike mechanic’s workshop and the chances are you will find that the lift used is made by Handy Industries of Iowa. Yup. American labor, American steel.
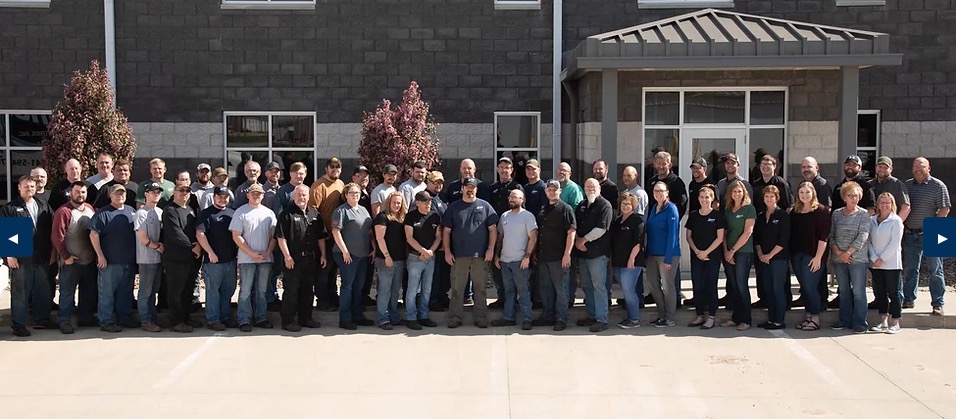
The guys (and gals) at Handy, a division of Janco Industries.
For an excellent video review of the Handy SAM 1200 motorcycle lift click here. It’s what convinced me to buy one. The video is professionally produced, devoid of the puerile commentary and raucous music usually found on YouTube pieces, and written by an objective, dispassionate engineer. There is extensive comparison with earlier Handy lifts and also comments on the cheap imports out there. My review, which follows, is more focused on the user experience and also addresses related issues of how to prevent the lift sliding on a slick garage floor, how to use tie down straps and how to select, adapt and use a jack to raise the rear wheel for removal through the removable rear plate. If I disagree with one opinion stated in that video it is about the slots for tie down strap hooks which the reviewer does not particularly care for. I have found that they work perfectly. Like that reviewer, I have no connection, economic or otherwise, with the Handy’s makers, other than I paid with my own hard cash for one. The reviewer’s inspired idea of using a furniture dolly to move the collapsed lift is repeated in my narrative, below, and is entirely attributable to that reviewer.
There’s a reason Handy has been in the business since 1964. Parts availability is not an issue. The range is broad, and I settled on a pneumatic model, the SAM 1200, which uses rubber bellows, powered by your air compressor, to raise the lift table. This is the SAM 1200. The capacity is 1200lbs. which will make Harley riders happy; my 1975 BMW comes in at 435lbs. wet. Handy states it has tested this design to 25,000 cycles (I will be 178 years old by then) and it’s ingenious. Instead of a hydraulic cylinder the lift uses sturdy rubber bellows to raise the table, with an automatic mechanical locking device to retain the table in place. Air pressure is only used to raise the table. It is not the support mechanism when the table is in use. Mechanical locks do that. That is a safe approach.
While the Handy costs three times as much as the one at your local Harbor Freight, it’s safe (safer?), parts are available and, as I can now testify, the quality and finish are gorgeous. COVID has slowed production somewhat and it was some seven weeks between order and delivery. Communications were fluid and the lift arrived on schedule, just in time for the end of the furnace which is summer here in Scottsdale. Work in the garage during those summer months is out of the question.
The lift arrived on a wooden pallet with a total weight of 397lbs. 322lbs for the lift, which is fully assembled when shipped, 37lbs. for the massive wheel vise and the rest for packing materials. Another $20 for the truck driver saw him use an electric Toyota fork device to deposit the whole thing in the garage. It’s a real bear to move. Mercifully that Toyota electric lift was rated for 4400lbs!

As delivered. The vise is in the top box.
The vise is removed and then the pallet with the lift box tipped over through 180 degrees along the longitudinal axis. This places the legs at the top of the box. After removing the pallet, the box is opened and any internal strapping removed. An air hose is connected to the lift which causes the legs to rise, allowing leverage to be applied to the raised legs to tip the whole thing first on its side, then upright.
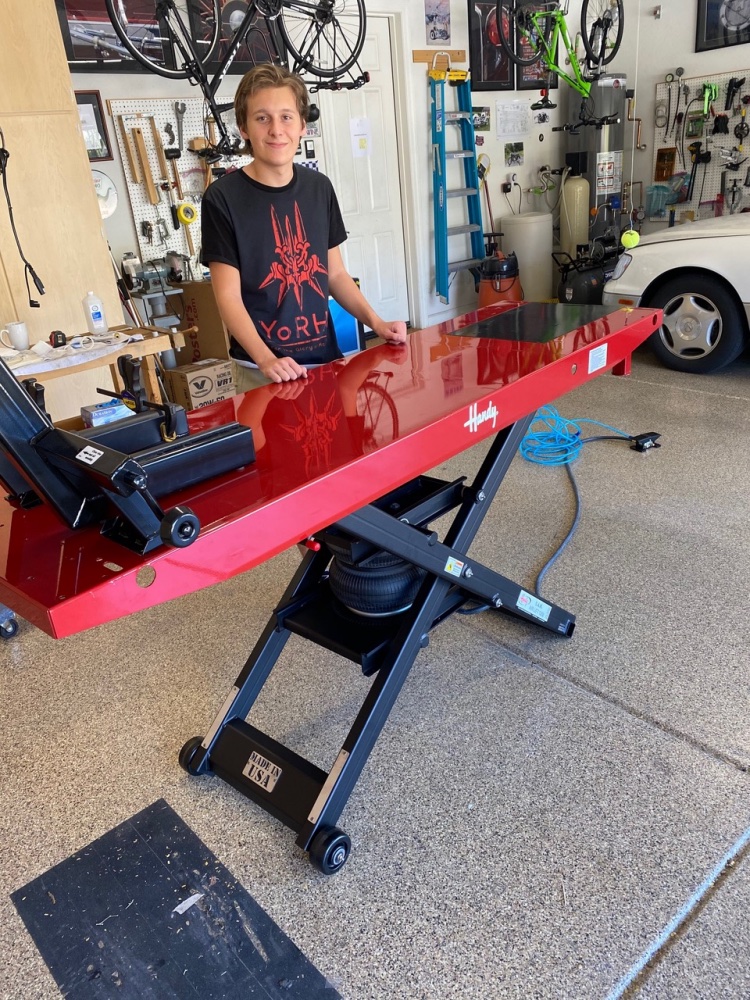
My son Winston models the lift. Vise in place is about to be bolted down –
10 provided nuts, lock washers and bolts. Phenolic wheels protect the floor’s finish.
Goodyear rubber bellows visible below the table.
Can one person do this? Just about, though it helps if he works out with Schwarzenegger. Two people make it easier. Soft rubber self-adhesive pads are separately provided and have to be stuck to the sides of the vise to prevent marring of wheels. The jolly red finish is an alternative to the standard grey, and is available at a small premium.
As is clear from the above image, the Handy lift uses a scissor leg design, with no base frame to trip on. This allows the use of a small furniture dolly to support the lift as it is ‘deflated’, and the legs will rise off the ground when the air bellows are fully evacuated. This makes for easy movement and storage in the garage. If you propose moving the lift with a motorcycle in place, I would recommend a far heavier duty dolly than the one I have linked.

The 15″ square dolly is visible above. Movement of the 359lb. assembly is trivial.
When fully collapsed the legs are off the floor.
When additional worktop area is required for other tasks the lift can be raised to working height. The maximum height is 39″ and the table’s size is 84″ x 24″, with the sloping, removable loading ramp adding 30″.
As for those sharp corners just waiting to bruise something as you roll the lift around in the garage, four 2 1/8″ long strips of rubber corner protector are what is called for. To get a proper square cut forget the Stanley knife, use a kitchen cleaver instead. Don’t bother using the poncy two sided tape provided to stick these to the lift. Rather, use the far superior and permanent 3M Rubber Weatherstrip Adhesive which is used like a contact cement – spread on both surfaces, let it get tacky and position the protector in place. Be sure to clean both surfaces with isopropyl alcohol first. If it works for Mercedes Benz weatherstrip it will work for you.
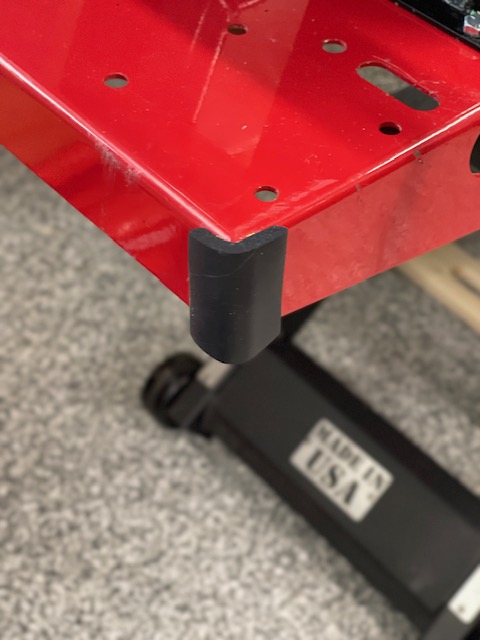
The rubber corner protector glued in place.
Note the hollow square section of the right hand leg. You can insert a long steel pipe in there if additional stability is required with a really heavy, tippy bike mounted.
After some experience in use, I extended the central section of the dolly with a piece of pine and countersunk bolts, using a Forstner bit to cut the countersunk recess, for a plane cut surface. This allows the ends to protrude when the table is being collapsed, simplifying proper placement:
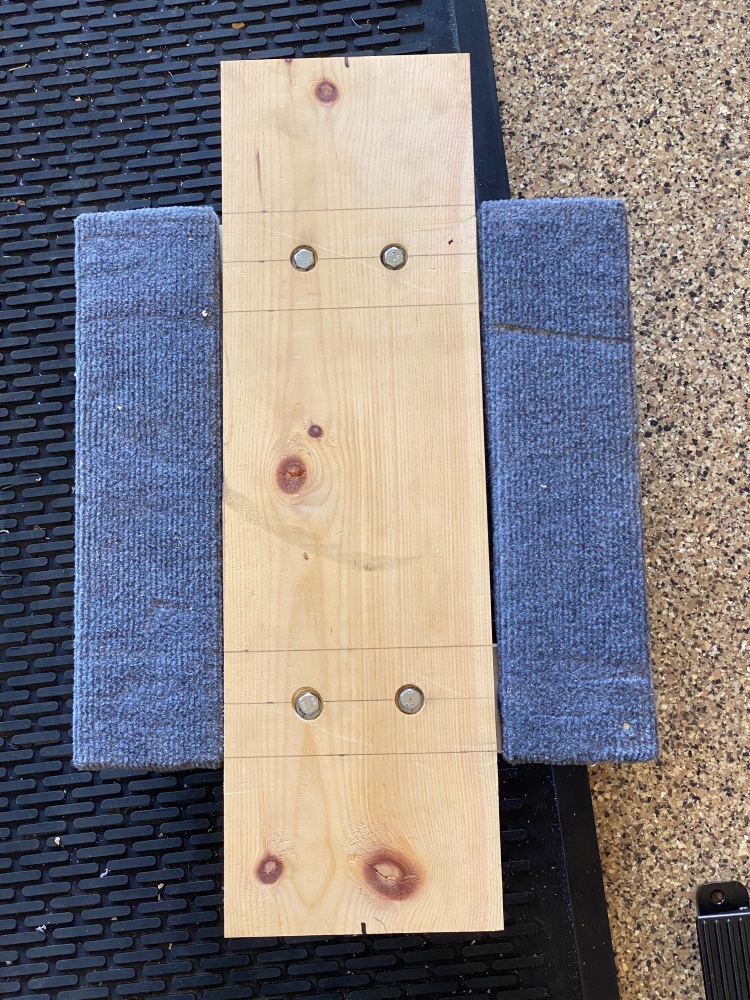
The load is still borne on the carpeted surfaces.
Both the removable rear panel – for wheel removal – and the removable sloping platform for bike installation are visible in the image above. The lift screams quality and the innovative design works well. I use a 20 gallon 5hp air compressor, a real beast capable of delivering 11.9 cubic feet of air per minute at 100 psi, for inflation, but one with a smaller tank will work as well though you may need to recharge the tank part way through the lifting process. Handy states that 110lbs of pressure is the permitted limit. To avoid moisture build-up I use an in-line water filter, though the dry desert climate of southern Arizona is not really an issue when it comes to air borne moisture.
Update 6/25/25: After considerable use I have concluded that the above dolly, which is 15″ square, is too tippy, and have upgraded to a larger 18″ x 30″ model, as used by the gentleman in the review video. It’s better. Further I swapped the stock 2 7/8″ diameter wheels for 5″ diameter ones to allow easier placement of the lift + dolly on the thick anti-slip rubber mat on which the lift sits when in use. A set of four wheels of these has a capacity of 1400 lbs. Finally the wooden stretcher on the dolly was fitted with abrasive anti-slip adhesive paper in the areas where the lift rests on the dolly, to prevent slippage when in motion.
The larger 5″ caster wheels compare with the 2 7/8″ stock ones.
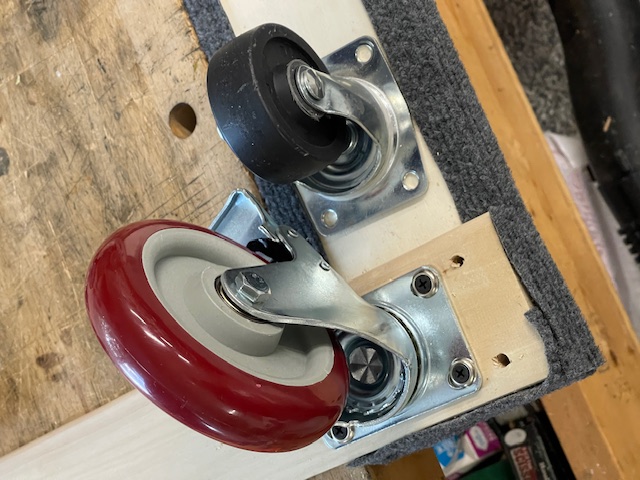
Note the use of #8 finishing washers under the
drywall screws. The flat washers supplied with
the new casters are wrong, and the 1″ drywall
screws provided are too short. I used 1 1/4″.
As is visible, the hole spacing for the larger casters is different and the original carriage through bolts have been removed upwards through the carpeted surface after first making small clearance cuts in the carpet to permit removal. The carpet is then re-glued in place. These larger casters are beautifully made and a bargain at $23 from Amazon for a set of four (Home Depot is asking almost $100 a set), including hardware, but spend the extra money on 16 finishing washers and longer drywall screws for a proper installation.
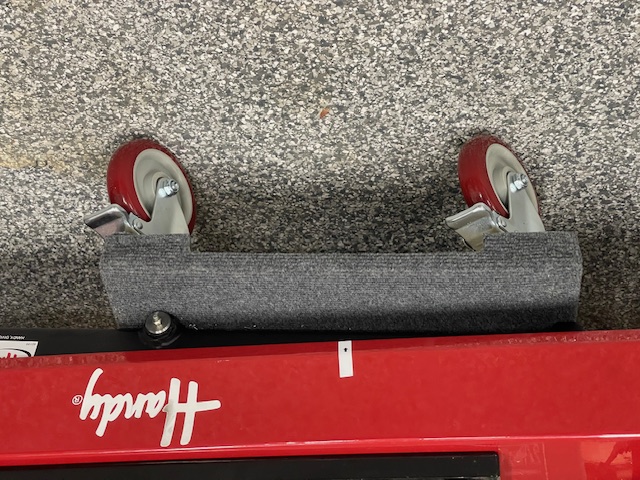
The larger casters installed and in place.
Rolling resistance is far lower. The larger
casters come with wheel locks which are
not required in practice.
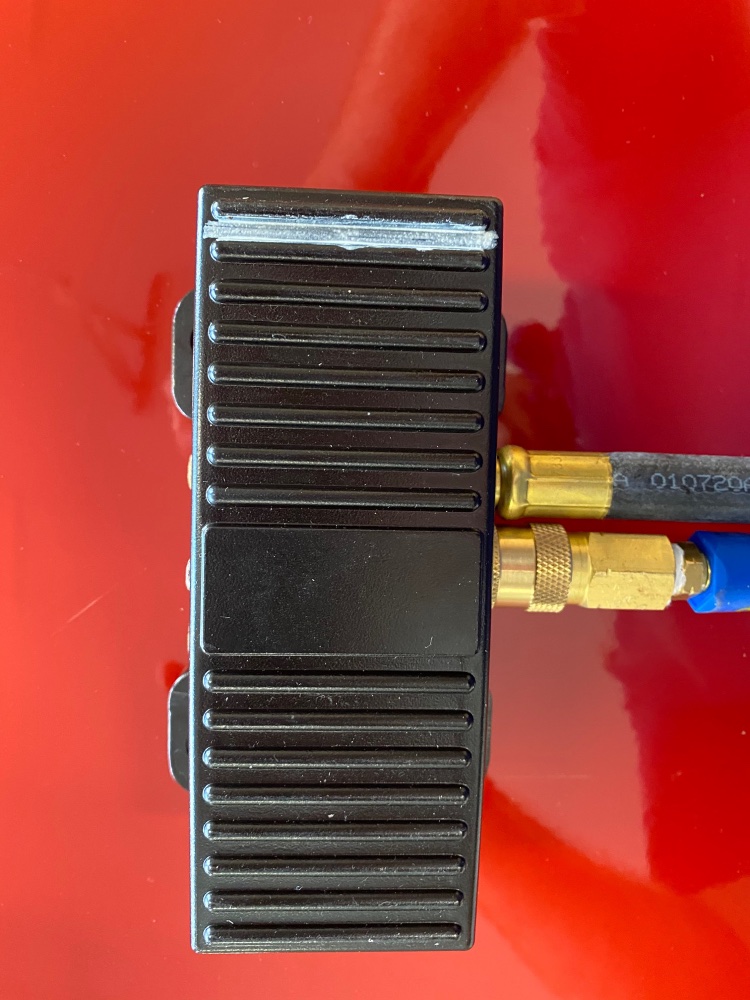
The air pedal for the lift.
Strangely, the air pedal for the lift is not marked Up/Down, though it’s easy to figure out looking at the connections. I’m forgetful so a simple line of white paint tells me which side is Up. The pedal comes with a female threaded socket for your air compressor hose, but I fitted a QD one to permit easy storage of the hose when not in use. In the image, the upper black hose provides air to the bellows while the lower connector is to the compressor. Handy has fitted compressed ceramic filters to the exhausts on the foot pedal, probably to counter complaints about exhaust noise. The noise levels are well below those dictating ear protection. (By contrast the compressor is extremely loud when powering up and ear protection is mandatory).
The lever which ensures that the pawl engages with the teeth welded to the underside of the table is here – I added the label:
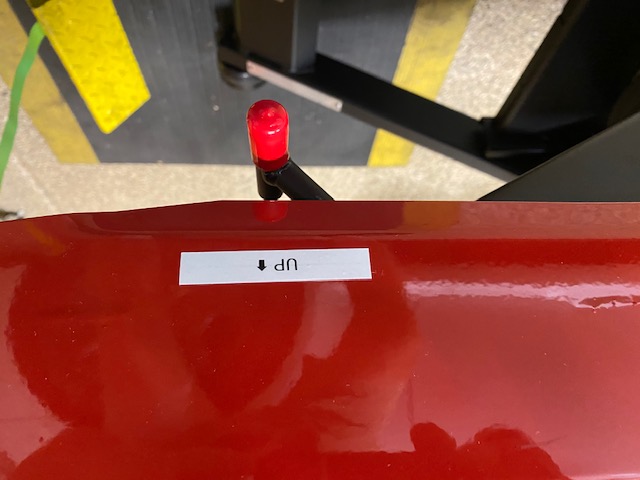
The locking lever.
This lever has to be moved to the rear (to the right in the image above) before lowering the table, which has to be raised a tad using air pressure to permit the change. That not only frees up the pawl, it also ensures that any air which has leaked is restored in the bellows before lowering. Without a full air load the table would come crashing down. When the table is fully retracted the lever resets to the ‘Up’ (forward) position. Nice. The red vinyl tell-tale cover on the lever, visible either side of the table, is too loose. A dab of 3M rubber cement takes care of that. A classic product, and one every mechanic should have at hand.
Here’s the parts diagram – the componentry is fairly simple:
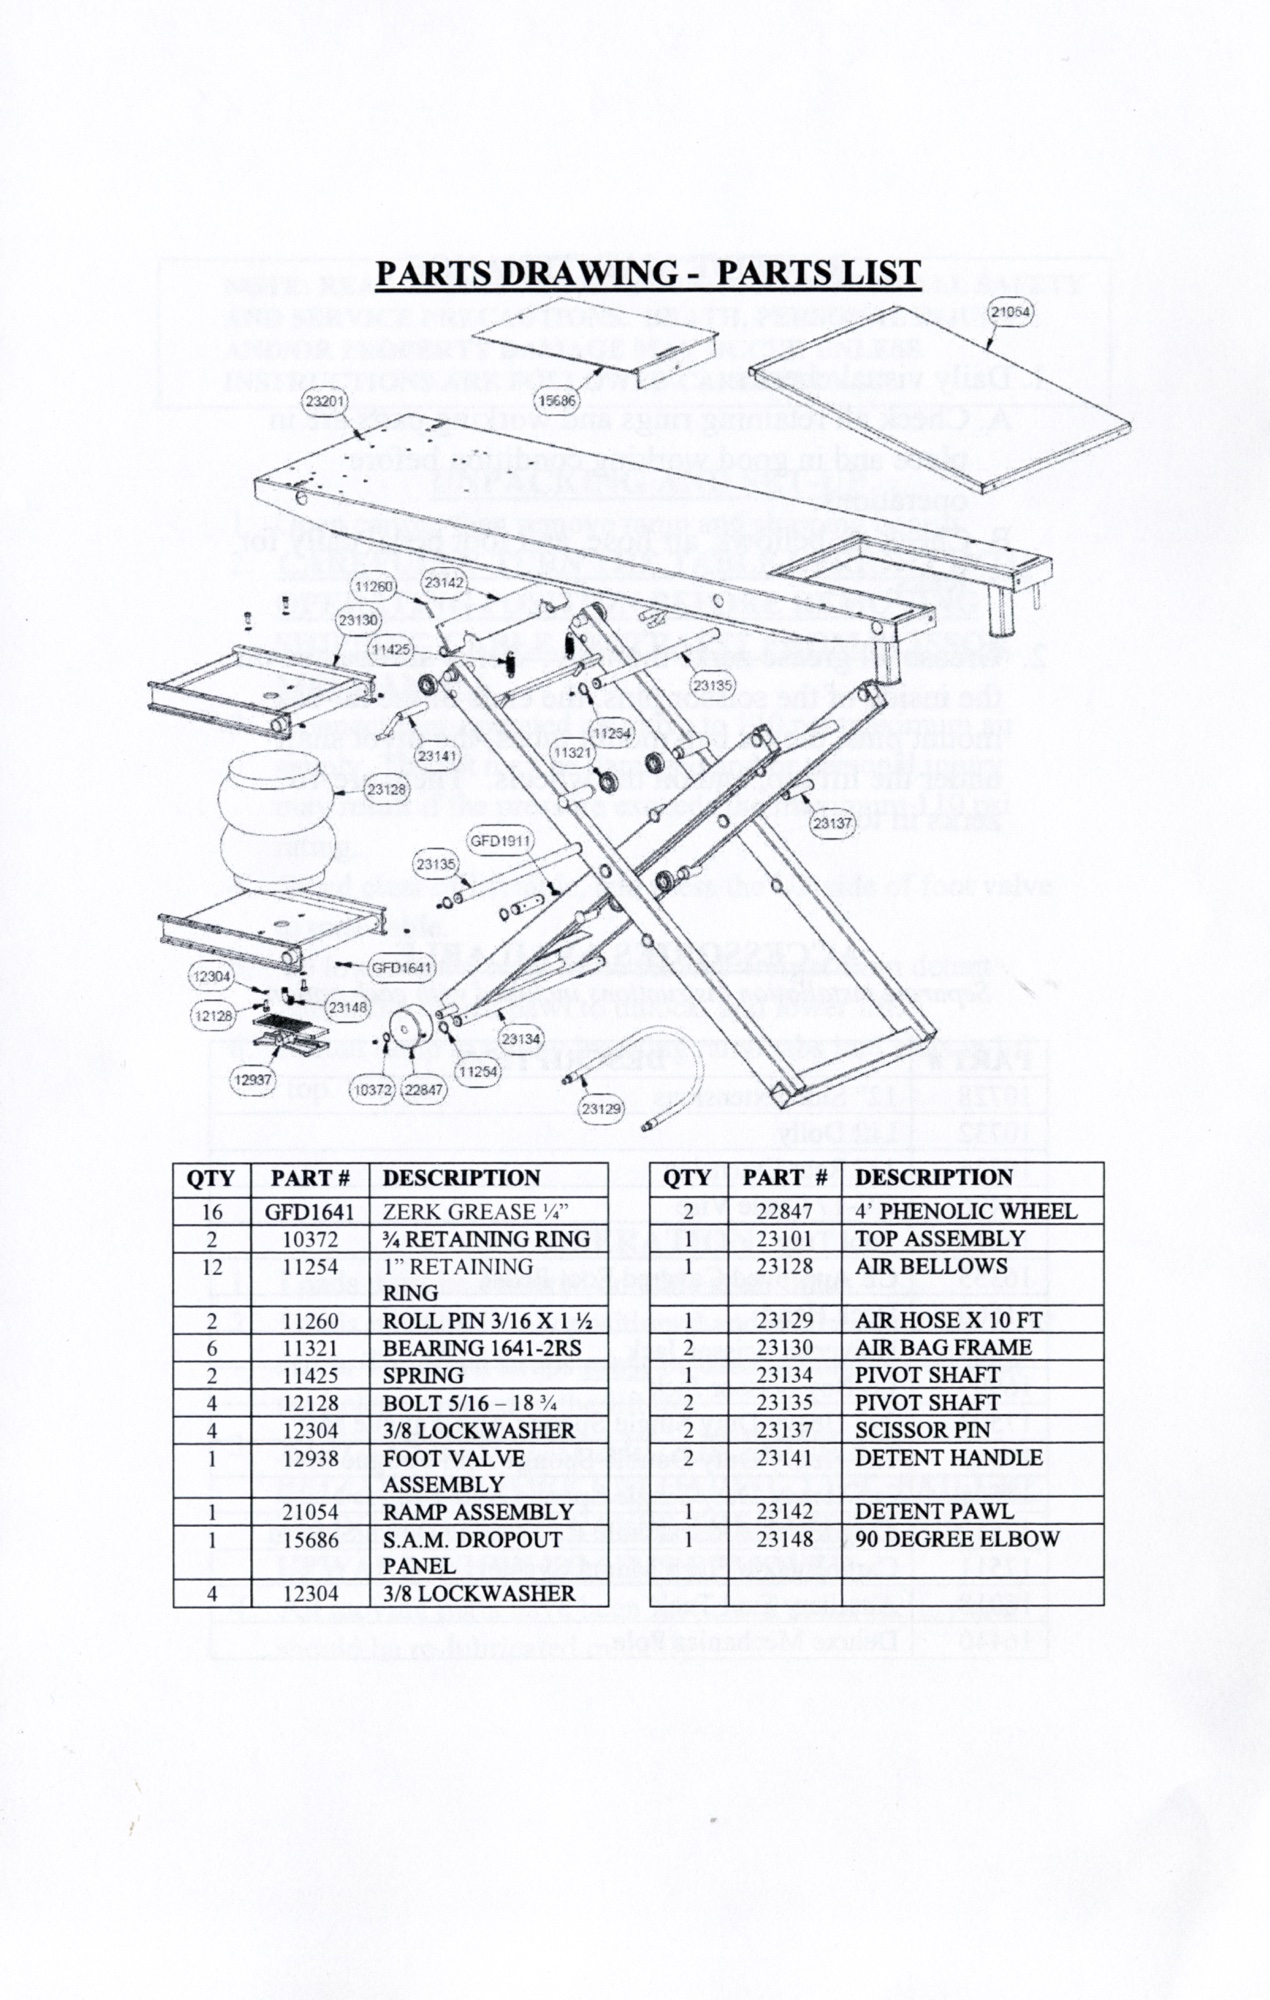
Click the image for a larger version.
There are no fewer than 16 Zerk grease nipple fittings for regular lubrication service. The detent pawl (#23142) engages two racks of teeth which are welded to the underside of the table, and are not visible in the parts diagram. It is this system which confers mechanical restraint on the table to prevent it collapsing, the pawl engaging with successive teeth as the table is raised pneumatically.
More in Part II when I put the lift to use, and while my knees stage one final recovery from the unpacking process.