Batch processing and color negatives.
For an index of all my Film related articles, click here.
One of the problems when round tripping digital camera film ‘scans’ to Photoshop for inversion from negative to positive is that PS does not permit batch processing. You have to select one image at a time, hit Command-I and then move on to the next. Not a big deal if you are processing just an image or two but a pain if you are inverting dozens or hundreds, which is my goal.
Some research disclosed that there’s a Lightroom plugin which does the inversion within LR, no round trip necessary and preserves the original RAW file in which the image was rendered. There’s none of the file size bloat you get when PS converts the round-tripped image to TIFF format and LR is the only software required, in addition to the plugin. That plugin is named Negative Film Lab. My download yielded a Mac Pro lock up in LR (a quick reboot fixed that – not something I have to do too often with that machine) whereafter I set to converting a handful of images in batch mode. Highlight the ones for inversion, hit Ctrl-N and each image takes some three seconds to invert on my speedy machine.
The original negative scan is preserved in the LR History of the file (no need to erase or stack your original negative scans) and the inverted RAW image shows no size bloat. Plus, if anything, the rendering of tones and sharpness is even better than that I obtained in my original test. The download comes with 24 free tries so you can decide if the $99 license (good for two computers) is worth it. Not cheap, but the gains in efficiency for my project make the investment worthwhile. The plugin appears to be actively supported, with a forum showing many expert users where much can be learned. I have found that no special camera settings are needed, meaning one thing less to remember.
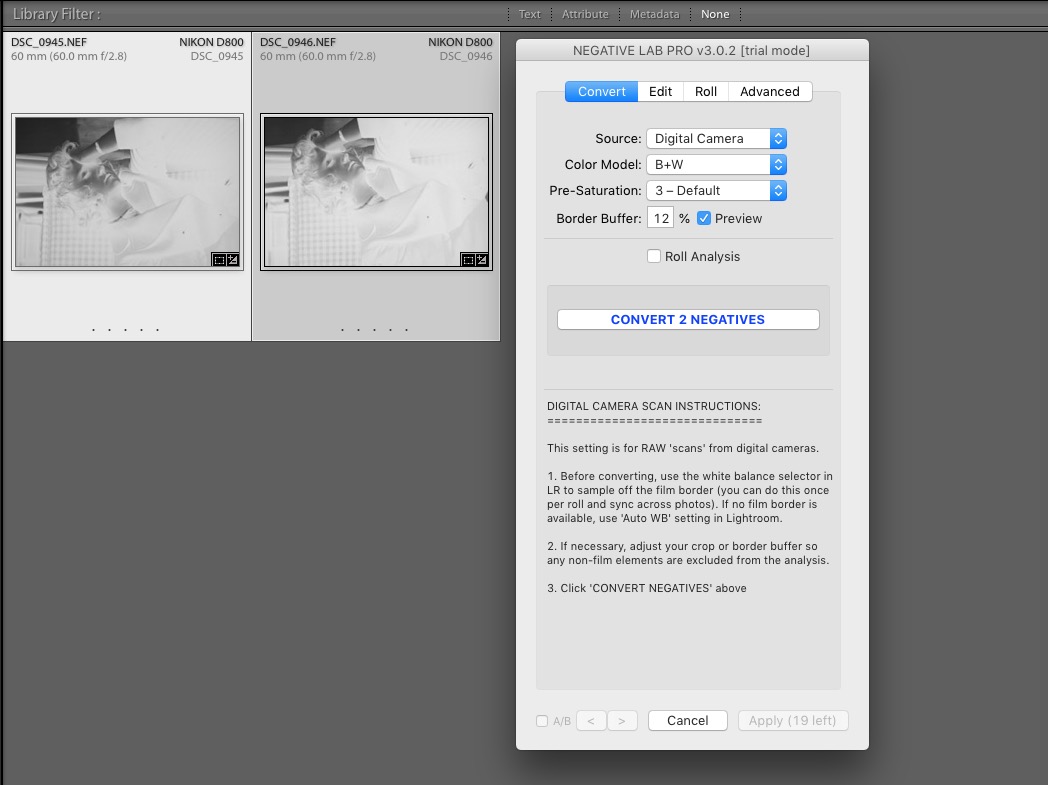
A small batch of 2 files ready for inversion in Lightroom.
The result, the very first image I made on my Leica M3 in August, 1971. A significant improvement on the decades old original scan:
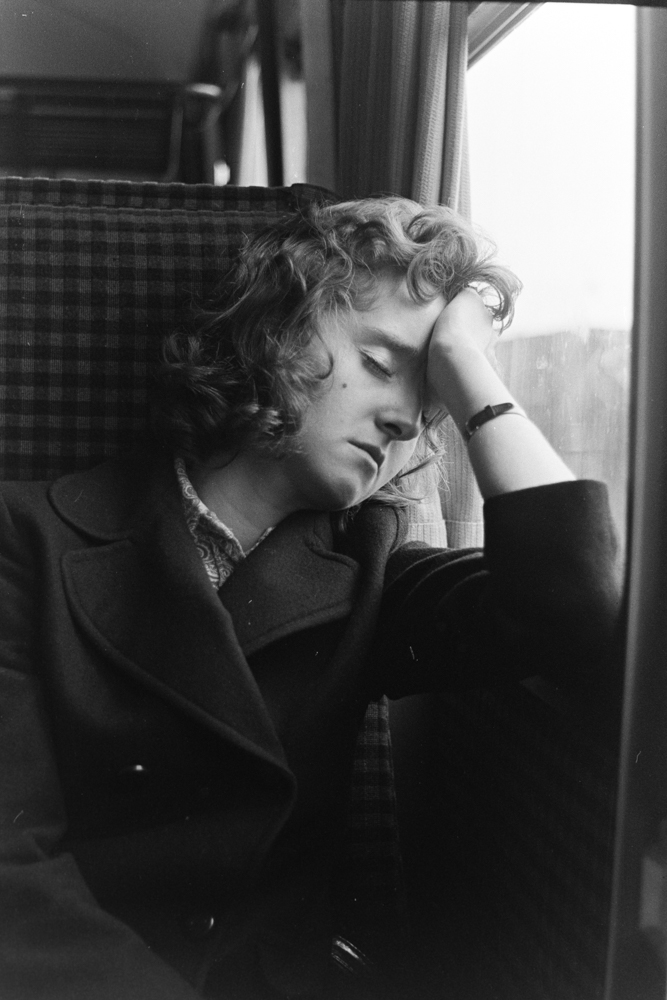
Girl on Train. Leica M3, 50mm Elmar, TriX, D76 developer.
How about color negative inversions? The added snag here is that most color film includes an orange mask which has to be removed and Negative Film Lab does that well. In LR’s Develop module you use the eyedropper on a portion of blank film on the edge of your scan to set the reference color mask reading for the film batch (they vary in color so resample with every new film roll) then perform the inversion with one click.
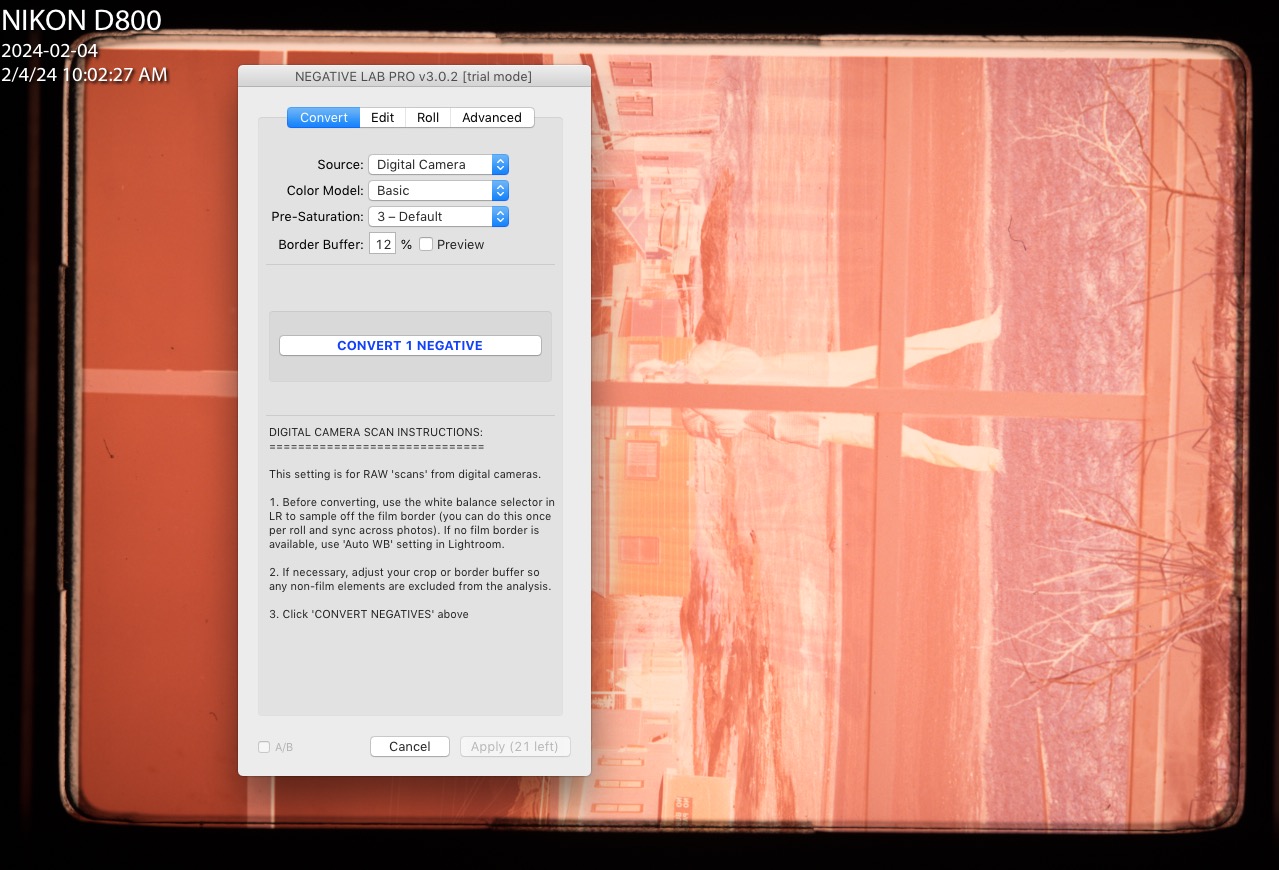
Color negative image awaiting inversion in Lightroom.
As my ‘scans’ are slightly larger than the film area I set the ‘Border Buffer’ to 12% which automatically crops the image – one step less in post processing work. Mask removal is excellent and some fine tuning of color is all that remains to be done, either in the plugin or using the Develop module controls in LR. Batch inversions for color work the same was as for monochrome.
LR compatibility? I use ‘historic’ LR 6.4, the stand alone, non-subscription version, and Negative Film Lab works perfectly. Apparently it also works in the current subscription version but there’s no way I will ever be checking that. The plugin is recommended for anyone with lots of inversions to perform, especially if they require color negative mask removal.
In Part III I will look at tethering of the camera to Lightroom and focusing considerations.