No escape.

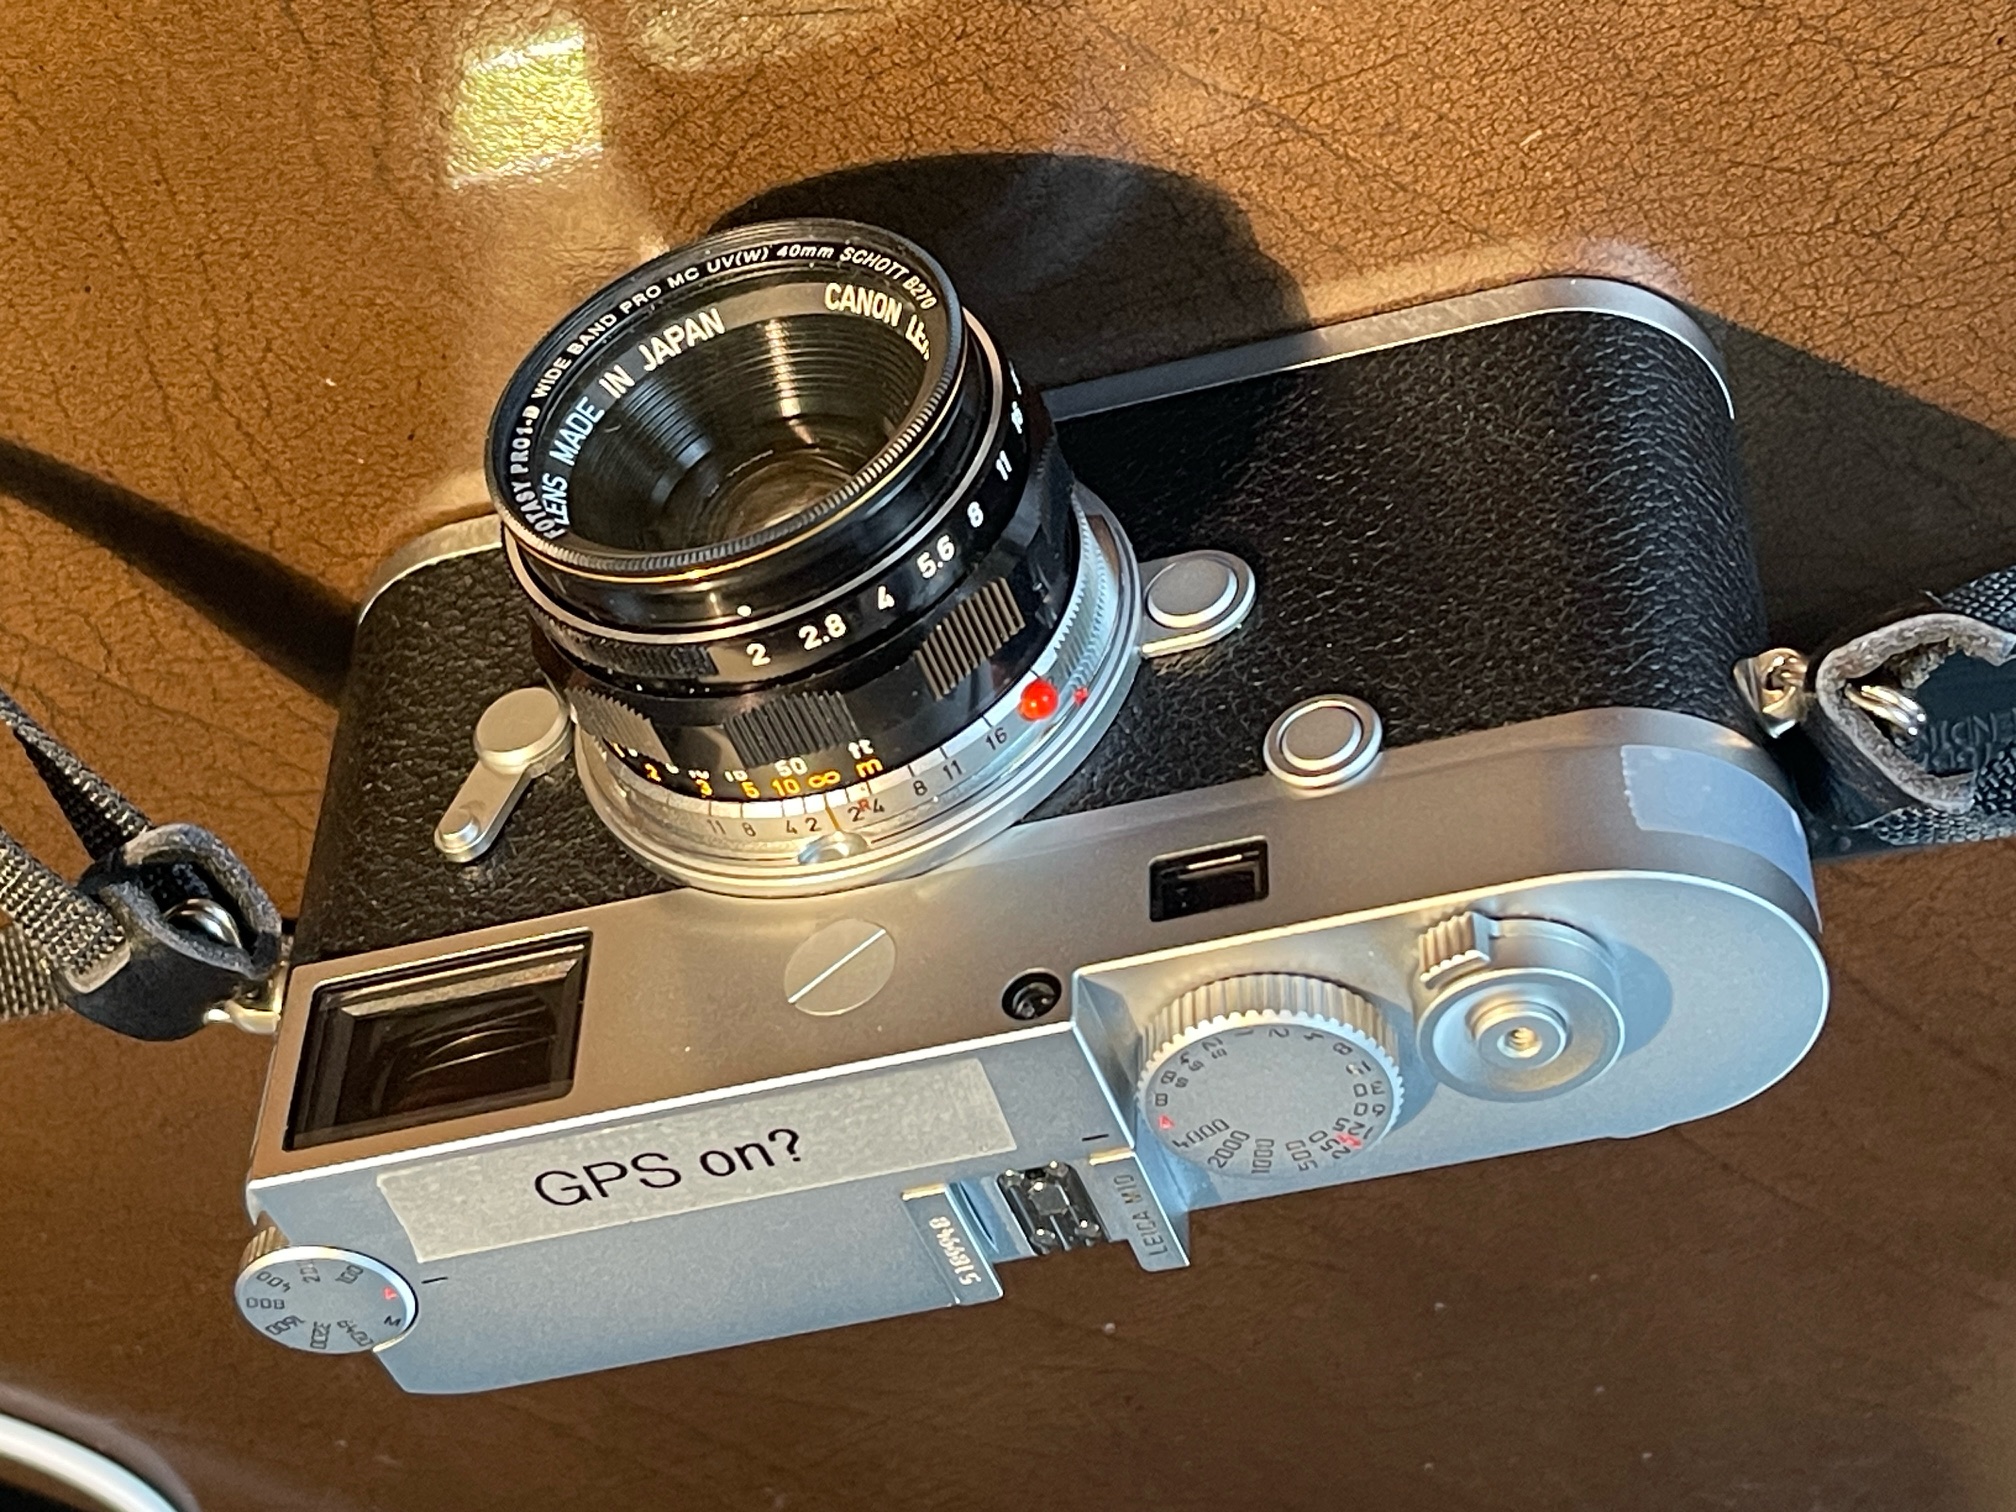
Leica M10, 21mm Color-Skopar.
No escape.
Leica M10, 21mm Color-Skopar.
An outstanding ultra-wide angle lens.
For an index of all Leica-related articles click here.
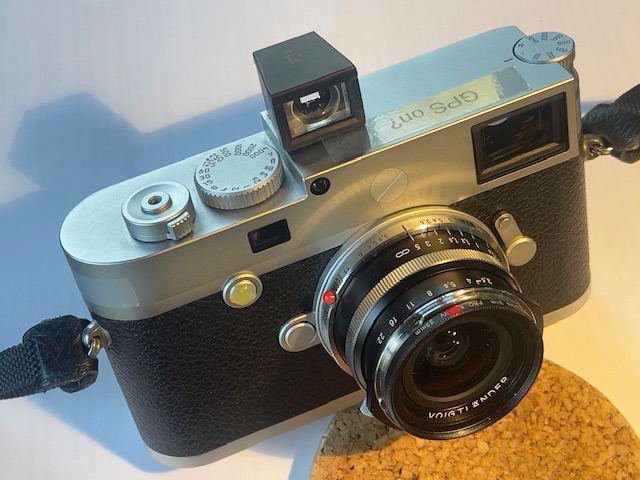
When I first profiled the 21mm f/3.5 Voigtländer VM Color-Skopar Aspherical lens I wrote: “The lens is tiny and with a slim UV filter fitted weighs just 185 grams/6.5 ozs. For comparison the 35mm f/2 Canon LTM with bayonet adapter and UV filter comes in at 139 grams/4.9 ozs. Fit and finish are all metal and Leica quality, the focus collar resistance is just so and the apertures are in half click-stops through f/22. Small protuberances on the aperture ring make it easy to grasp. The black rimmed UV filter not only serves to protect the front element, it also masks off the poorly thought out chrome bayonet front ring which can only be a source of reflections and flare in bright lighting. The distance scale is marked in meters only and the depth of field scale is very hard to read, and only extends to f/11. The 50+ year-old Canon’s DoF scale is far superior in this regard. Not that big a deal as with a 21mm focal length lens almost everything is sharp near to far. ”
Here are the test images taken at all apertures from f/2 down to f/22 – I coded the lens to be the 21mm f/2.8 Elmarit-M. The code is ‘000001’, where ‘1’ denotes a black paint filled pit. I strongly advocate use of the excellent lens correction profile in LRc when processing images as it removes any trace of vignetting which is otherwise noticeable. Other than that the following images are SOOC.
You can view all 8 images in medium size by clicking here.
To view full size 22mb originals click here. It’s a large file so be patient when downloading. You can zoom in on these to your heart’s content.
Conclusions?
By the way, disregard the f-stop data in the EXIF information. The M10, even with 6-bit coding adapter does a poor job of estimating the aperture used. (There is no electrical or mechanical link between the lens’s aperture setting and the camera, so Leica estimates the aperture based on the shutter speed and ISO used). Go by the file names, moving the decimal point in the last three digits one place to the left to see the aperture used. So, for example ‘220’ means f/22.
A special lens that I bought on eBay in mint condition for a bargain price of just $400 with the lens hood. I’m selling the latter so my net cost will be just $340. Unless you get lucky expect to pay $450-500 used or $650 new without hood. The hood is a quite ridiculous $100. The crappy 21mm viewfinder added $26 and a 39mm UV filter was $10. Even at the new price the lens is a bargain. Avoid the older and cheaper f/4 version which is poorly suited to digital sensors. If you have more money than sense Leica will be pleased to empty your wallet with its offerings.
Easily done.
For an index of all Leica-related articles click here.
Fairly recent Nikon DSLRs (D700, D800) have an effective ‘sensor shaker’ which can be set to operate when the camera is powered on or off and helps remove all but the most stubborn dust particles from the sensor. This is particularly important with Nikon lenses which are poorly dust sealed – such as the the 16-35mm and 28-300mm AF-S versions which I use. These pump mighty quantities of air into the camera’s innards, along with any airborne dust, when the zoom ring is operated. It’s so bad you can feel the air rushing in if you remove the lens and zoom it close to your cheek. Quite why Nikon does not have its lens designers vent this blast of air to the outside beats me.
The Leica M10 has no sensor shaker, possibly because the compact body is already so packed with electronics and mechanical parts that there is no room for one. It’s probably the same reason that precludes installation of an IBIS system, which would be nice to have. But Leica has a clever workaround when it comes to sensor dust detection and removal. Go to the last page of the Main Menu on the LCD and click on ‘Sensor Cleaning->Dust Detection’. You will be directed to mount a lens stopped down to f/16 or f/22, defocused and pointed at a plain evenly lit surface. I used the 21mm Color-Skopar at f/22, focused on infinity, with my test wall just inches from the camera. Take a picture and you get this on the LCD screen:
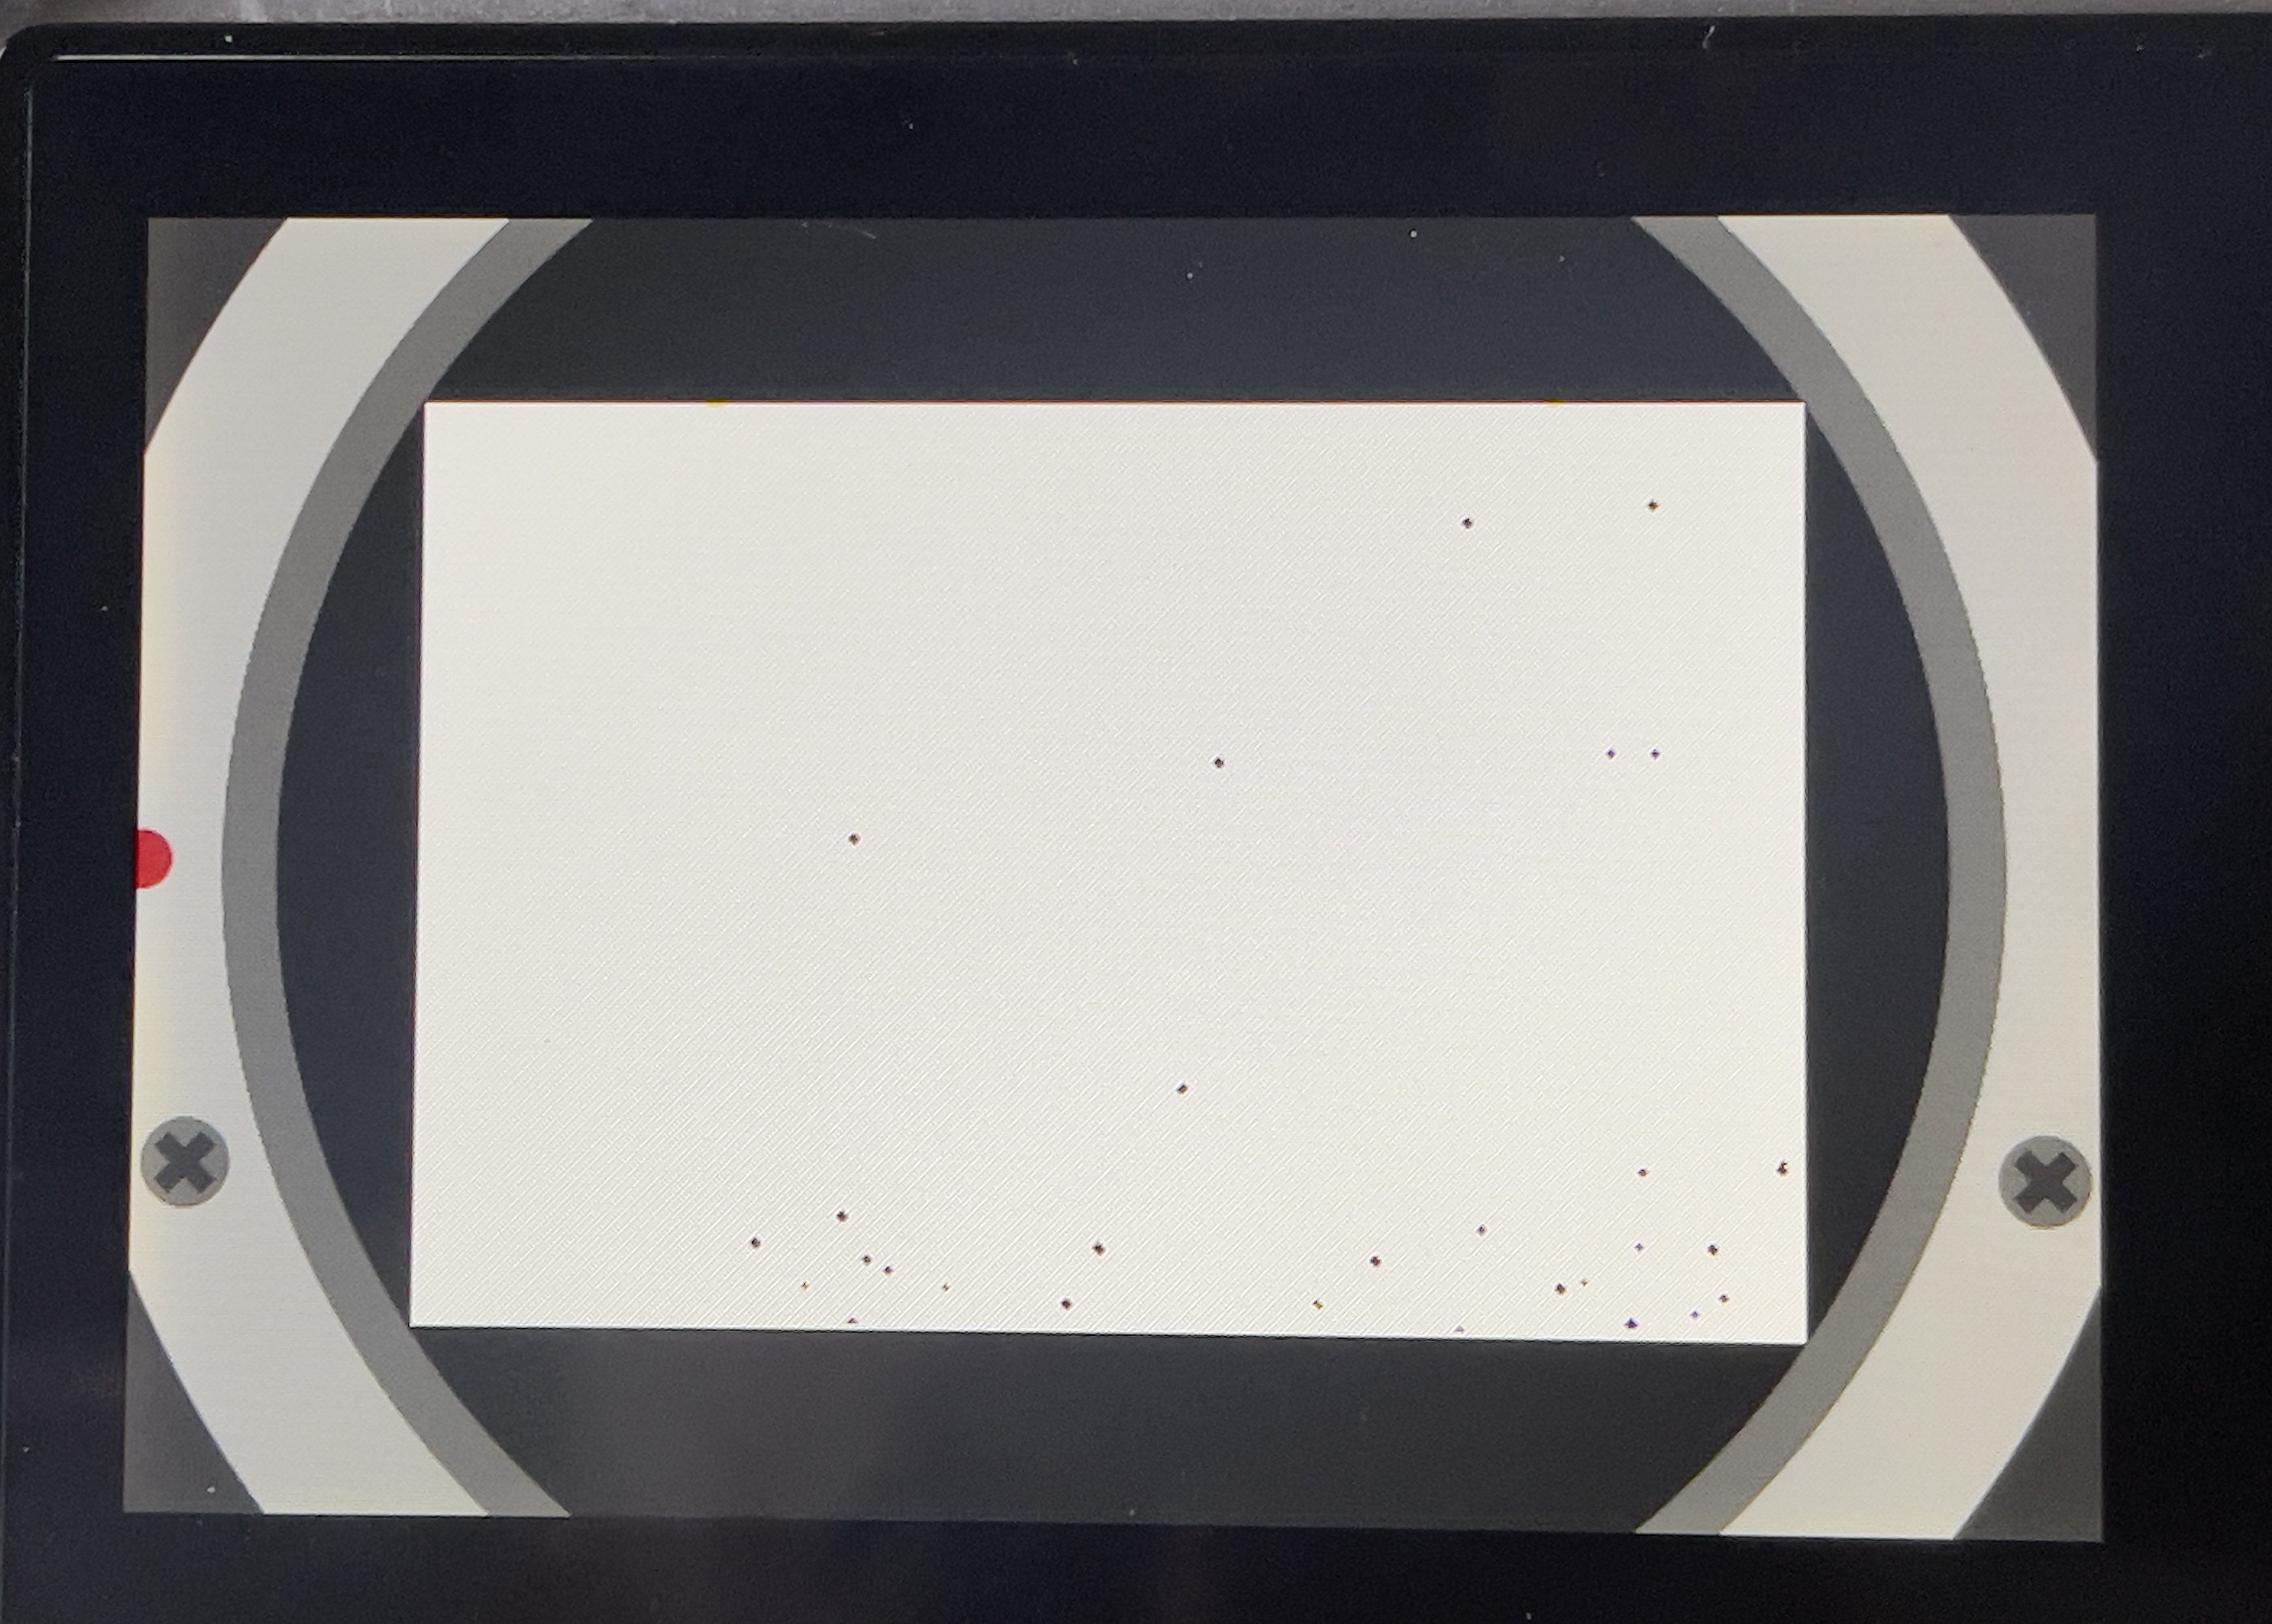
Quite a bit of dust, something which can become visible in large plain areas in images, like expanses of sky. The picture on the LCD screen is rendered in the same orientation as the camera, as the red lens mounting index at left indicates.
Now go to Main Menu->Sensor-Cleaning->Open Shutter, first making sure your battery is fully charged. You do not want the shutter to close for lack of power when you are poking around in there. If the battery charge is below 40% a warning message requesting the battery be recharged will appear. Holding the camera upside down, LCD to the ceiling, blow in some air using a rubber blower bulb, directed at the sensor, being sure not to touch the surface protective glass, and redo the sensor dust image. Do not use compressed gas of any sort. The goal is to loosen dust particles so they can drop off, not blast them further into the innards of the camera. I got this:
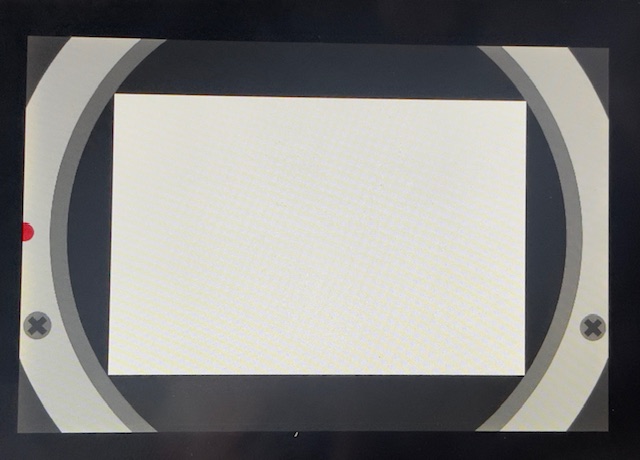
Nice implementation by Leica and very easy to work with. The sensor is now clean as a whistle. If things had not improved I would have cleaned the sensor with an antistatic brush. Had that failed I would have resorted to a wet cleaning solution. I have used this product with success, and it leaves no residue, but despite the listing it does not come with a microfiber cloth, so make sure you have one. I cut a business card in half lengthwise and wrap the cloth around it. This makes for a flexible ‘wand’ and I spritz the tip of the cloth a couple of times, no more – you want moist not wet – with the solution and gently swipe the sensor’s cover glass this way and that. (I avoid Q-tips, finding them far too inflexible, meaning they risk damage to the protective glass on the sensor). Then a couple of puffs of air from the rubber bulb and you are done. This works for any digital sensor, not just the one in Leicas!
Because Leica M mount lenses do not have a zoom feature (the relatively benign variable focal length feature of the two Tri-Elmar lenses notwithstanding) the need for such sensor cleaning should be fairly rare. Further, when the lens is removed for changing, the sensor is protected by the shutter blades. So it’s not that easy for dust to get in there.
I had not checked for sensor dust since buying the camera second-hand 3 weeks ago, so only just got around to this, after noticing an out of focus blob or two in large smooth tone areas in LRc in this image, where the small aperture and short focal length of the lens emphasized dirt on the sensor.
If the surface you use to take the dust image is not evenly lit you will get a message ‘inhomogeneous (sic) image’. I got this more times than seemed right, despite using a flat, evenly lit, wall. Removing and reinserting the battery cured the issue.
An excellent wide angle lens.
For an index of all Leica-related articles click here.
When I first profiled the Canon 35mm f/2 LTM lens attached to my Leica M3 film camera I wrote: “After running a roll of Kodak Ektar 100 through it I can confirm that the lens is sharp and a delight to use. The only thing I miss is an infinity lock which would make it easier to mount and remove the small optic. The only modifications I made were the addition of the requisite LTM-to-M bayonet adapter, a protective, multicoated UV filter and a red indexing dome (extremely useful).”
Here are the test images taken at all apertures from f/2 down to f/22 – I used a 6-bit coded LTM-to-M adapter for in camera correction of color aberration, coded to be the 35mm Summicron-M pre-ASPH. The code is ‘000110’, where ‘1’ denotes a black paint filled pit:
These are SOOC.
You can view all 8 images in medium size by clicking here.
To view full size 22mb originals click here. It’s a large file so be patient when downloading. You can zoom in on these to your heart’s content.
Conclusions?
By the way, disregard the f-stop data in the EXIF information. The M10, even with a 6-bit coded adapter does a very poor job of estimating the aperture used. (There is no electrical or mechanical link between the lens’s aperture setting and the camera, so Leica estimates the aperture based on the shutter speed and ISO used). Go by the file names, moving the decimal point in the last three digits one place to the left to see the aperture used. So, for example ‘220’ means f/22.
A special lens with the caveat being that you will likely have to buy from Japan on eBay, the source of most listings, and you have to disregard all the nonsense about ‘Ex+++’ and ‘Mint’ sellers there seem to revel in. Any mention of ‘tiny fungus’, ‘minor balsam separation’ or ‘cleaning scratches’ means you should move on. These are 50 years old lenses so it takes diligence to find a clean one. ‘Tiny dusts’ (sic) are usually OK but you want a smoothly rotating focus collar and well defined click stops. Ask before paying to get the seller on the record with eBay. Don’t worry if the listing states ‘No returns’. If you have the seller’s responses on the record and they are clearly fraudulent, eBay will refund you. I know, having been there. I paid $331 for mine with tax and shipping, plus $16 for the correct Fotodiox Pro 6-bit adapter. I explain how to fill in the coding pits for best results here. Add a few pennies for the red indexing dome and $8 for a multi-coated 40mm UV filter (strange size) and my total outlay was $365.
If you can get a good one and do not fancy paying Leica’s ridiculous prices, new or used, the 35mm f/2 Canon LTM, which is very compact on the Leica M body, is recommended. For many, the author included, 35mm is the ‘standard’ lens on the Leica M body for street snappers.
Not for 3:2 fans.

Leica M10, 21mm Voigtländer Color-Skopar Aspherical at f/16, ISO200.
I use David Farkas’s LRc M10 preset as a starting point for processing. It brightens colors without going ‘full Ektar’.