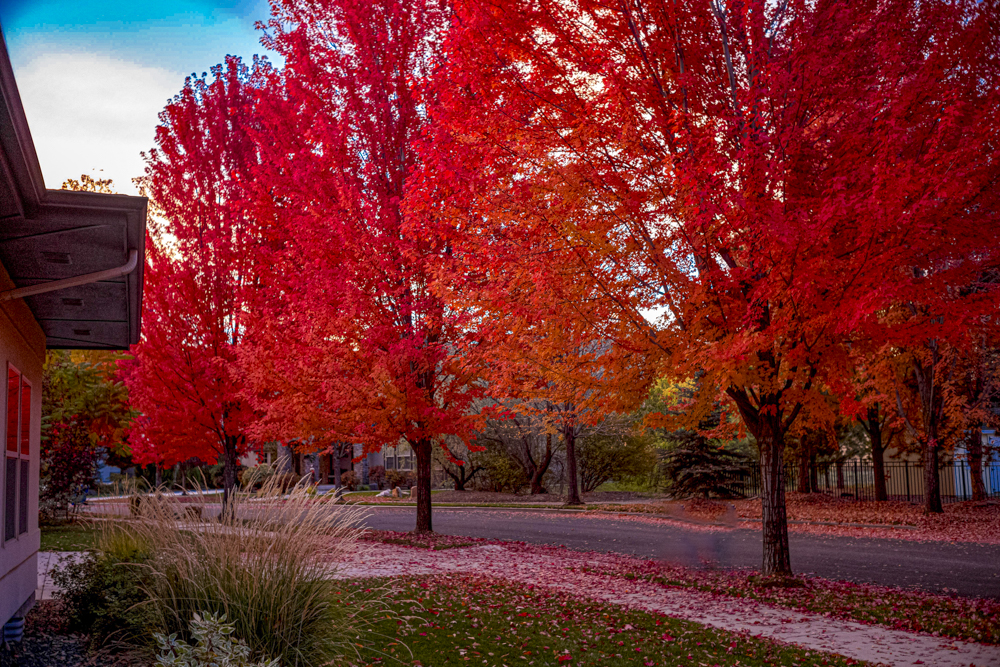
Fall is gorgeous.


iPhone 12 Pro Max, Apple Pro RAW.
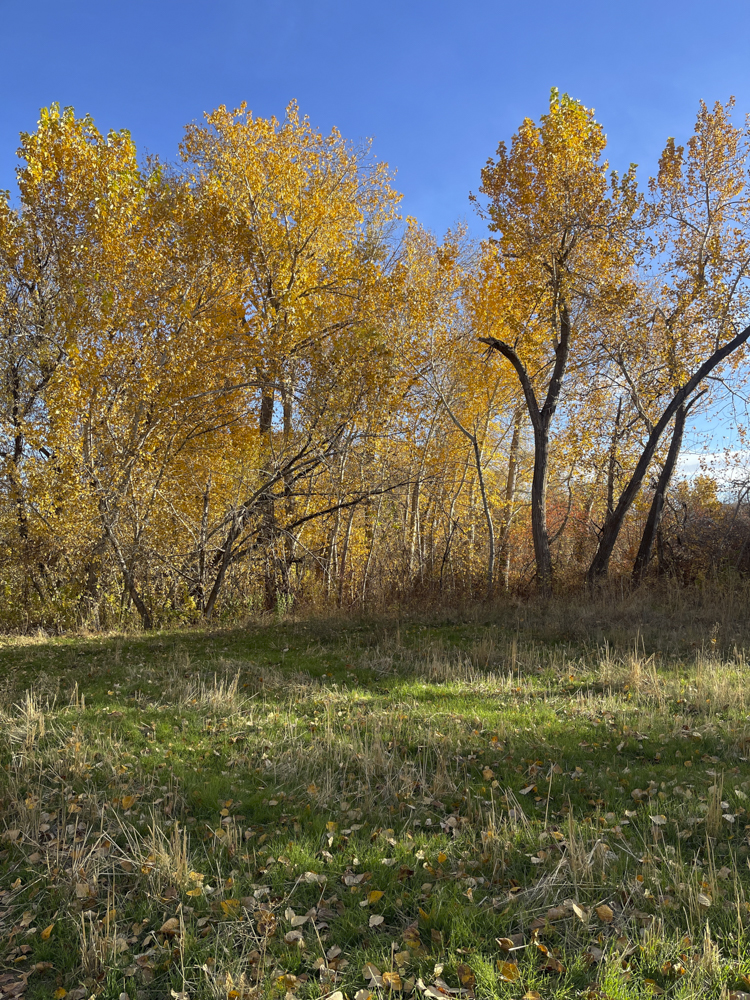
Fall is gorgeous.
iPhone 12 Pro Max, Apple Pro RAW.
Halloween special.
No, not the great movie starring John Travolta. Rather, the annual sprinkler blow-out in my community where the cold winters require that irrigation pipes be cleared of water lest they burst during a freeze.
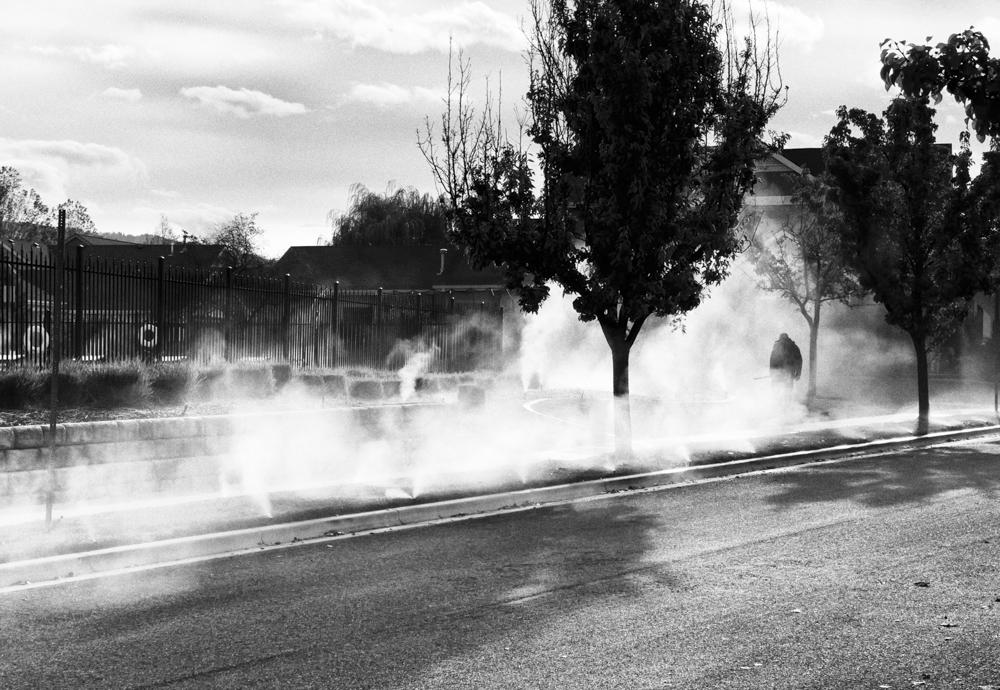
iPhone 12 Pro Max, Pro Raw, processed in Silver-Efex 2.
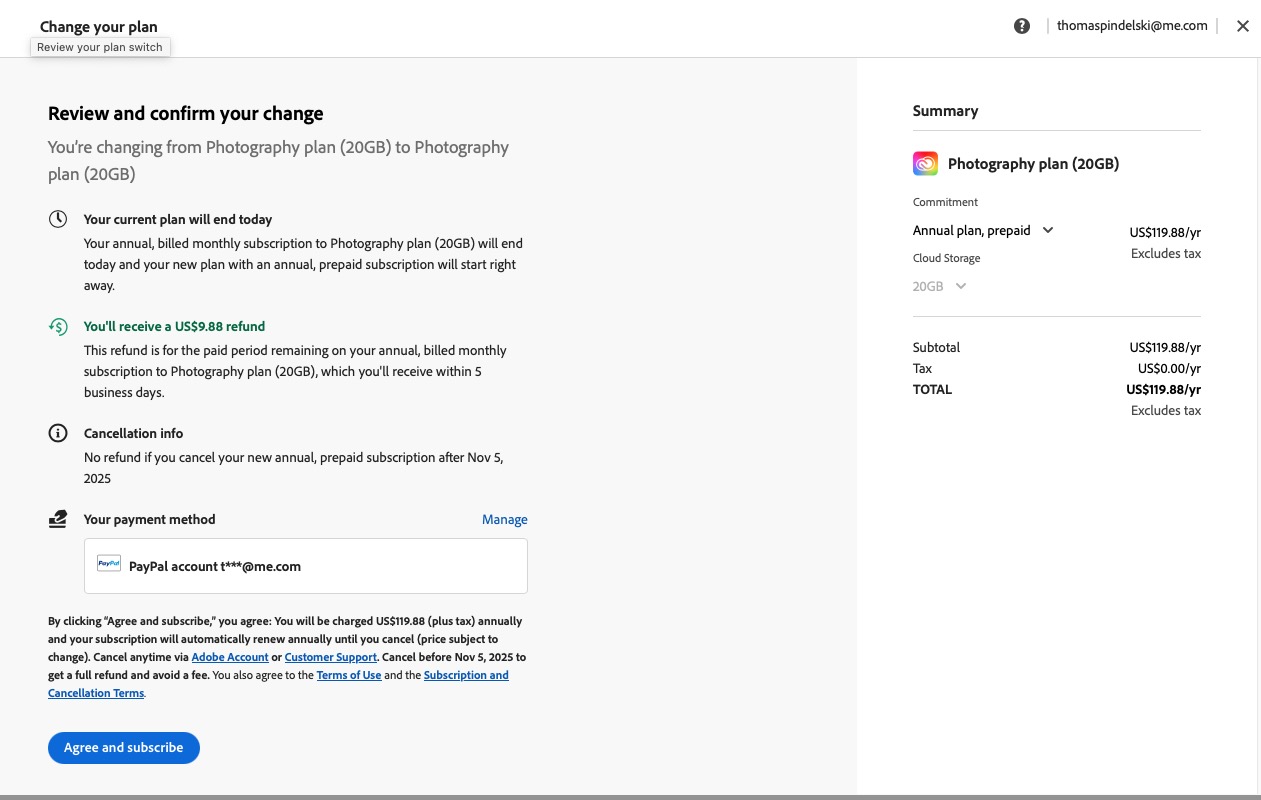
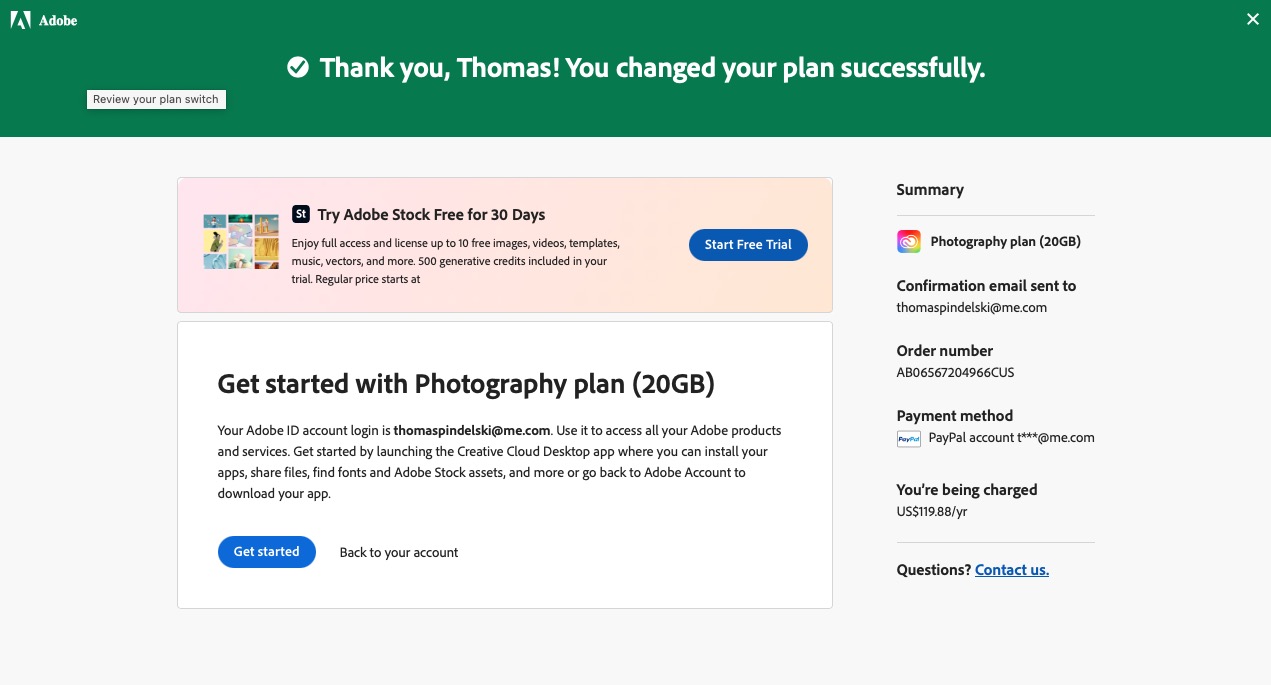
Yes, a 50% price rise!
The crooks at Adobe are at it again.

The rest of the letter goes on in tedious detail about how Adobe is the greatest public benefactor since Social Security and generally claiming sainthood. It’s so puke worthy I am not publishing it here.
When I was using my Mac Pro I had ‘lifetime’ ownership Lightroom for a single purchase. When security enhancements – which Apple refused to apply to that fabulous machine (shock news!) – ceased to be available I had no option but to upgrade to a modern Mac Mini M4. Naturally, Adobe saw to it that my Lightroom ‘owned’ application ceased working at the same time, forcing me to sign up to their $9.99 monthly subscription.
I passed on Photoshop, buying a lifetime ownership of Affinity – and that looks like it’s about to adopt a subscription model soon as well. Affinity does most things Photoshop can, though there’s a bit of a learning curve involved.
I write ‘forcing me’ as I have yet to find an application which competently combines LR’s excellent processing and cataloging features, but now I will get serious about doing some research of alternatives.
Meanwhile I have signed up for one year with the crooks at Adobe at the existing $10 monthly rate, and earnestly hope this is the last time I ever pay them:
Design purity.
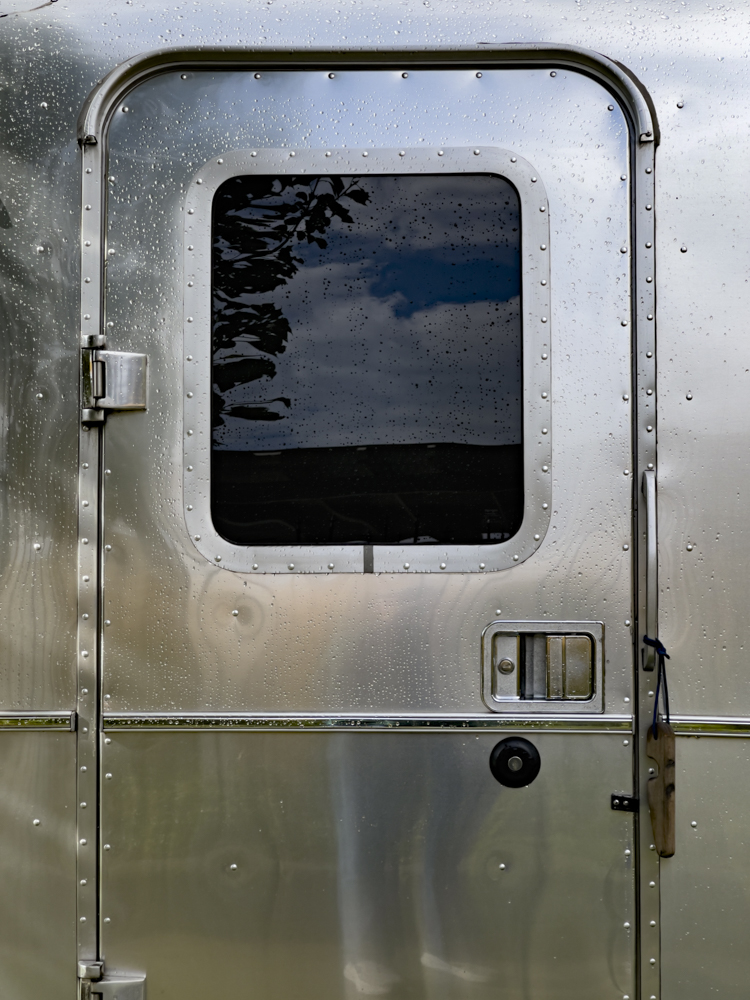
In contrast to the oft luxurious interiors, the exteriors of Airstream trailers are admirable for their severity and cleanliness of line.
iPhone12 Pro Max, Apple Pro RAW.