In use.
For an index of all Leica-related articles click here.
In Part II I addressed 6-bit lens coding and related matters of interest in the Leica M10. Here are my first impressions after freeing the M10 from its copious packaging and setting it up just so:
As received. Heart rate? 125.
The camera came with two batteries, both dead, so job one was to recharge them. Once installed I set about learning the menu system:
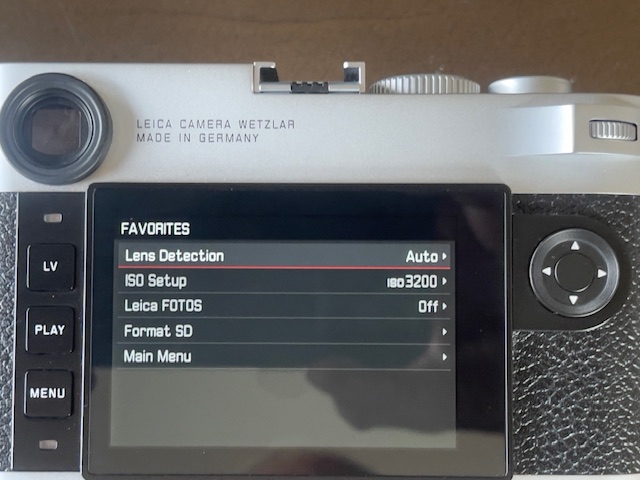
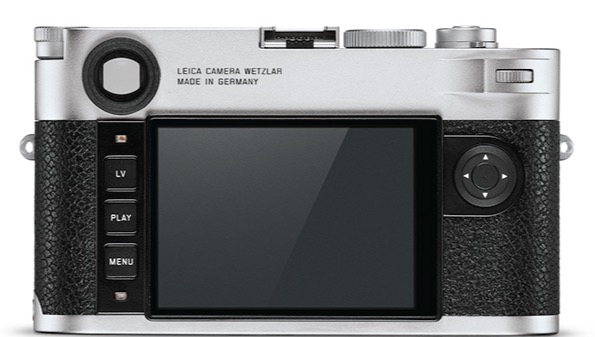
The LCD screen in Menu mode.
Firmware: With a charged battery inserted, the first step is to check that the latest version of the M10’s firmware is installed. That is version 3.22.23.38. It was. The installed version is found in the Main Menu under ‘Camera Information’. I would not expect many updates, if any, as the camera was discontinued in 2021.
Just three buttons: Given that most of these choices will be ‘set and forget’ the Leica approach of just three physical buttons and the five part pointer at top right is inspired. Hit Menu once and you get your Favorites. Hit it again and you get the whole megillah. Go to ‘Customize Control’ and you can edit those favorites. I have it bare bones but you can have two screens’ worth if that’s your thing:
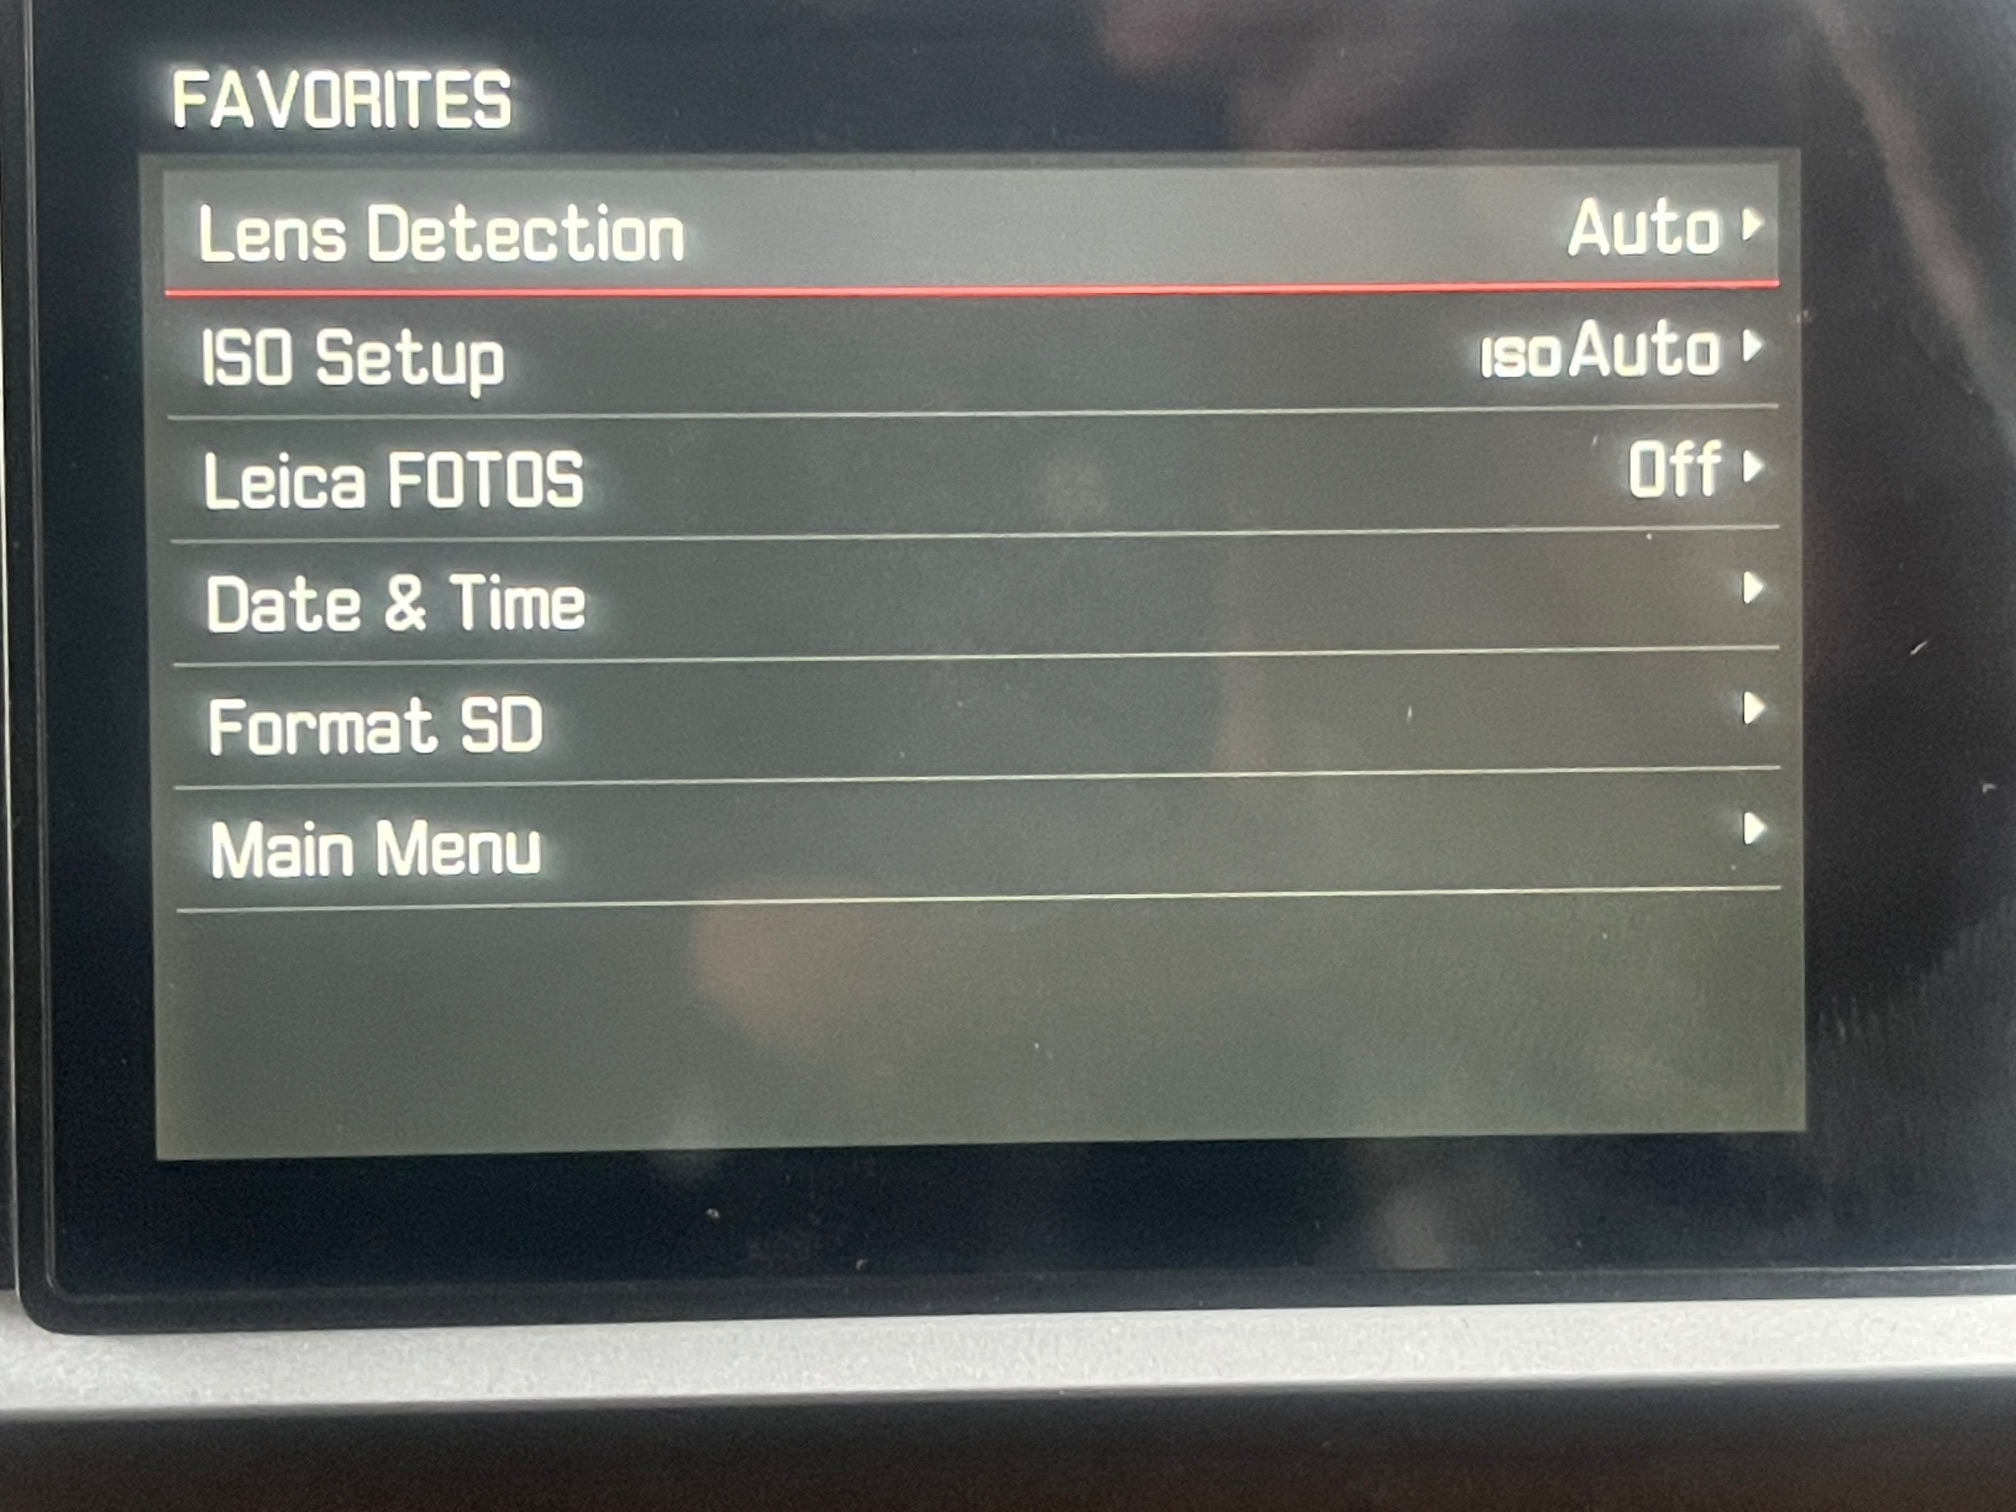
Menu favorites.
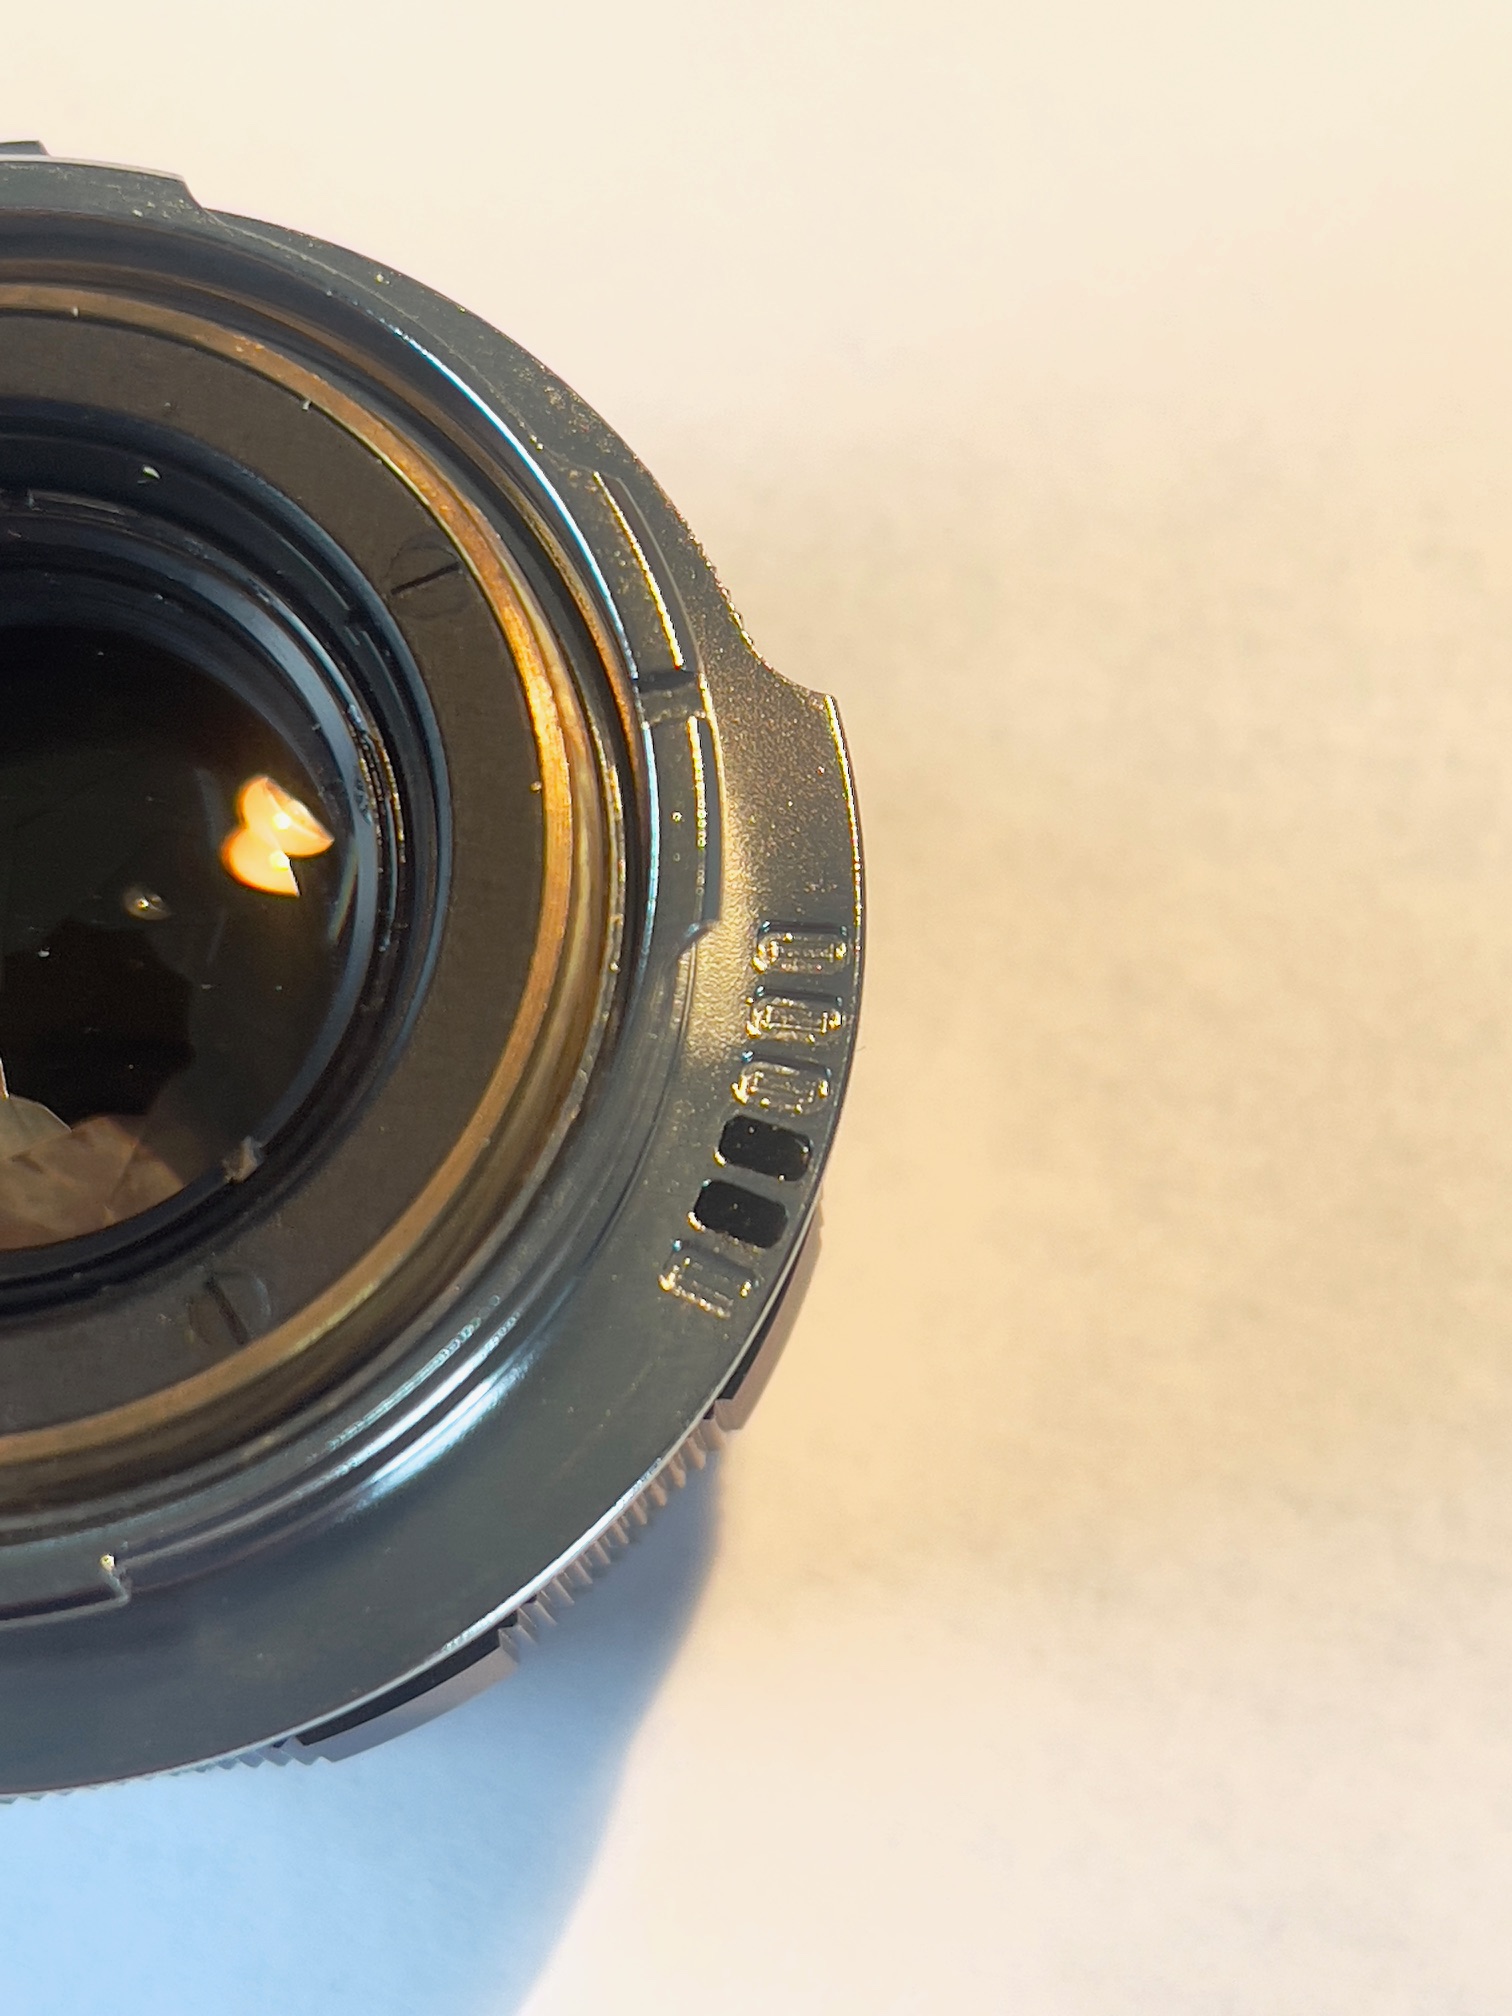
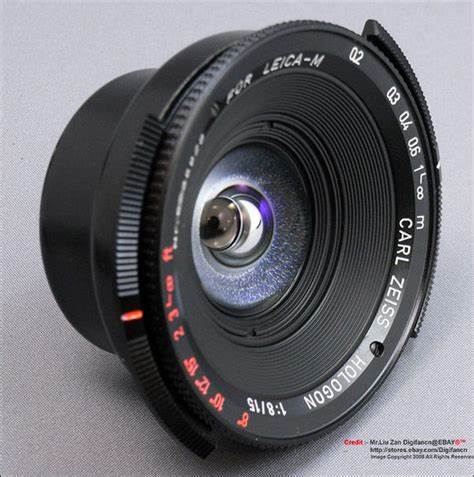
As the three lenses in my outfit (35mm and 50mm LTM Canons and the 90mm Tele-Elmarit) are all 6-bit coded, I will remove the ‘Lens Detection’ choice from Favorites. The coding sees to it that each lens is automatically recognized for optimum performance. See Part II for everything there is to know about 6-bit coding.
Clock drift: While you would think ‘Date & Time’ are set and forget, in practice the camera’s clock drifts from Apple Time and I want the two close to properly apply geotagging. I have owned $25 Timexes which keep better time than the M10. I make it a habit to check the clock against my iPhone before each photo session, which is why I have added the menu choice to Favorites. The instruction book states that to save the time and date setting you have to “Turn the thumbwheel or press up or down on the direction pad” (p.147). This did not work for me until I figured out that the current version of firmware requires a double push on the central button in the direction pad to save changes.
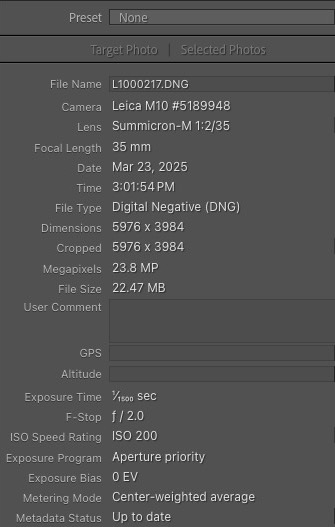
File format and Lightroom Classic: Next I set the file format to DNG + JPG Large. After some results I concluded that DNG was considerably superior to JPG so changed that setting to DNG only. To see both file types in Lightroom, if you opt for the DNG + JPG option, make sure that in Lightroom Preferences->General you have this box checked. Otherwise LR will only display the DNG file. Be sure to restart LR for this change to take effect:
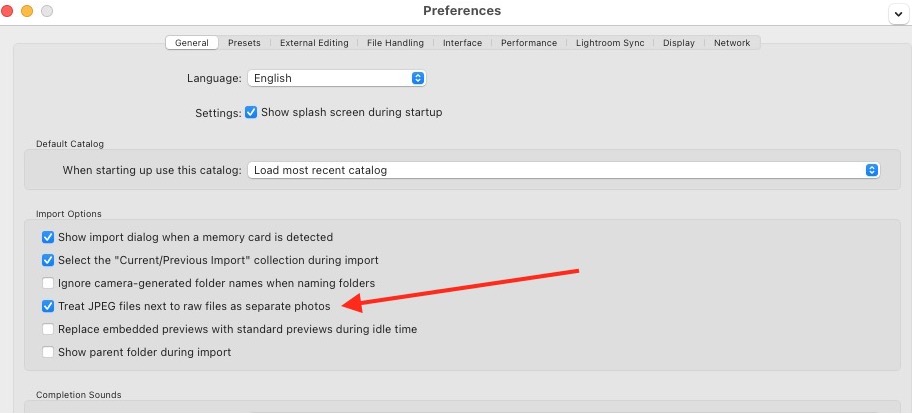
This box must be check in LR/LRc to see both file formats.
Thumbwheel programming: Finally I programed the thumbwheel, top right, to EV correction on the rare occasions I would want to override the camera’s aperture priority auto exposure.
Weight: My instant reaction to the weight of the M10 was that it’s identical to that of the M3 film body. Here are the data:
- M3 with film cassette, rewind crank, Upstrap and Leicameter MR4 fitted: 725 grams/25.6 ozs
- M10 with battery installed and Upstrap: 700 grams/24.7 ozs
So the M10, ready for action, is actually about an ounce lighter than the M3. The heft in the hand is just perfect, one solid mass of magnificent German engineering. Until you have experienced it you cannot begin to understand how special this feeling is. Like a Porsche 911 compared with anything else on four wheels.
All the various M10 models use brass top and bottom plates which increase weight over the zinc top plate used in black versions of the M11. (The chrome M11 retains a brass top plate). A black M11 weighs 130 grams (20%) less than a chrome one. That may be significant to you or you need to work out more if a silver body is your choice. The greater weight of the M10 works for me because of the many years of muscle memory using a like weight M3.
The most important accessory – the carrying strap: The following assumes that you carry the camera with the strap slung over your left shoulder, not around your neck.
I strongly recommend the Upstrap.
It can be stated with certainty that two of our greatest companies share a basic fault. In the case of Apple, the purported UI king, they seem incapable of designing a good mouse. For Leica it’s the same with the carrying strap. My M10 came with the original black leather carrying strap and it’s an abomination, just waiting to slip off your shoulder like every one of their earlier efforts. Stiff, ugly and slippery, with just one side coated with ineffectual anti-slip material. The best thing about the Leica strap is the two very robust hard steel key rings which I transplanted when installing the Upstrap.
Upstrap has gone out of business but they crop up on eBay now and then. A used one ran me $27. They come with a narrow (RF/DC) or wide (SR/LT) rubber shoulder pad, the latter spreading the weight better, but either works. For a heavy DSLR you really want the wide one. That’s a cheap insurance policy for a $5000 camera + more for the lens.
In many years of use I have never had an Upstrap slip off my shoulder (I carry the camera with the strap over my left shoulder, ready for action). The only thing I have against it is the installation process but that fiddly event – see the link – is truly a one-off. I strongly urge you to get one and forget the factory one or any number of crazy priced chi-chi alternatives. Perhaps the very worst are the ones that look like a rope. Made to slip off your shoulder. Forget fashionable leather straps. The key is that the strap has a large two-sided grippy rubber pad which will not slip.
Right thumb rest: There a right thumb rest in the rear of the camera where the thumbwheel resides. I like it as it adds a natural resting place for the right thumb. Some swear by after market thumb rests which slide into the accessory shoe. These strike me as redundant but whatever works for you. After decades with the M3, M2 and M6 which had no thumb rest at all, I think I can live without this add-on.
Auto ISO: I set the ISO on Auto using the top knob, set the ISO limit to 3200 in the Menu and told the camera to use a shutter speed no slower than 1/4l, where l is the focal length in mm. So with a 35mm lens the slowest shutter speed will be 1/140th second, and so on. This sounds conservative, I know, but that digital sensor will disclose any instance of camera shake. Of course, this assumes you have a 6-bit coded lens or have manually dialed in the focal length in the Lens Detection setting, otherwise the camera has no way of knowing which focal length is in use. These are nice features.
Geotagging: I then started up the GPS Tracks app in my iPhone and set off on my daily walk. I would later use the GPX tracks file, emailed to myself, to import GPS data to the images once they are safely in Lightroom. It works perfectly. By the time Leica released the M11 they added low power Bluetooth to the existing WiFi in the M10. Along with that addition the M11 can record GPS data using the related iOS FOTOS app, but the feature is not available in the M10. But the GPS Tracks method works perfectly and import of locations from the exported GPX file into LRc is almost instantaneous, using Jeffrey Friedl’s ‘Geoencoding‘ plugin.
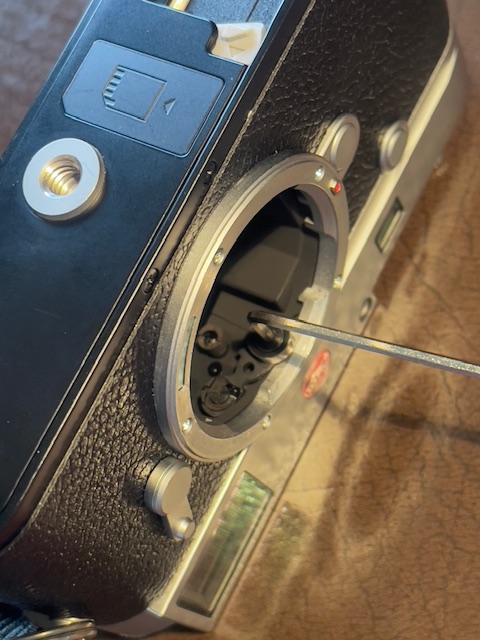
Use with Lightroom Classic: And how do you get the images into Lightroom? Leica has retained, for nostalgia’s sake I assume, the removable baseplate which has to be removed to access the battery and the SD card. I used an old 64gb SDHC card found in my desk drawer which sports a less than stellar 60mb/s read/write speed and it works fine, offering capacity for some 2,000 30gb images. More than I will take in a year …. The card is inserted into a reader attached to the Mac Mini M4 and import to LRc commences. But there’s another way. You can download a free application named Leica Sync which, once you have the Mac dialed in to the M10 created network (invoke FOTOS on the M10 to do this), allows download of the images on the SD card – still in the camera – to your Downloads folder. The 42 images, each around 30mb from my walkabout, took a pokey 6.5 minutes to download, with the small rear panel red LED flashing away to announce the download is proceeding. It’s an option, I suppose, but it’s far faster to simply insert the card in an SD card reader when importing images to LRc.
Shutter count: But there’s a real surprise waiting for users of this cool app. The one thing Leica does not want you knowing about – who knows how the German mind works? – is your camera’s shutter count. And Leica Sync displays that in the Information screen. Here is mine:
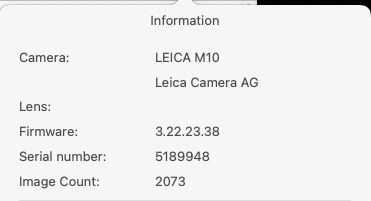
My M10’s shutter count.
Yup, the camera is basically brand new! And it came from a nice authorized Leica dealer at that, with a 12 month warranty. I checked that the count was incremented correctly when I had added a few dozen exposures, and it was.
That removable baseplate: All film rangefinder Leicas, screw or M-bayonet, have a removable baseplate for film loading and unloading. Leica has retained this poor piece of design in the M10 and the baseplate has to be removed to access both the battery and the SD card. Poor ergonomics. And if you think the M11 finally got it right by deleting the removable baseplate, think again. You now have to remove the battery to access the SD card. Hardly an improvement. This is one of those ‘grin and bear it’ situations.
Some snaps: Images? Here are some favorites from that 90 minute ramble, with particular focus on color rendering. I had created an M10 import in LRc which has an M10 camera profile among the many available, so absent the monochrome one, converted in Silver Efex Pro, these are pretty much SOOC. After import I changed the EXIF data to correctly show ’35mm Canon’ not ’35mm Summicron’ in the EXIF ‘lens’ field and imported the GPX file with the GPS coordinates for each image. It takes less time to do this than to write about it.
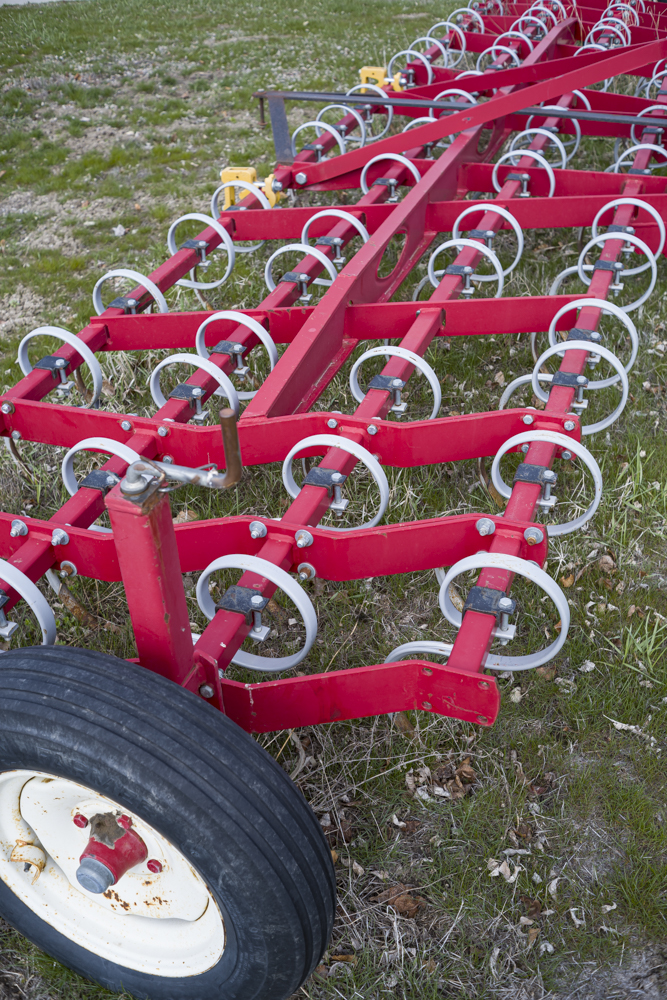
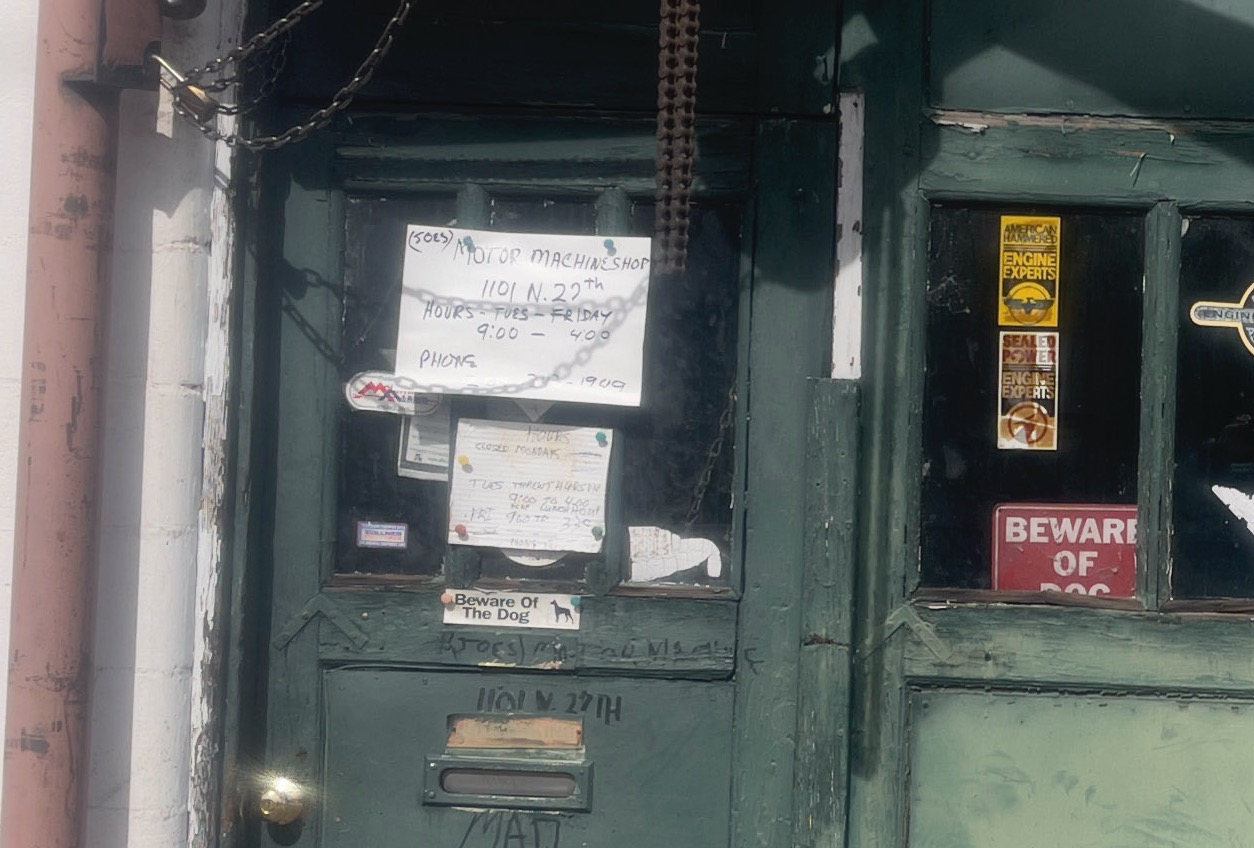
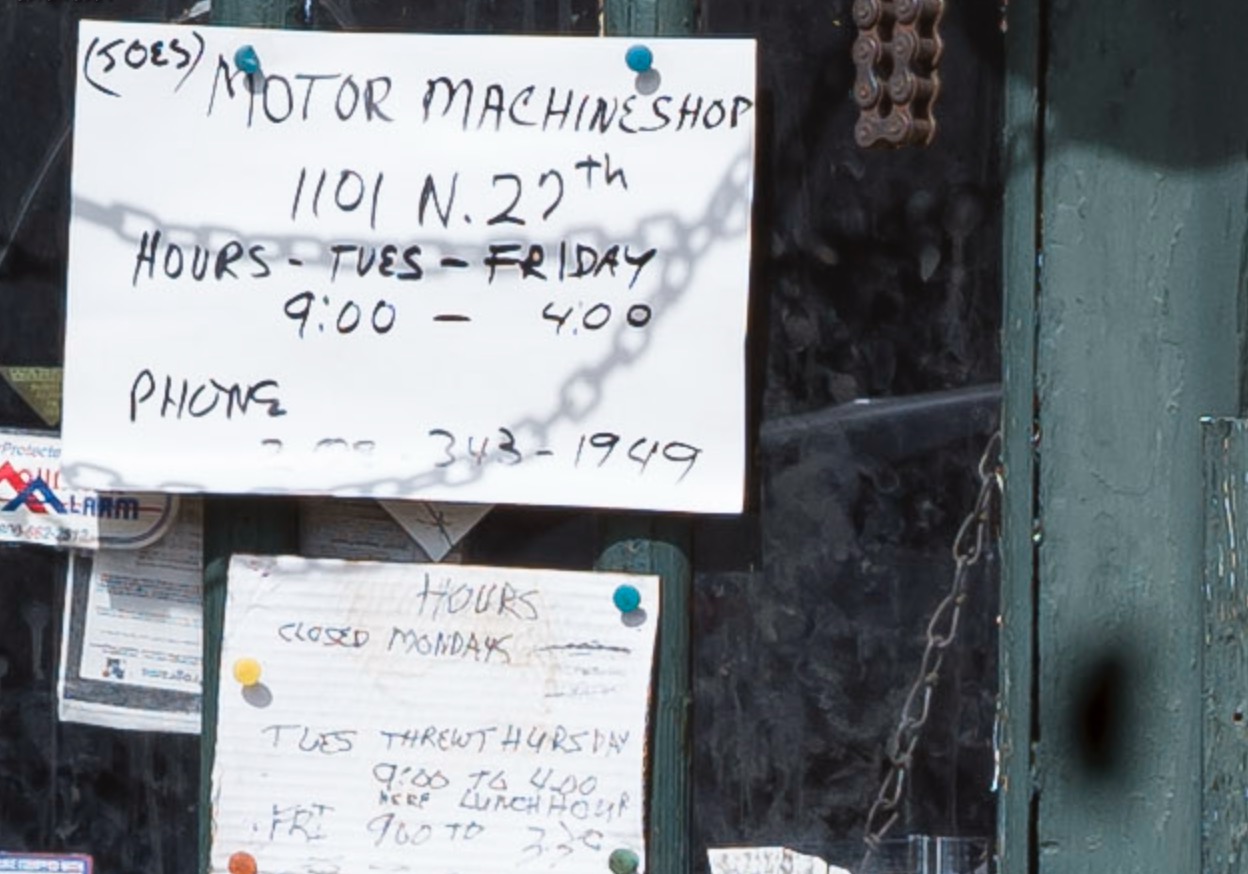
Farm machinery.

Colorful recycling.

International Harvester. The Caution writing is pin sharp in the original DNG file.
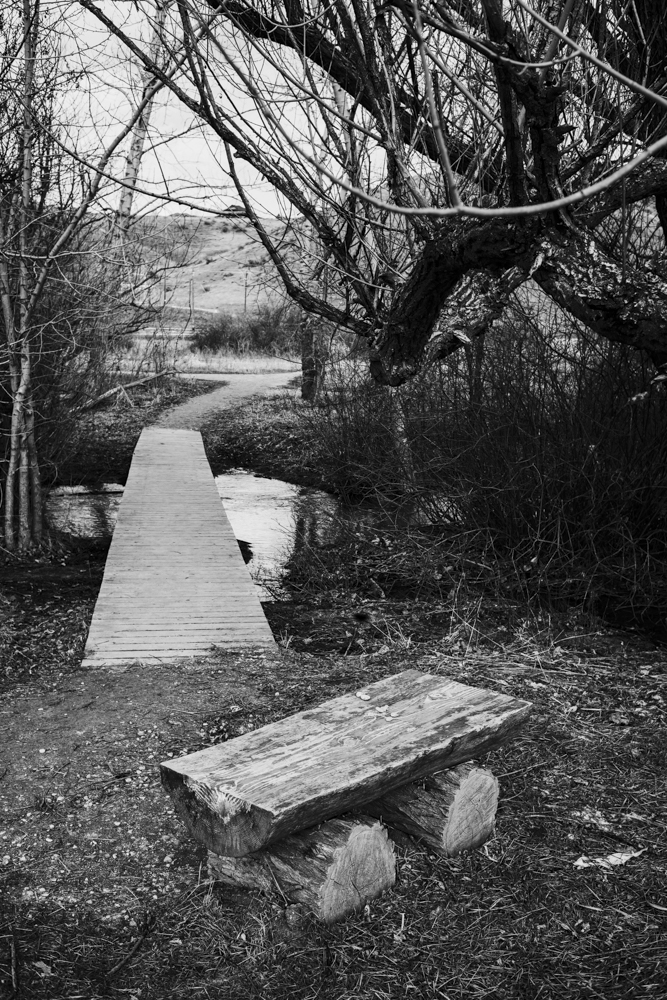
Rest spot.
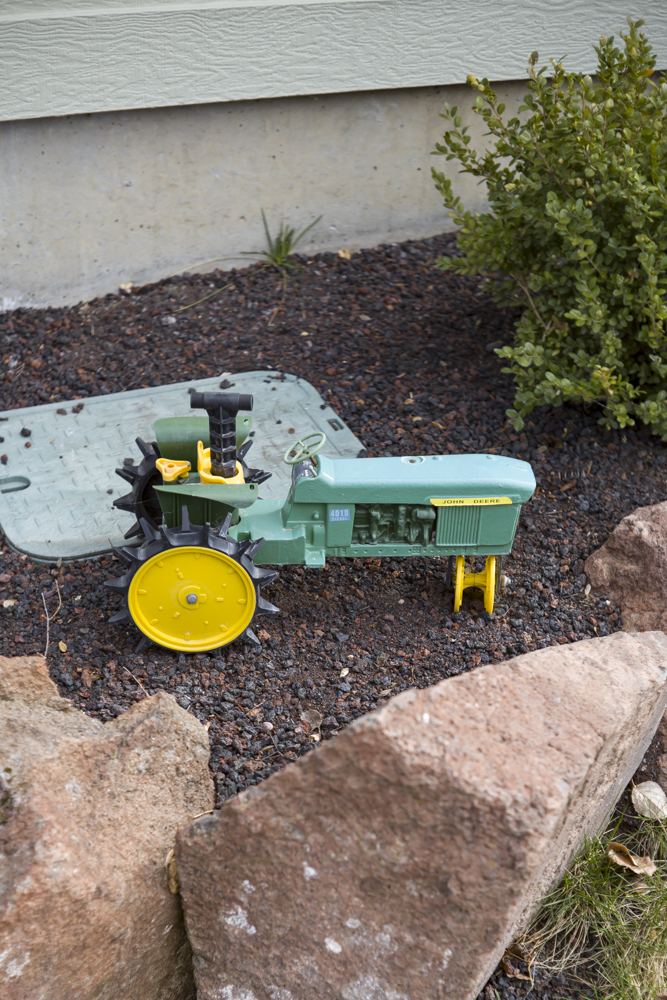
Small Deere.
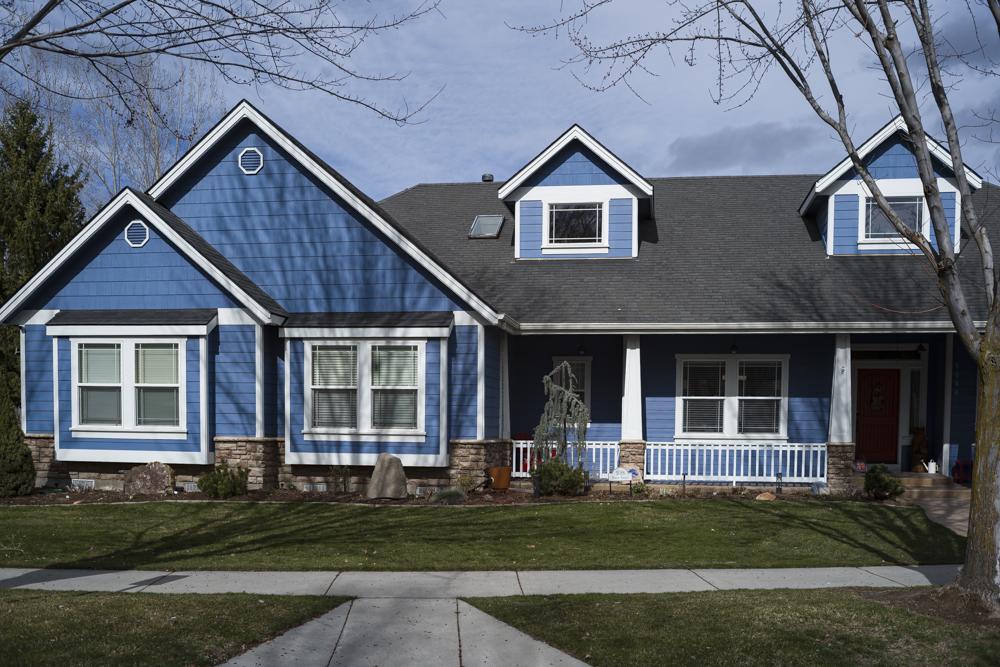
Blue house.
Flower display.
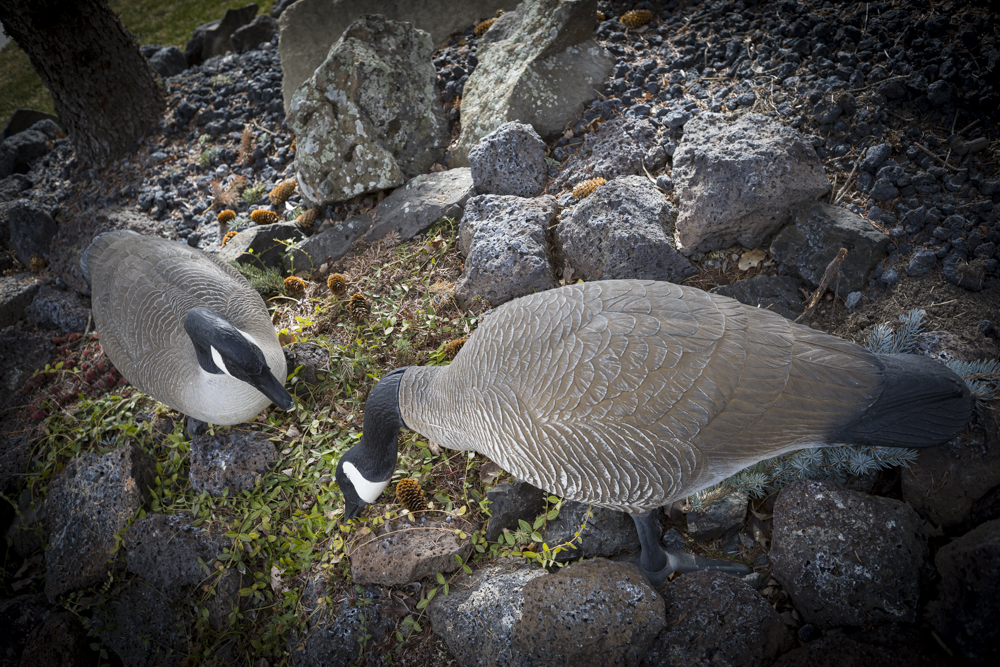
Fake Canadian geese. I added the vignette.
Ergonomics and finder content: The camera handles like a dream. If you have never handled any Leica M body, prepare your wallet for serious damage in the event you do, because there’s no unlearning the experience. The only thing I miss from my M3, M2 and M6 is that lovely film advance lever. While the finder magnification of 0.73x is less than the stellar 0.91x of the M3, the exit pupil has been significantly widened making for much easier use with glasses, and the LED illuminated frame lines are far brighter in poor light. The range/viewfinder in the M range has always been the marque’s crowning glory and Leica has surpassed itself here. Magnificent. In addition to the frames and rangefinder patch there’s a large shutter speed display at the base of the finder and a small red dot to the top left of this display says you have locked exposure with a first pressure on the sublime shutter release. A second red dot at lower left reminds you that you have EV compensation engaged but there’s no missing that as the amount of compensation is shown large and bold as you take a first pressure on the release. Perfection, and everything you need to know.
Shutter noise and battery life: The shutter is just a tad quieter than in my M3 and you can bang away at five frames per second if you are clueless. I have the LCD turned off as I never chimp, and the sleep timer set at 2 minutes. Once the M10 sleeps a touch on the shutter button wakes it (I wish it woke just a tad faster) and the LED illuminated frame lines once again become visible. In the 90 minutes, with the camera on at all times, the battery charge fell from 100% to 90%, suggesting that if you do not chimp – this is a street snapper, remember? – that a charge should be good for 400 snaps or so. For me that’s a lot. You may want to carry a spare battery and Leica will be happy to hose you down brutally for one. There are no aftermarket cheaper ones at this time. Luckily my M10 came with a spare.
You can turn off the power saving feature which keeps the finder frames and shutter display on at all times, meaning the camera is always ready for action without that irritating 1.5 second delay while it wakes from sleep. To test how much battery drain this causes I left the camera on for 60 minutes with Power Saving ‘Off’ and the resulting battery drain was 25%. Not at all bad. However with this power setting it really makes sense to carry a spare battery. Two batteries should give you a day’s action.
The 35mm lens – what the Leica M was designed for: This is the perfect focal length for street snapping and forget aftermarket gargantua with huge apertures to match their bulk. These are anathema to the Leica concept of ‘small camera, small lens’. The 35mm f/2 Canon LTM is fully the equal of the old 8-element f/2 Summicron. Practically, I would place its resolution north of that old Summicron but just short of the clinical rendering of the current ASPH version. I have owned and used both. Compared with film, the files from the M10 are vastly superior as there’s no mediocre film scanner involved in digitizing them and even at ISO3200 the images are grain free at 100% magnification in LRc. An extraordinary sensor and fine lens. Wanna save $3700? Forget that Leica Summicron and track down a good used 35mm f/2 Canon LTM. It’s as if it was made for the M10. Optics have not come that far from 1971 when that little charmer was made. Computers do not always improve on slide rules. I graduated with the latter so there’s an element of bias here!
Compared with the 35mm f/3.5 Summaron RF – the only affordable wide angle Leitz lens at $550 or so – the Canon gains 1.5 stops. At f/3.5 the Canon is considerably sharper at the edge of the frame, modestly so in the center. By f/8 the Summaron has caught up with images from both lenses sharp across the frame. Both are fine performers and large prints at full aperture are no issue.
The FOTOS app: The free Leica FOTOS app for iOS and Android allows you to remotely control the camera from your cell phone or tablet. I’m not too sure why you would want to do this but it also gives you access to the Main Menu selections and permits download of images to Lightroom CC, the mobile version. Frankly, I prefer processing on a large display attached to my desktop Mac but for those in the mobile set FOTOS may be just the ticket.
Conclusion: Otherwise what’s not to like? Handling is very much like a film Leica, you don’t have to wait an age to see your files on your computer, the definition of the files is an order of magnitude better and the whole package inspires mightily through its ergonomics and quality. Now I’m feeling a tad better about blowing the kid’s milk money on mine. A good used M10 depreciates 5% or so annually, so after 5 years you should still be able to realize 75% of what you paid, on resale.