Puzzling.
For an index of all Leica-related articles click here.
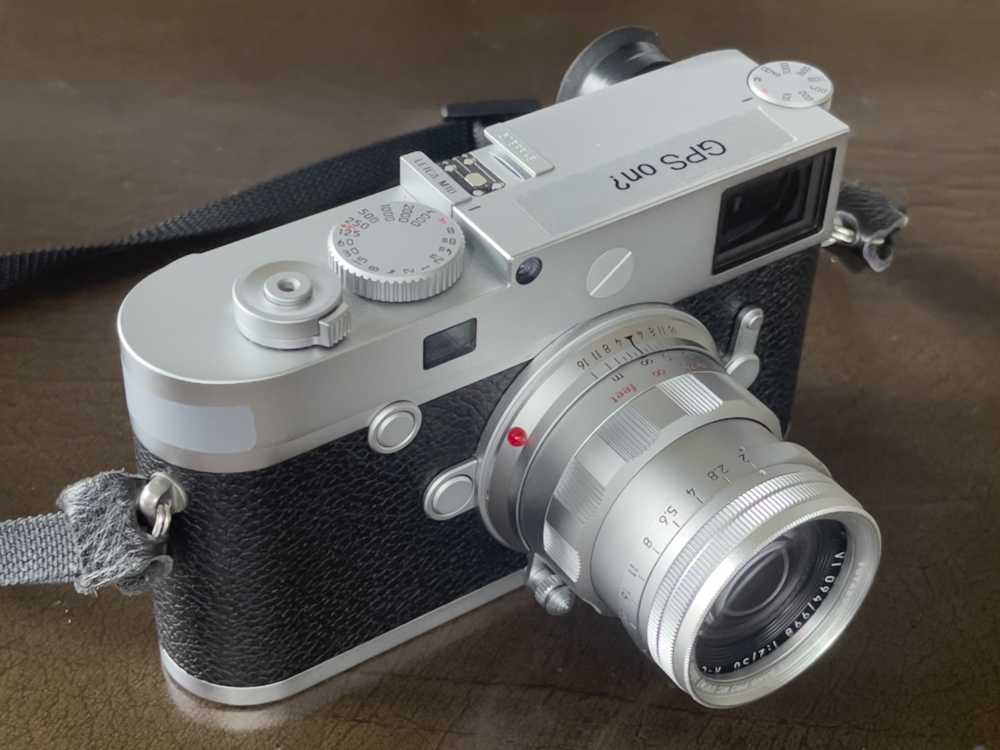
Leica just announced the availability of a firmware update for the M10, #3.25.50.34. My M10 was on #3.22.23.38 so I went ahead and downloaded the firmware and instructions, which state:

Firmware instructions.
My first attempt at moving the firmware to a newly formatted SD card failed. Nothing showed on the card. The firmware file is named LEICA_M10_3.25.50.34.FW. A second attempt had the file show up on the SD card and I followed the above instructions.
Here are snaps of the LCD screen during this process which, takes some 5 minutes. A nervous time as you wonder if the camera will be bricked. There’s a two minute wait for ‘decompression’ of the file before the first image below:
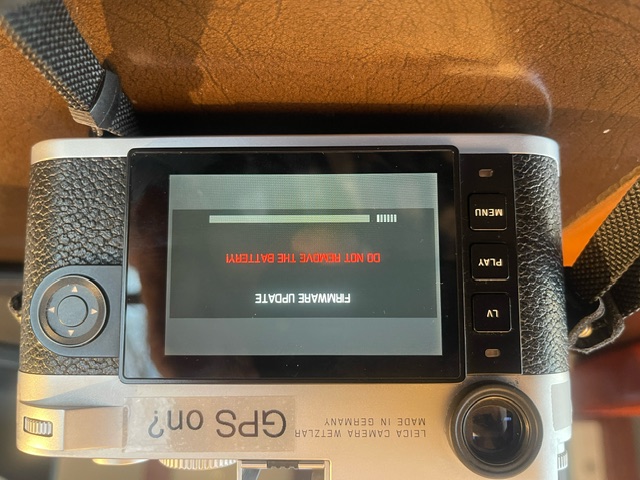
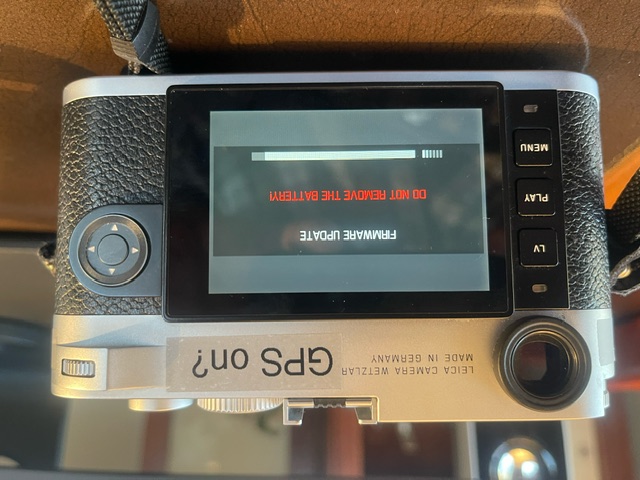
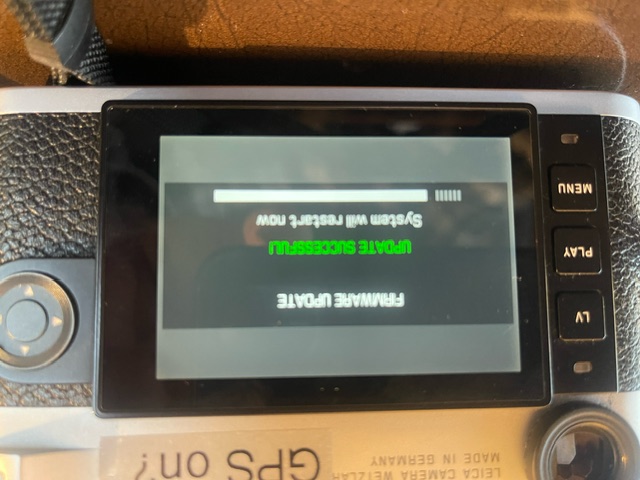
After decompression, towards the end, completion.
At conclusion the LCD went blank, but a touch on the Menu button showed all was well, and the firmware version in ‘Camera Information’ was confirmed as #3.25.50.34. There was no indication that the camera was being restarted.
Leica makes no mention of what is being changed, but apparently the prime change is the addition of the newly announced 35mm f/1.2 Noctilux. What is strange is that the lens does not appear in the menu of lenses which can be dialed in manually. Maybe the camera recognizes the new lens when it is inserted, as I assume it’s 6-bit coded. Anyway, I will not be spending $9,650 to find out.
The other odd thing is the mention in the instructions that the date and time have to be reset. I found no need to do this as both were correct.
Go figure.
I also checked to see if the (largely worthless) Leica Fotos app on the iPhone would connect faster, at best an iffy and very slow process with the previous firmware version. Nope. It still fails to connect most of the time and when it does the process takes some 3 minutes. So Fotos remains useless. By all accounts the app works better and faster with the M11, and stores GPS data in the app without the need to use the clunky Visoflex electronic viewfinder – required with the M10 – but, again, I’m not about to spend $10,000 to find out.
So unless you are buying the new Noctilux it seems pointless to do this firmware update. And if you do get the Noctilux it’s unclear whether it will be correctly recognized.