Stopping evil.
Jean-Louis Gassée, former head of Apple France, writes a weekly column on his Monday Note blog which is always interesting. A few weeks back he wrote this interesting piece addressing the growing use of tracking software which allows the not-so-nice people at Google, and its runt offshoot Facebook, to Do Evil. Meaning that these crooks steal your tracking history for sale to the highest bidder, their customer, also known as an advertiser. You are not Google’s customer. You are Google’s merchandise, your behavior unwittingly sold every second of the day. Yeah, yeah, yeah, you agreed to their carefully obfuscated terms of service – I need no lessons in the law, thank you. I know theft when I see it.
One of Gassée’s points is that with the wimpier processors found in portable devices, especially iPhones and iPads, this invisible but very intrusive software has a significant effect on the speed with which content loads while all those nasty trawlers lodge inside your CPU and memory. With iOS9 being released by Apple today, I got off my duff, loaded it up on the iPhone and sundry iPads and immediately installed Marco Arment’s aptly named ‘Peace’ app which permits trackers to be blocked. Arment is a long time Apple developer, is a person with a great track record and I have been a happy user of his apps for years. Sure, there are free variants out there, but why not go with a known quantity? All of $2.99. The effect was immediately noticeable. One of the worst offenders is the New York Times and pages now load far faster on my iPhone and iPad – no measurements needed. It’s obvious.
Then the other shoe dropped and I realized I had to install tracker blocking in Safari (I already use AdBlock to stop intrusive advertising) on my desktops and laptop, so I zipped over to Ghostery and downloaded and installed a conceptually similar app for OS X browsers. Marco Arment’s ‘Peace’ uses the same Ghostery back-end on iOS. Once installed, Ghostery places a small ghost icon to the left of your URL bar and when trackers are in effect a red numbered flag tells you how many you are blocking – this is what you see when you click the icon:
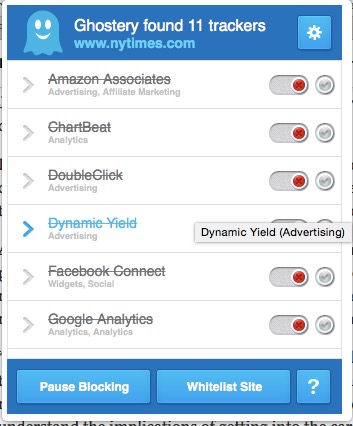
The liberals at the NYT aren’t past making a silent buck off your reading.
No surprise that Google Analytics and Facebook feature in just about every tracking err… tracking, and I’m not even a member of that great 21st century time sink for those with IQs in double digits and below known as Facebook users (they are more accurately described as ‘used’ than ‘users’).
So there are two benefits of using tracking blockers. First everything in your browser loads noticeably faster, meaning less time lost and less battery drain. Second, you get the smug satisfaction of thwarting those who Do Evil. Given that this is an existential threat to Google’s revenues, you can bet they have large teams working overtime on working around this. Until then, I have a smile as large as a Cheshire Cat on my mug.
Apple is to be congratulated on making tracker blocking available in iOS (you need recent versions of the iPhone or iPad for this to work – an excellent excuse to upgrade). And JL-G is to be congratulated on bringing this issue so eloquently to the fore.
I checked this blog to see if some trackers had somehow insinuated themselves and found but one – Google Translate. If you use the translate option (scroll to the bottom of this page) Google will know all about it. If you read English, nothing about your coming here is known to anyone – except you. Google’s translation is mostly awful anyway, but there for those preferring not to use the Queen’s English.
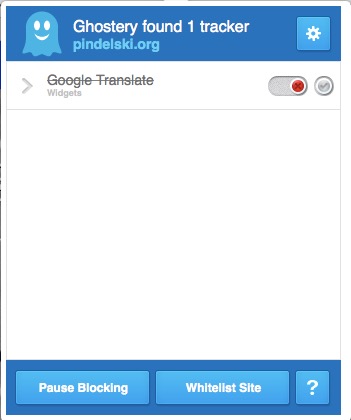
The one tracker in effect – turned off here – on this site.
Update not 24 hours later:
I take everything I said about Arment back. This just sent to me by a Guardian reader:
“The maker of Peace, a bestselling ad blocker for iPhones, has pulled the app just days after its launch saying the app’s success “just doesn’t feel goodâ€.
Marco Arment, co-founder of Tumblr and creator of the Instapaper reading app, launched Peace on 16 September. The $2.99 app became the bestselling app in Apple’s iTunes store almost overnight.
Peace takes advantage of iOS 9, Apple’s newly updated mobile software, to filter out mobile ads and tracking on other apps and websites. Mobile advertising is the fastest growing sector of the ad business and seen by most publishers as vital to their future finances.”
Well, I got mine ….
One of the basic facts of life is that those with bleeding hearts generally have zero grasp of economics. Just buy someone else’s product because he has just helped them get rich.
Now the fellow has rebated the money rather than giving it to a good cause like education:
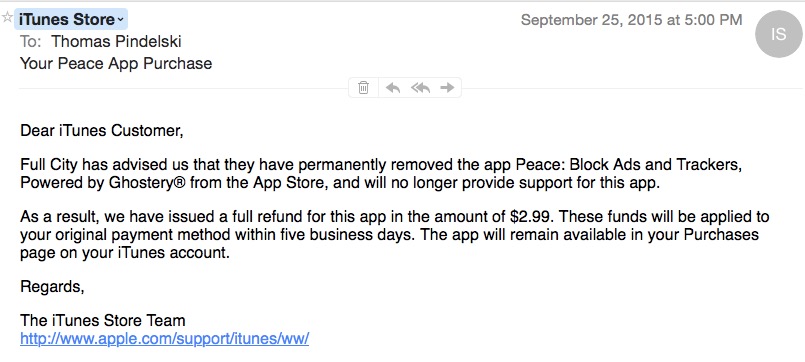
Update October 1, 2015:
Now that Apple has refunded me my $2.99 for Peace, why not just stick with it, free as it is? because there will be no updates fromn the fool who passes as developer.
Go to this excellent New York Times piece (talk of biting the hand which feeds you!) and download Purify from the App Store for $1.99. It works just like the article says and you should get support going forward.
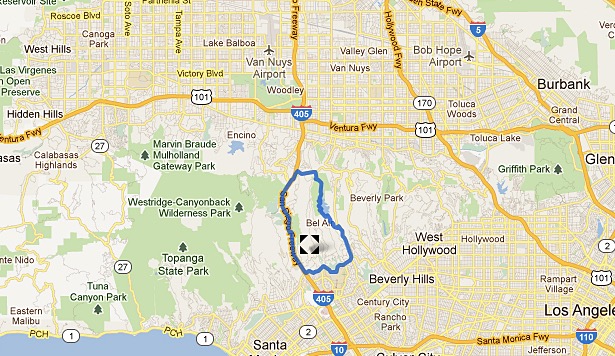


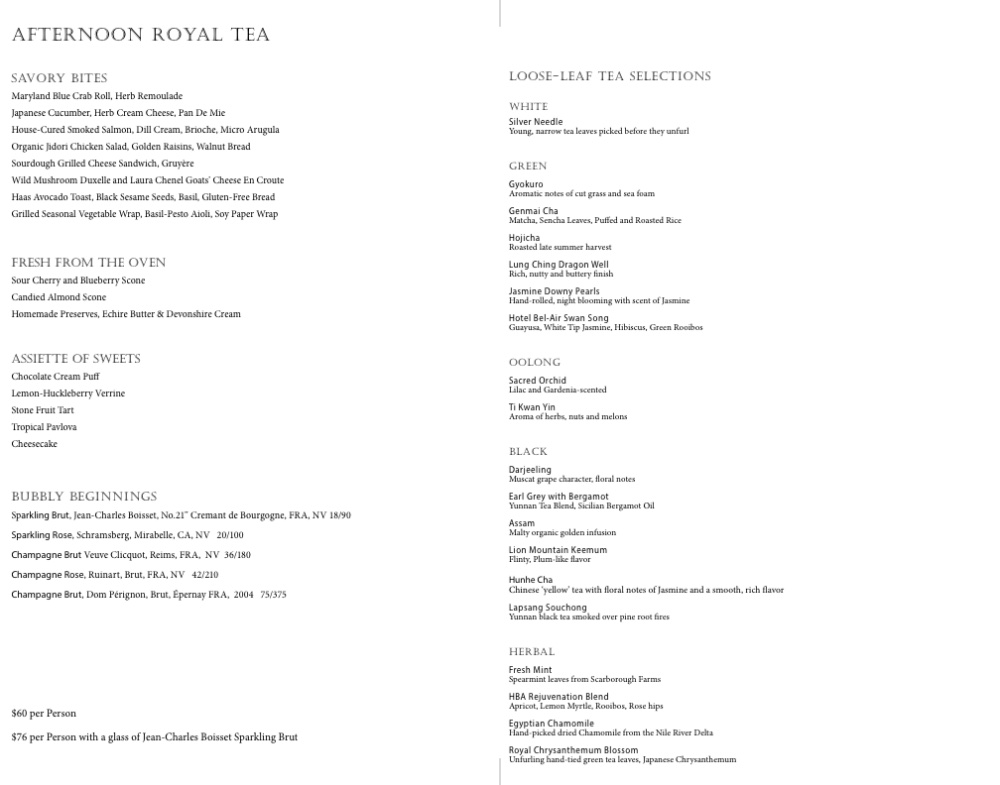 The Hotel Bel Air takes its tea very seriously.