Category Archives: Technique

Mounting Big Prints revisited

Cutting costs.

The ‘archival’ acid free issue:

When I first wrote about heat mounting of big prints over 7 years ago I advocated the use of premium priced acid free mat board and acid free mats. I have reconsidered that advice and have concluded that it is not correct.

A quick look at the specifications for Seal/Bienfang mounting tissue explains why, but first let’s take another look at the physics of the equation. The ‘sandwich’ comprising a mounted print consists of the mat on the top, the print, mounting tissue and the foam board. Heating the sandwich in a press causes the adhesive in the mounting tissue to melt on both sides, forming the bond between tissue and board and between tissue and print.

Here are the spec sheets for the mounting tissue:


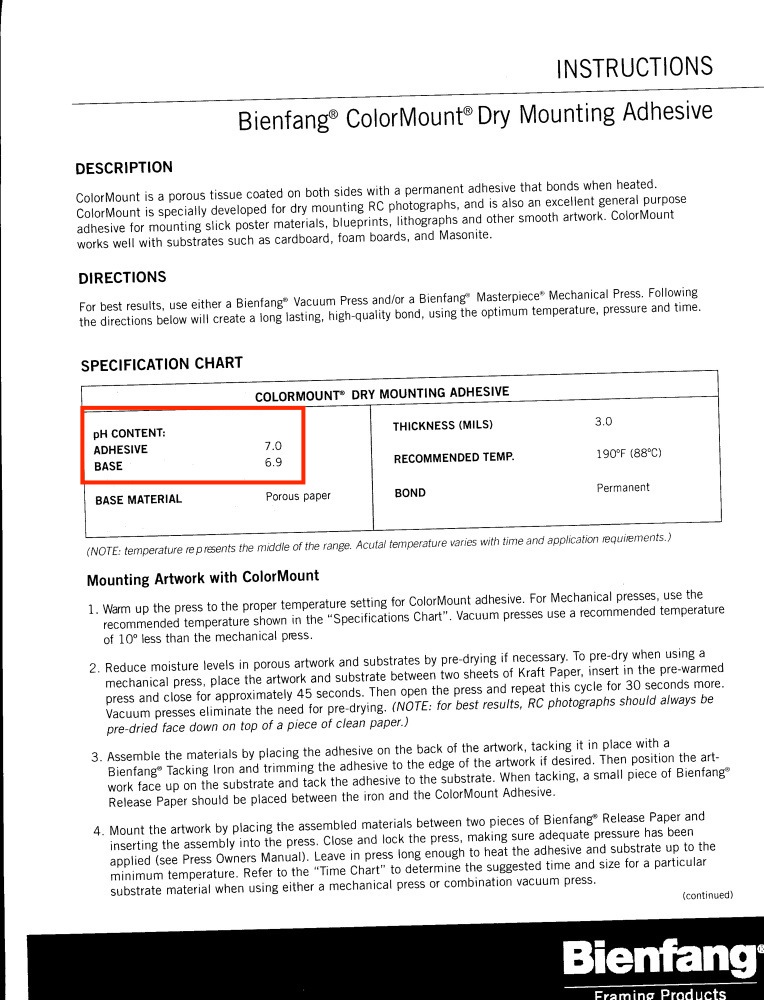
Note the pH rating of the adhesive which contacts the print and the board – it’s 7.0. Acid free. Neutral. The tissue itself is 6.9, very mildly acidic, and buffered by the neutral adhesive at that. About as close to neutral as you can get. As for the mat, the area of the mat contacting the print is minuscule – a small border contact, if that, as the mat is not in high pressure contact with the borders of the print.

Best mounting press temperature setting:

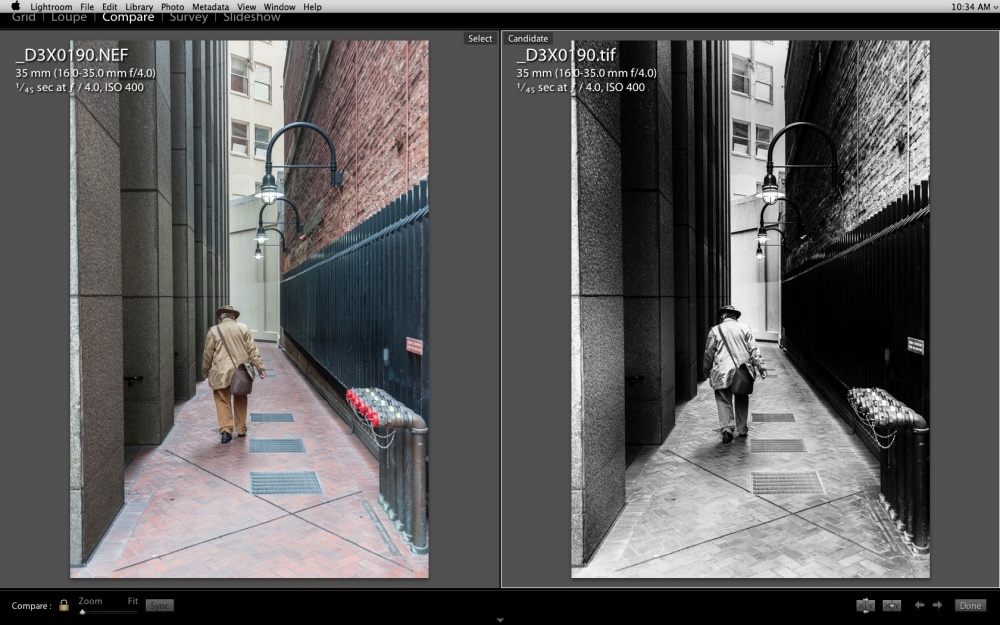
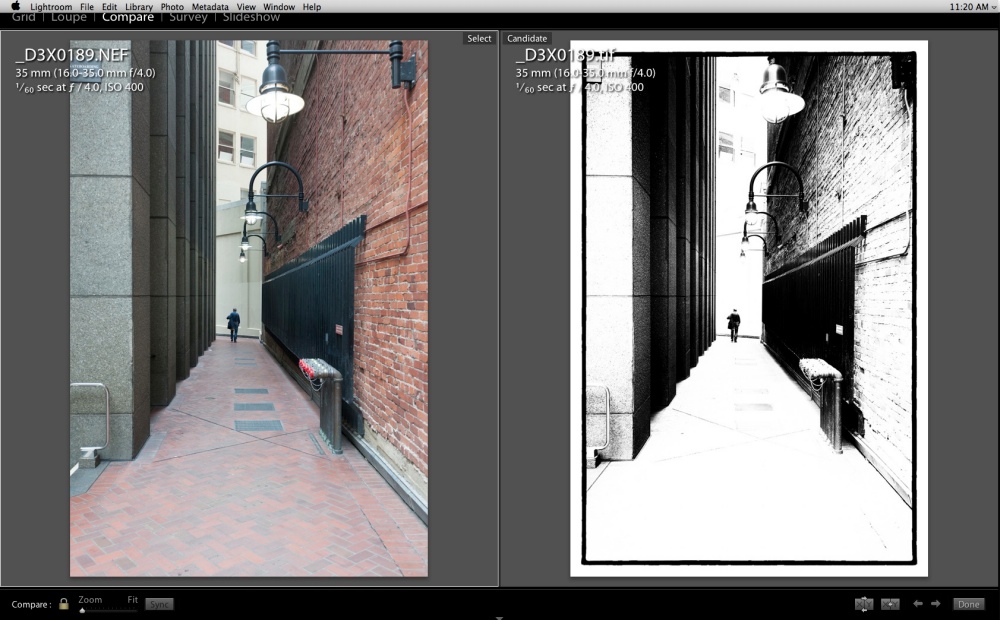
I now print exclusively on HP Premium Plus Glossy Photo Paper, preferring the punch to prints made on Matte paper. There are two drawbacks to glossy paper. First, every defect in the mounting process will show – loose hairs, dirt between print and board, creases in the release paper, any dirt on the heated platen in the press. All will leave a mark. This is bitter experience talking. Second, the warmer the press, the more of the gloss is lost in the process.

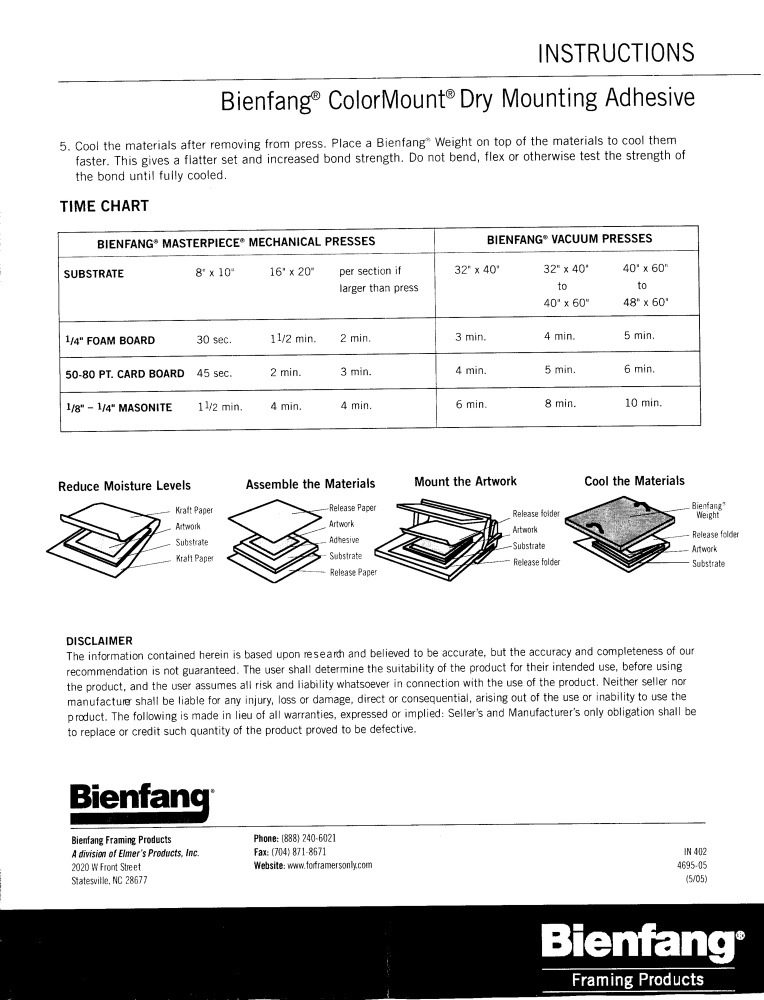
After much experimentation, I have found that a setting of 170F (compared with the 190F recommended by Seal/Bienfang for their Colormount tissue) is optimal. Is that a real 170F? I do not know as I have no way of verifying the accuracy of the temperature meter on the 160M Seal press I use. So you may have to experiment with yours. This low setting has two advantages. Much less gloss is lost than if you use 190F. And the mounted print can be pulled off the board for repositioning or removal of debris. The other day I had an ugly bump in the center of a glossy, mounted print. I peeled off the print, sure enough confirmed that a small piece of foreign matter had somehow crept in between print and mounting tissue, remove the offending dirt and reheated the print in the press. Perfect.


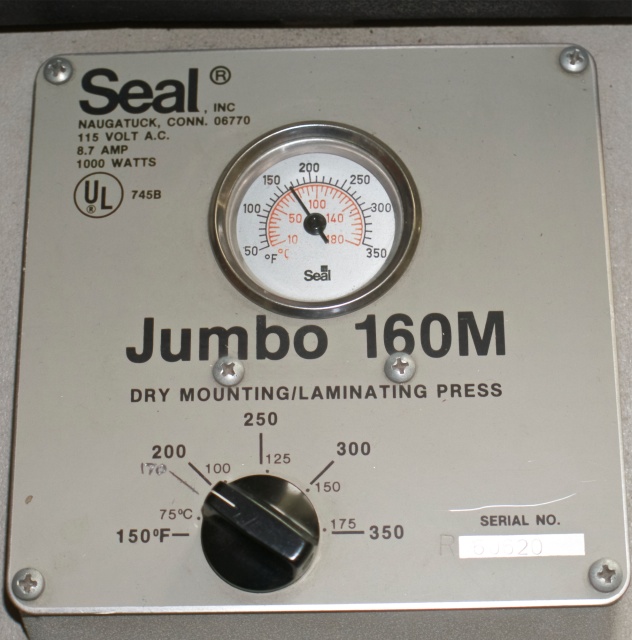
The 170F (77C) setting has been marked on the dial.

I always use release paper between platen and print and recently found some which has a very high gloss finish, which helps even further with gloss retention. And the release paper must be devoid of creases or they will become imprinted on the photo paper’s surface. It’s available inexpensively in long rolls from Artgrafix and highly recommended. Be sure to store the cut piece of release paper in a glassine bag between uses or it’s back to dirt, debris and printed surface damage again.

Even prints exposed to direct, long term sun have shown no sign of lifting from the mounting board using 170F for mounting.

Mat openings – key dimensions:

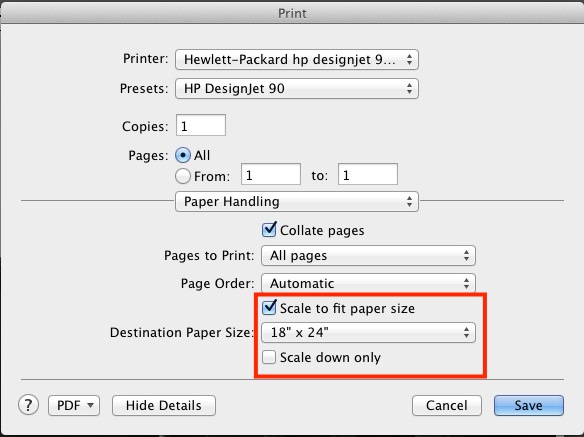
I typically mount both 13″ x 19″ and 18″ x 24″ prints on 22″ x 28″ boards. The HP DJ90 and 130 leave a 1/4″ border top, left (long side) and right (long side), with a bottom border of 9/16″ (short side). For the HP Designjet 90/130, after allowing another 1/8″ for safety,the mat openings are as follows:

  • 13″ x 19″: Opening is 12 3/8″ x 18 1/16″
  • 18″ x 24″: Opening is 17 3/8″ x 23 1/16″

Standard 1/2″ undercut mat openings will not work (17 1/2″ x 23 1/2″, for example) with the Designjet. Get custom cut mats from MatBoard&More. This vendor only stocks foam boards of 1/8″ thickness, so use Readimat for 3/16″ foam board supplies.

Conclusion:

1 – Foam mounting board:

22″ x 28″, 3/16″ thick, ‘Acid free’ foam mounting boards sell for $7.10 at Readimat.com. The non-acid free version is $4.10, or 42% less. I conclude that using ‘acid free’ boards is a waste of money with no material impact on longevity of the print. I continue to recommend 3/16″ thick boards over 1/8″, especially if, like me, you do not glass cover and frame your prints, opting instead for inexpensive mirror hangers to hold the ‘sandwich’ to the wall. The thicker board resists warping far better.

2 – Mats:

Acid-free mats 22″ x 28″ external, 17 3/8″ x 23 1/16″ opening cost cost $24.68 each. The non-acid free version costs $12.79, or 48% less. I recommend you use the non-acid free mats. Get custom cut mats from MatBoard&More.

3 – All-in price:

Excluding frame and glass, the cost of board and mat for an 18″ x 24″ print mounted on a 22″ x 28″ 3/16″ foam-core baord is $16.89 non-acid free, compared with $31.78 for acid-free. A savings of 47%. Buy in bulk and the savings grow.

The mirror hangers I use run $2.50 a set of four plus call it $0.10 for 4 x 3D 1 1/4″ nails, making the cost of a 22″ x 28″/18 x 24″ mounted hung print:

  • Mounting board: $4.10
  • Custom HP DJ 90/130 mat: $12.79
  • Mounting tissue: $0.50
  • Mirror hangers: $2.60
  • Paper and ink: $3.00
  • Total cost: $22.99 plus shipping costs for the mats and boards

That is a very attractive all-in production price for a large unframed print.


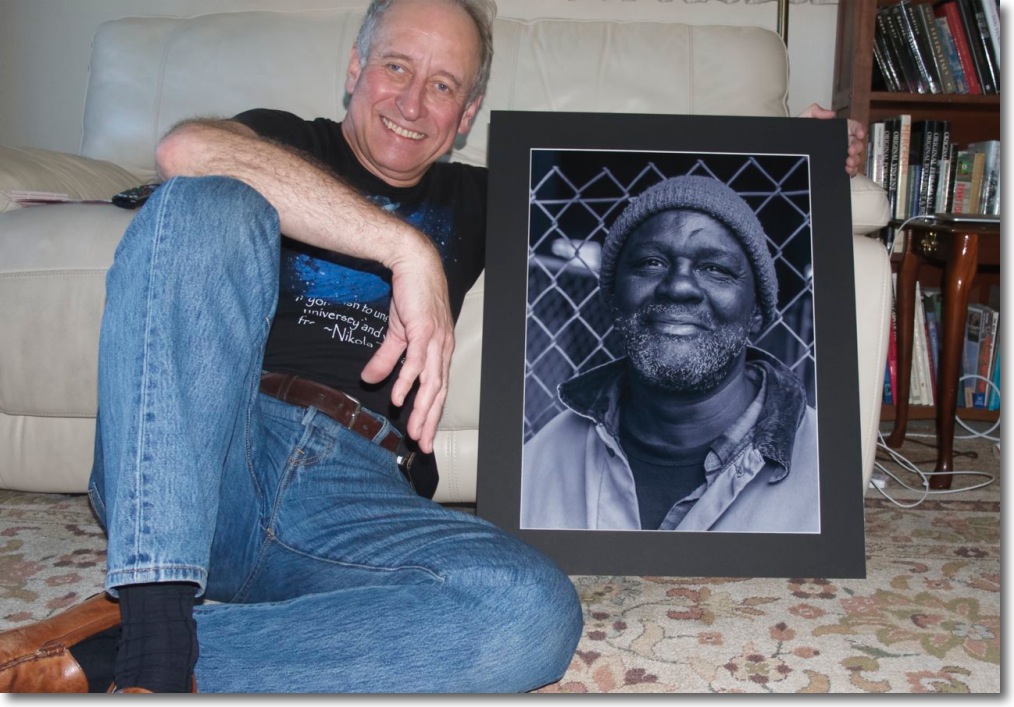
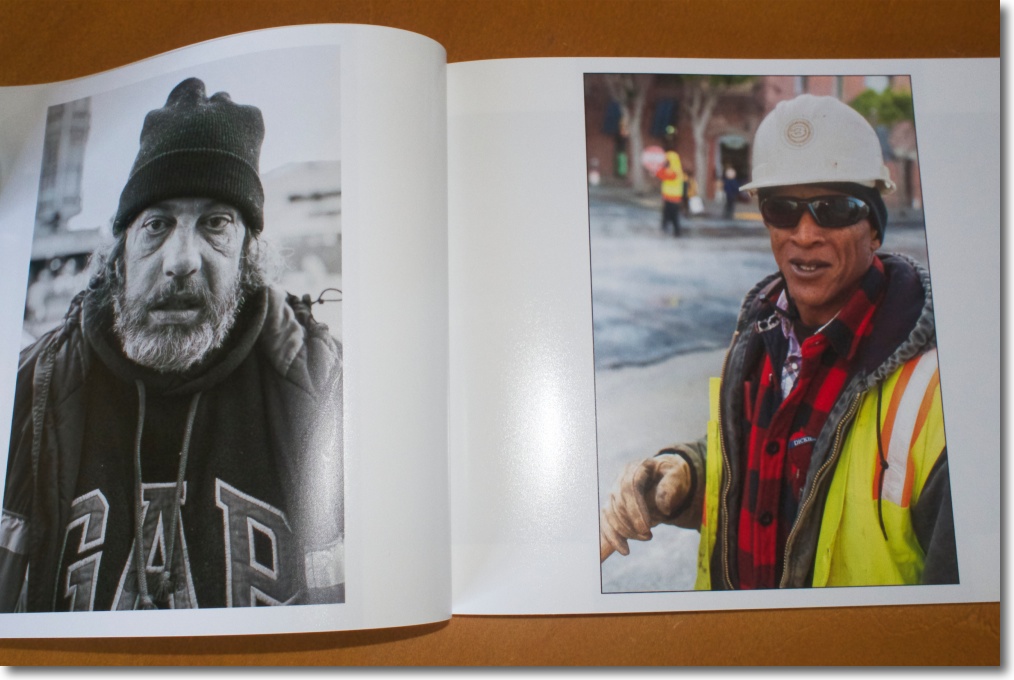
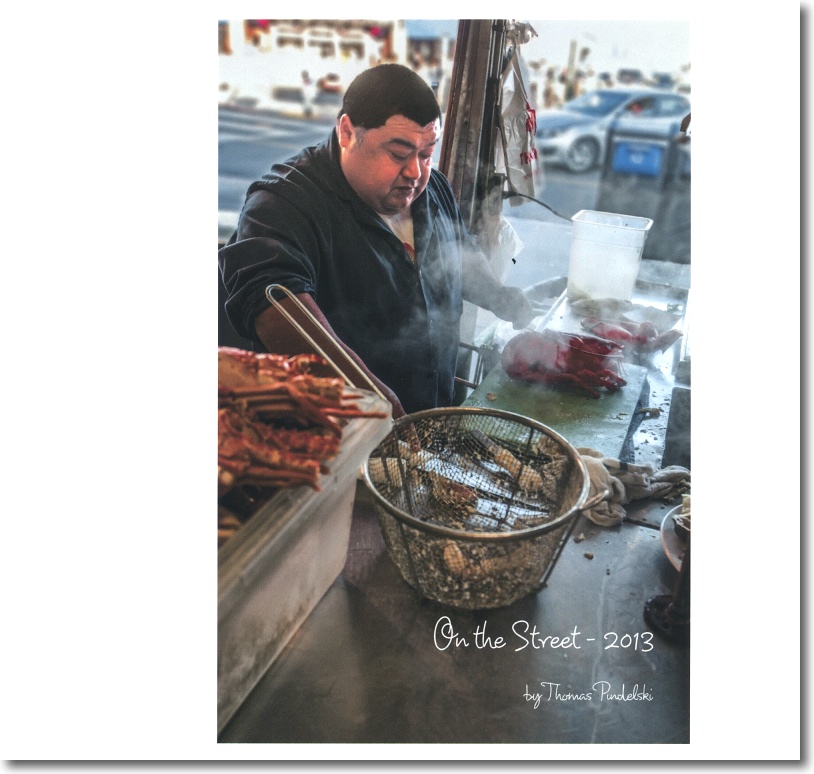
Nothing beats a big print.

D & K:

D & K bought Seal/Bienfang, the press maker, in 2010, so it may help to also search under that name when looking for supplies.

HP DesignJet 90/130 with Mavericks

One quirk.

As my correspondence indicates many HP DesignJet 90/130 printer users visit here for help with what ails their HP DJ printers, I thought I would make mention of a quirk which cropped up after I upgraded from Mountain Lion to Mavericks.

Mine is the DJ90 which goes up to 18″ wide. 13″ x 19″ prints were being printed correctly from Lightroom 5.3 but when it came to 18″ x 24″ these started printing 13″ x 24″, with the righthand most 5″ blank. I was unable to find any new drivers from HP on the web (no surprise there – they are probably busy paying management yet more while firing engineers) so decided to sniff around the print menus in LR to see what was what.

The driver I am using is the one downloaded through this pane:


Stock HP DJ driver downloaded and installed though Lightroom.

My DJ is connected to an Airport Extreme router and I print to it wirelessly from my Mac Pro in a separate room. Nothing new there.

Go to the Print module and click on ‘Print Settings’ lower left and you get this pane:


Boxes checked and unchecked.

I checked the ‘Scale to fit paper size’ box (the default is unchecked) and unchecked the ‘Scale down only’ one (default is checked).

Now 18″ x 24″ prints are printed perfectly once more.

Update for OS X Yosemite:

No issues. LR5 and Yosemite coexist happily.

Blurb revisited

Much better second time around.

Ask me what the best ways to show your photographs are and I will reply big prints, well printed hard copy books, a PDF on a tablet and last a computer display. I suppose TV screens work, but it just does not feel right to me.

I wrote over five years ago about publishing your own photography books with Blurb and came away disappointed. The price was overwhelming and everything else – paper quality, print quality, the divot in the cover – were underwhelming.

But times and technologies change so I decided to give Blurb another shot. Lightroom 5 added a Book module which integrates with Blurb but I simply exported my files to JPGs (2,000 pixels on the long side) then imported them into BookSmart, an app which can be downloaded from Blurb at no charge. The app comes in Mac and PC versions.

The app is really well engineered and while my 60 or so snaps imported oversized, requiring each be reduced to fit the page, the process was easy and fast. Note that if you want a spine title the book must be at least 80 pages. I decided on softcovers and paid a little more for the premium lustre paper. The weight and texture of the paper are serious art book quality and the printing is excellent. Printed images are just a tad more contrasty and darker than originals on a computer display, but nothing to complain about. The crop marks shown within the app are dead accurate. Even monochrome images show good if not great blacks and you can make out the lustre of the paper in this image:

I make these books for friends as Christmas gifts and, like my annual calendars, they show work solely taken during the year. This discipline prevents raiding the catalog for oldies and inspires me to come up with new things. I recommend it.


A scan of the book’s cover. Actual quality is far better.

With shipping, 60 page books, printed on both sides, with images on the front and rear covers, cost me $45 each after using a 20% discount coupon. As the paper is finally satisfyingly thick I see absolutely no sign of bleed through from opposing images. A contrast with my original experience. I messed about some with the Lightroom module but find the BookSmart app far easier to use and it’s not like exporting images to JPGs for import to BookSmart takes any appreciable time.

Recommended.

Printing Paper for the HP DesignJet 30/90/130 – Part IV – Fade tests

Very disappointing.

It has now been three months since I started fade tests on six selected Hahnemühle ink jet printing papers, test prints having been made on my HP DesignJet 90 dye ink printer, cut in half with one half exposed to eight hours of bright sun and the other half stored in darkness. Mine is a non-smoking household. I used original HP inks in all cases.


Three matte and three glossy test strips in the sun.

I reviewed Hahnemühle glossy printing papers here and matte papers here.

The results are extremely disappointing and I cannot recommend any of these papers for use with the HP DesighnJet dye ink printers if exposure to strong sun is contemplated.

Here are the before and after results – it’s obvious which is the ‘before’ and ‘after’ print in all cases:


Baryta FB Glossy


Fine Art Baryta Glossy


Fine Art Pearl Glossy


German Etching Matte


Photo Rag Bright White Matte


Photo Rag Ultra Smooth Matte

The prints subjected to sun exposure were placed behind a regular domestic window. If mounted behind UV glass they might fare better but, candidly, the results are so poor that I would not waste time or money on any of these papers for use with HP dye inkjet printers.

Hahnemühle’s statement that their papers are ‘compatible’ with dye inks is at best a vague obfuscation, at worst an outright lie.

Use with pigment inks – no better: I cannot even recommend these papers for use with pigment inks. Look at the white margins in the above results. It’s even clearer in the originals I am holding in front of me. Without exception, every single margin – where no ink was ever deposited – is yellowed, the worst being the three glossy grades, the first three above. If you contemplate buying costly art prints ask which paper was used and if you hear Hahnemühle – run for cover with your check book, regardless whether dye or pigment inks were used.

I will move on and test other brands when time permits.

Nik Collection

Cheap if that’s your thing.

Having bought Nik Software a while back, Google now appears to be trashing all their desktop applications and focusing on mobile. The excellent desktop version of Snapseed is already dead and now they are offering the whole Nik collection of image manipulation apps for $150. Shop around and you can find further discounts down to $125.

Here’s the TechCrunch piece:


Click to read the whole article.

Readers frequently point me to SilverEfex Pro 2, the black and white app, but I have never been tempted to buy what was a very costly plugin as I rarely do monochrome. I see, and photograph, in color, mostly finding monochrome a crutch to make ‘good’ that which is mediocre.

Still, Google’s evil geniuses are making the whole bundle available for a free 15 day trial, so I downloaded the Mac Lightroom version which installed seamlessly and became available as a series of processing options, thus:

Mercifully the HDR component did not come over, for whatever reason, which spares me not using it to make garish chocolate box covers of my images. I gave the B&W plugin a run and it’s well engineered, decently speedy and the highlight for me is the localized adjustments where you can select a limited area to which effects are applied. Here’s a before and after of an image where the plugin has been used, with localized darkening of the fore- and backgrounds:


Nik monochrome plugin at work.

It’s easy to create very high contrast monochrome effects but, as I said, using the B&W crutch to save a mediocre color snap rarely works:


Crutch at work.

The Color Efex (sic) Pro 4 plugin provides a host of coloring actions, thus:


Color Efex Pro at work.

There are so many free versions of these plugins on the web that it’s hard to justify spending money on this, but as it’s included in the bundled price maybe one can live with that.

Dfine2 and the two sharpening plugins do nothing for me that Lightroom and Photoshop (the latter adds uprezzing in the Print menu) cannot, so once again it’s hard to see paying money for these if you already have Adobe’s applications.

Viveza 2 strikes me as a complete waste of money, adding nothing to the basic color processing controls already available in Aperture, Lightroom and Photoshop.

Bottom line: If you are into monochrome and need a capable, flexible tool which adds easily used localized adjustments, the Nik plugin may be for you. The other stuff is just fluff if you already have Lightroom and Photoshop. There are also Photoshop and Aperture versions of Nik’s suite, available for both Mac and Windows. I would look to buy these now if you are interested, despite Google’s protestations that they will remain available. There is no reason to believe anything from a company whose business is founded on the theft and resale of your private information and images. And I do believe they are lying.

All images on the Nikon D3x with the 35mm Sigma f/1.4 lens.