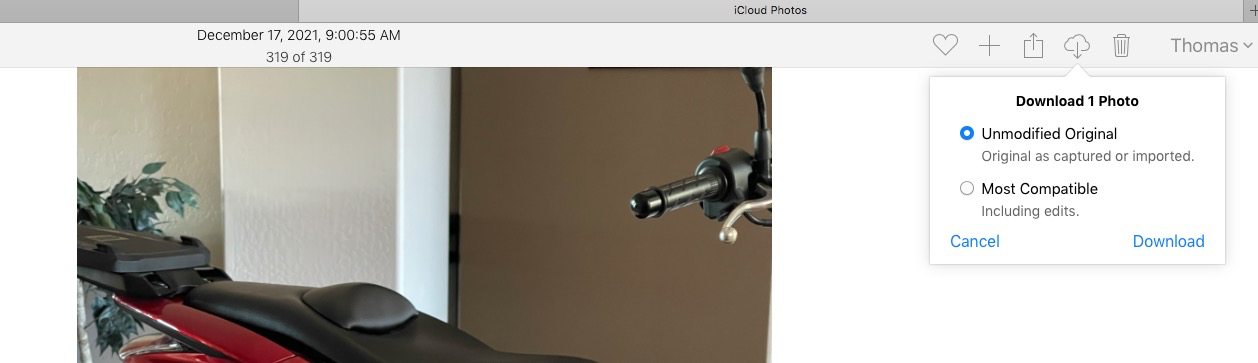
Using Apple Preview.
For an index of all articles about the Epson ET8550 printer, click here.
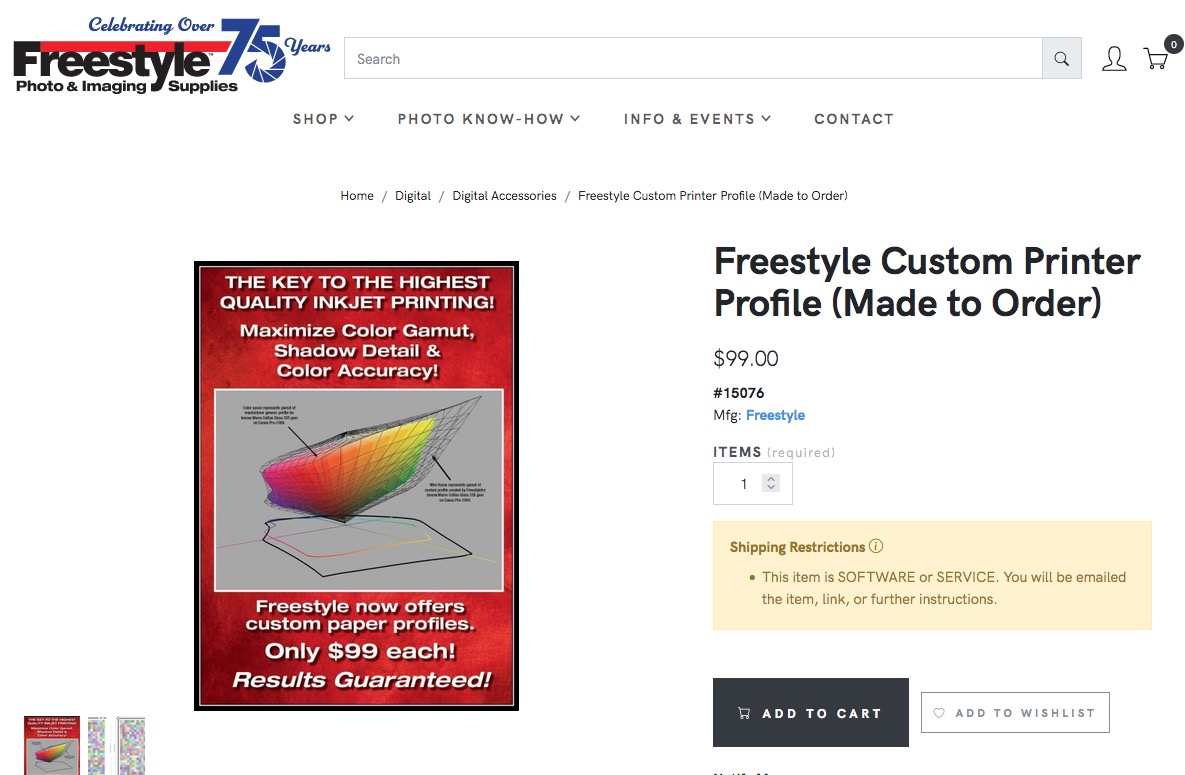
I elected to use Freestyle Photo to generate the ICC profile for my Epson printer + HP Glossy paper combination. One reason is that their instructions are clear with no broken links. The other is that they include instructions for printing their test targets with Apple applications. Many of the other profiling sites use an Adobe utility and – surprise, surprise – it’s no longer available in an Apple version.
I was fortunate to deal with Eric Joseph at Freestyle and it’s clear he has forgotten more about color profiling than most of us will ever know. An articulate professional with excellent analytical and teaching skills, he guided me through what follows. I’m repeating the instructions here as the value of what is out there on the web approximates that of a used toilet paper roll.
What appears below applies to any paper used with the Epson.
Click the image.
Freestyle Photo have you use Apple Preview with OS X Ventura for printing. Their instructions are here.
What follows are instructions on how to create a print of the Freestyle targets with no color management, which allows them to craft a proper ICC profile for your printer.
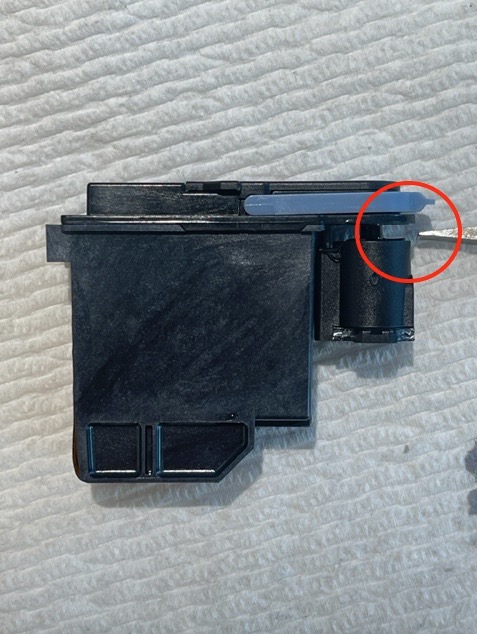
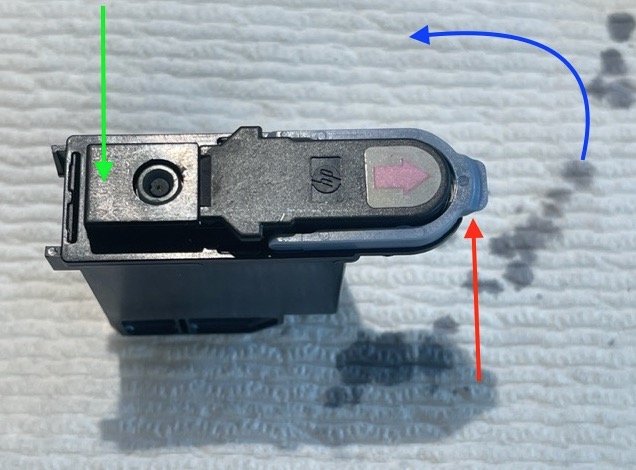
I am on the older Mac OS High Sierra (10.13.6) and Preview did not show me all those printing options which appear in the Freestyle/Ventura instructions. Eric advised that the default installation with the ET-8550 is of the Air Print driver. Indeed, go to System Preferences->Printers & Scanner and choose the E-8550 and you will see the word ‘AirPrint’ where the red arrow appear in the following image:
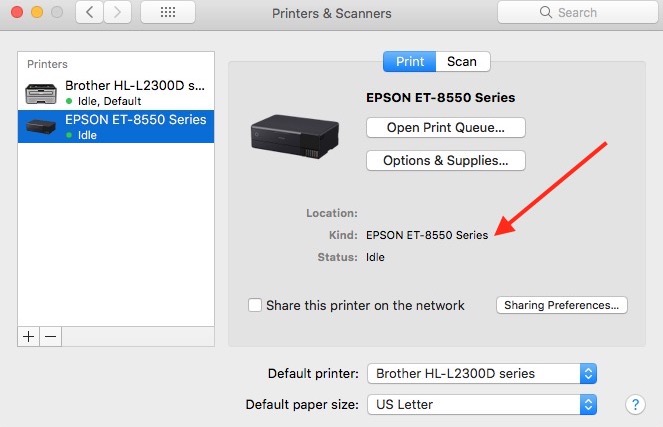
You do NOT want to see ‘AirPrint’ at the arrowed location.
‘Airprint’ is NOT the printer driver you want. AirPrint drivers are significantly ‘crippled’ and do not provide the full functionality needed for this exercise. We must de-install the AirPrint driver by hitting the ‘-‘ symbol. See the bulleted steps below.
The goal, when printing Freestyle’s two test targets, is to avoid any color management at the printing stage, so that the un-managed image is what appears on the test print. You need to activate the stock non-AirPrint driver to be able to accomplishing this in Preview. Both the AirPrint driver (default) and the non-AirPrint driver are installed as part of the normal installation process, but it is the AirPrint version which is activated by default. And that is not the one we want.
Do not try doing this in Photoshop or Lightroom. Those complex applications make it impossible to turn off all software color management.
In System Preferences->Printers & Scanners:
- De-activate the default AirPrint driver by hitting the ‘-‘ sign
- Hit the ‘+’ symbol
- Hit ‘Add Printer or Scanner’. Do NOT hit ‘EPSON ET-8550 Series’ – that’s the AirPrint default installation
- In the screen which opens click on ‘EPSON ET-8550 Series Bonjour Multifunction’
- The ‘Use’ box will appear, filled with ‘Secure AirPrint’. WRONG. Drop down that box and select ‘EPSON ET-8550 Series’. You will get the message ‘Setting up EPSON ET-8550 Series’. That’s it – the full printer driver is now installed and you will have retained wireless printing capability if that was your original choice. You can also use an Ethernet or USB cable.
- The full range of Print options will now appear in Apple Preview.
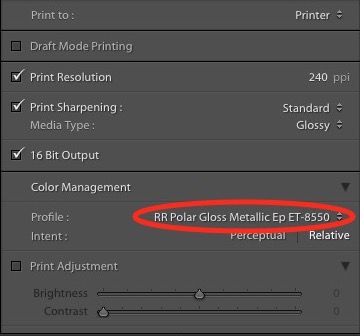
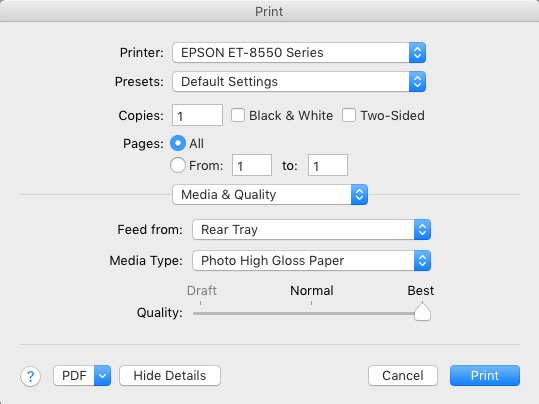
Fire up Preview and load the first of the two targets downloaded from Freestyle. Set the drop downs in the red rectangle-outlined boxes in Preview->Print as shown:

Follow these exactly. This is for HP Gloss paper.
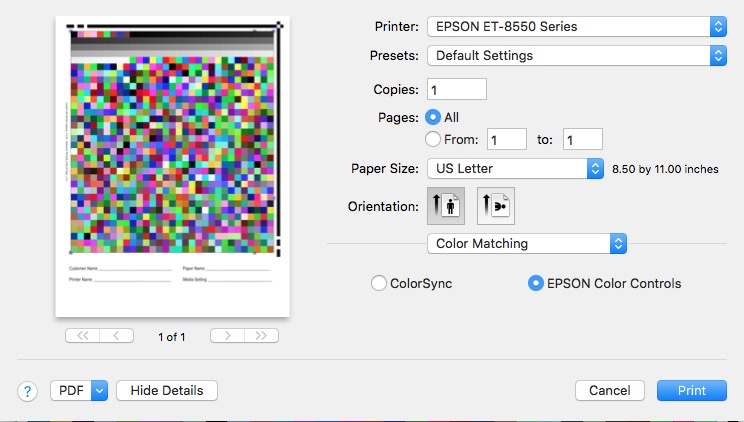
You want ‘EPSON Color Controls’, not ‘Colorsync’.
Now that you have Epson Color Controls, check you have turned them off thus:
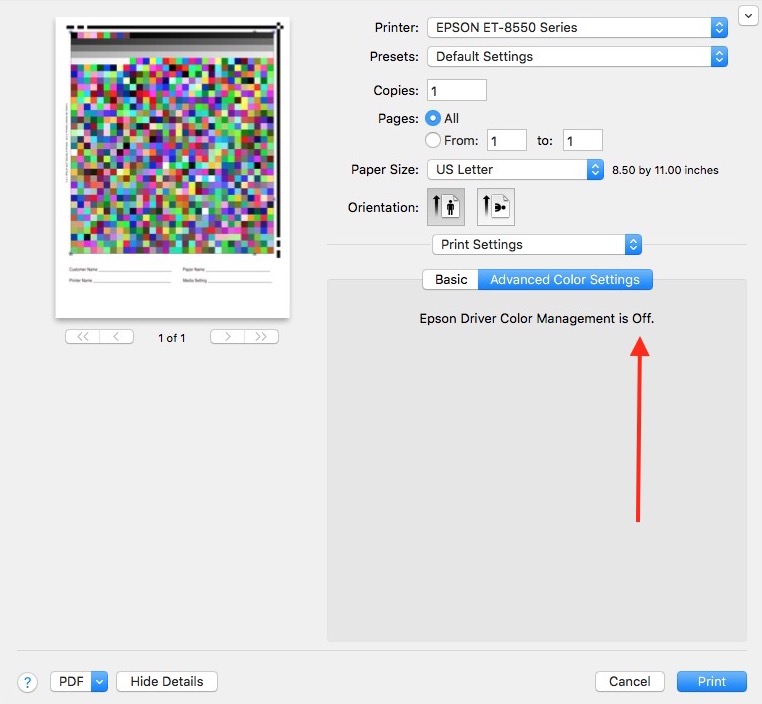
Check that there is no printer driver color management.
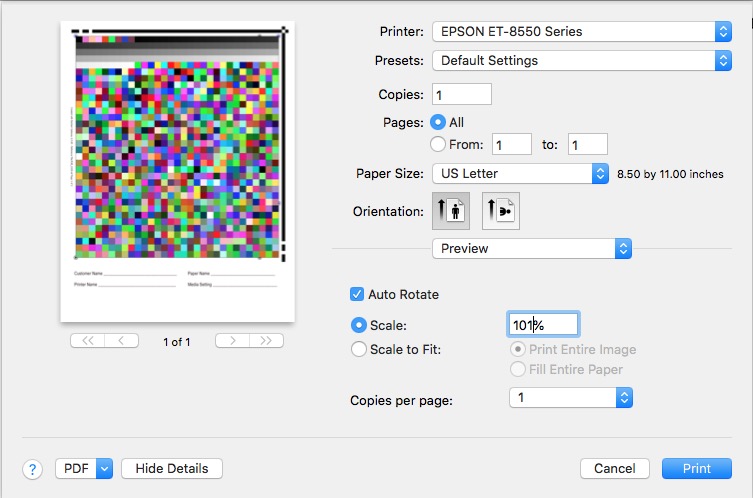
In my case a Scale setting of 101% delivers the required
8 5/16″ target height called for by Freestyle.
The 101% size setting is required to exactly comply with Freestyle’s sizing requirements stated on their site. Adjust the ‘Scale’ setting until you comply with their required printed target height of 8 5/16″.
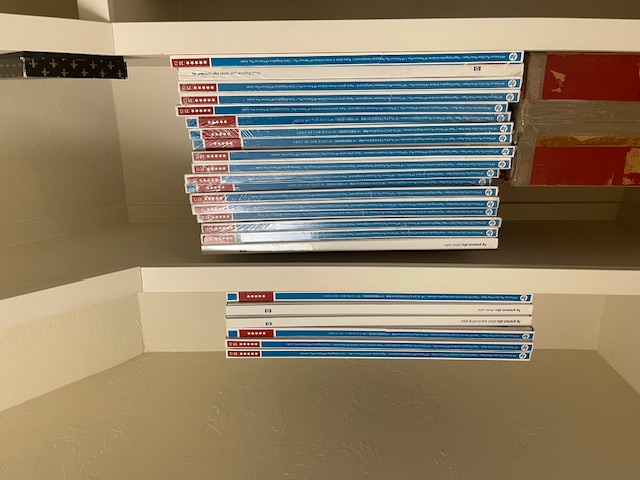
Print the first, then the second target, being careful to replicate the above settings for the second (they will change to defaults), pay $99, add your name and details to the printed targets and mail your targets in a stout cardboard envelope to Freestyle. And never handle paper without cotton gloves – the grease from your fingers will not help with the profiling process, nor with print longevity.
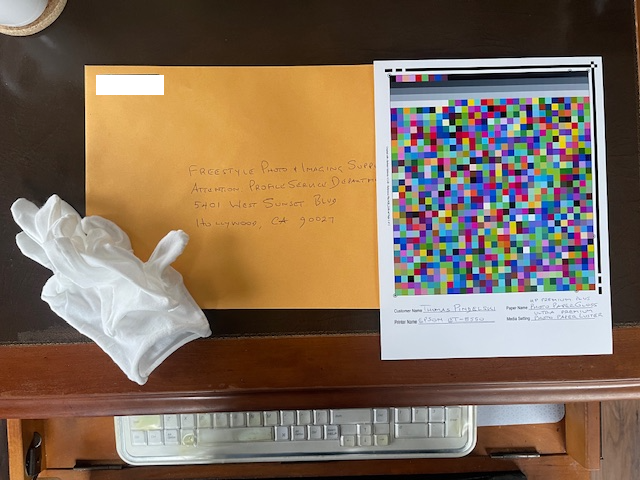
Doing it right with cotton gloves.