Not half bad.
To check how the iPhone’s Normal lens (the 25mm 1x option) compares with a full frame DSLR, I dusted off my Nikon D700, a 12mp FF digital body with a sensor renowned for its low noise. The closest fixed focal length lens in my rapidly dwindling Nikkor collection is the superb 20mm f/3.5 UD Nikkor, a lens which comfortably outperforms its three successors which came in compact variants with f/4, f/3.5 and f/2.8 maximum apertures. Dwindling? I do not collect gear and will have little if any use for these dated behemoths after buying the iPhone 11 Pro.
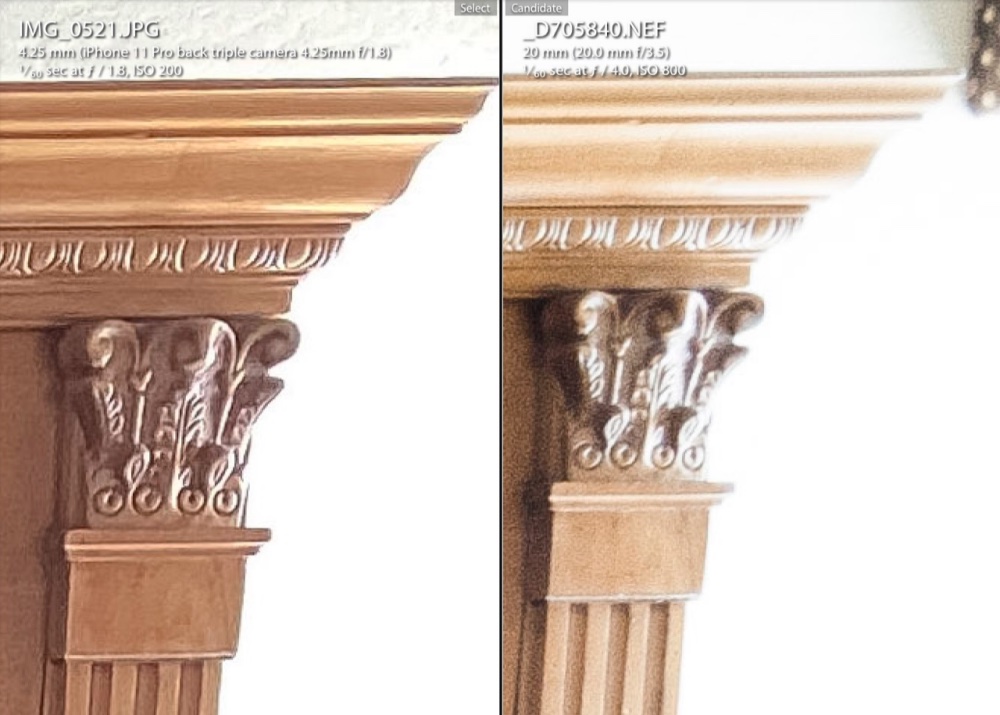
I then photographed one of my bookshelves with the iPhone and with the Nikkor, comparing the two in Lightroom. In the comparison image below, the iPhone image is straight out of camera. The Nikon’s had to have contrast increased but is otherwise also SOOC. The iPhone image is JPEG, whereas the Nikon image is RAW.

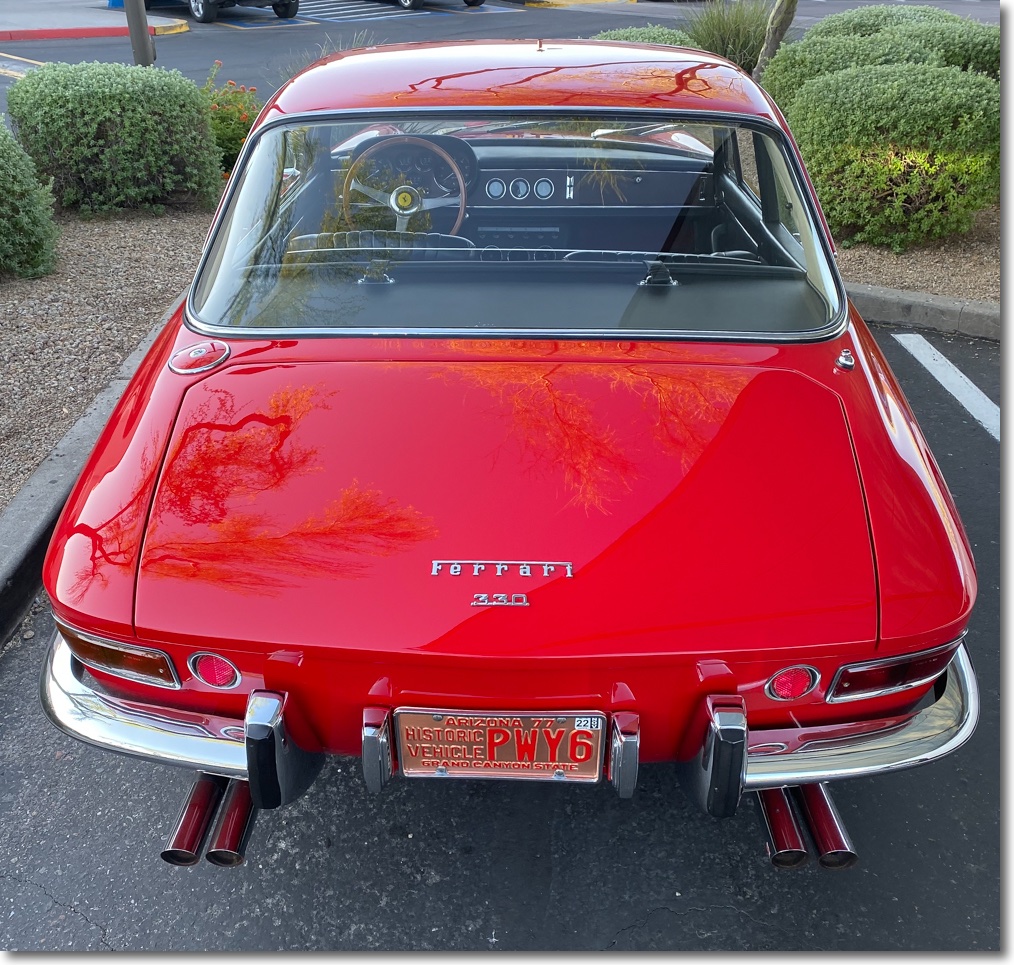
The original image.
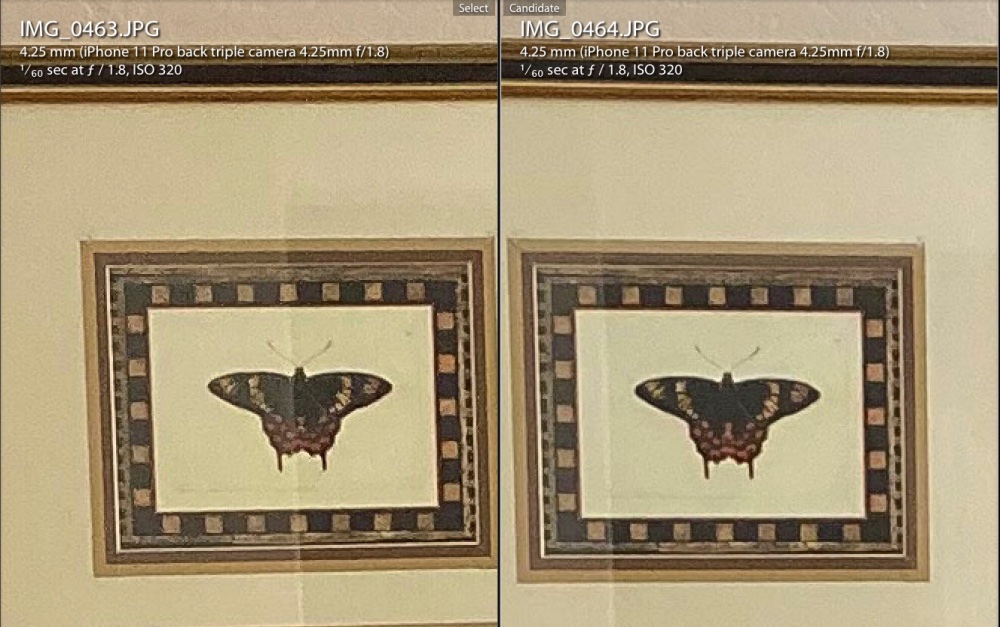
The images below are 1:1 enlargements – the pixel peeper’s favorite which has sold a lot of ridiculously large sensors to those who have no earthly need for them. Each image is from the center of the sensor. We are talking 30“ x 40“ prints here.
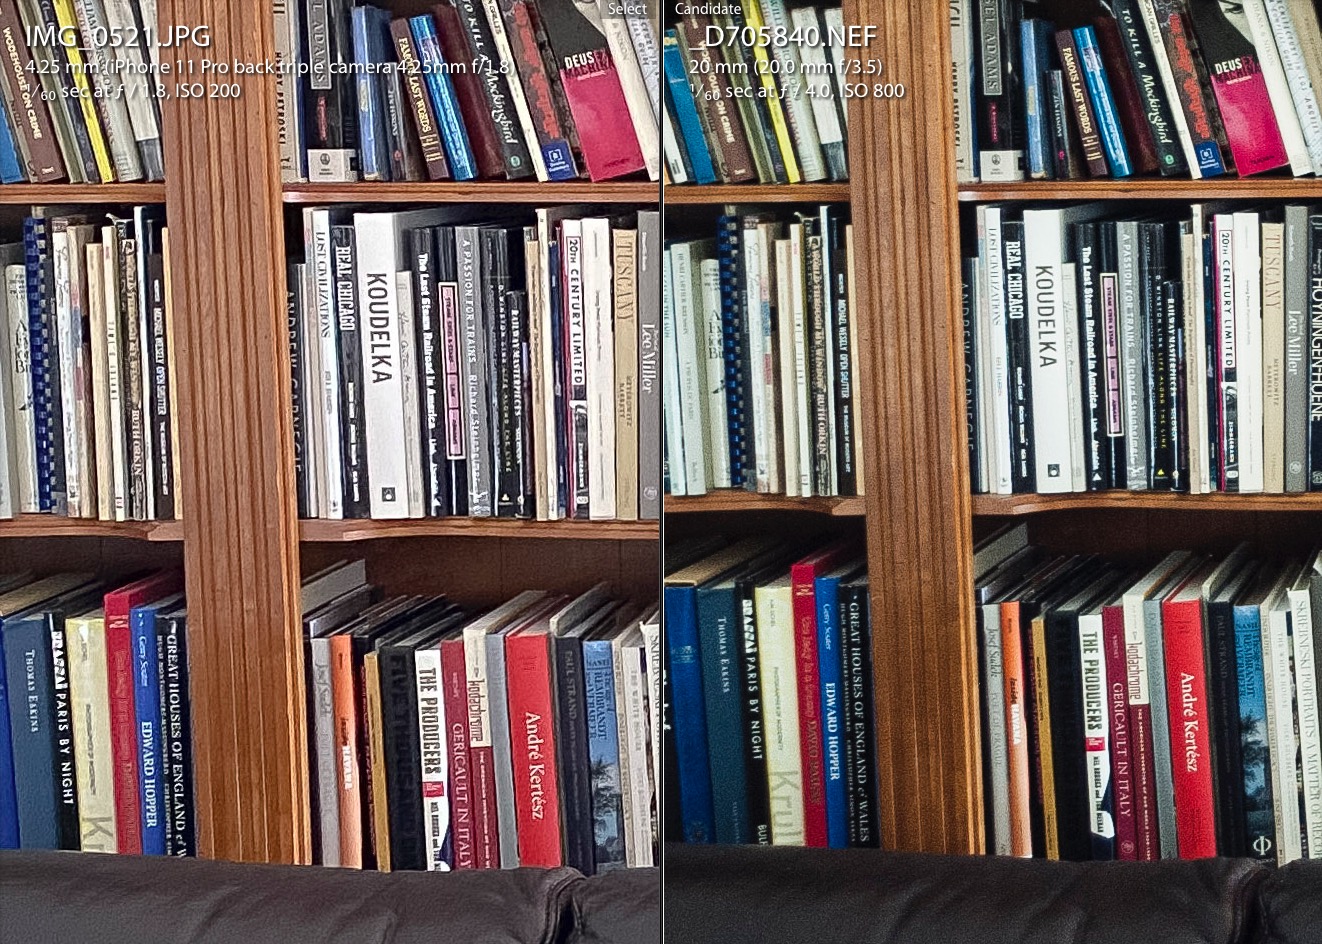
The Nikon’s ISO was quadrupled to adjust for the smaller aperture. f/4 is very much this Nikkor’s sweetspot.
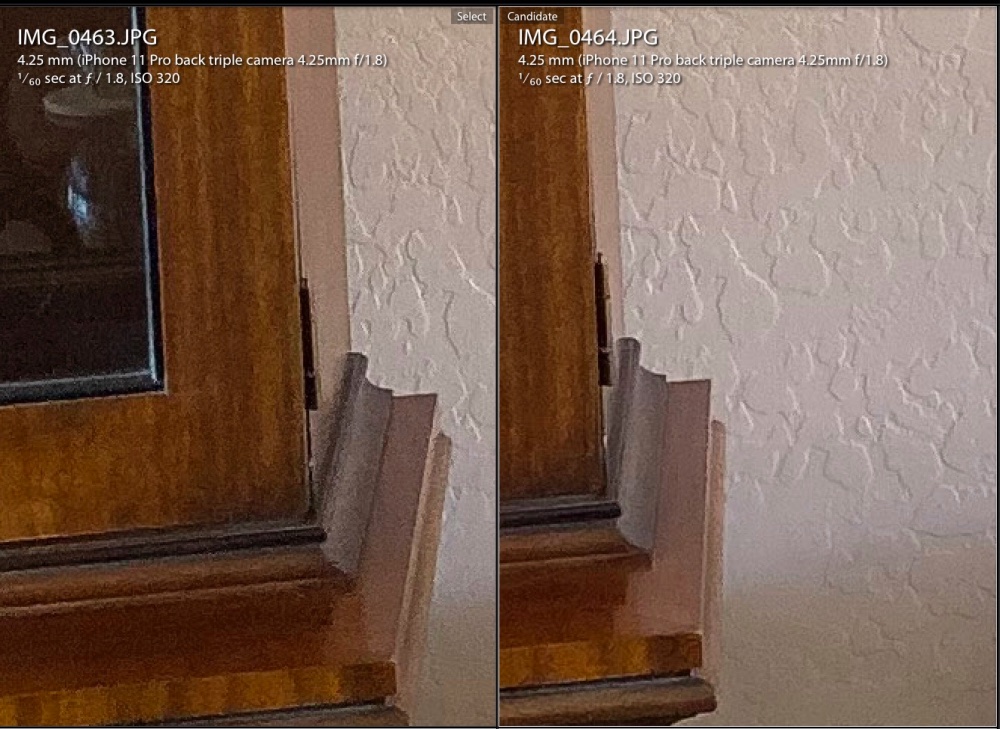
Extreme corners, at double the magnification of the above.
I would guess that the iPhone image is using Deep Fusion computational photography, but frankly all I care about is the result, not the road traveled to get there. You be the judge.