Harsh.

Leica M10, 50mm Light Lens Lab S-P II.
Harsh.
Leica M10, 50mm Light Lens Lab S-P II.
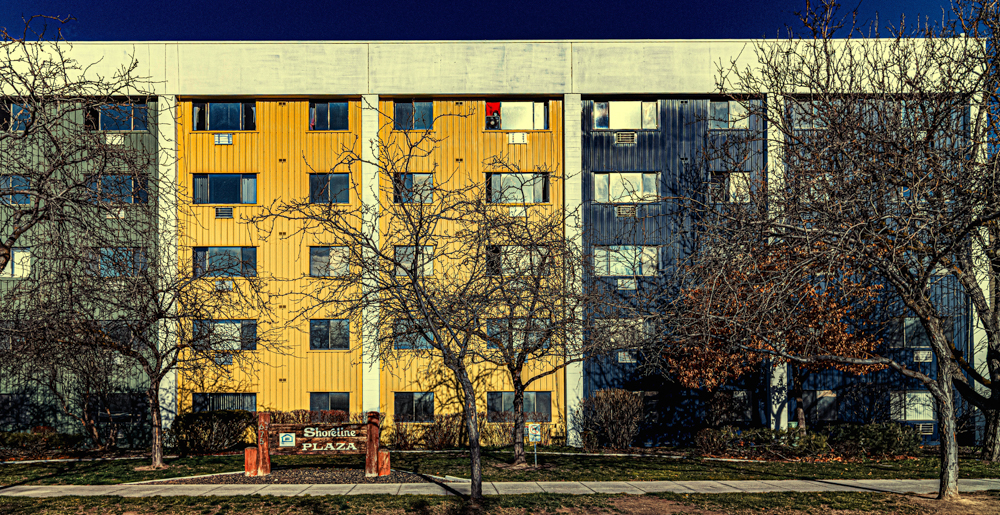
Attractive.
Proof that modern apartment housing need not be ugly:
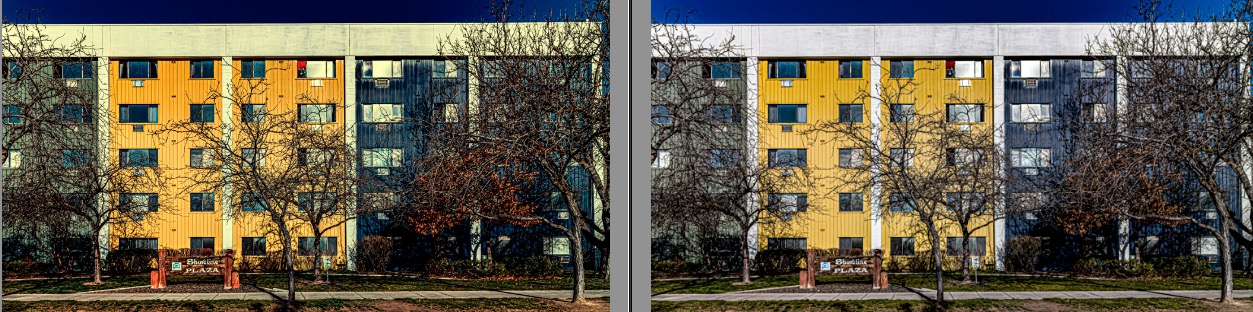
The SOOC image was passed through Nik Color Efex 8 to warm up the colors and to emphasize the red drape top center:
Leica M10, 21mm Voigtländer Color-Skopar.
Hot.
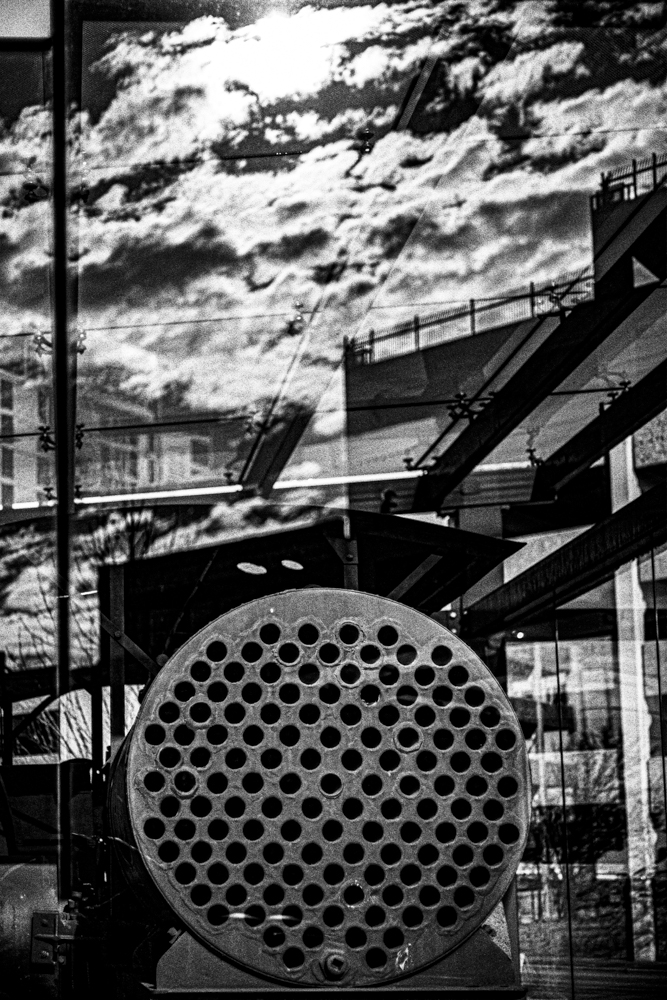
Leica M10, Light Lens Lab S-P II lens at f/2, 8x ND filter, ISO 800. Monochrome conversion and TriX grain added in Nik Silver Efex 8.
Umbrellas.
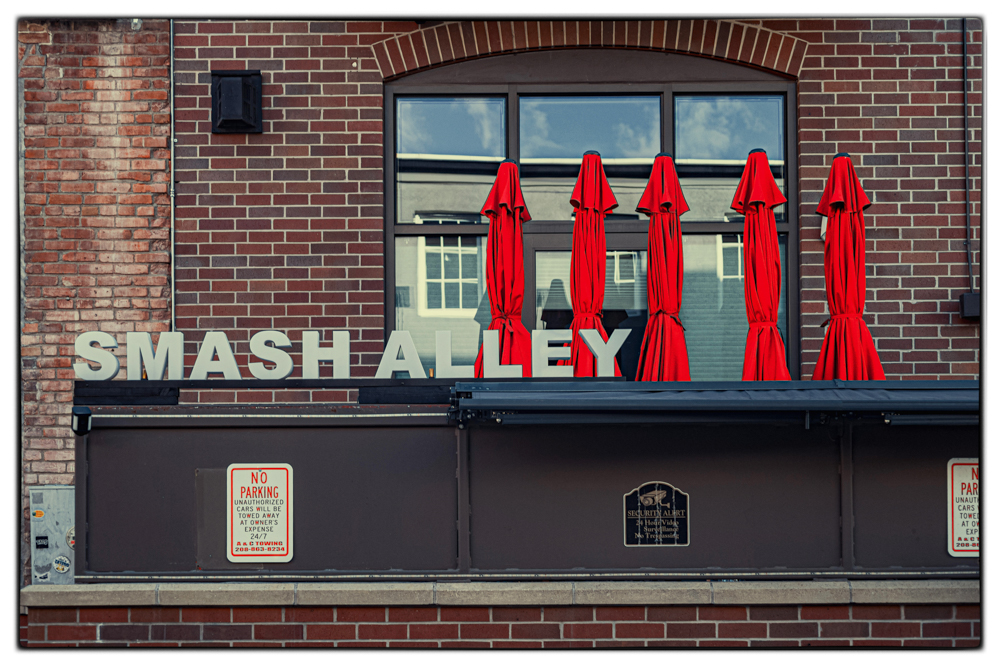
Leica M10, Light Lens Lab S-P II lens at f/2, 8x ND filter.
3 of 3.
For an index of all Leica-related articles click here.

Click the image for a larger version.
The ‘glow’ from the lens’s spherical aberrations at f/2 is abundantly in evidence around the white woodwork.
Leica M10, Light Lens Lab 50mm S-P II at f/2, 8x ND filter.
A note on the use of ND filters: The intent here is to permit the use of the lens at f/2 in bright daylight without over-exposing the image. Ordinarily I have the M10 set on Auto ISO and Auto Exposure. If you retain Auto ISO then the camera will crank up the ISO to allow the use of the shortest shutter speed (I have the shutter speed lower limit set to 1/4f where ‘f’ is the focal length of the lens). But, in doing so, you will run into lower resolution owing to the higher ISO selected by the electronics. To avoid this I set the ISO manually to 400, which is easily done with the manual knob, sadly deleted in the M11 series which relegated ISO setting to the LED screen. This results in a lower noise file. You can use Auto Exposure or set the shutter speed manually by rotating the shutter speed dial until the center circular LED is lit. The resulting shutter speed between the two methods – Auto Exposure or manual exposure – will be the same.