Some of the city’s finest.
There’s a reason you pay a premium to live in California. It’s more than repaid by the money saved on crashed cars, snow ploughs, medical costs from winter ills and the absence of rednecks.
I found myself in San Francisco noodling on such thoughts the other day with the weather beyond perfect. Clear skies, cool, no wind, lighting made for photography.
One of the indoor shopping malls in the city offers not one but two roof gardens, poorly advertised and known to few, yet affording fine views of the city. It’s the Galleria and you can find it here:

Crocker Galleria.
From the northern garden (the two are not connected so you have to traipse through the shopping mall to get from one to the other) you get a superb view of the Hobart Building, built in 1914 and still putting all around it to shame. Click on that landlord’s link and you too will conclude they should have retained me to take the picture of their building, for theirs could scarcely be worse:

G1, Olympus 9-18mm @ 11mm, perspective corrected in PS
Look down and you get a splendid panorama of that great thoroughfare that is Market Street with Post Street in the foreground:
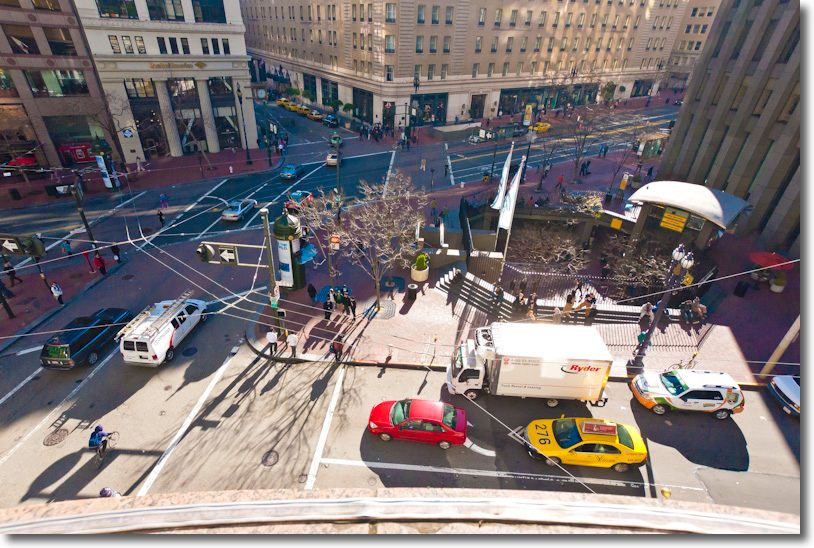
G1, Olympus 9-18mm @ 9mm, distortion correction in LR3
Look the other way and you get a shyster broker and some splendid colors and shadows on Montgomery Street:
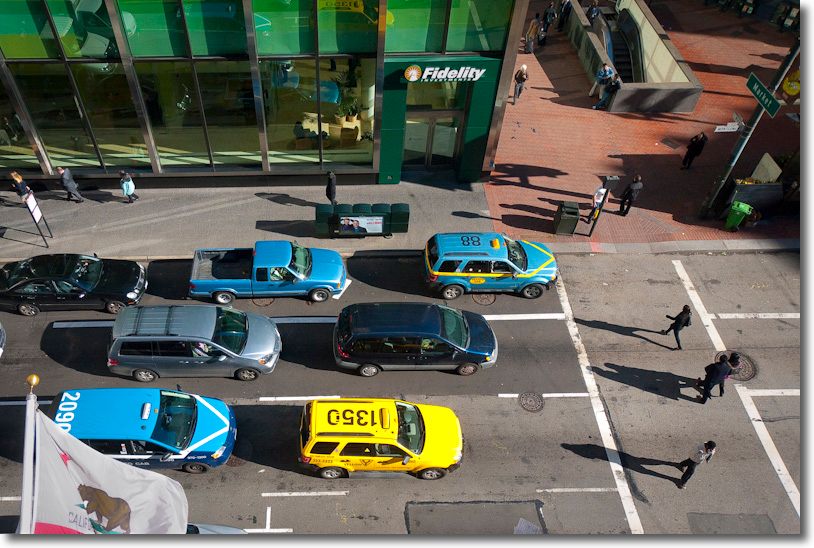
G1, Olympus 9-18mm @ 12mm
The southern roof garden of the Galleria offers a symphony of shapes, reflections and design:
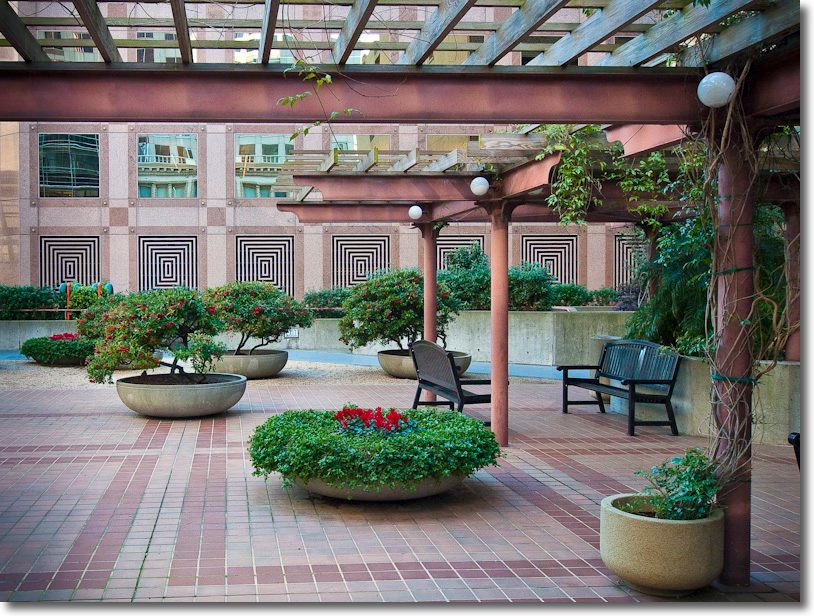
G1, Olympus 9-18mm @ 15mm
The view through the Galleria’s glass roof is no less inspiring:
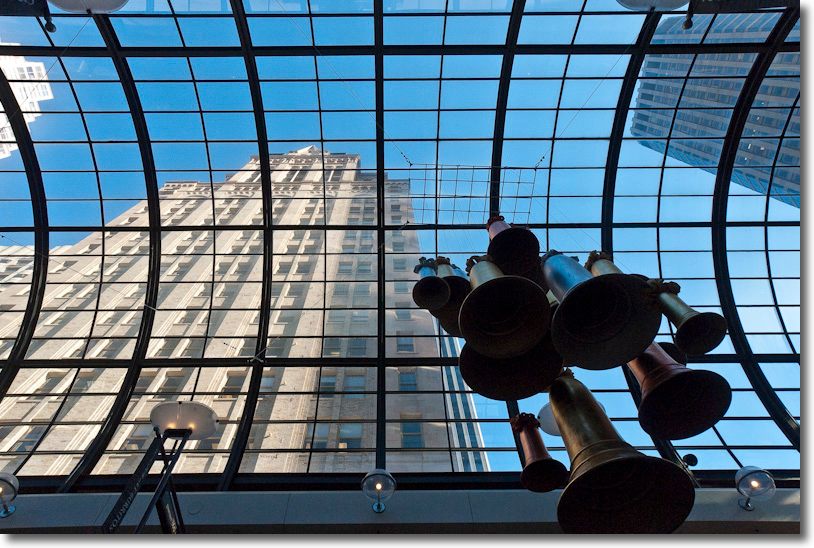
G1, Olympus 9-18mm @ 10mm. Lens profile correction applied in LR3.
The Olympus 9-18mm MFT lens on the Panasonic G1 is perfect for this sort of thing and you can see what I wrote about it by clicking here. Creating your own lens profiles for distortion correction on the G1 and its brethren was addressed here.
If there are better ways of spending a sunny day in a great city they may be found in Paris or Rome or Venice or Florence, but this is pretty close to as good as it gets. New York? Fughedaboutit.