Some thought required.
As I am new to the world of working with two displays, having used but one at a time for the past thirty years, I thought it might be helpful to share some thoughts on how things stand now that I use two Dell 2209WA displays with my MacPro.
Here are some useful metrics regarding the area of various displays in square inches of usable screen:
iMac 24″: 239 sq. in.
Dell 2209WA: 219 sq. in, or 438 sq. in. for two
Apple 30″ Cinema Display: 394 sq. in.
So using two 2209WA 22″ diagonal Dell displays, I have 83% more display area than in the 24″ iMac I used earlier and 11% more than the user of one 30″ Apple Cinema Display.
However you look at it, that’s a lot of surface area and while the first reaction is Wow!, in use there are some issues which need addressing.
First, given the 16:10 near-widescreen format of the Dells it makes sense to locate the Dock at the left rather than below the screen. Unless you are watching movies, most 3:2 ratio photographs use less than the full width of the screen so placing the Dock on the left makes sense, and that’s the first problem. If you frequently place files temporarily on your Desktop, as I do, then it’s a long drag-and-drop from the file’s location on the right of the right hand display to the trash can at the lower left of the left hand display. So I’m getting used to right-clicking the file and clicking on Move to Trash instead. If several files are to be trashed, I simply highlight them by dragging a clicked mouse over them and then right click and Move to Trash in one click.
Often, when working on the right display, I need to access an application. Once again, it’s a long way to the Dock on the left display as the following picture indicates (Yes, that’s the HAL 9000 on the Desktop(s) and yes, I am a huge Stanley Kubrick fan!):
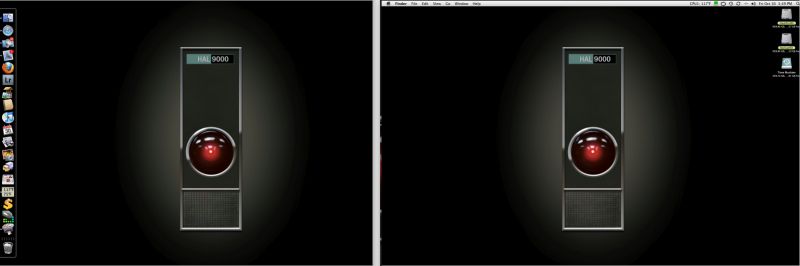
Two display desktops side by side.
So rather than move the mouse pointer all the way to the left display to click on the desired application, I use HimmelBar which resides in the menu bar. I place the Menu Bar on the right display as that works well with this approach (System Preferences->Displays->Arrangement):
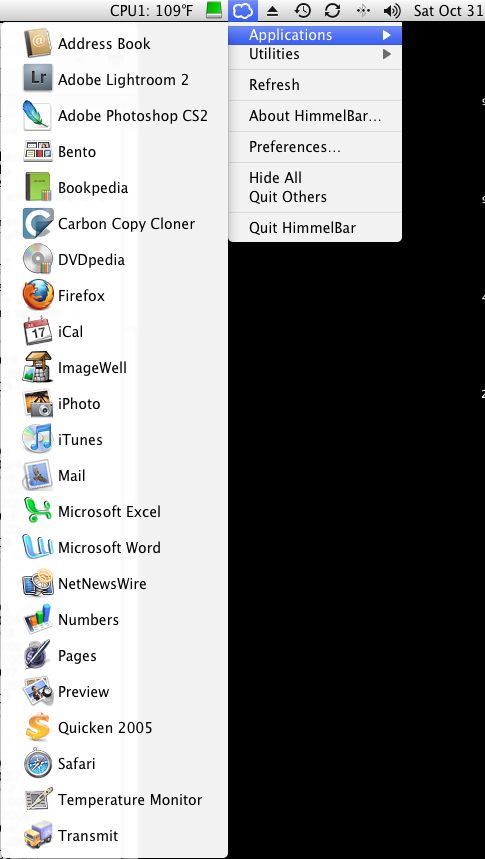
HimmelBar in use
HimmelBar has been around for ages and is a free download. In its current version (I’m using 3.0 (64) ) it allows the user to edit the drop down lists of Applications and Utilities, so as to avoid a core dump. I simply choose those I use often (much the same ones as in the Dock) and try to limit the list to no more than the height of the screen to avoid having to scroll. If you create an Applications folder in your user home folder (normally the Applications folder resides in the home folder of the hard drive you boot from) then you can have a further selection of personal applications to choose from. However, I avoid this approach as I simply like to have all my applications in one place for ease of maintenance and update.
While HimmelBar always resides in the MenuBar, there’s an alternative approach using a product named Xmenu which will pop up at your mouse pointer’s location when a Cmnd-key combination is struck (you can choose the second key, the first has to be Command). I find I am more comfortable with HimmelBar but others may prefer Xmenu.
So between the Dock and HimmelBar, the Application menu is never far away.
How about the physical arrangement of the displays? Here’s how mine looks:
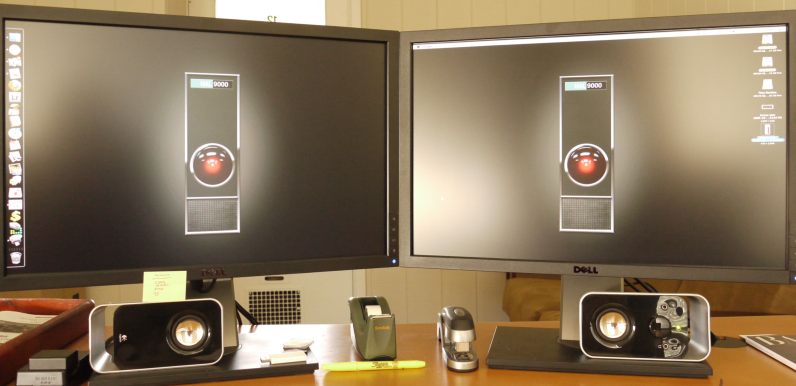
Elevation view.
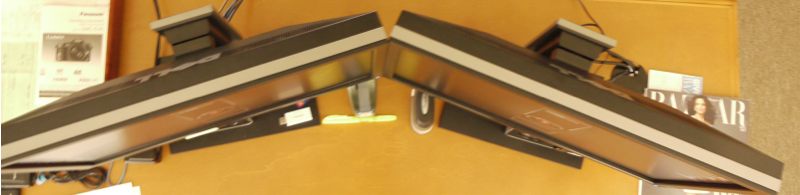
Plan view.
As you can see, the monitors are abutted along the vertical axis and sloped slightly inward to present a perpendicular view with a small turn of the head. My eyes are approximately 30″ away from the center point and level with the top of the display(s).
That leaves the issue of what to display on which screen. For work (my job is data intensive) I keep detailed lists on the left screen and items clicked in these for extensive reading on the right. That allows me to quickly scan news story headlines in a feed reader (I use the excellent NetNewsWire) and then read a clicked story of interest on the right screen.
For Lightroom I find I am most comfortable with the detailed LR screen on the right – the one with all the processing controls – with the full sized, uncluttered loupe view on the left.
Is this better than simply using a giant 30″ diagonal screen? I don’t know. I do know that when using the 24″ iMac I rarely broke disparate application displays into adjacent windows as the single 24″ screen was never large enough, whereas with two displays I find I’m getting used to the idea of using one as an index and the other for detail.
Based on my short period of use, is the second monitor a necessity? Far from it. More of a luxury. Maybe it will grow on me, but as of now I’m rather lukewarm on the concept.